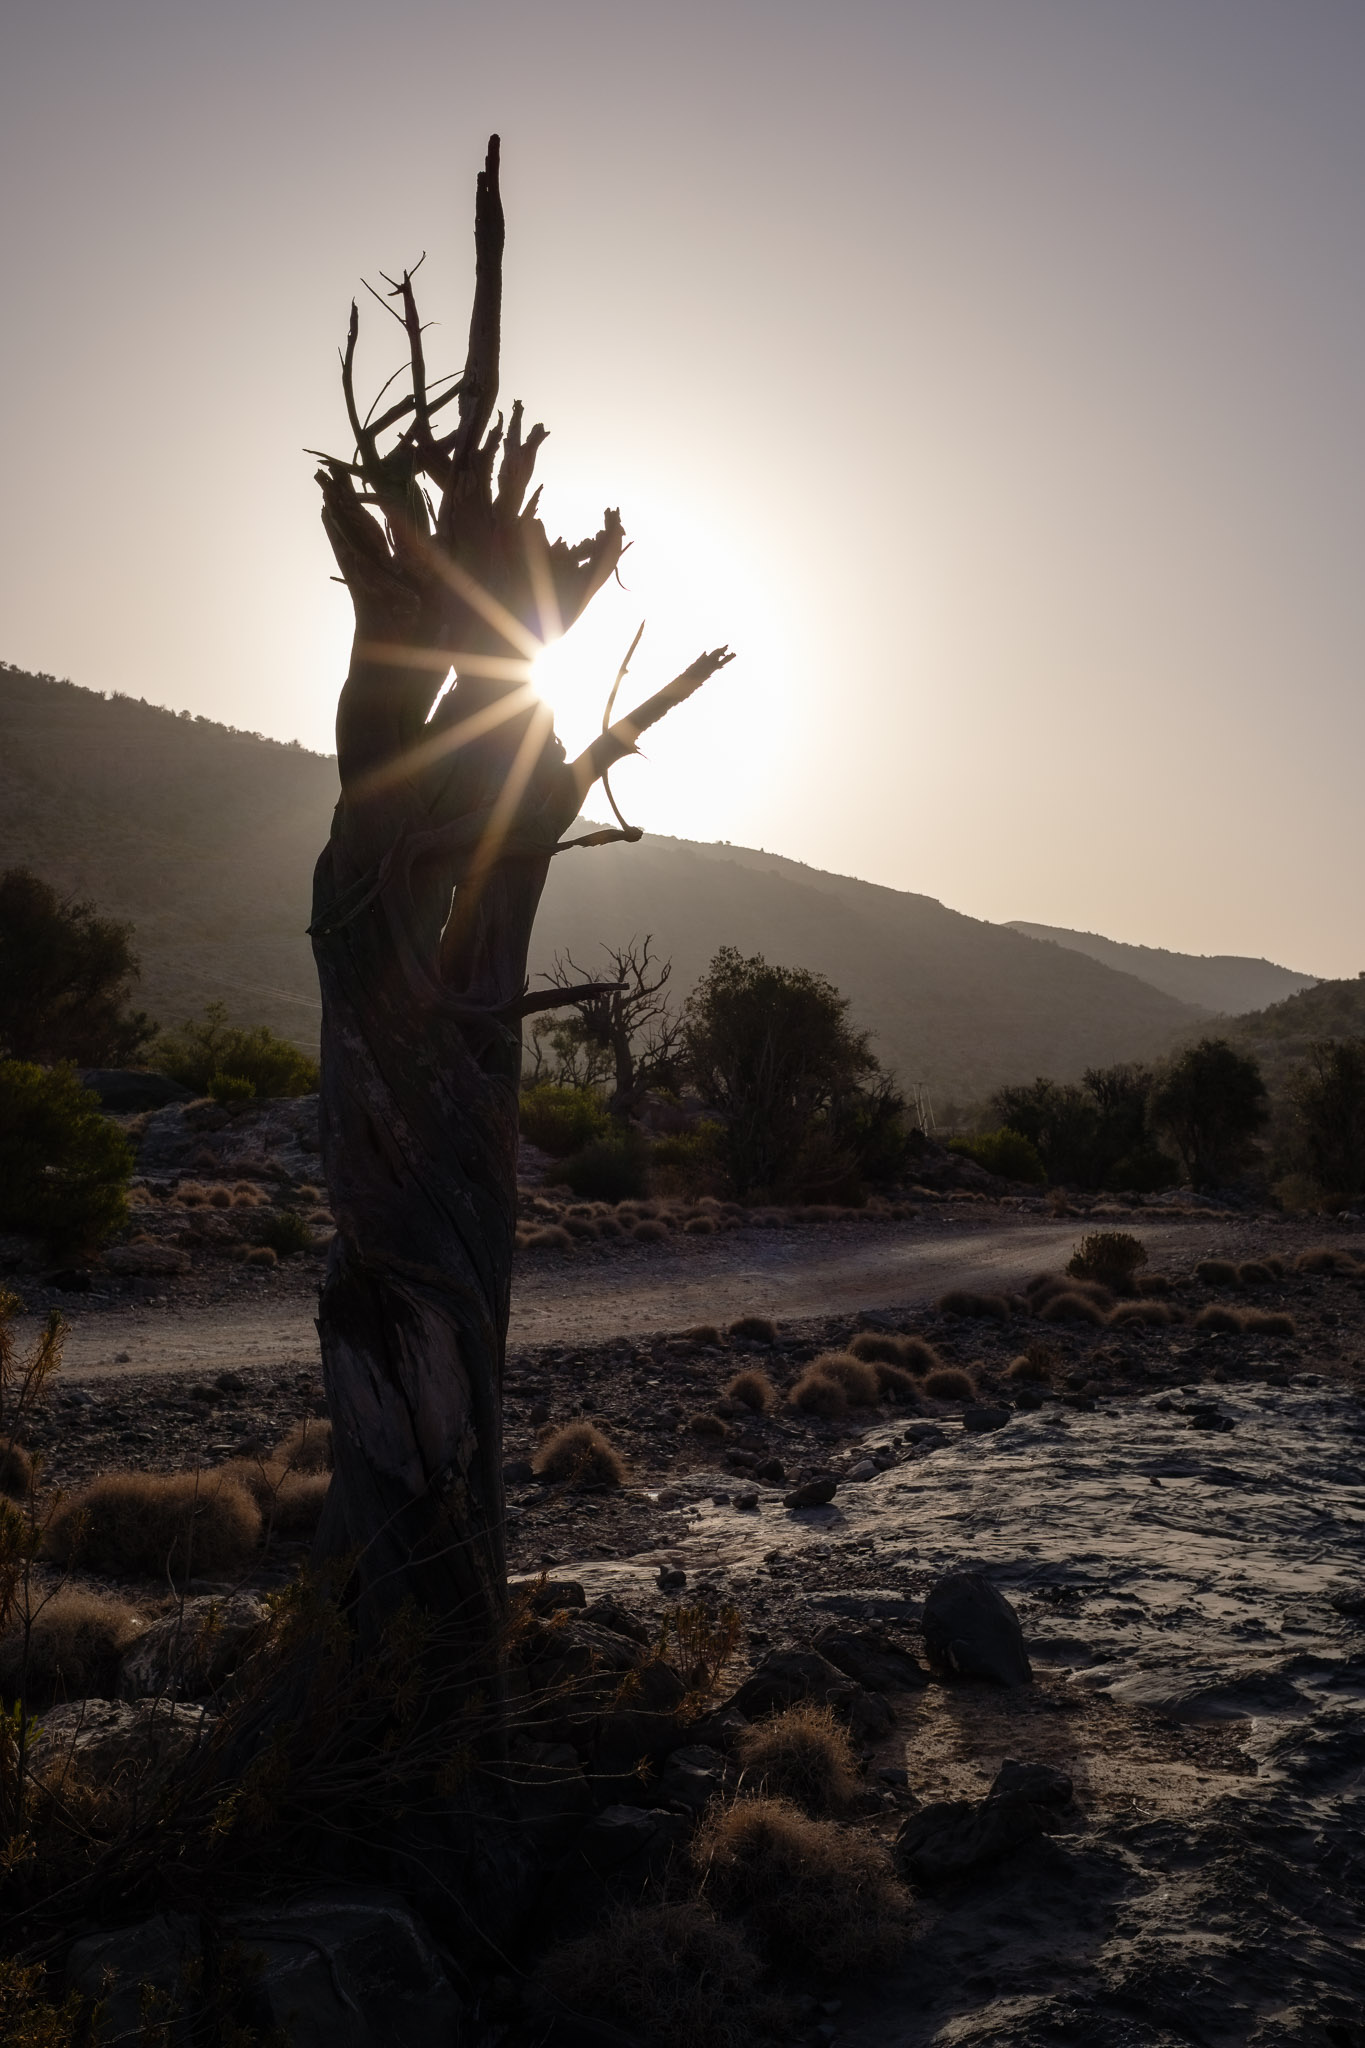
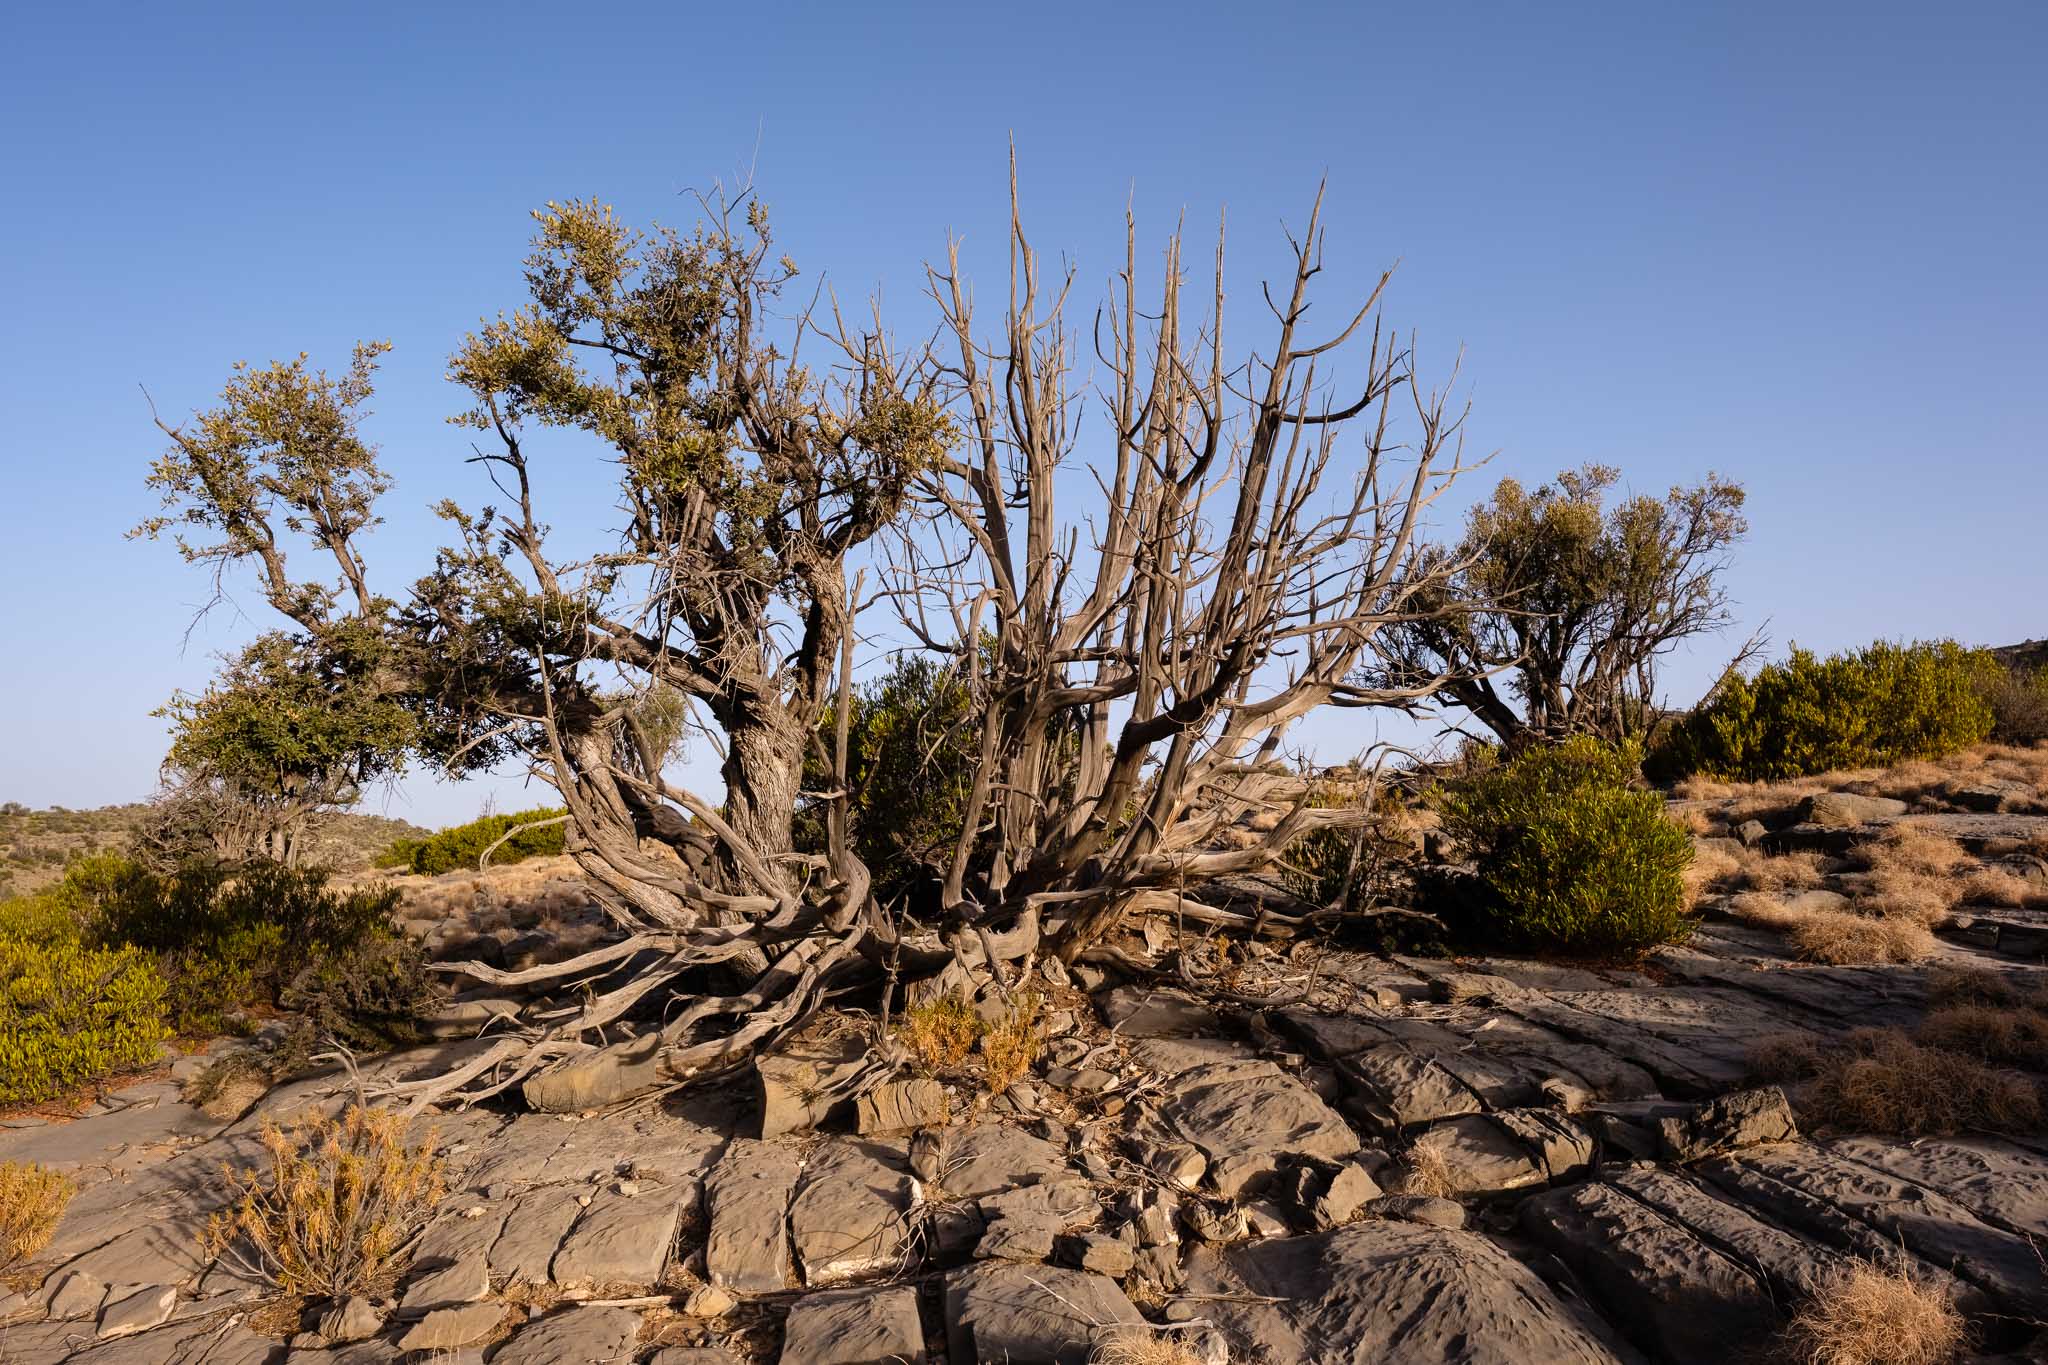
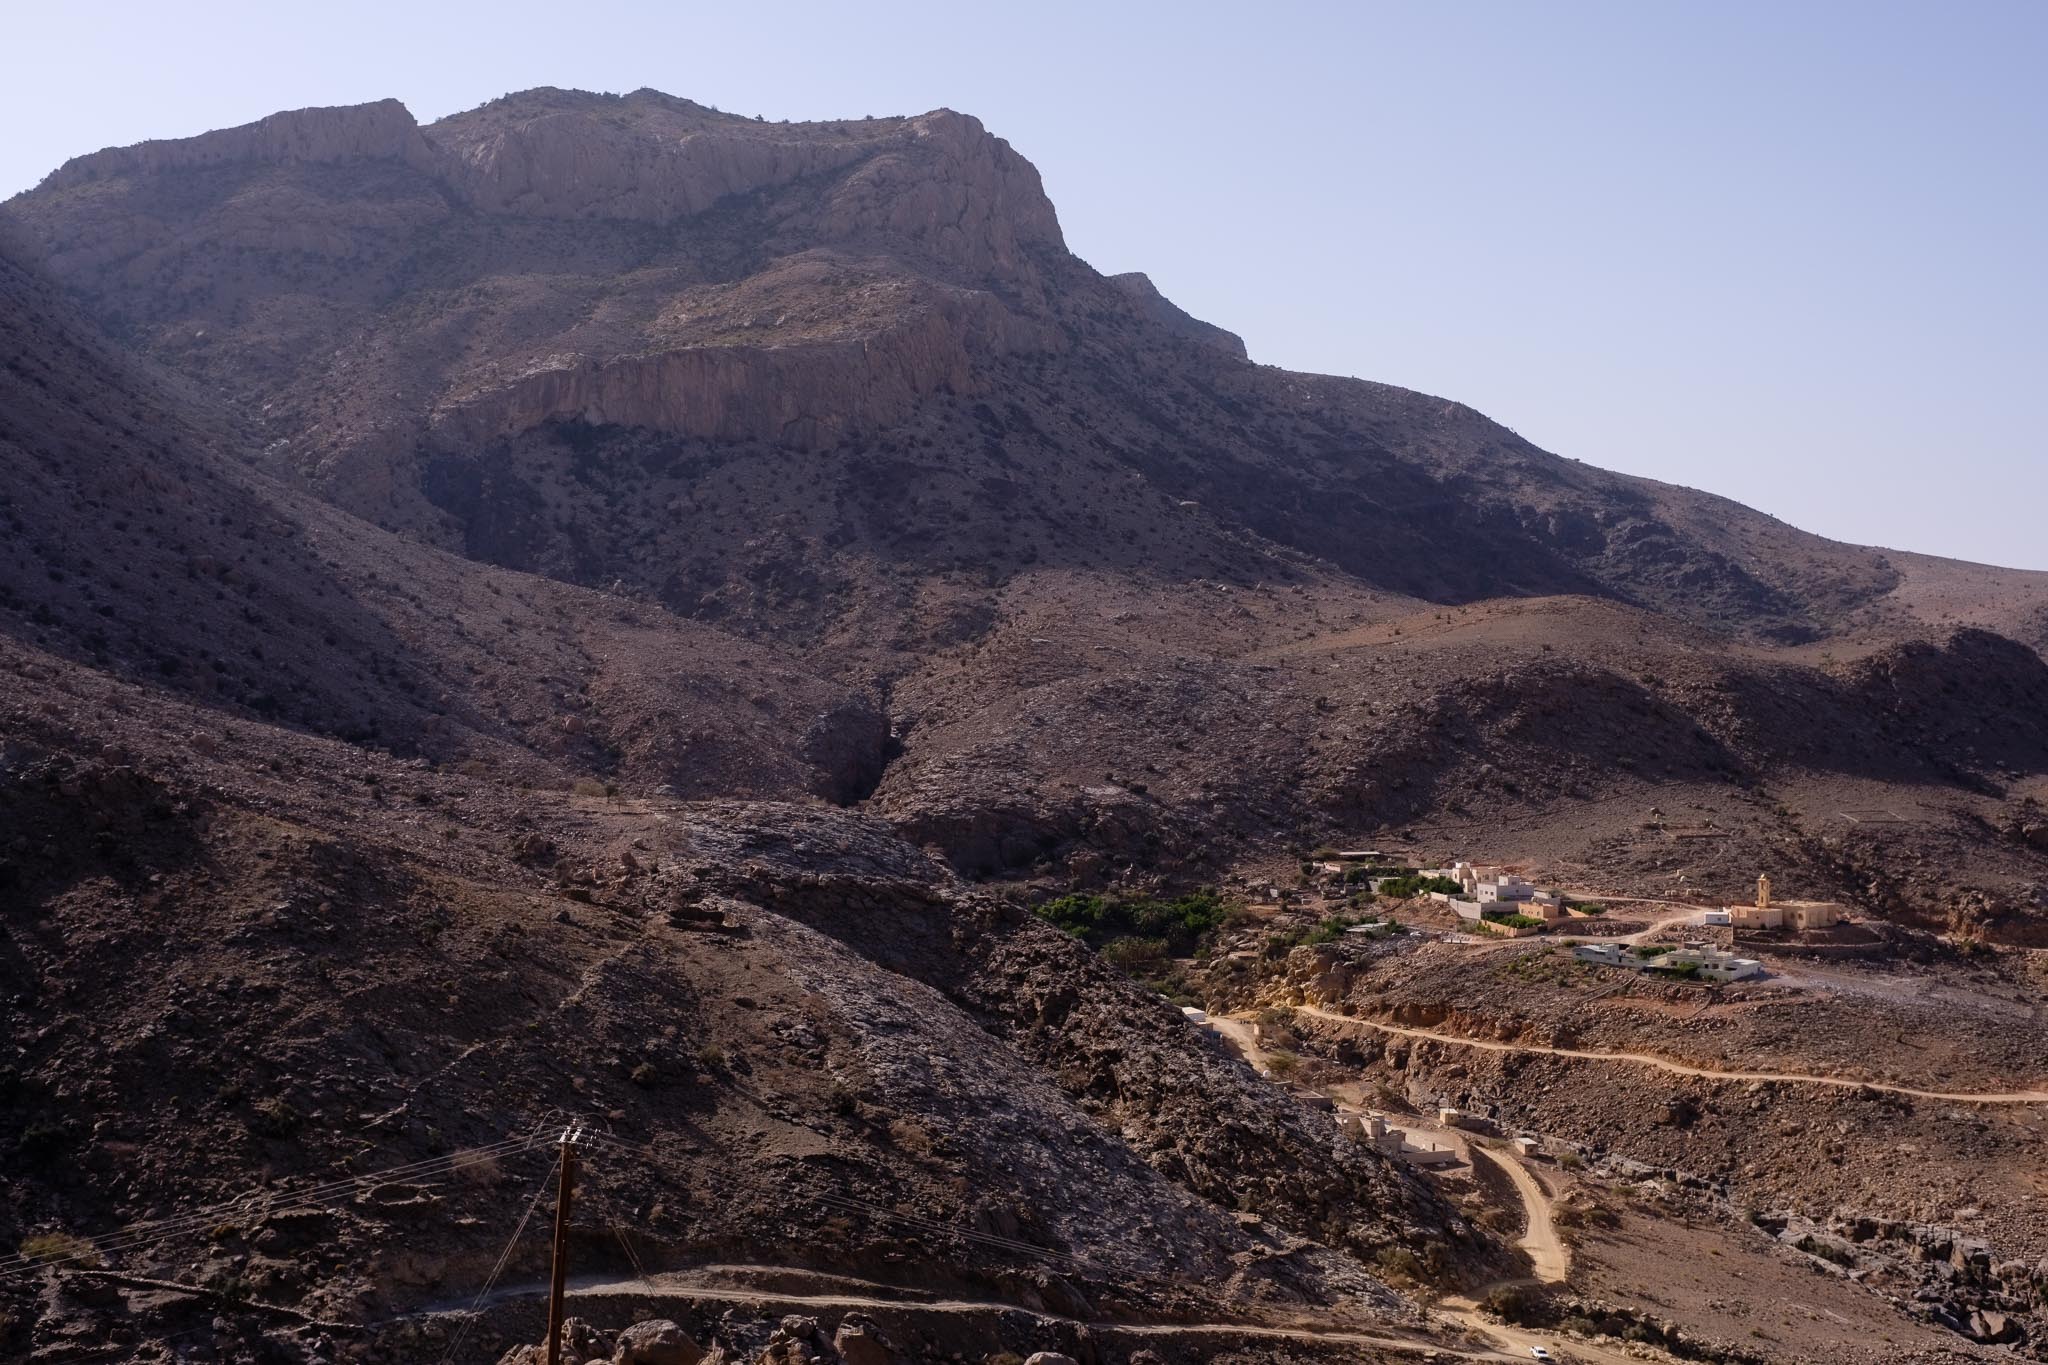
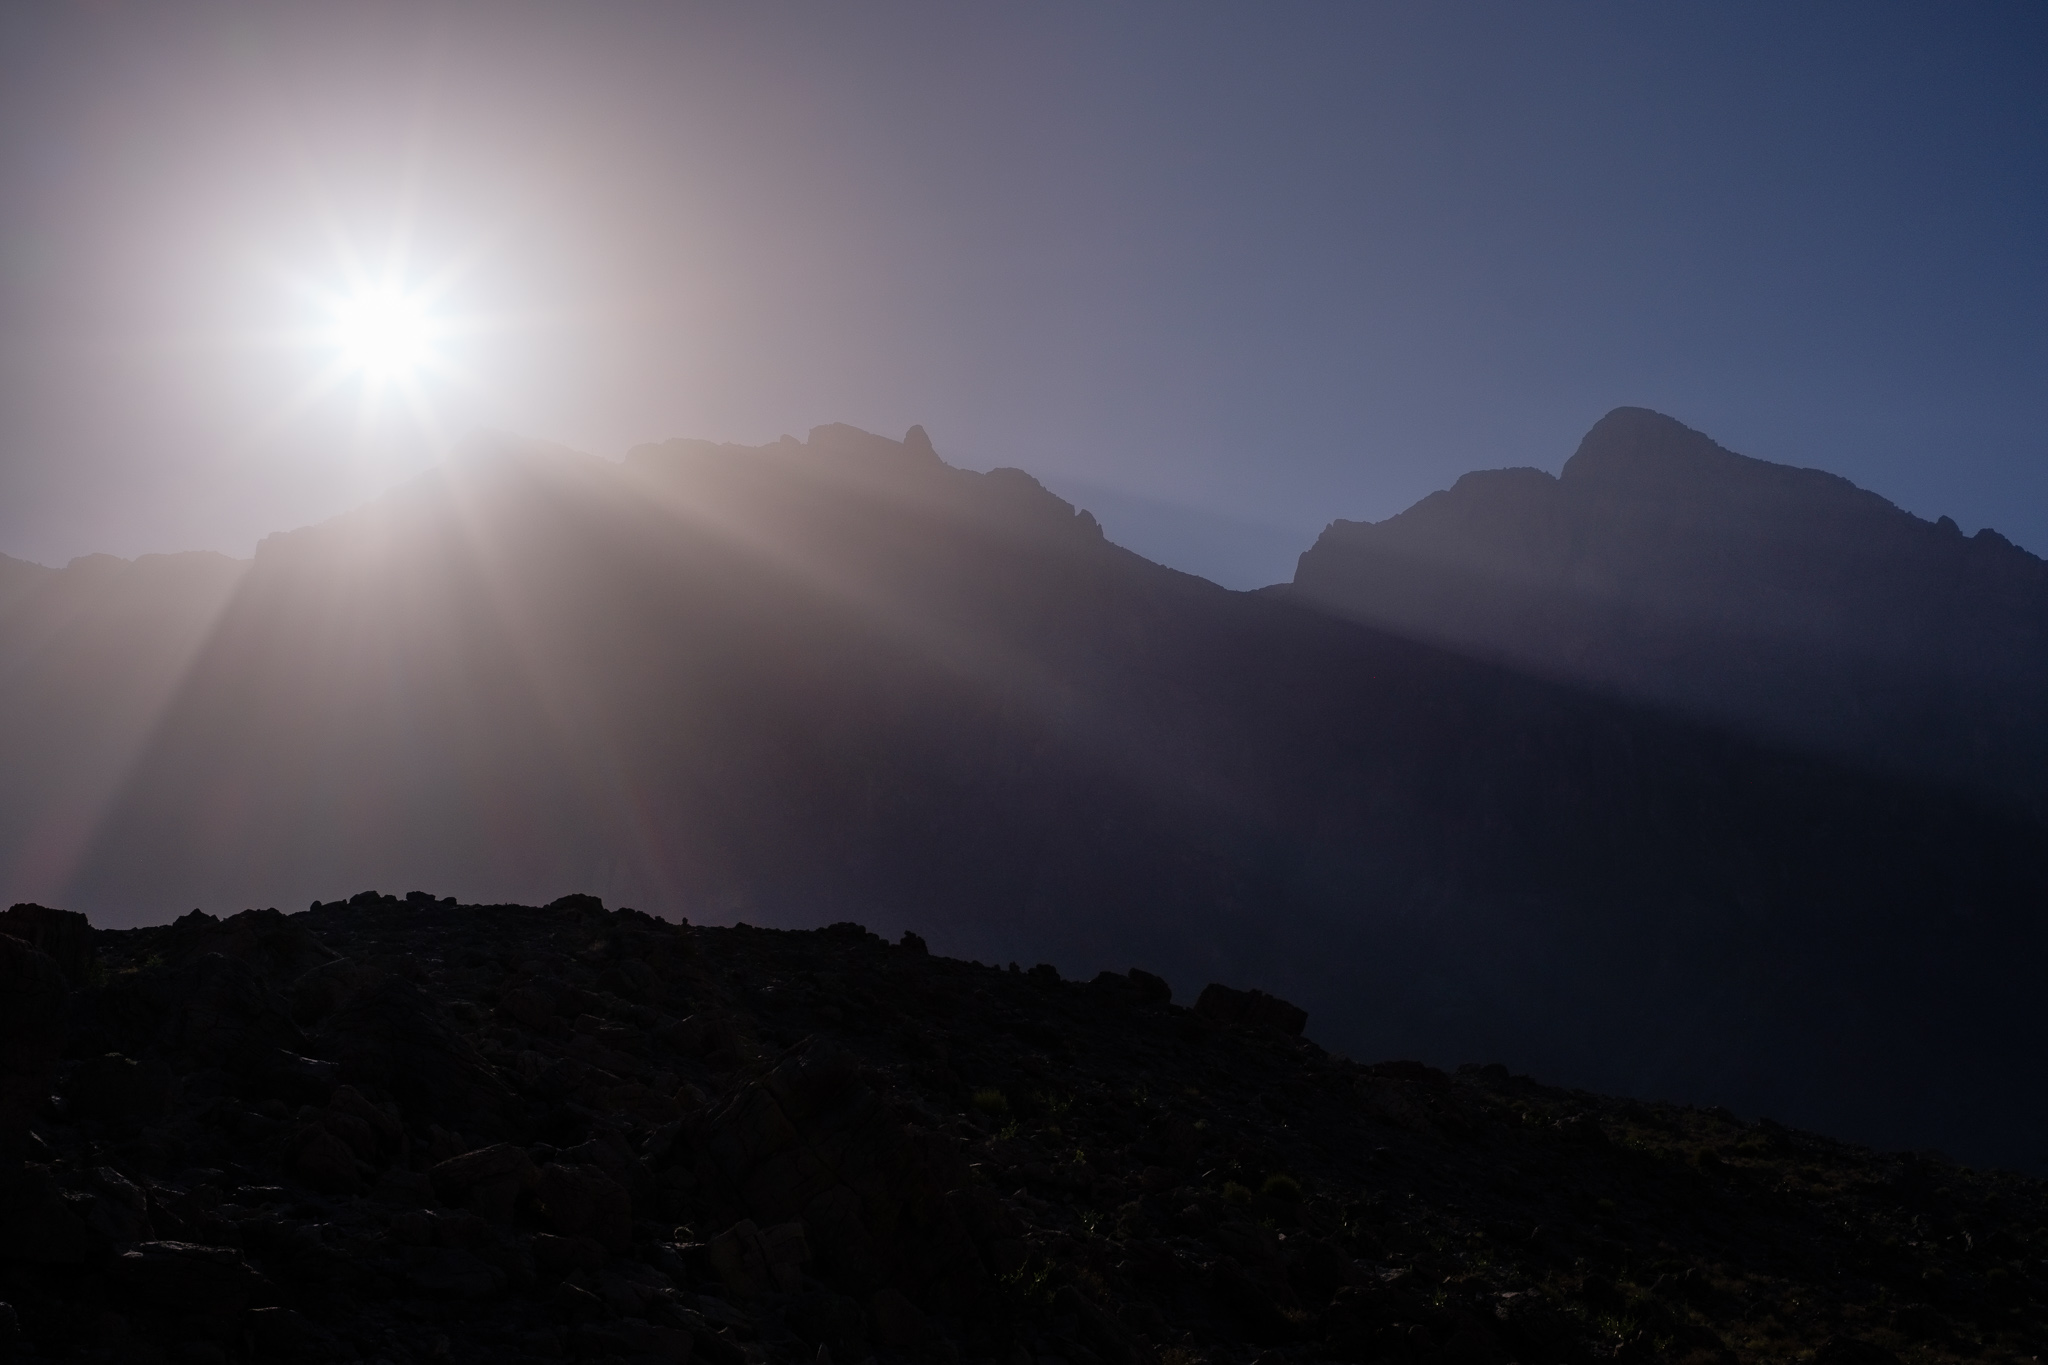
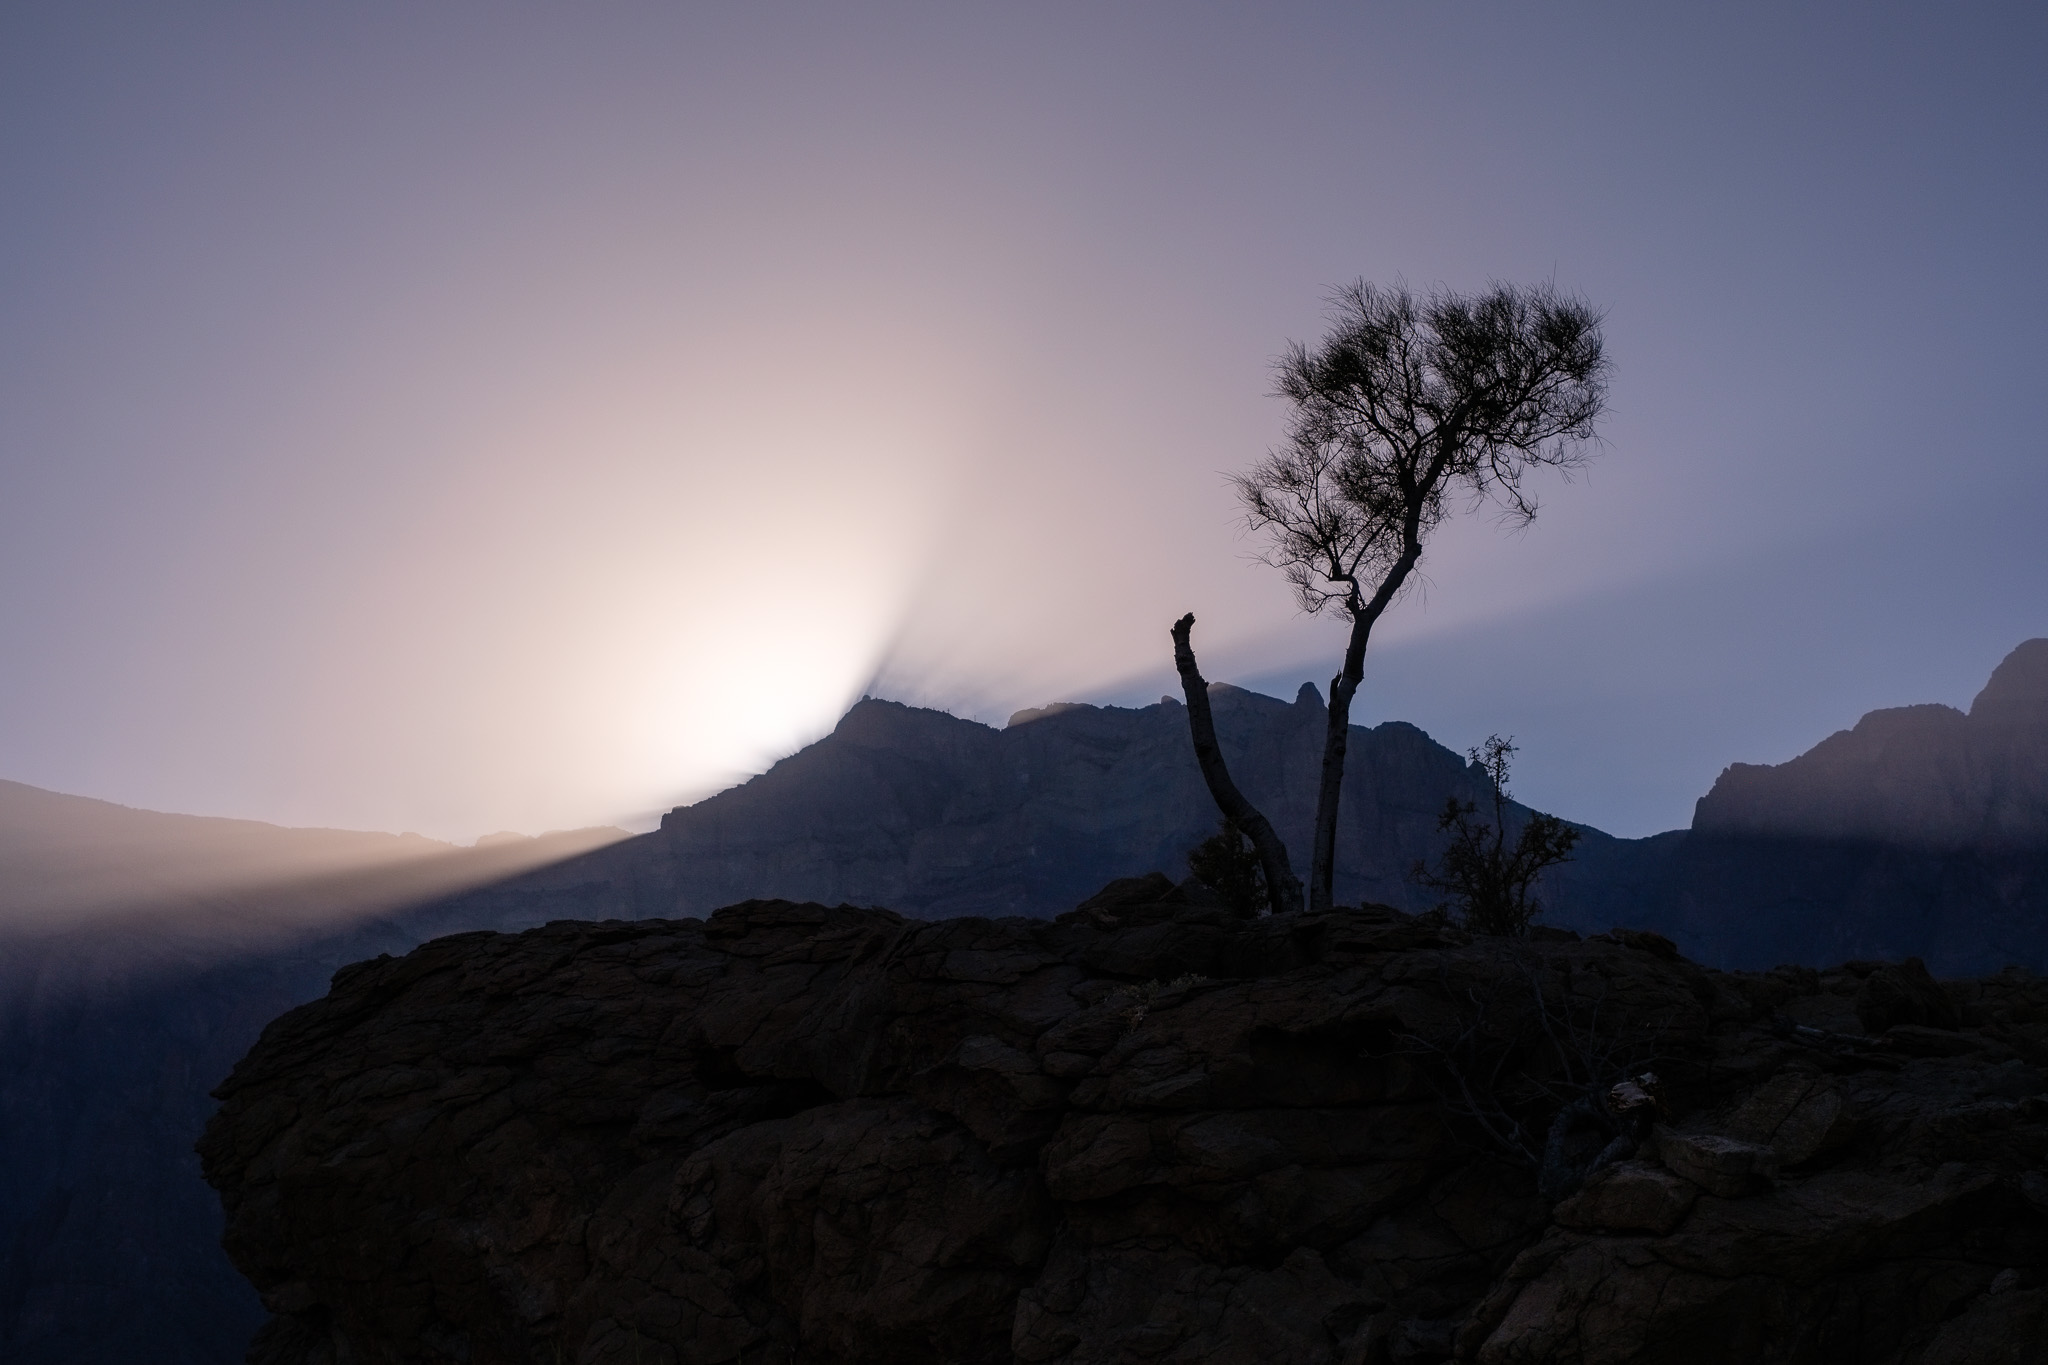
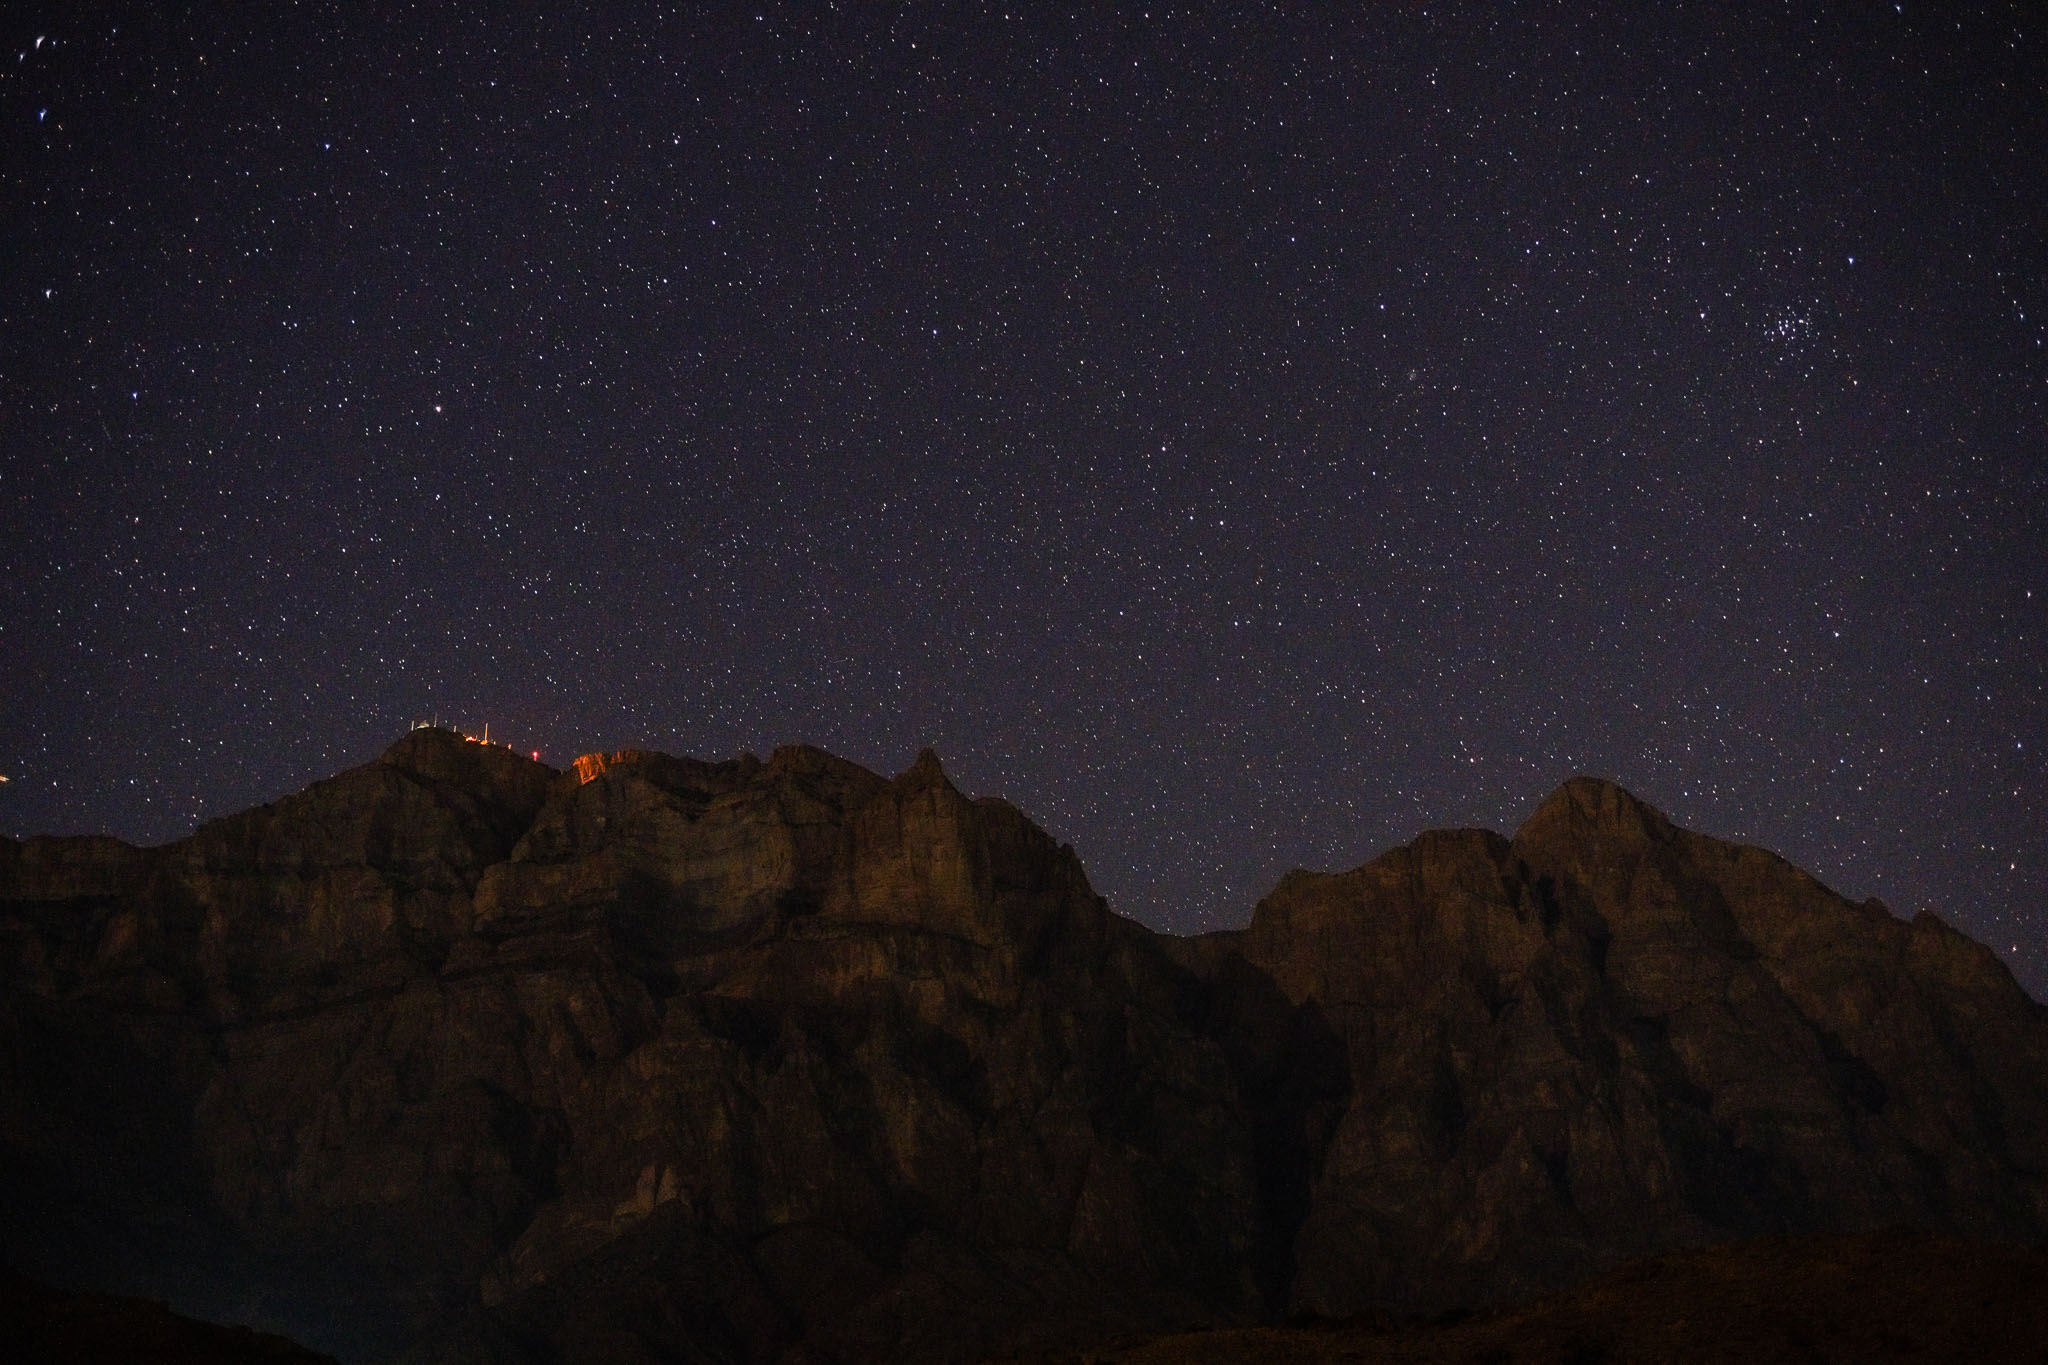
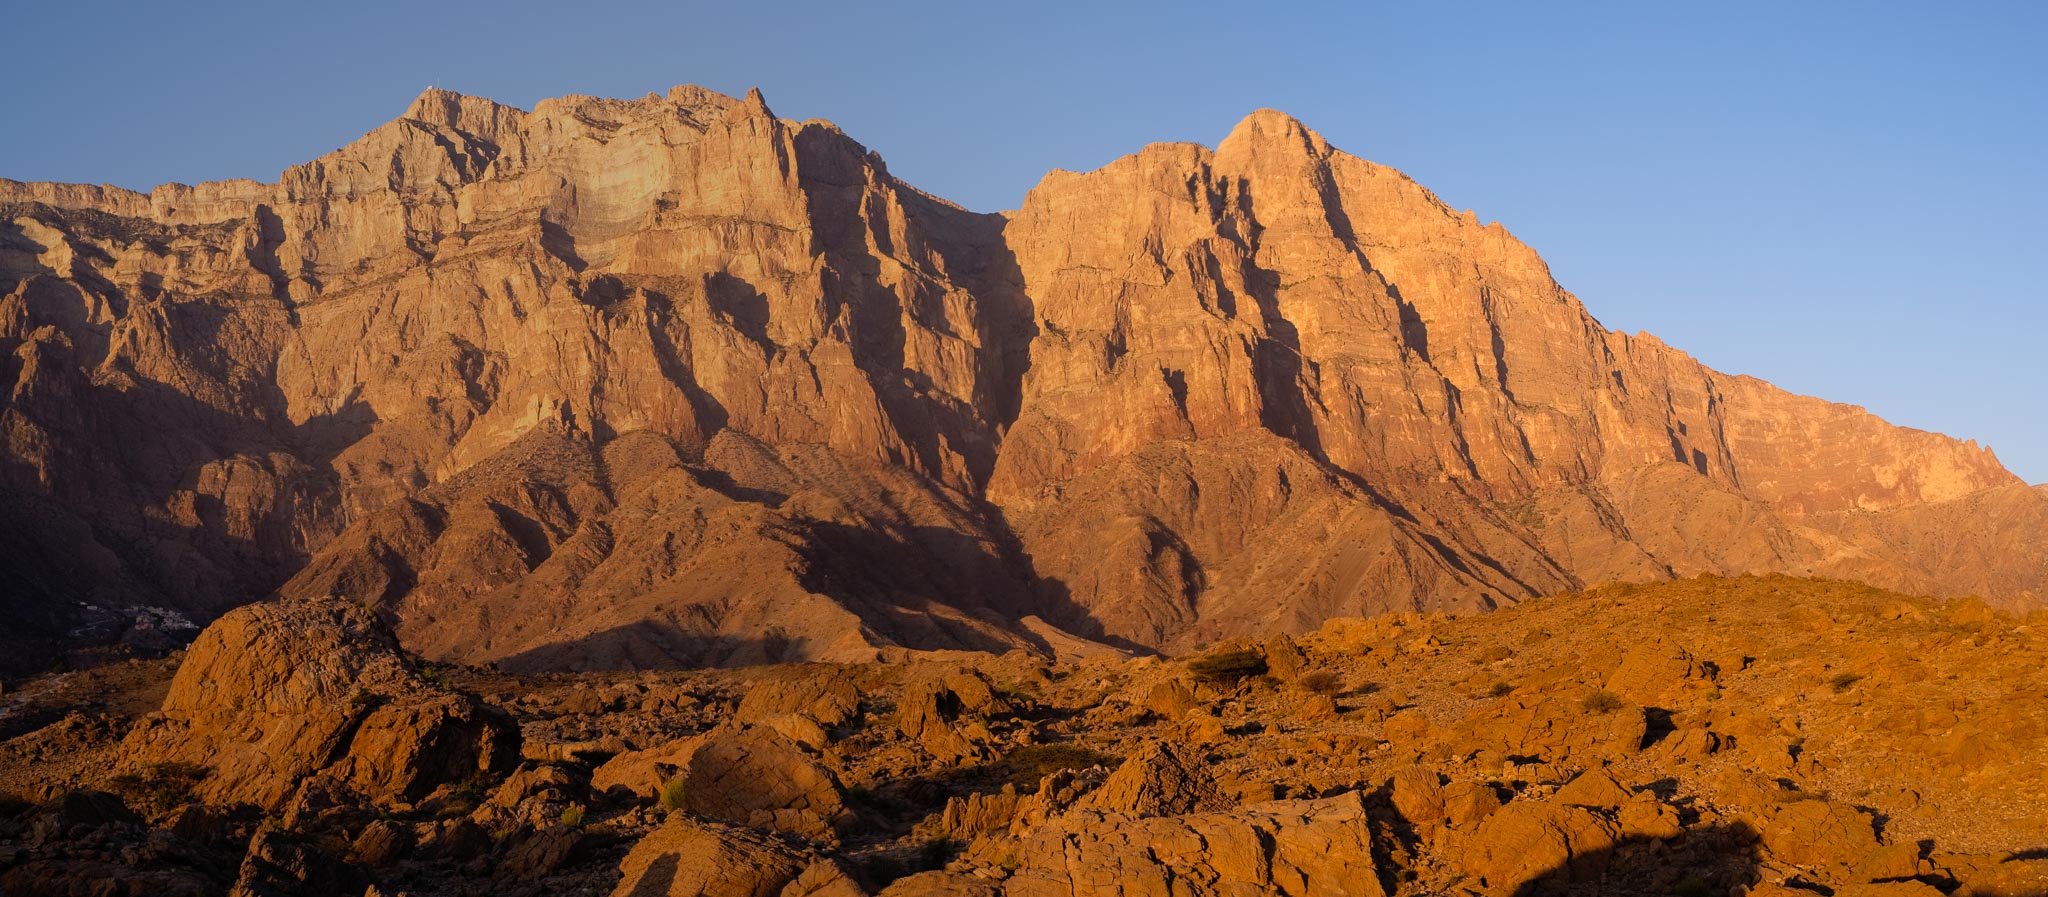
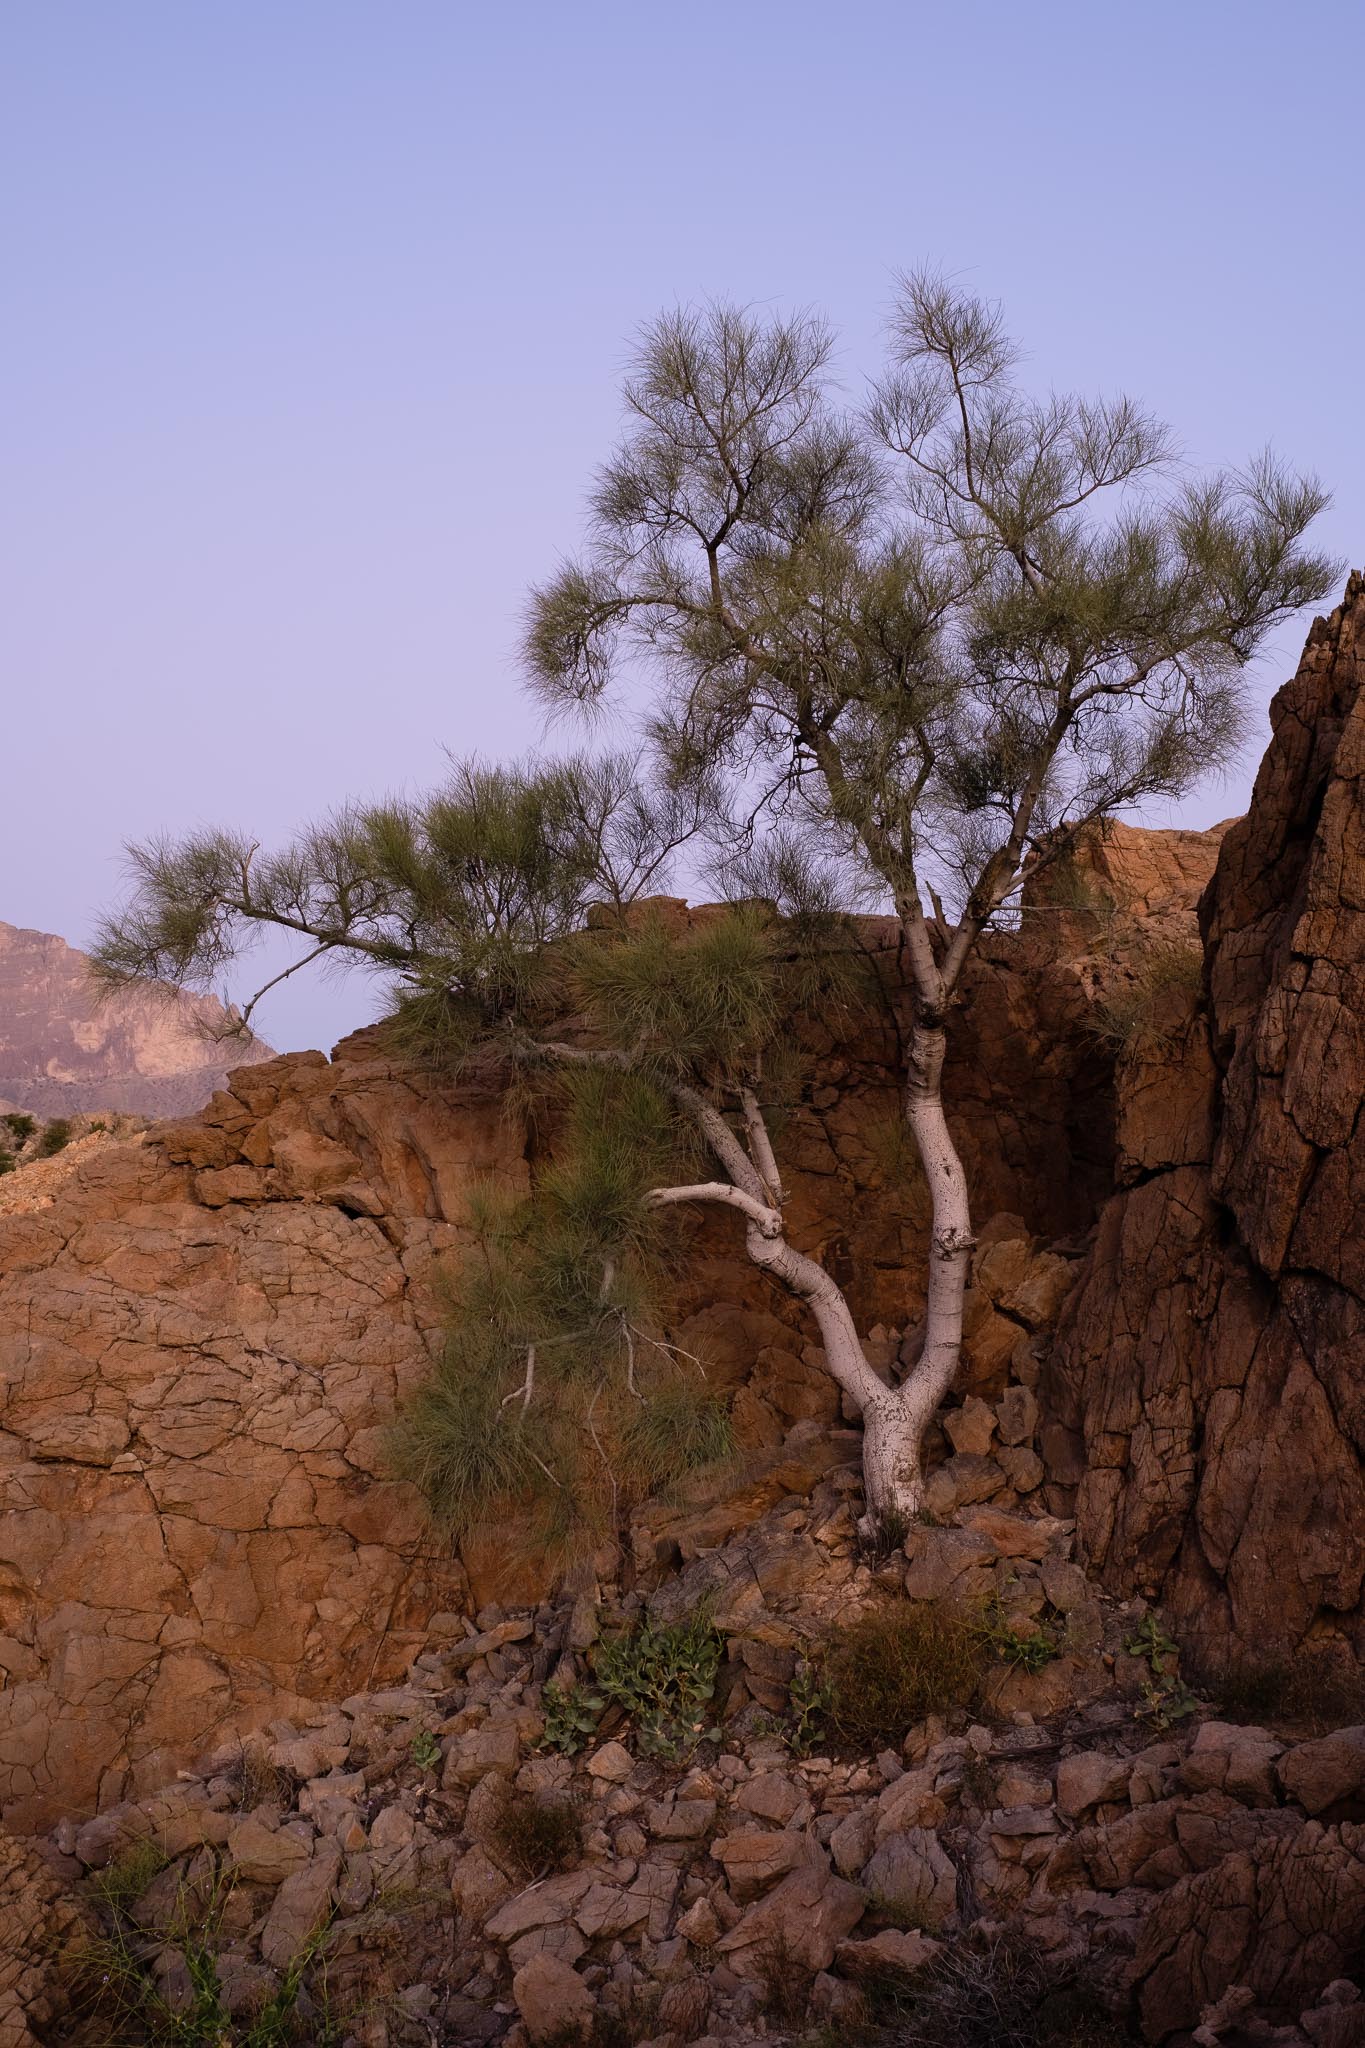
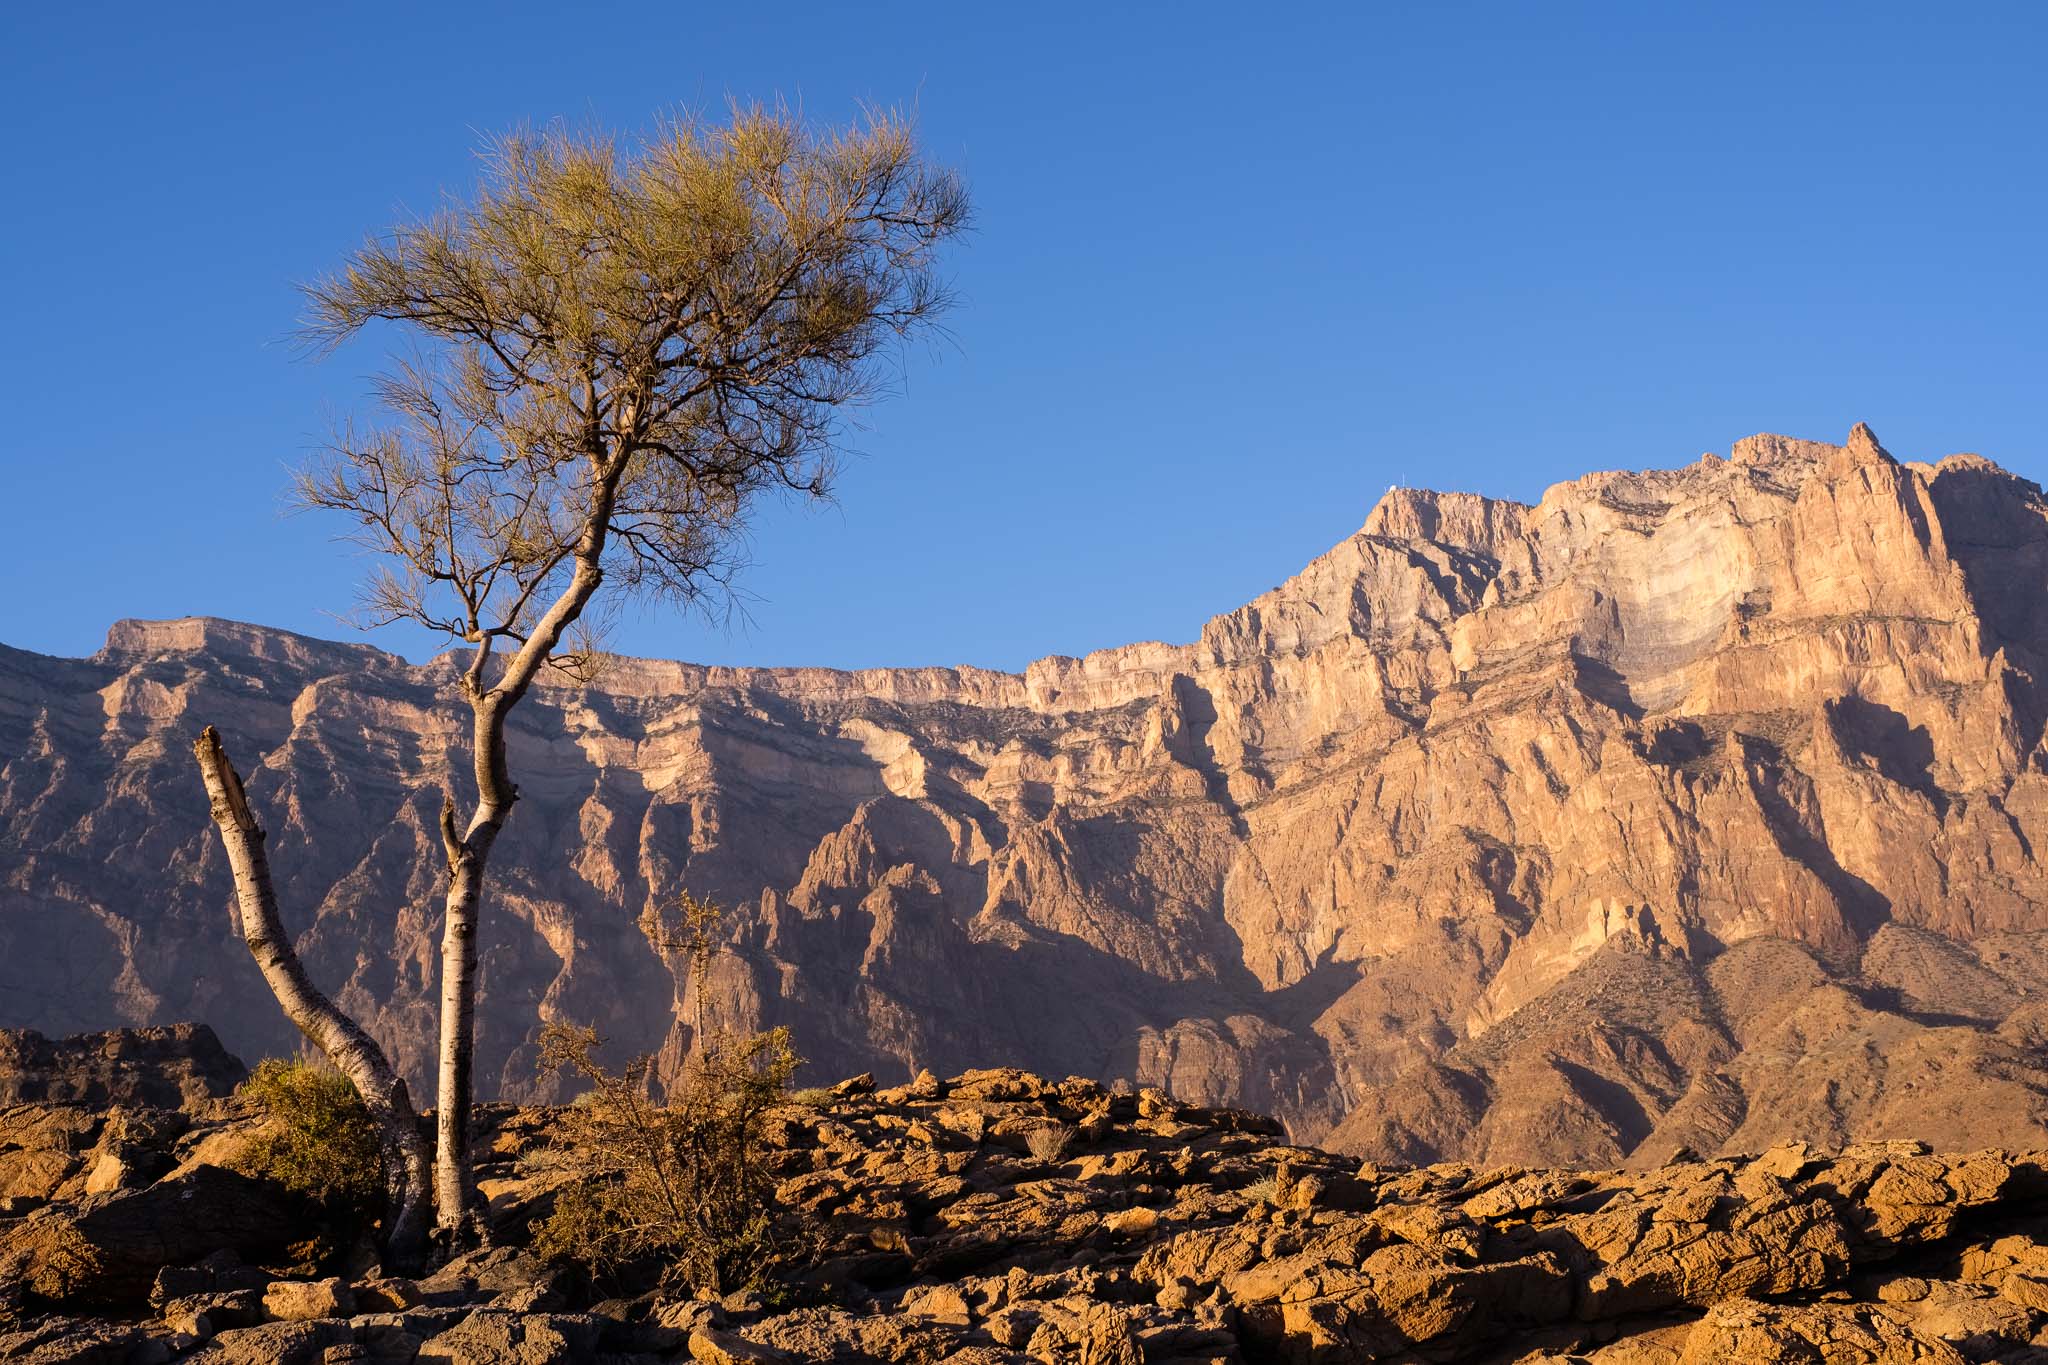
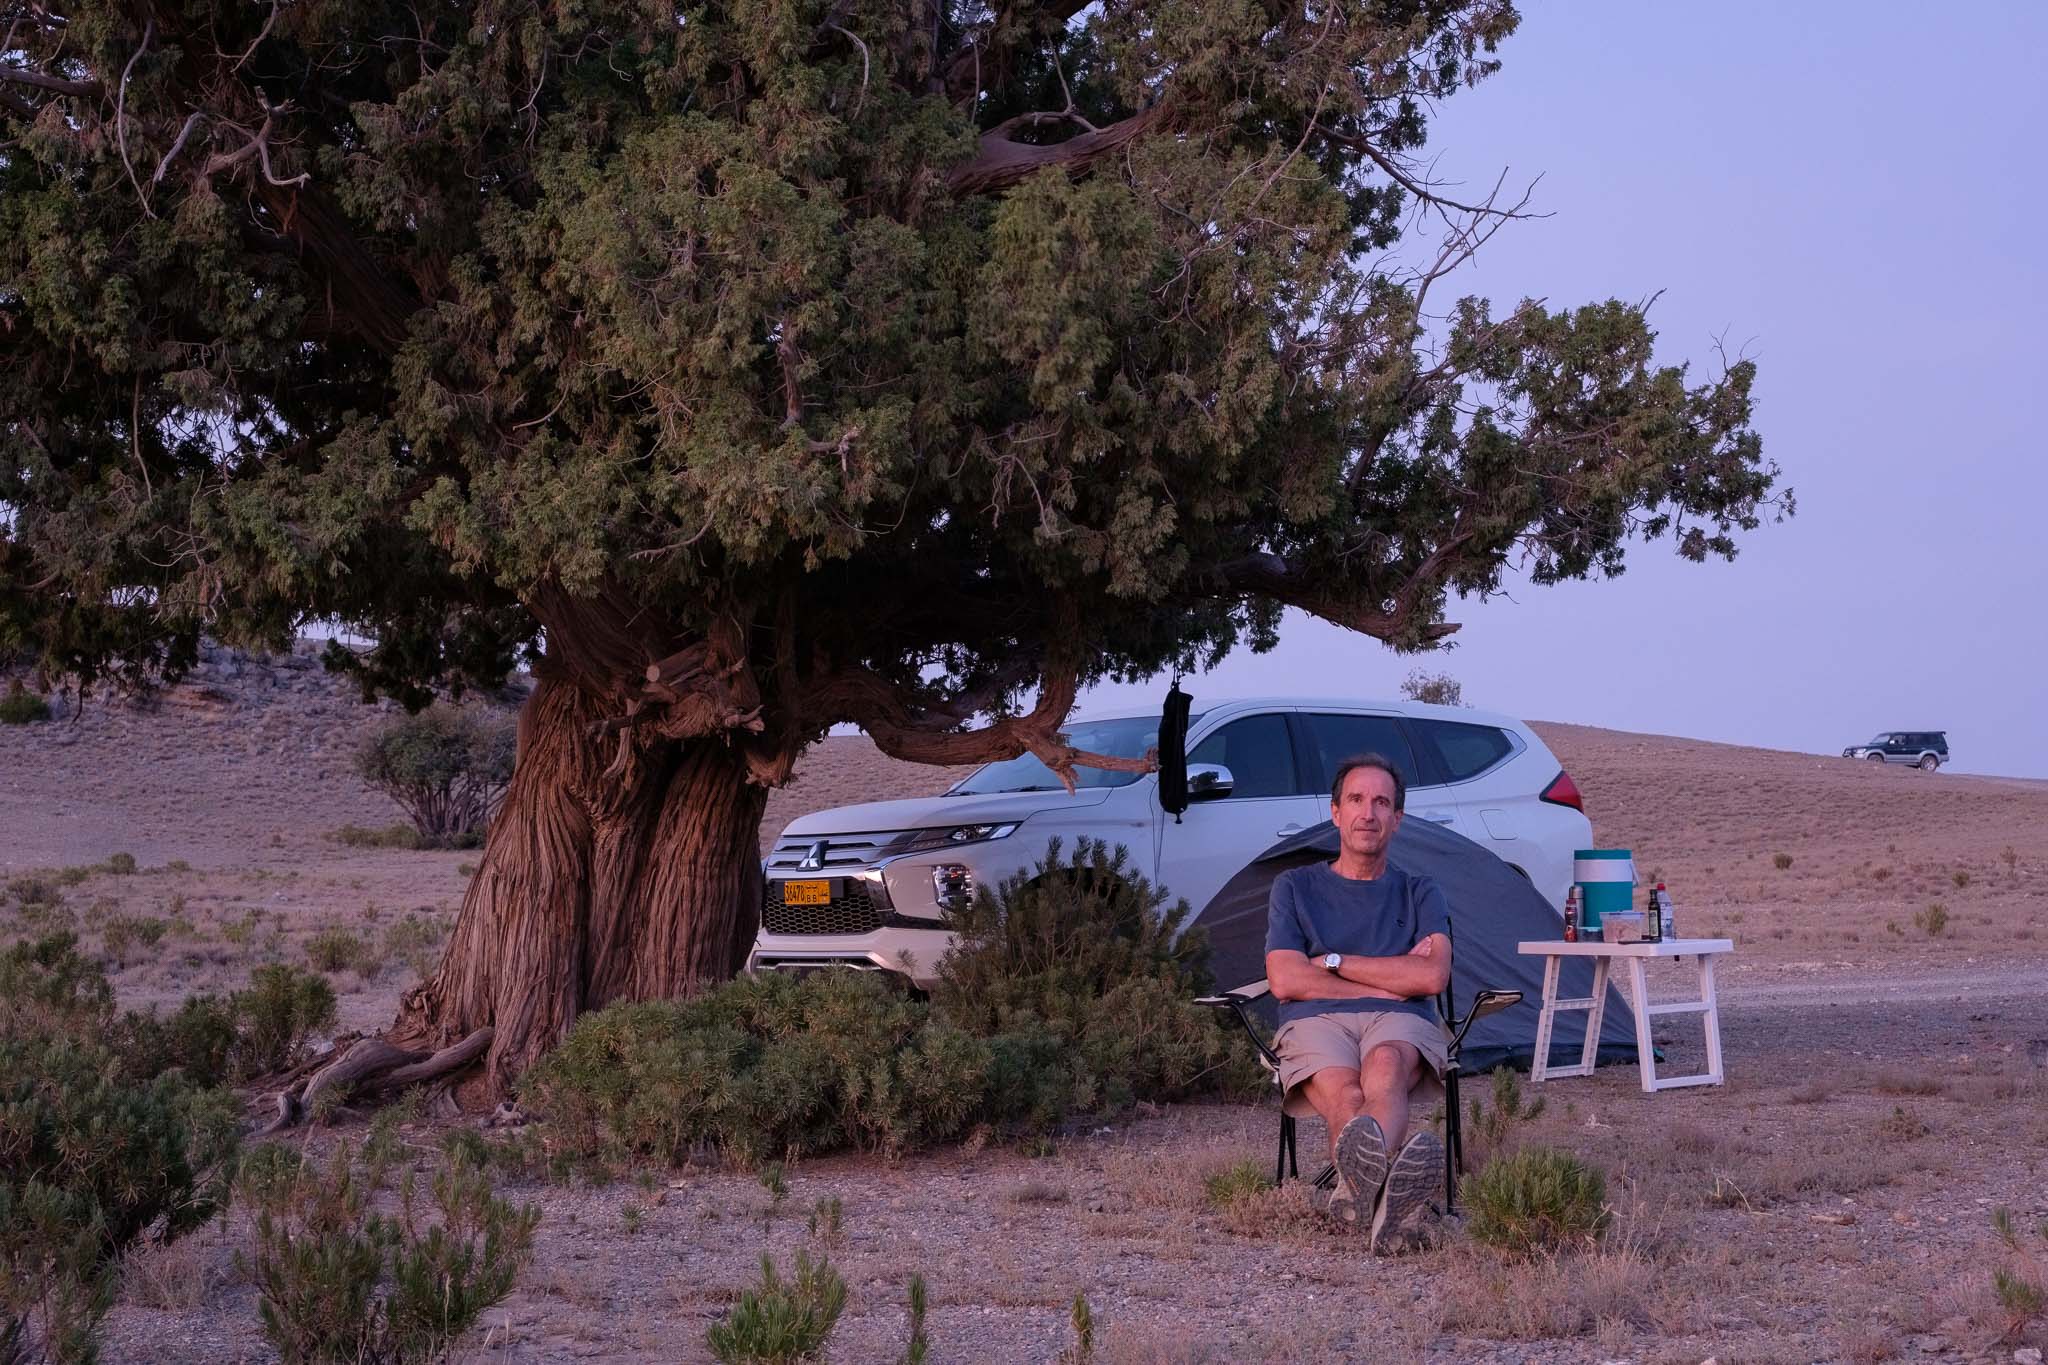
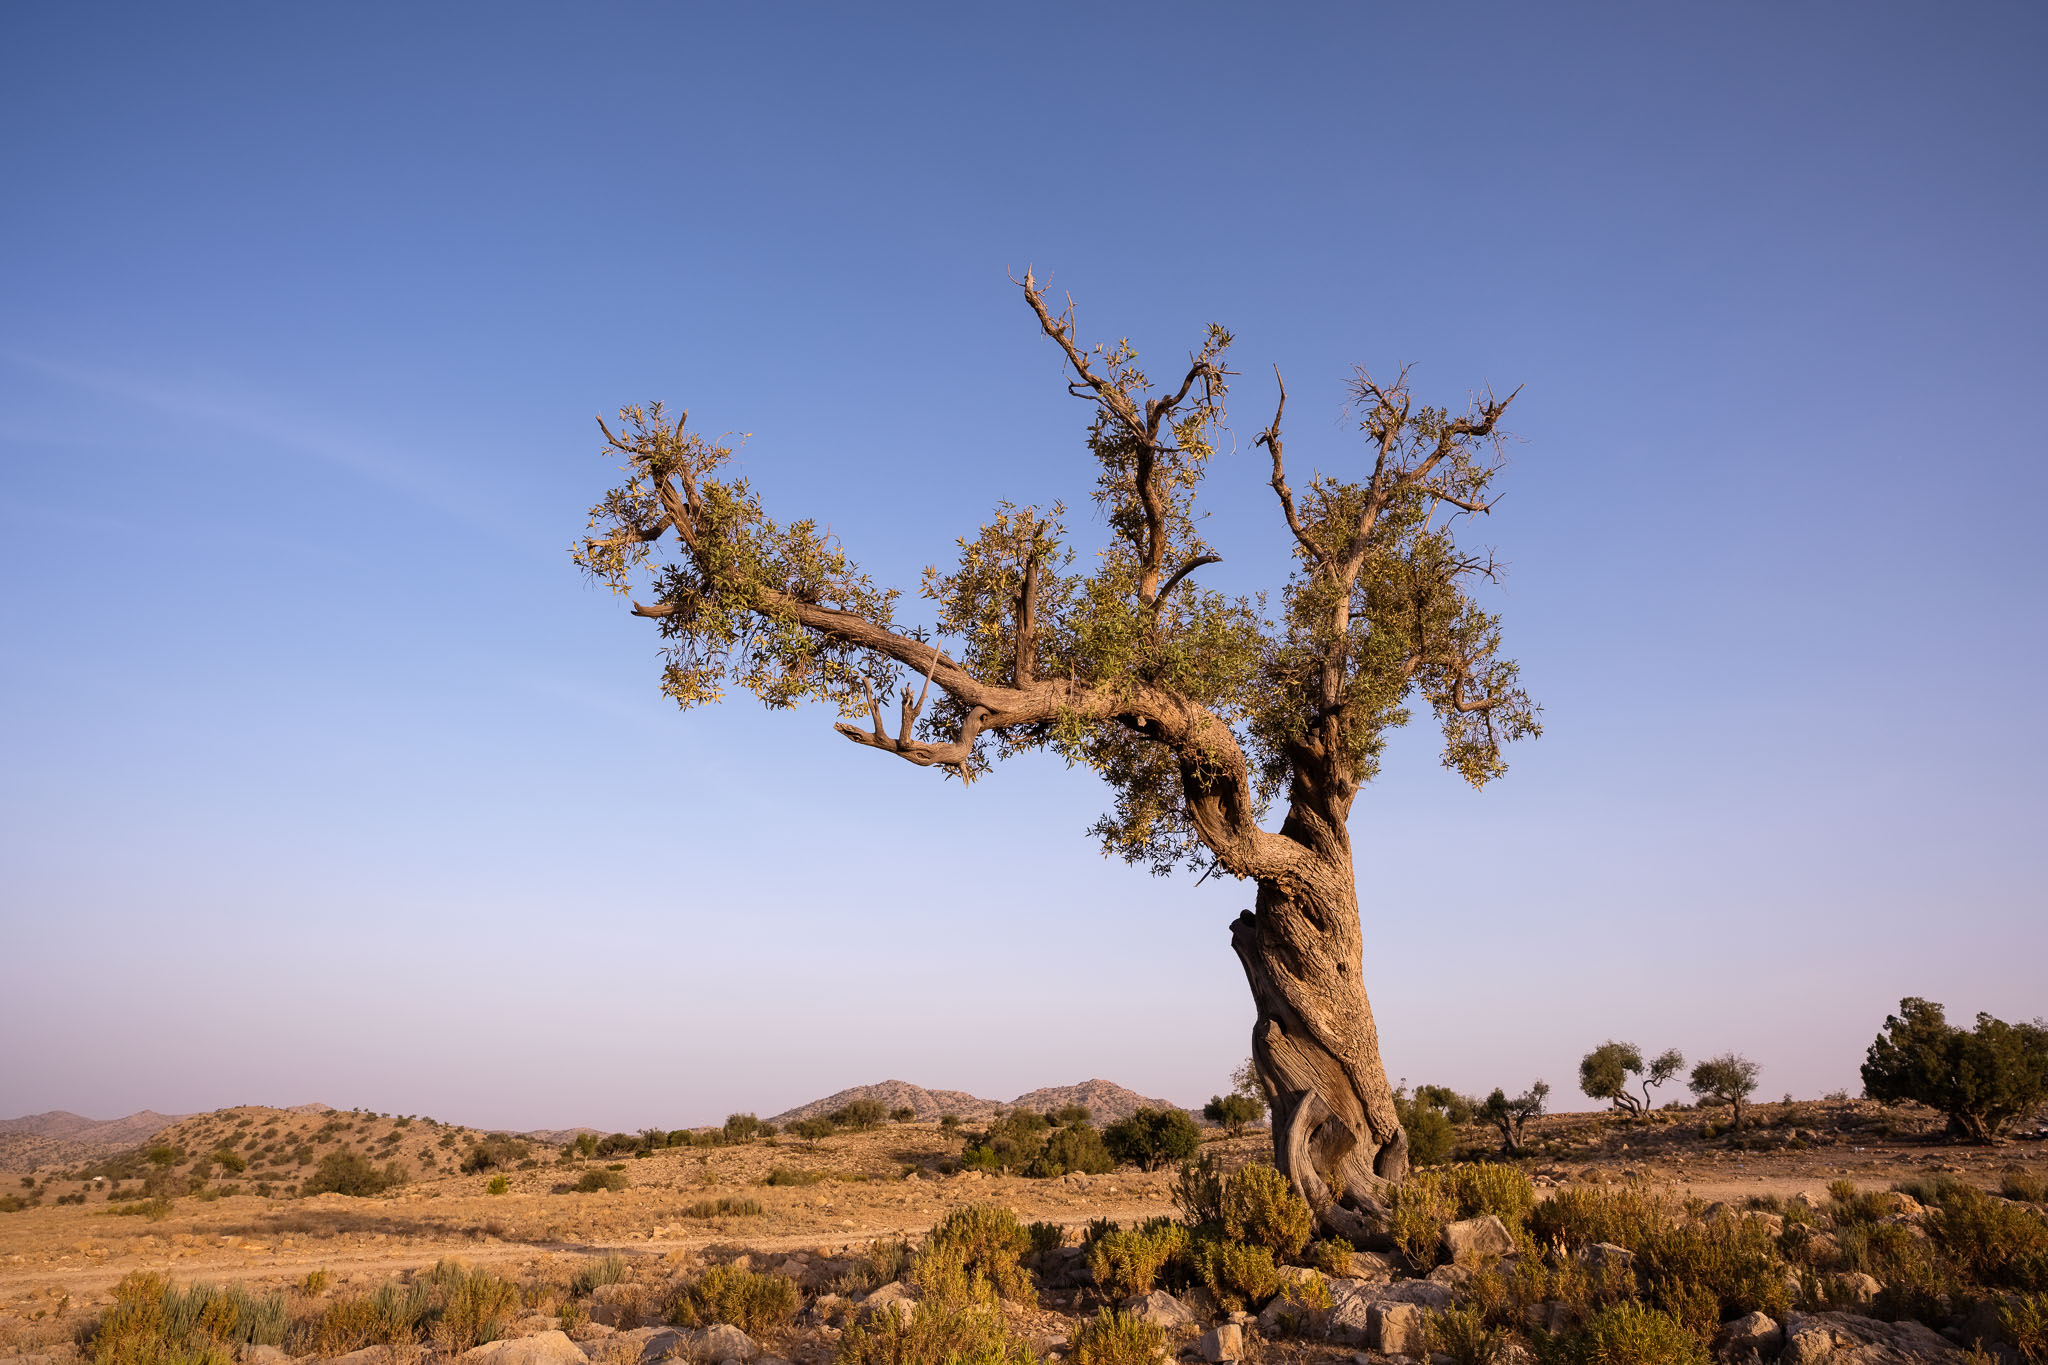
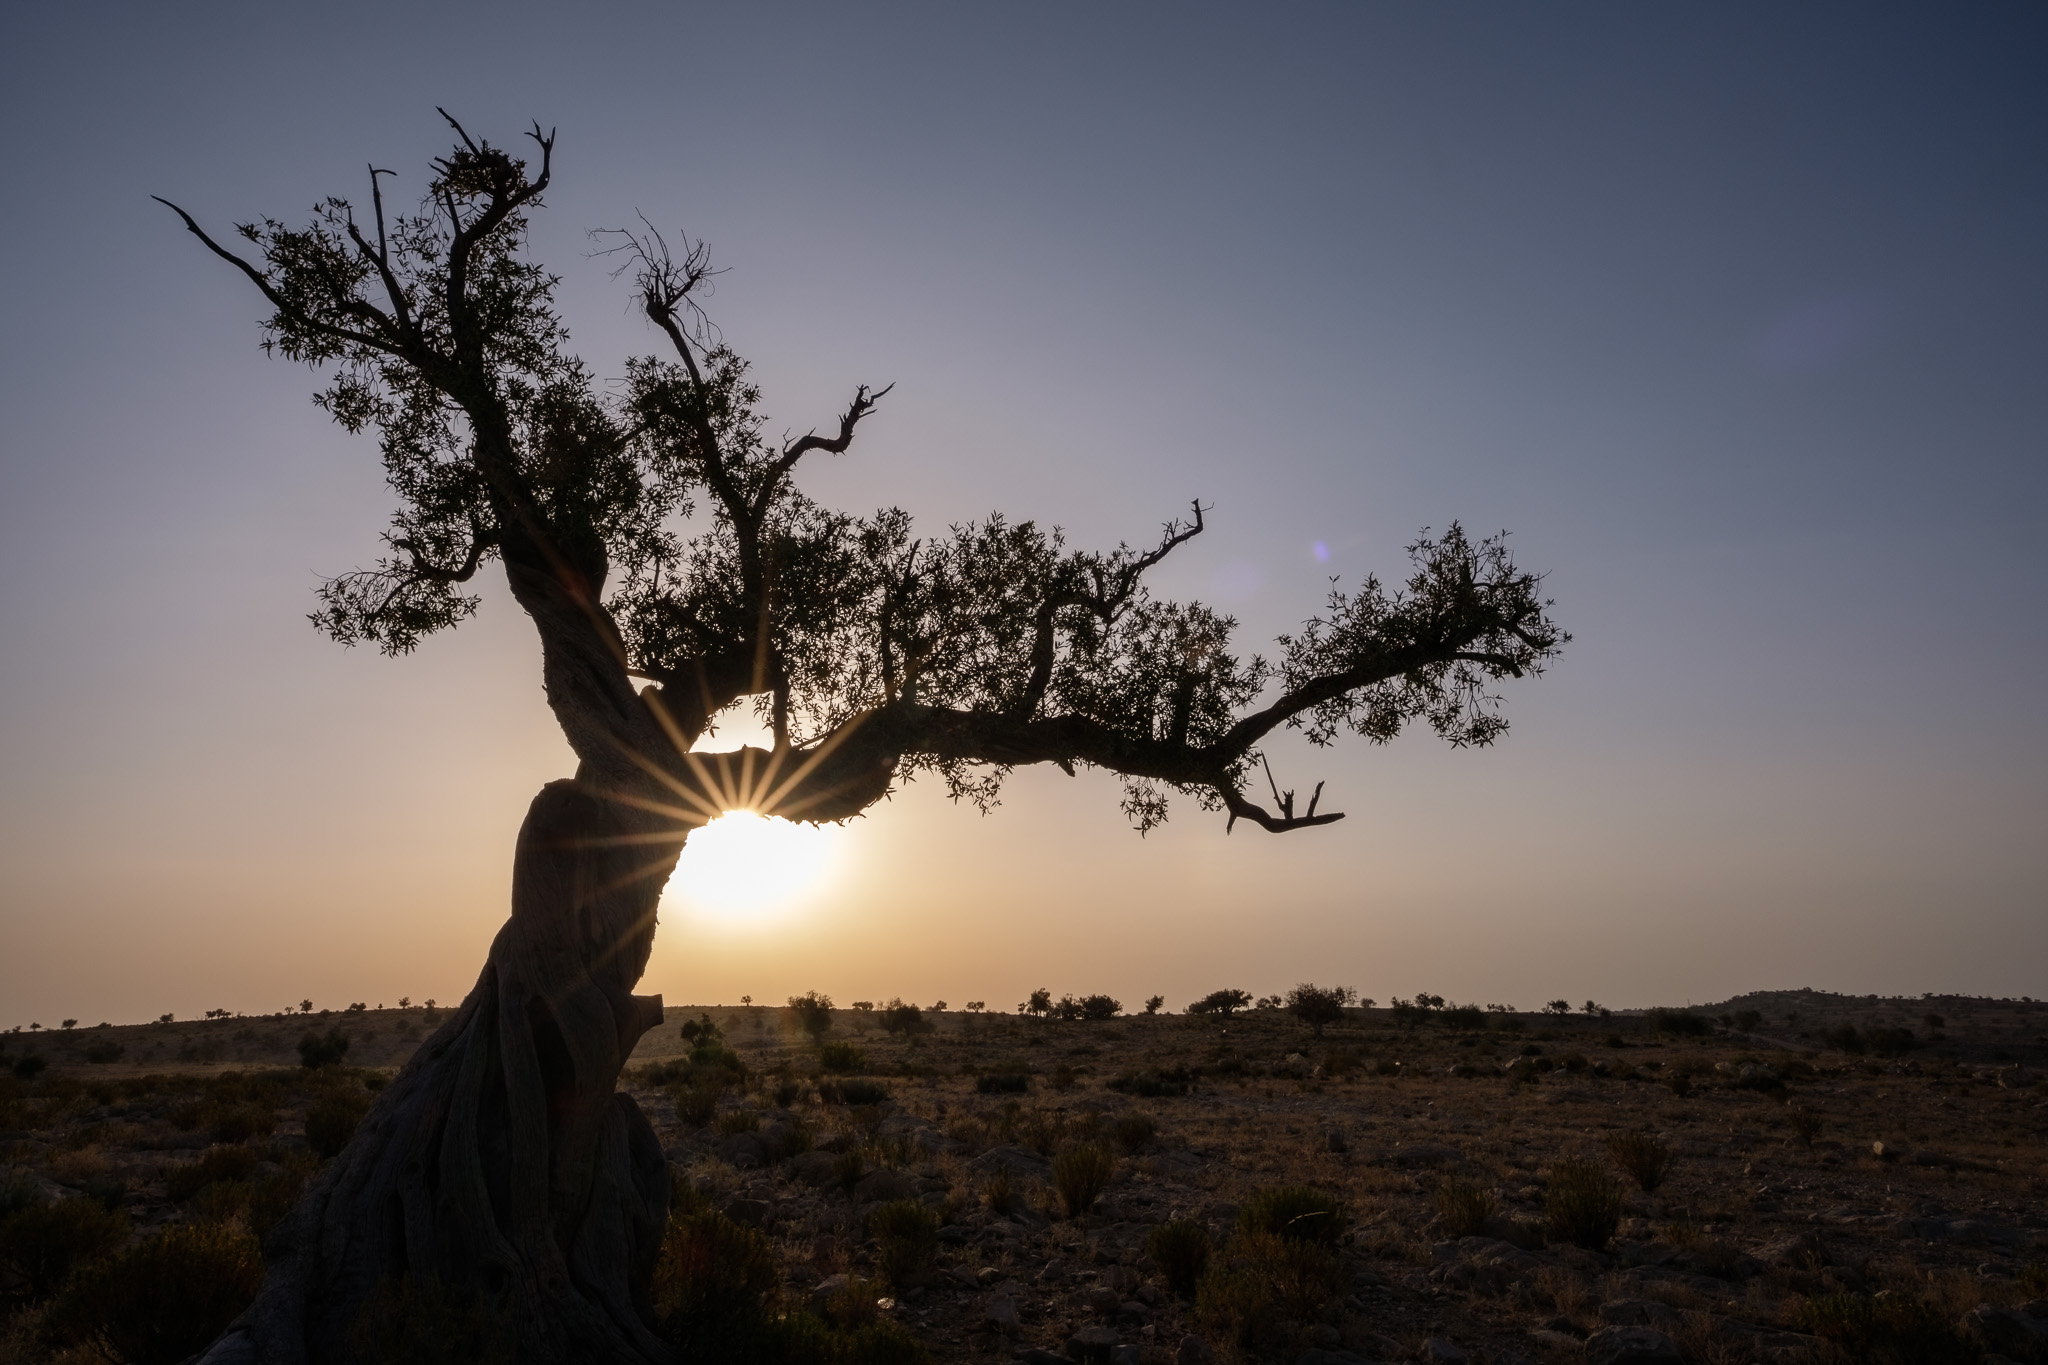
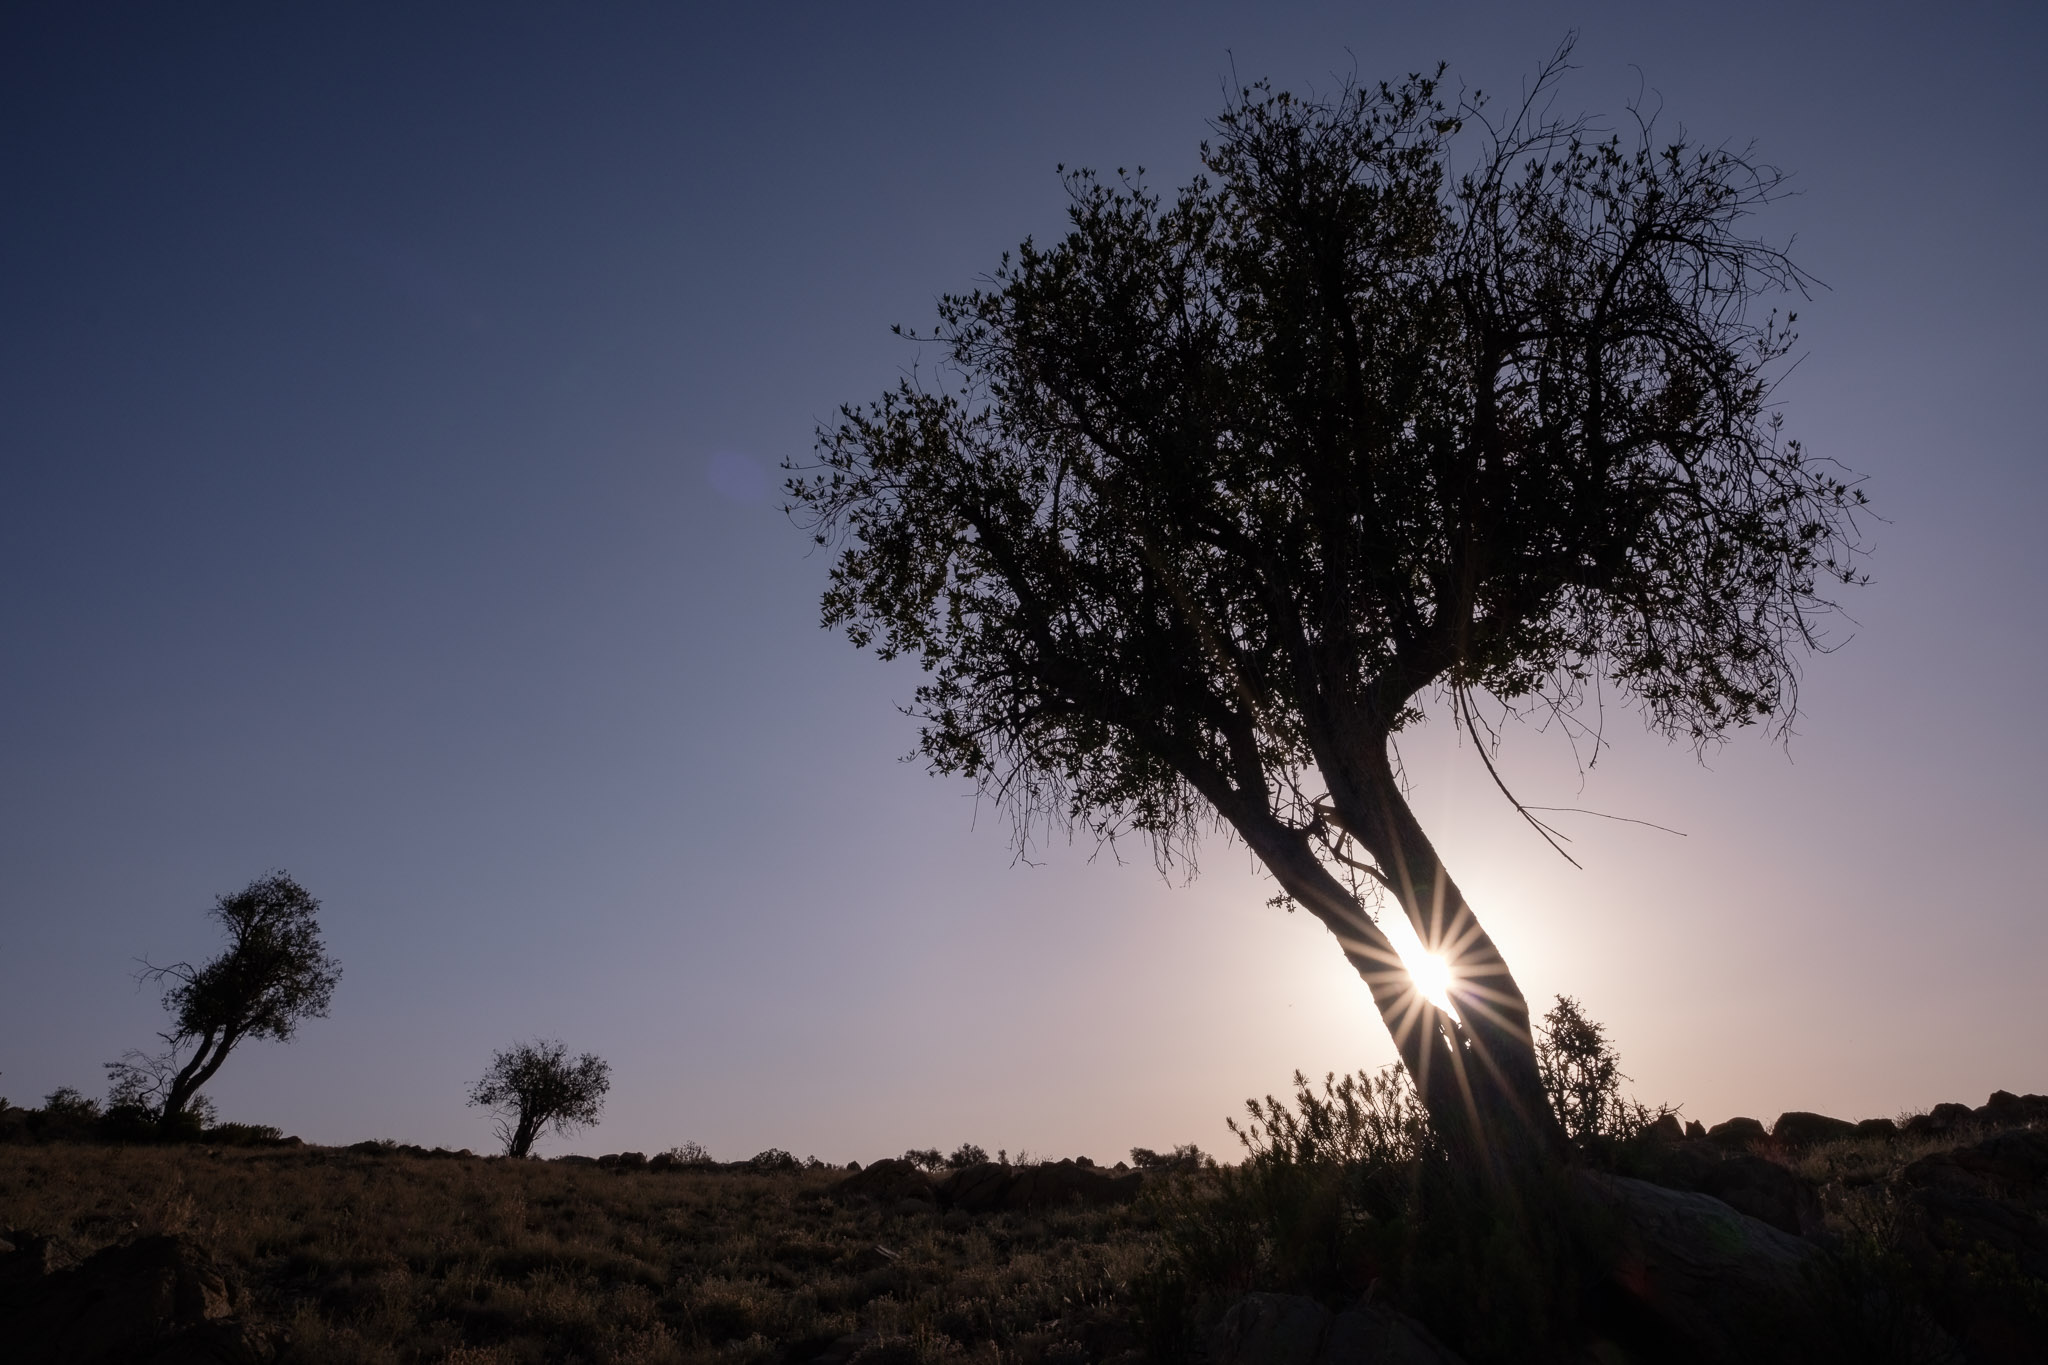
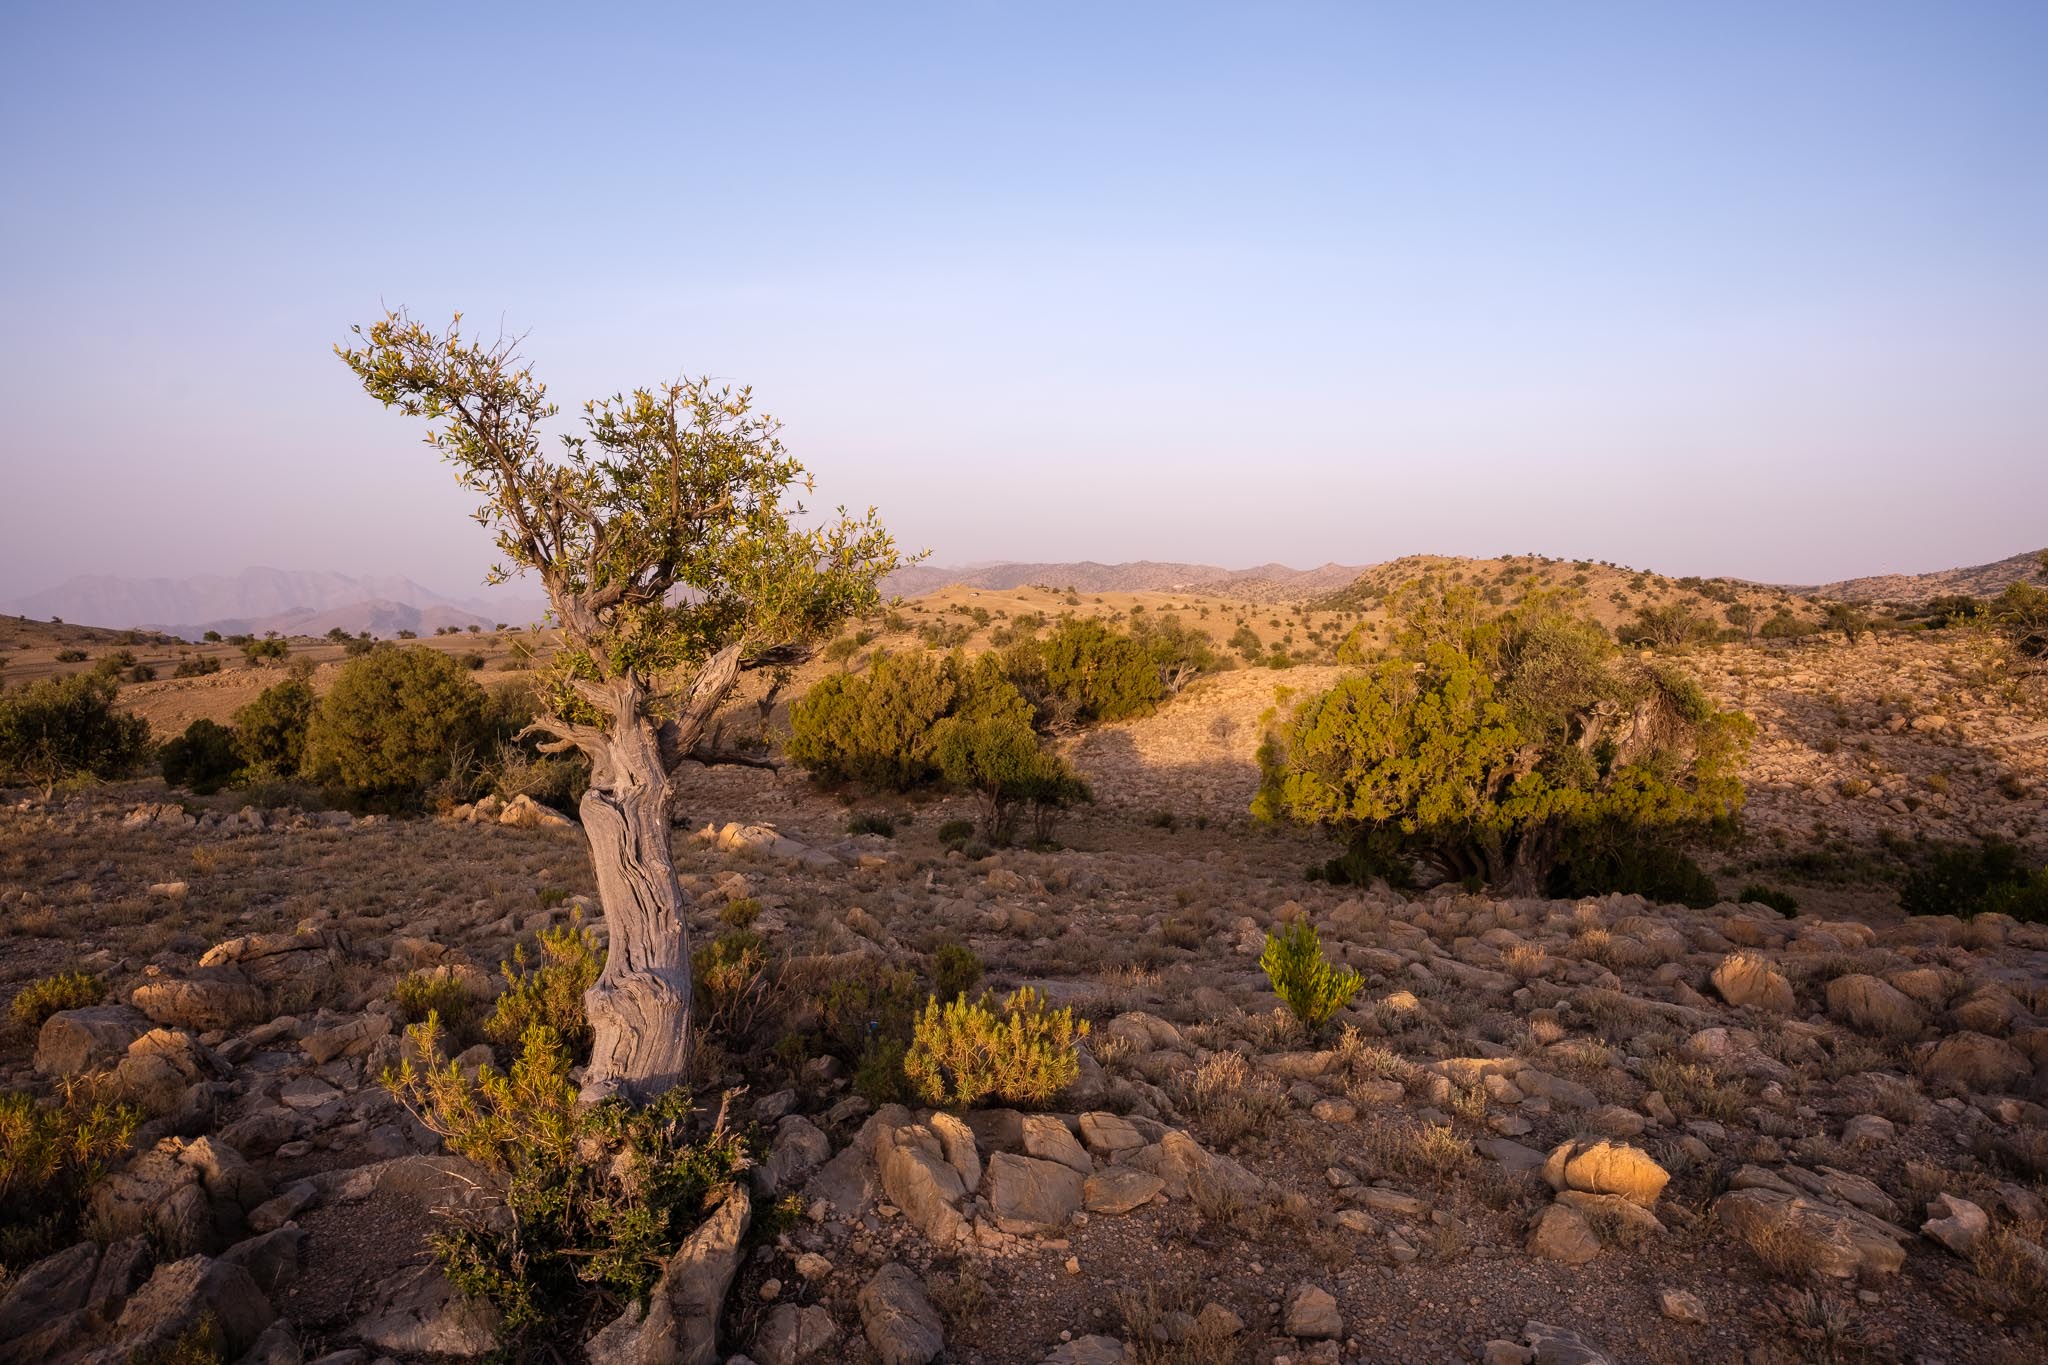
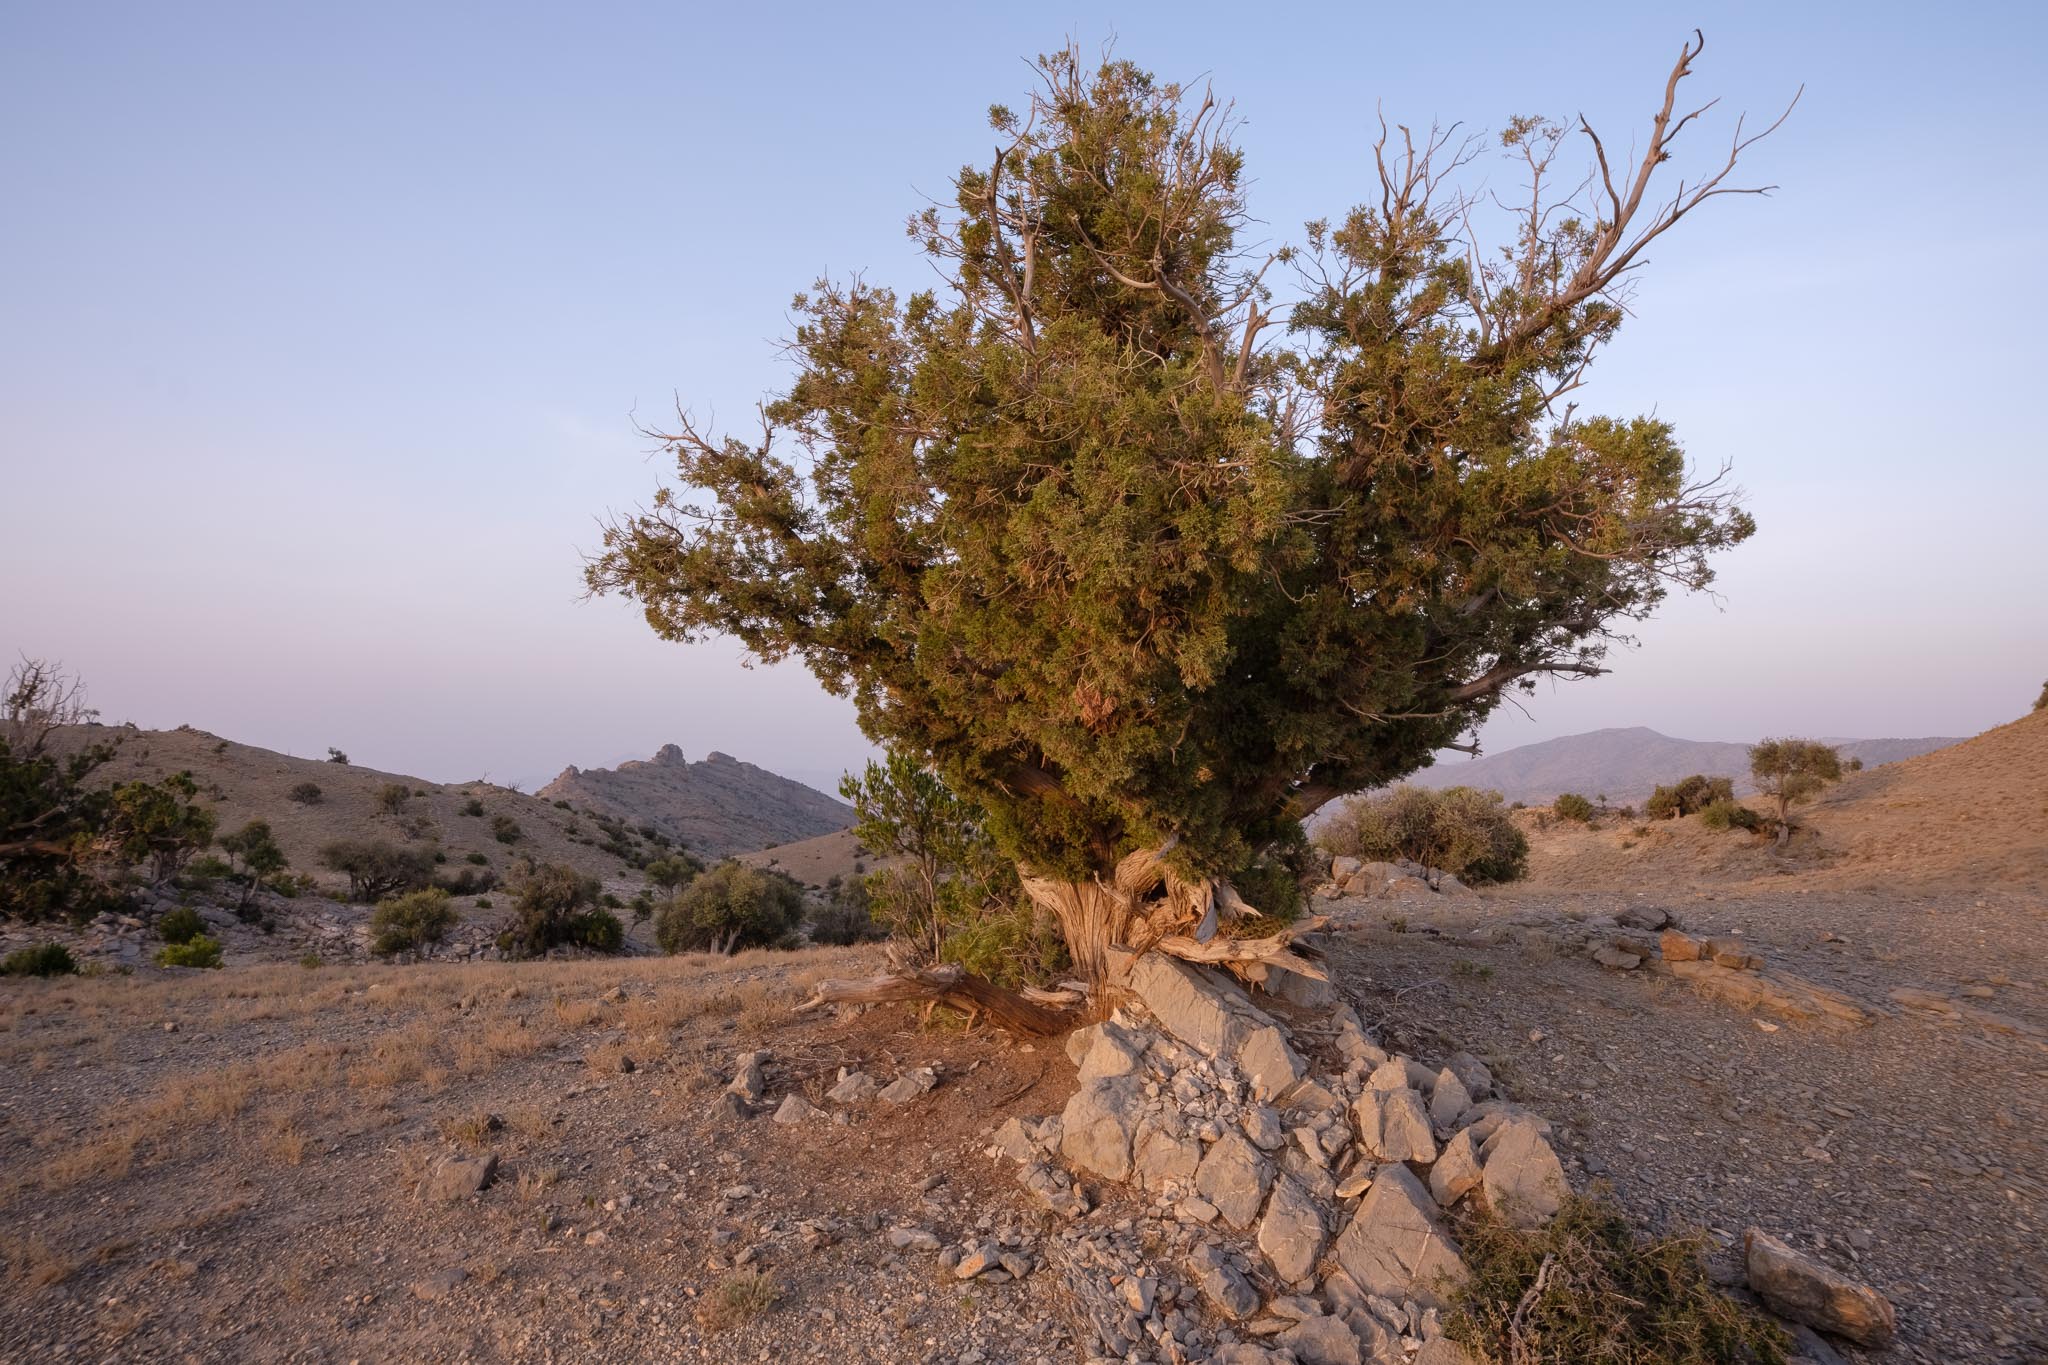
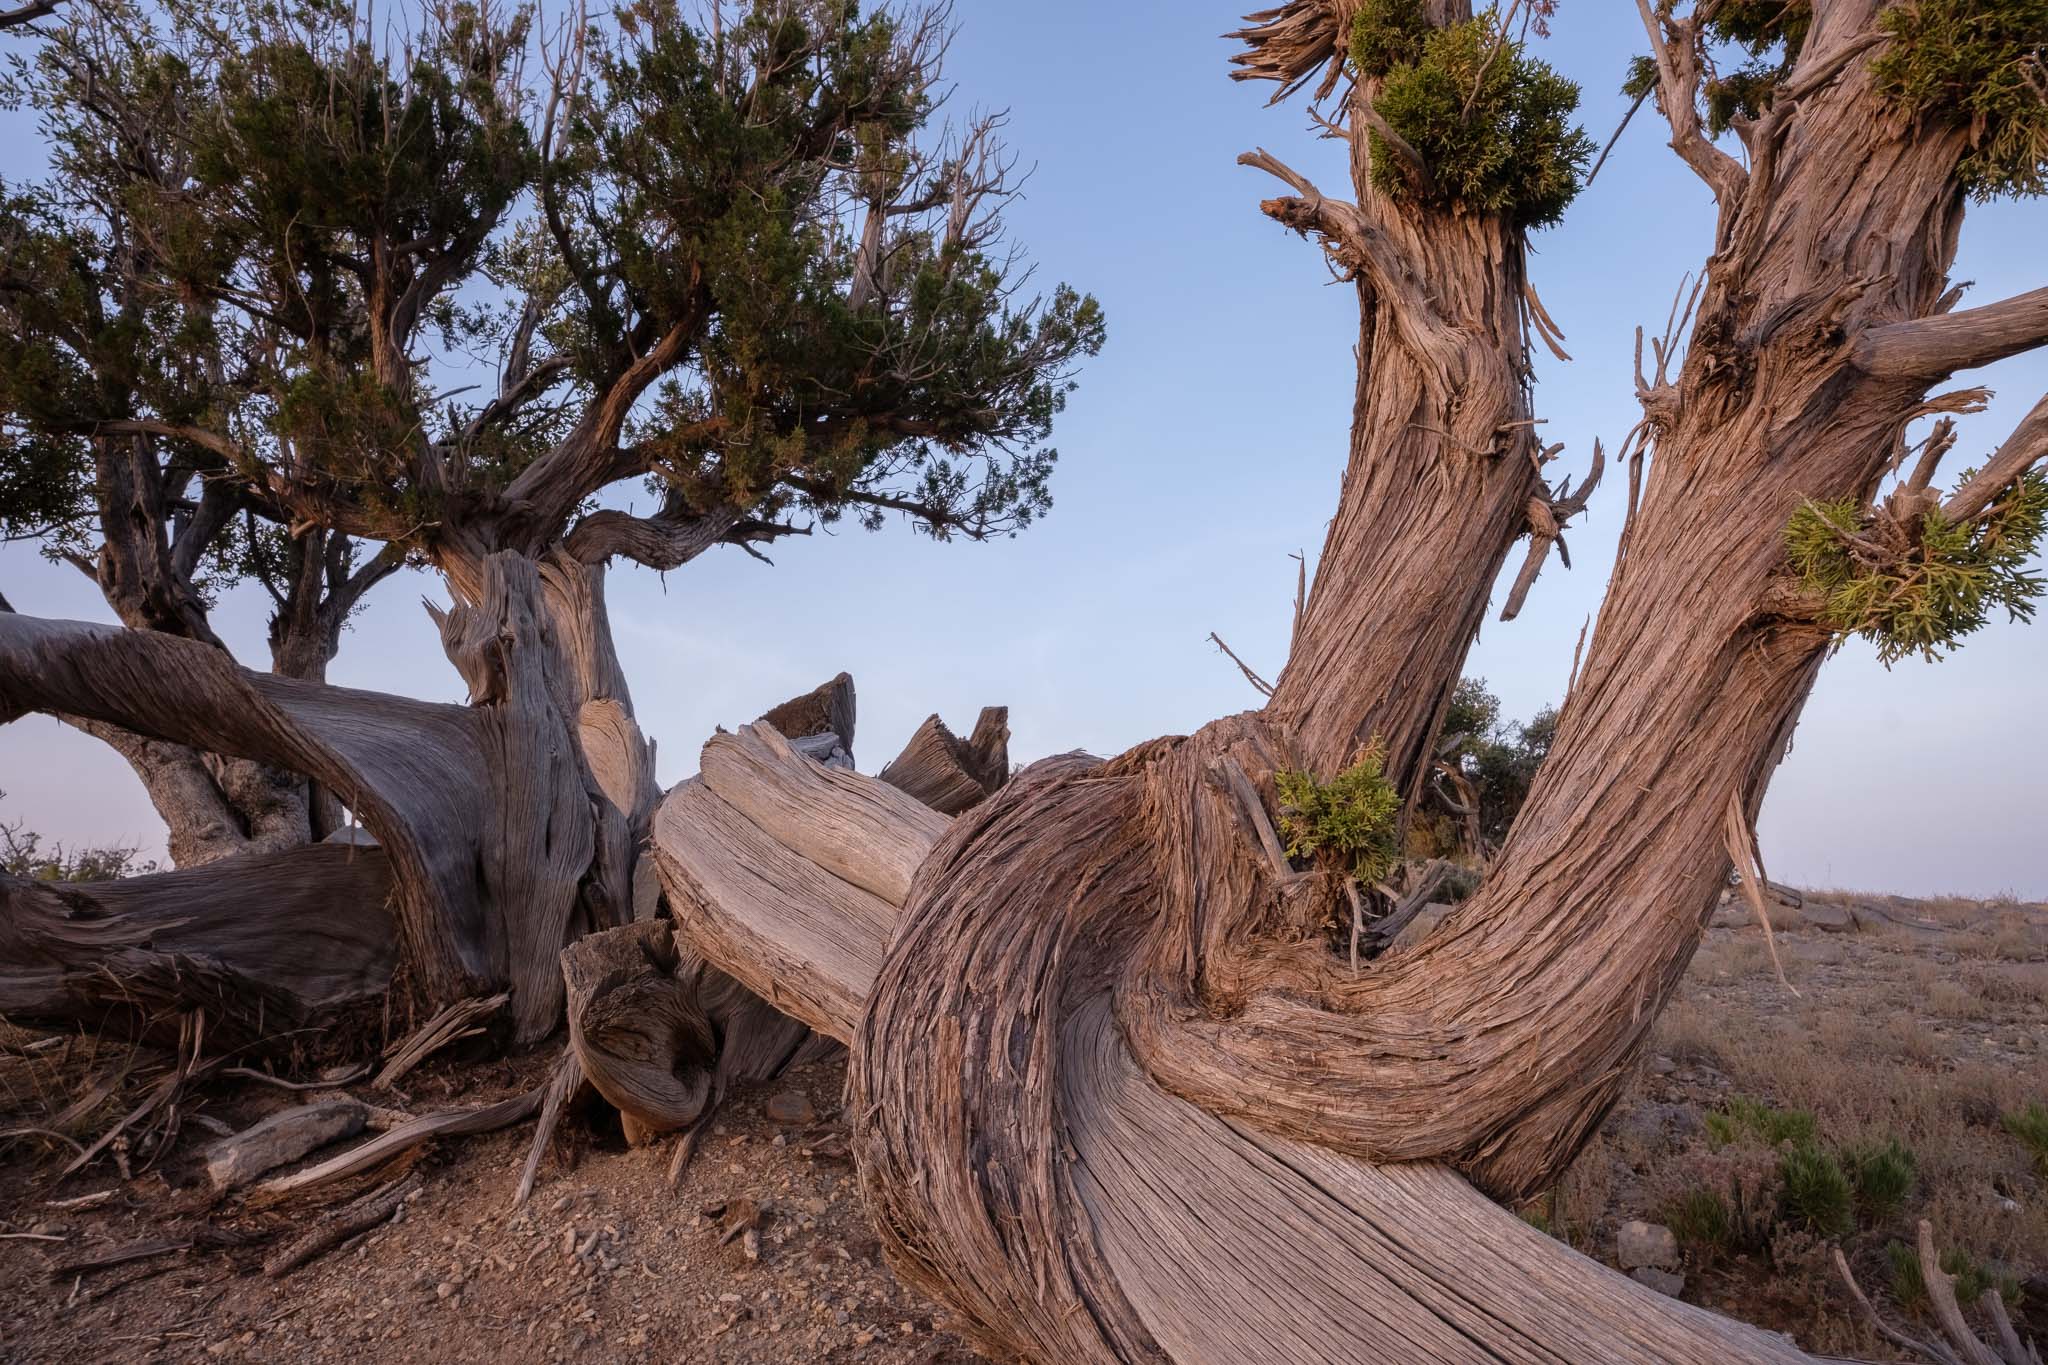
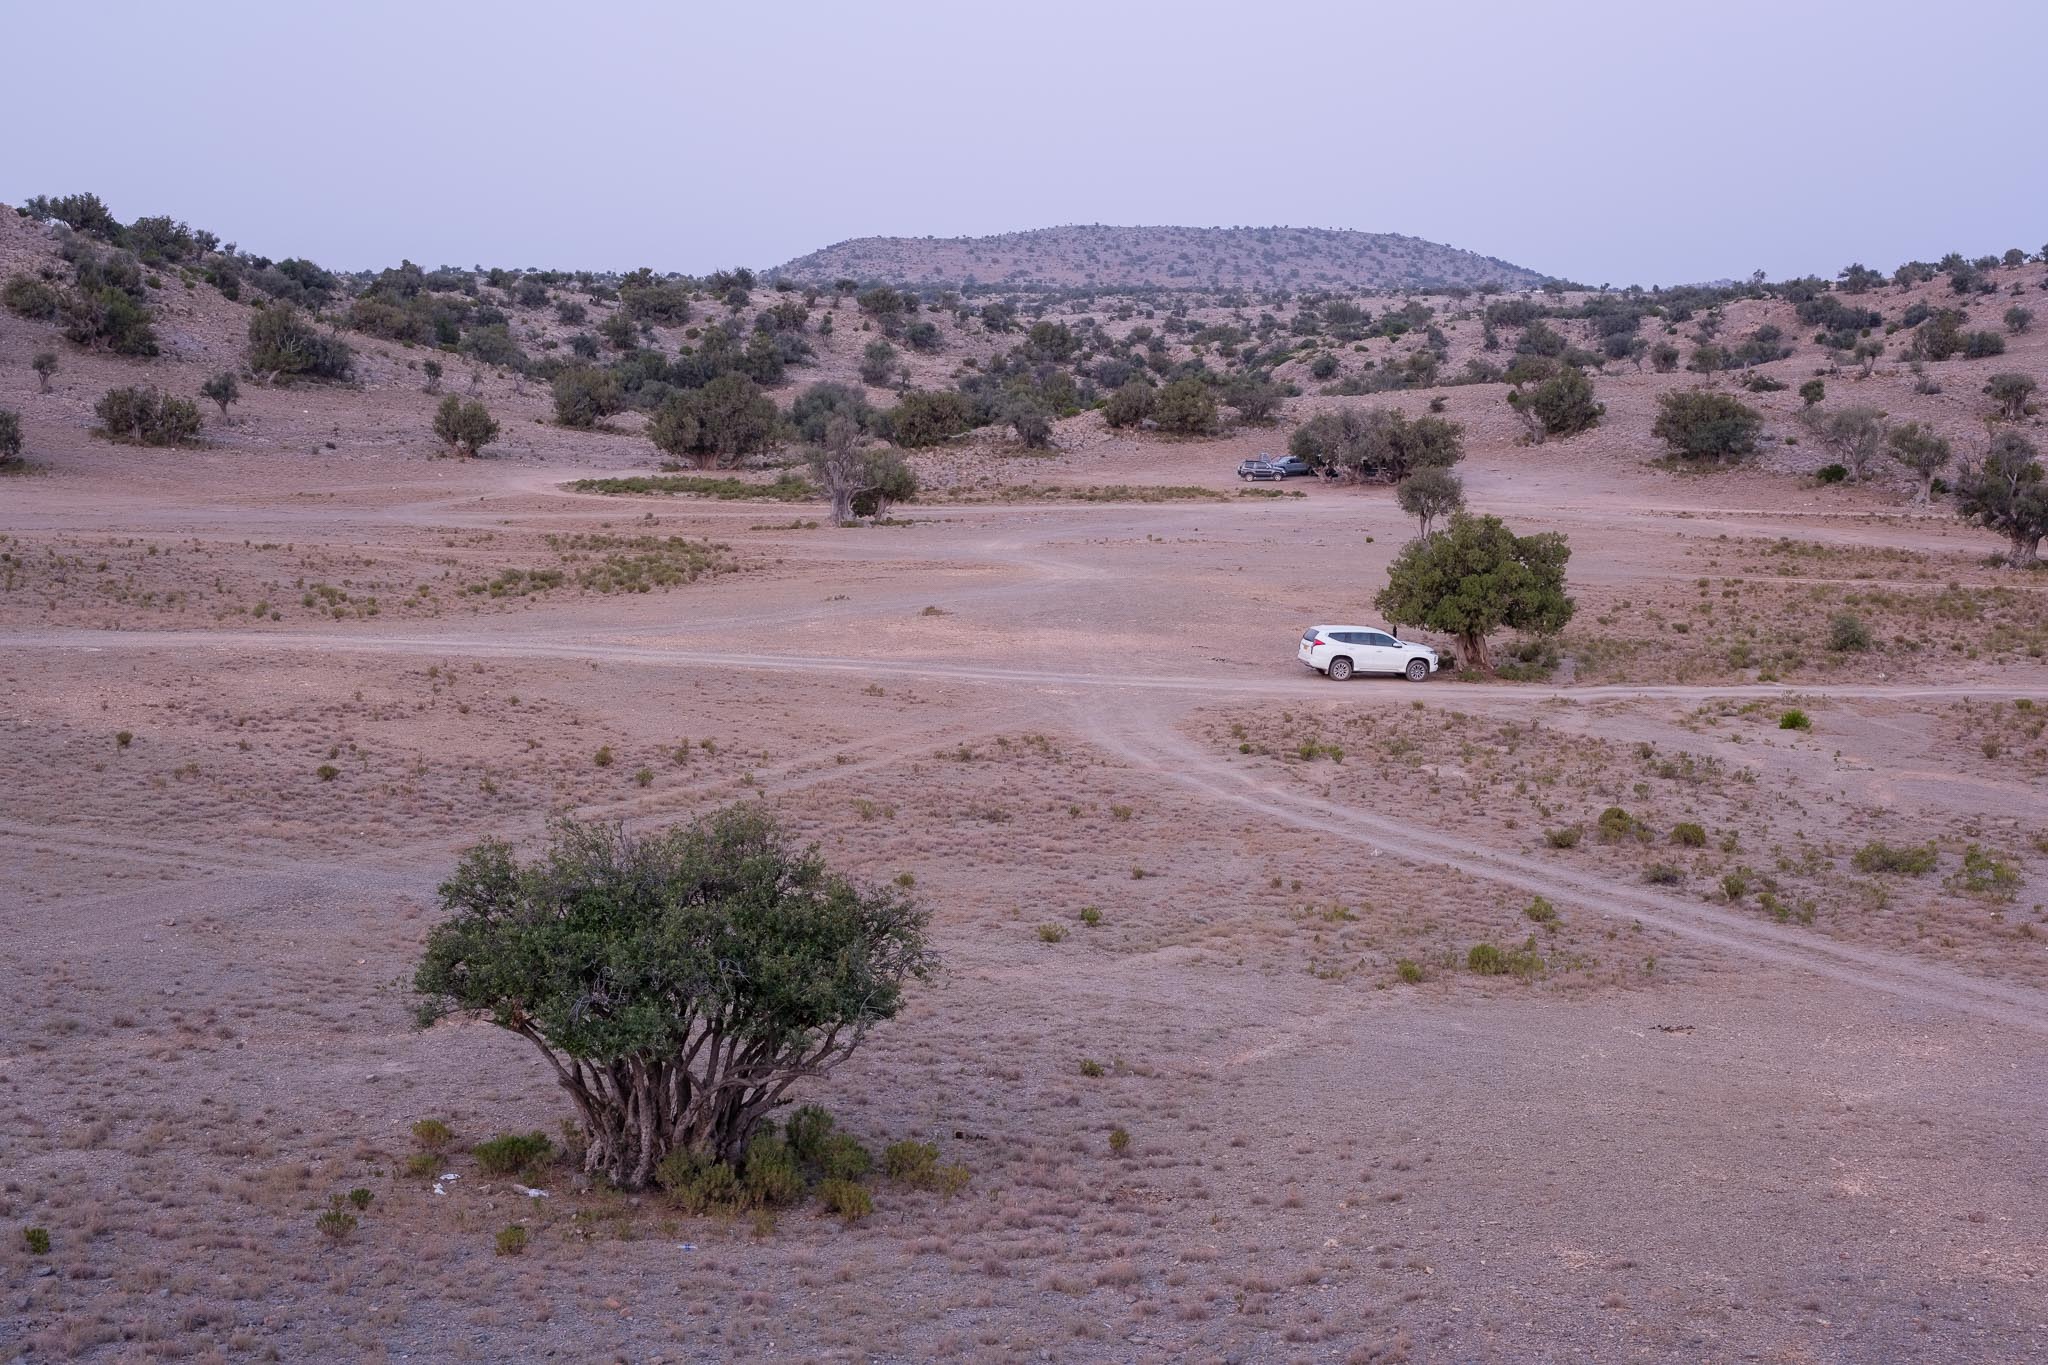
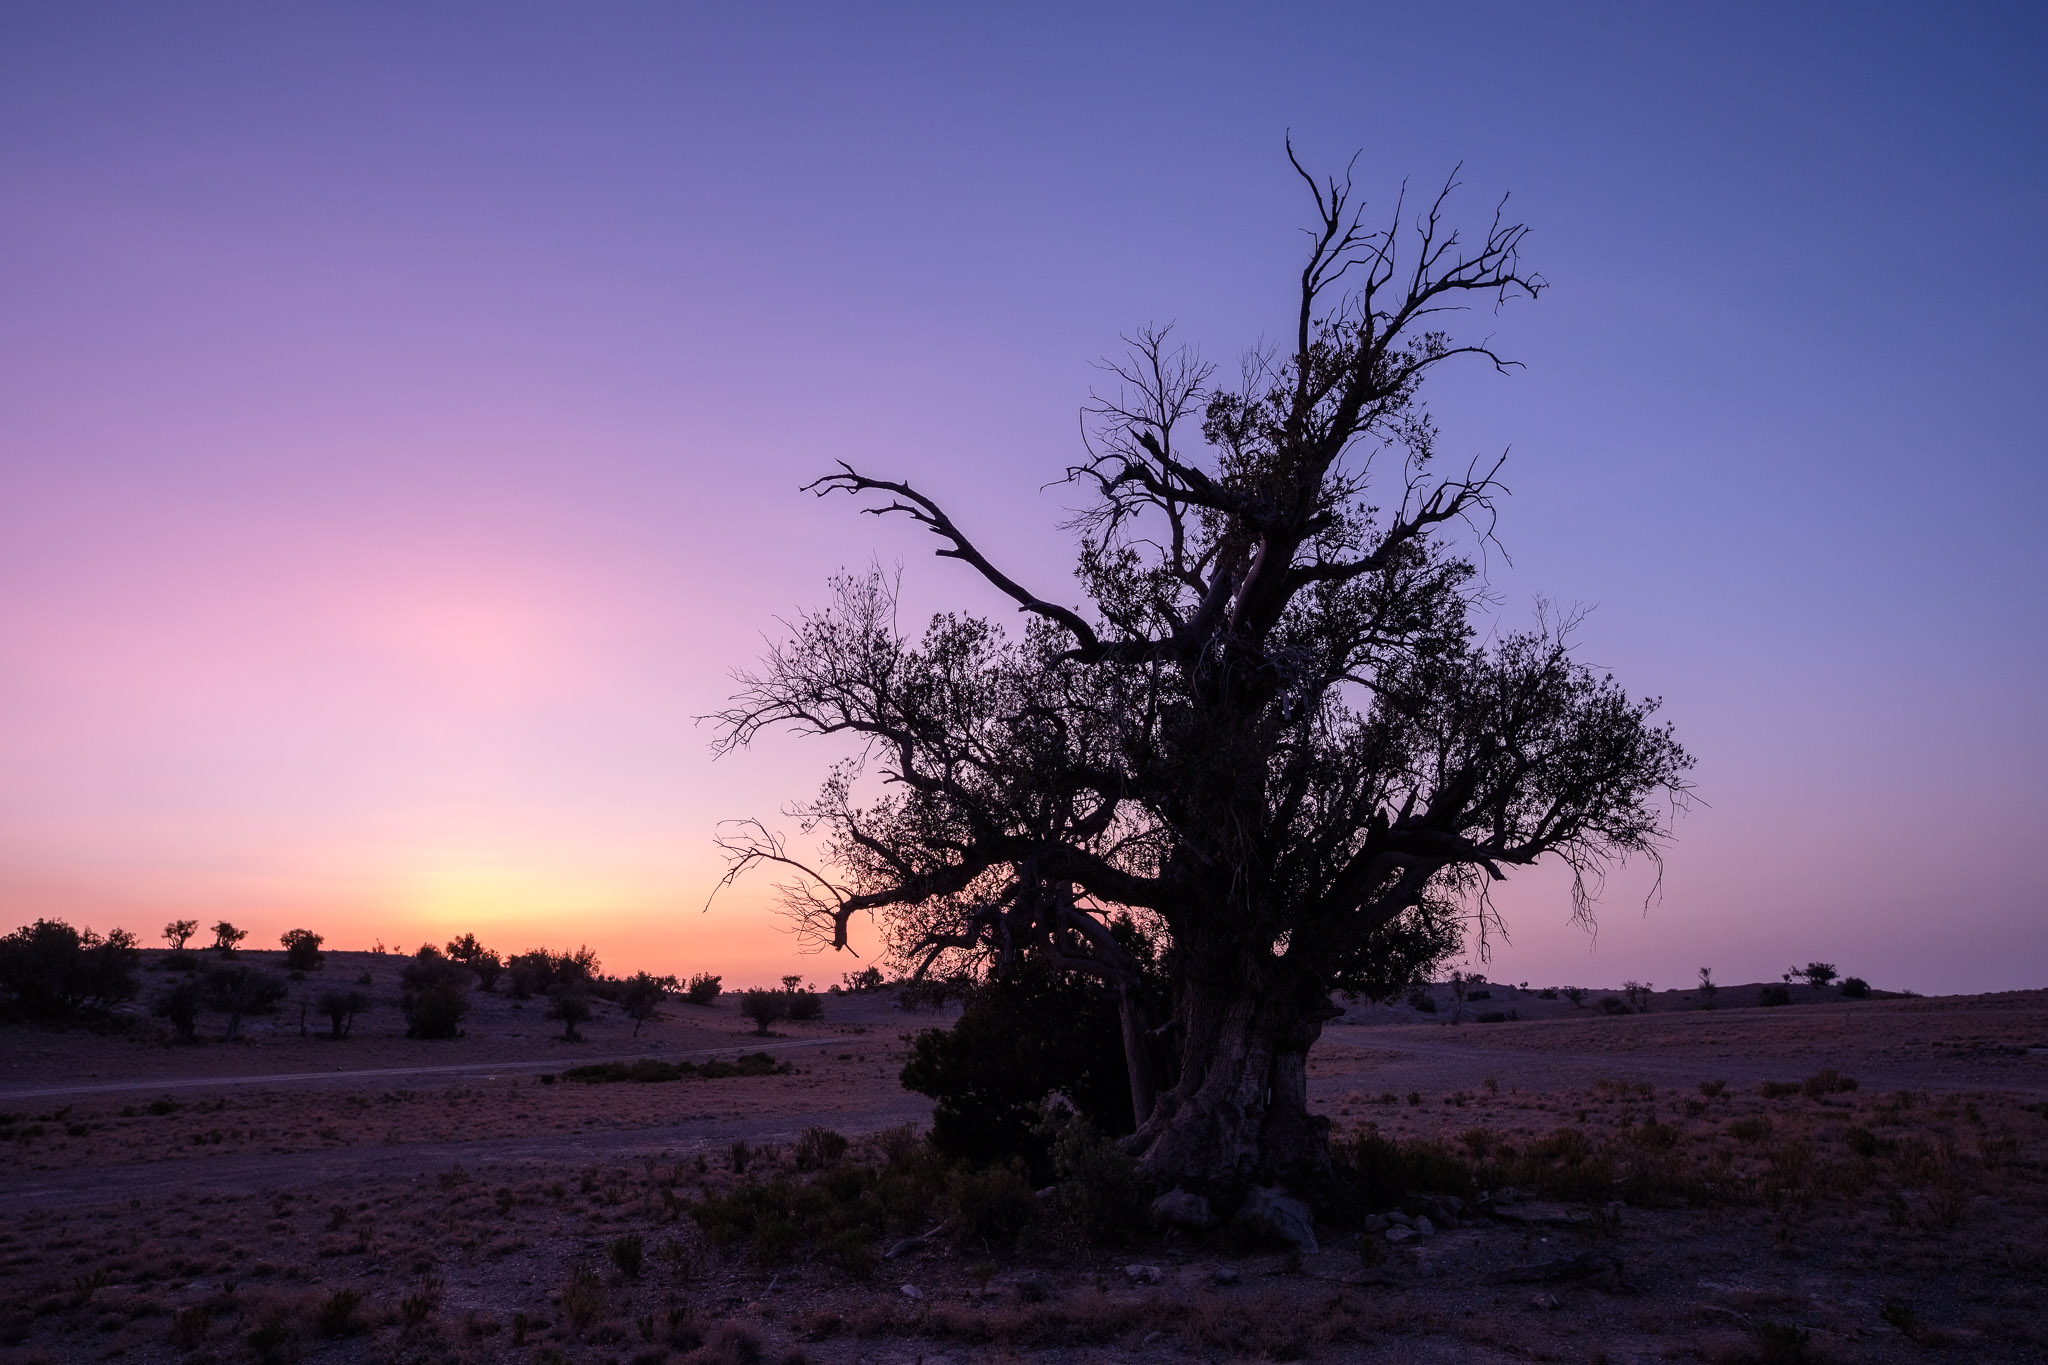
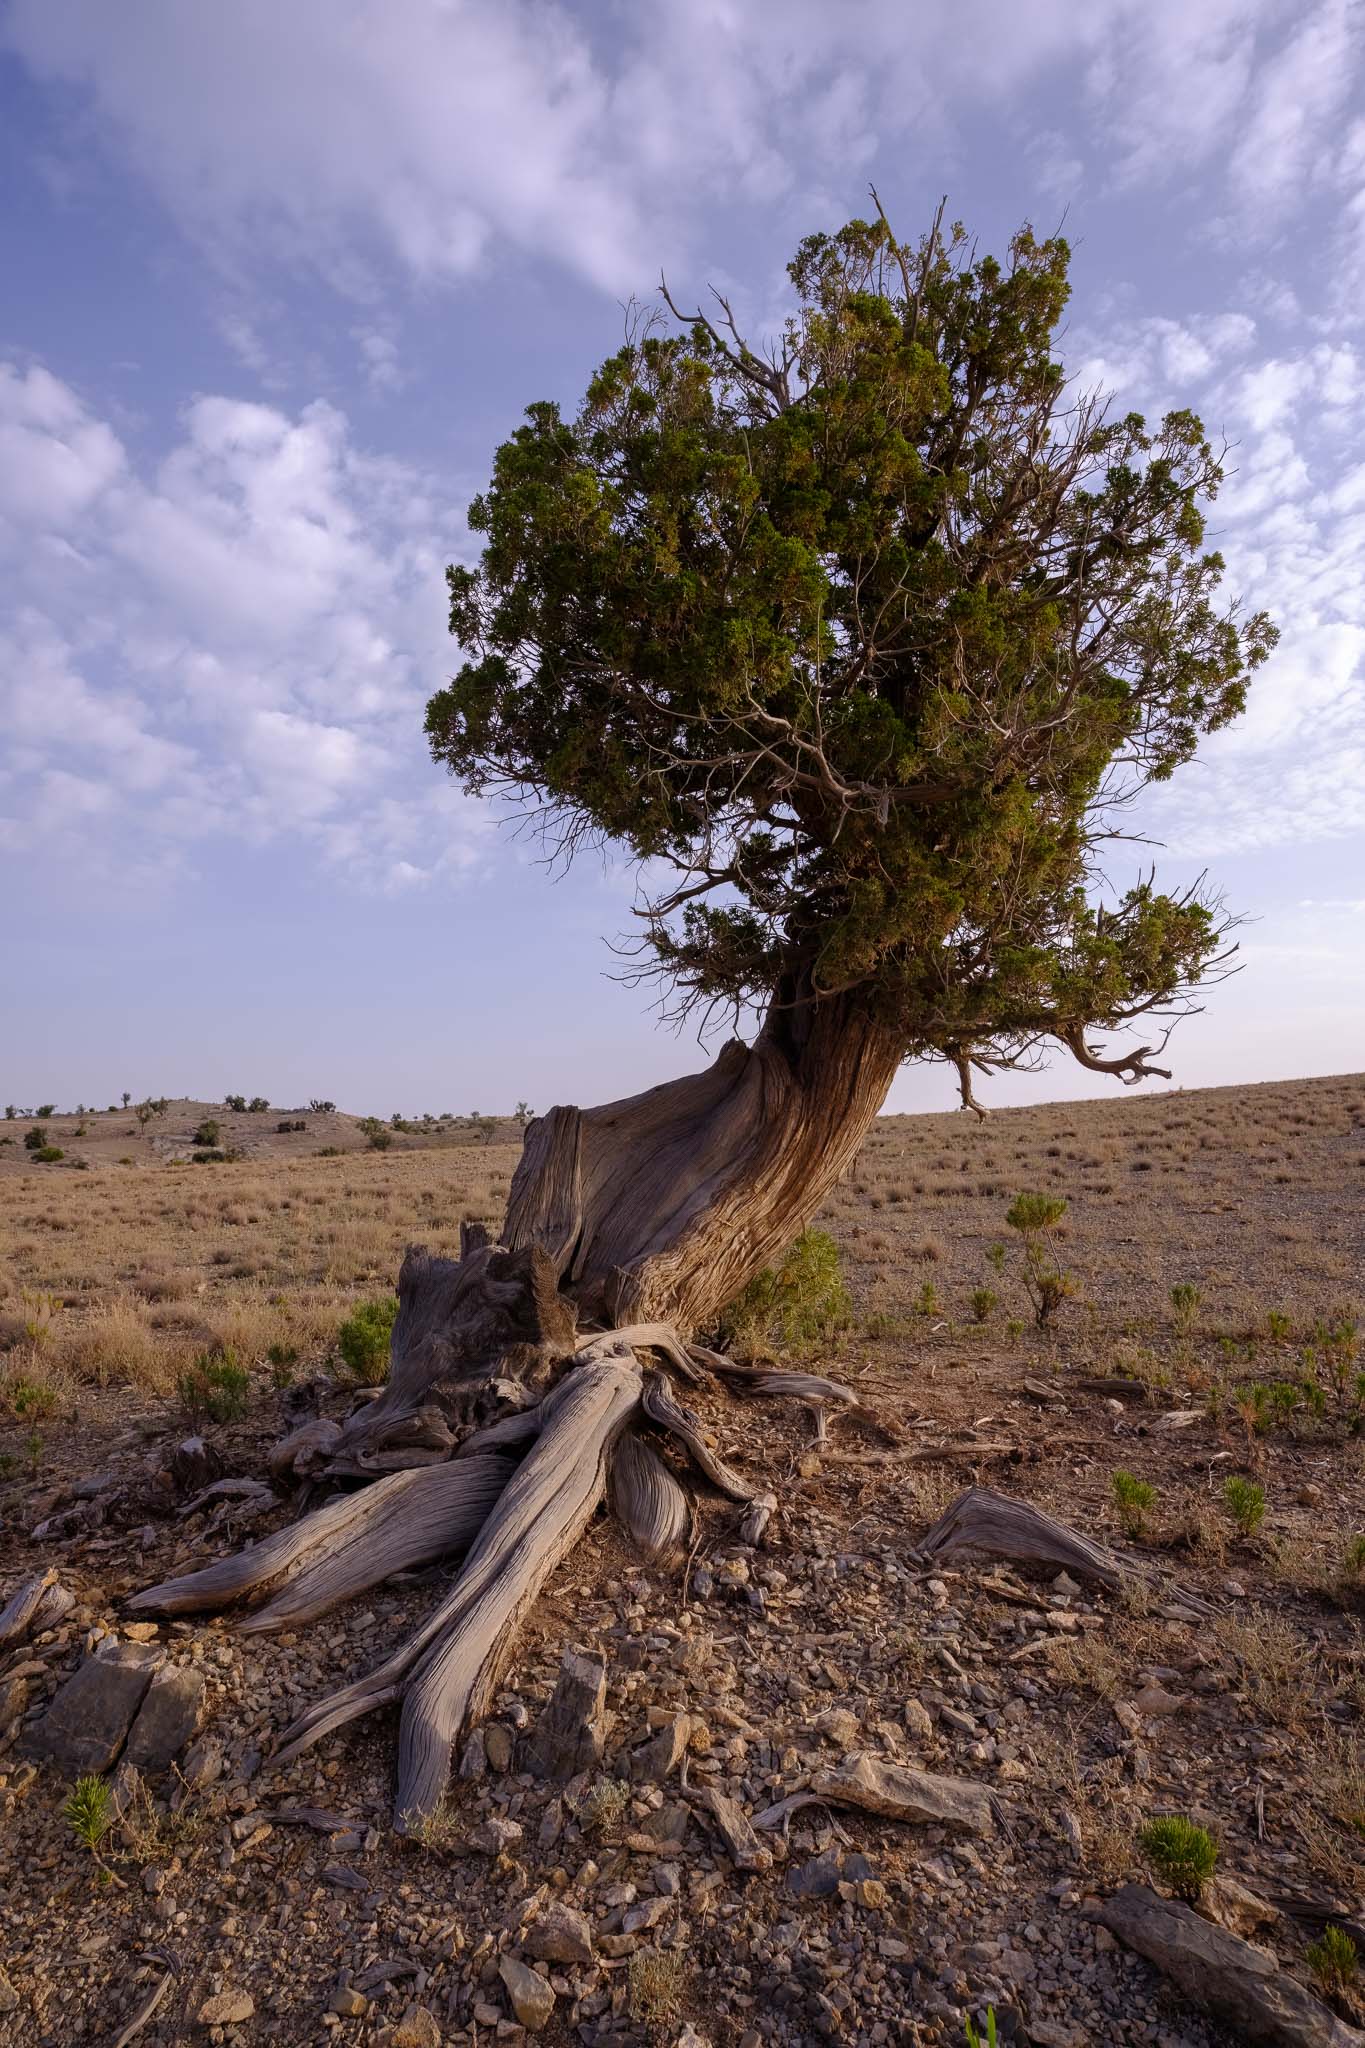
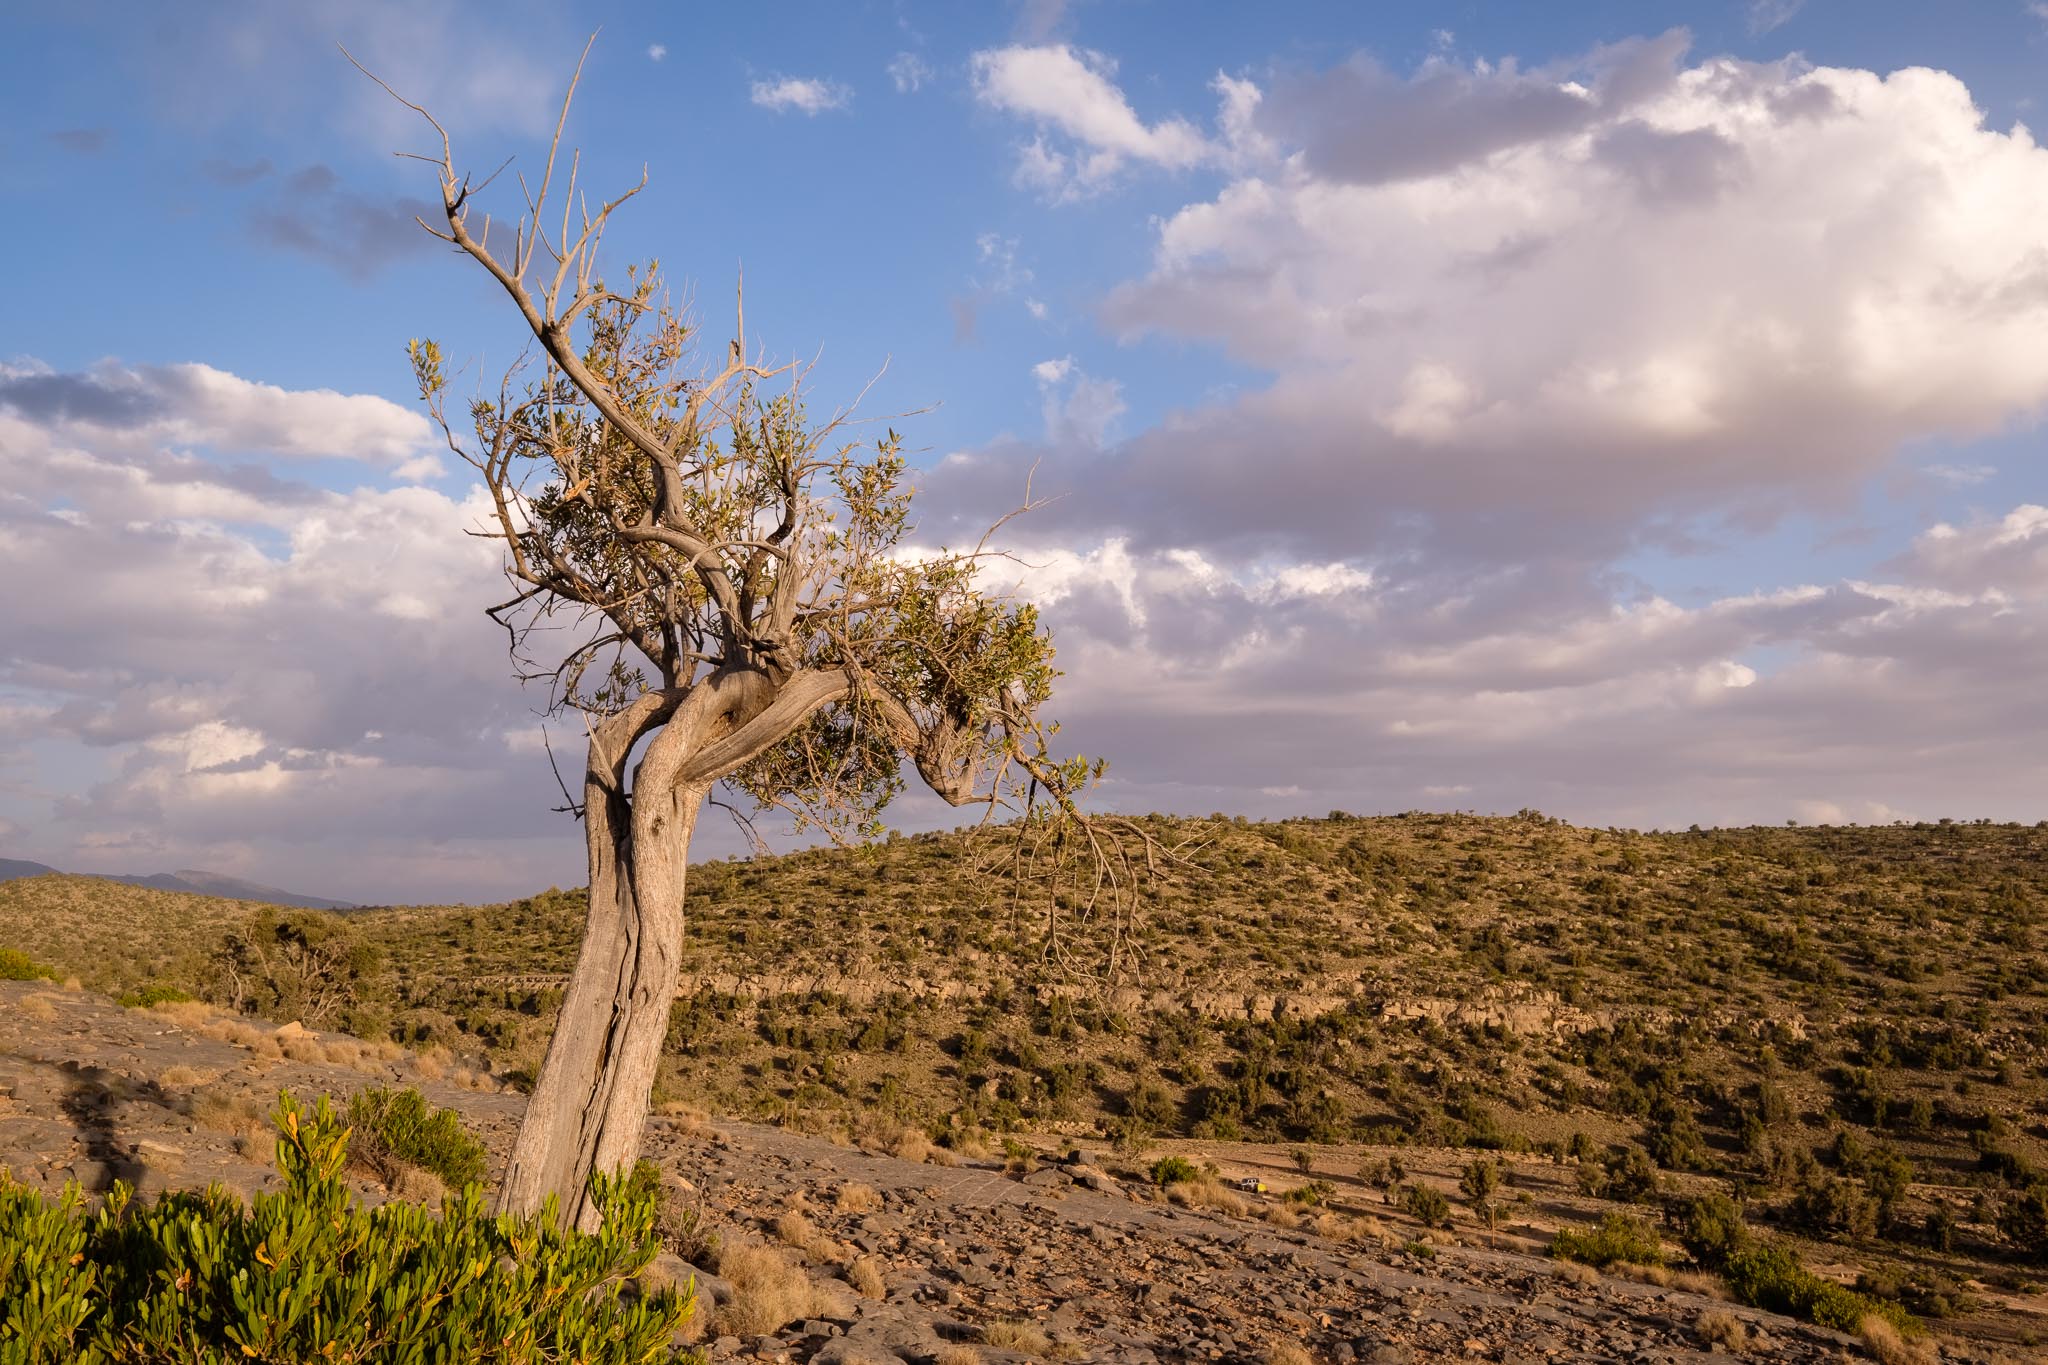
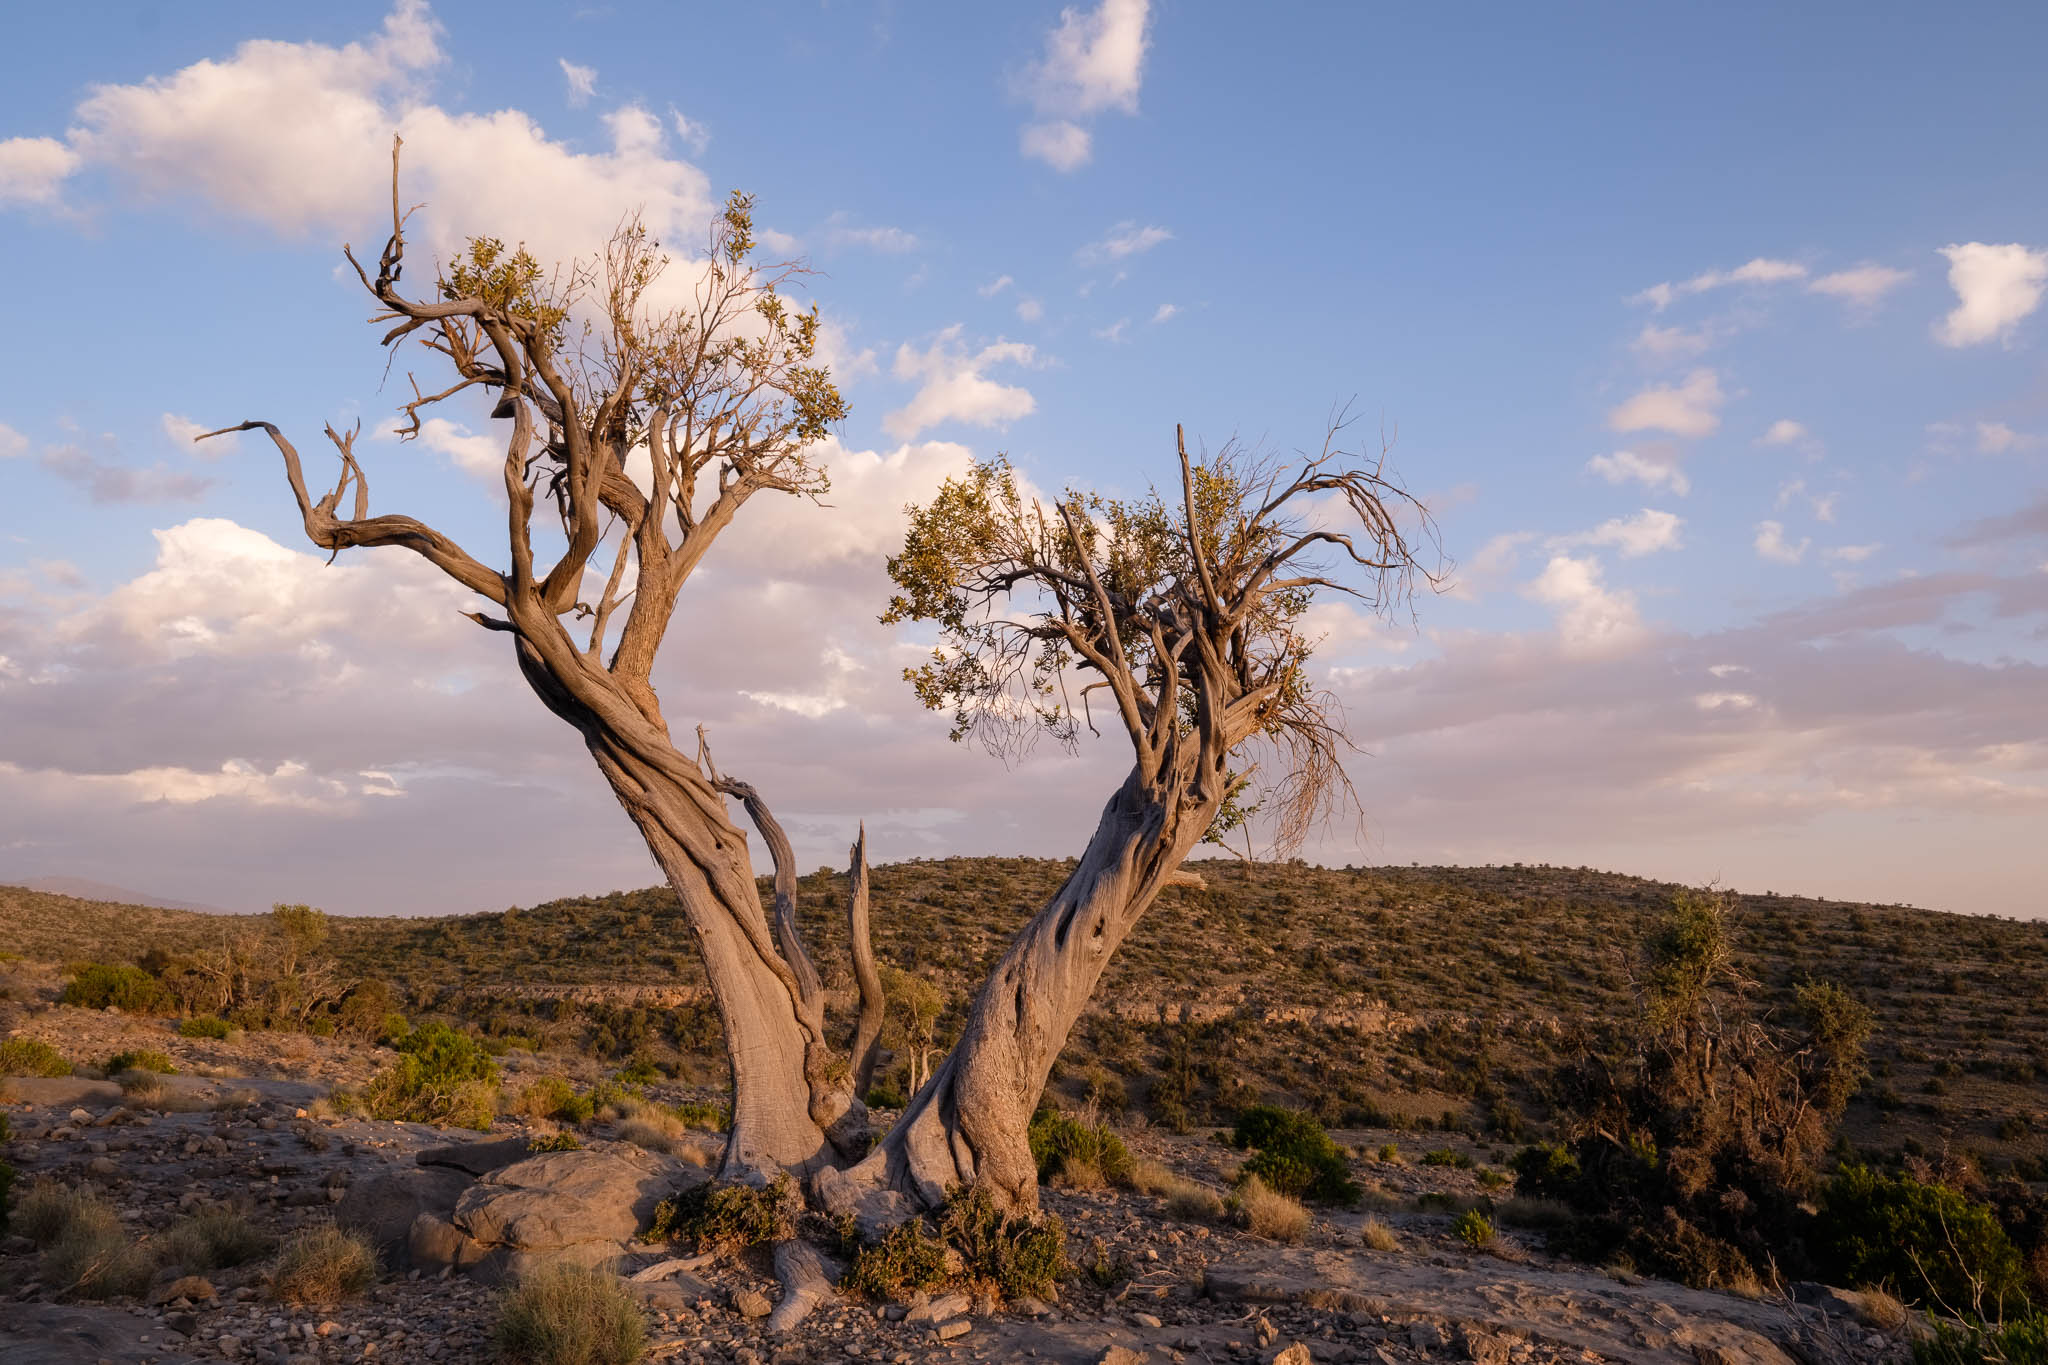
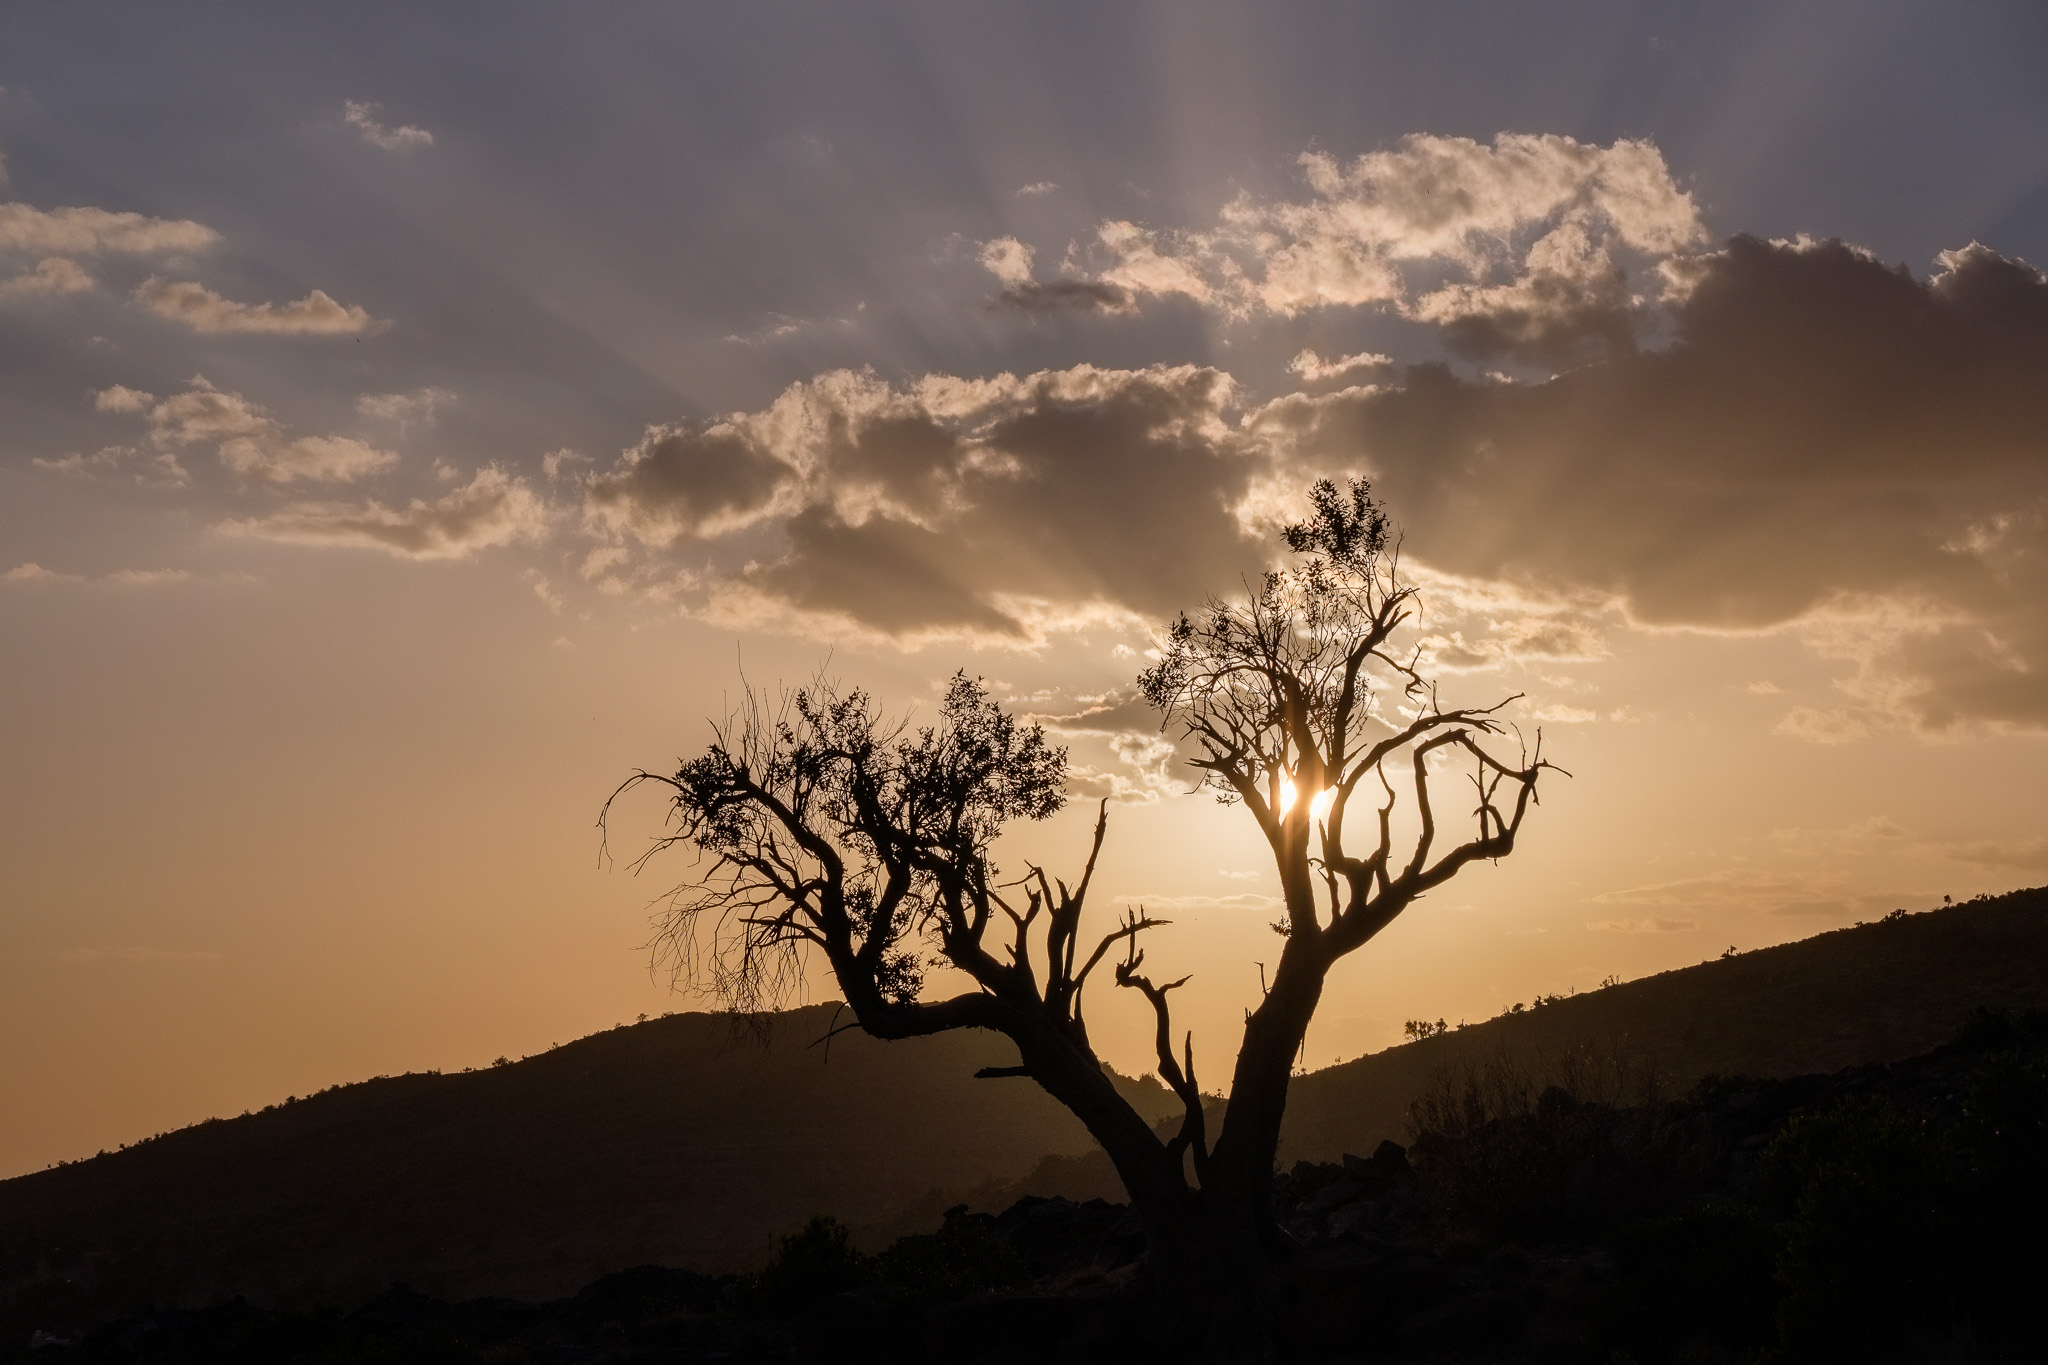
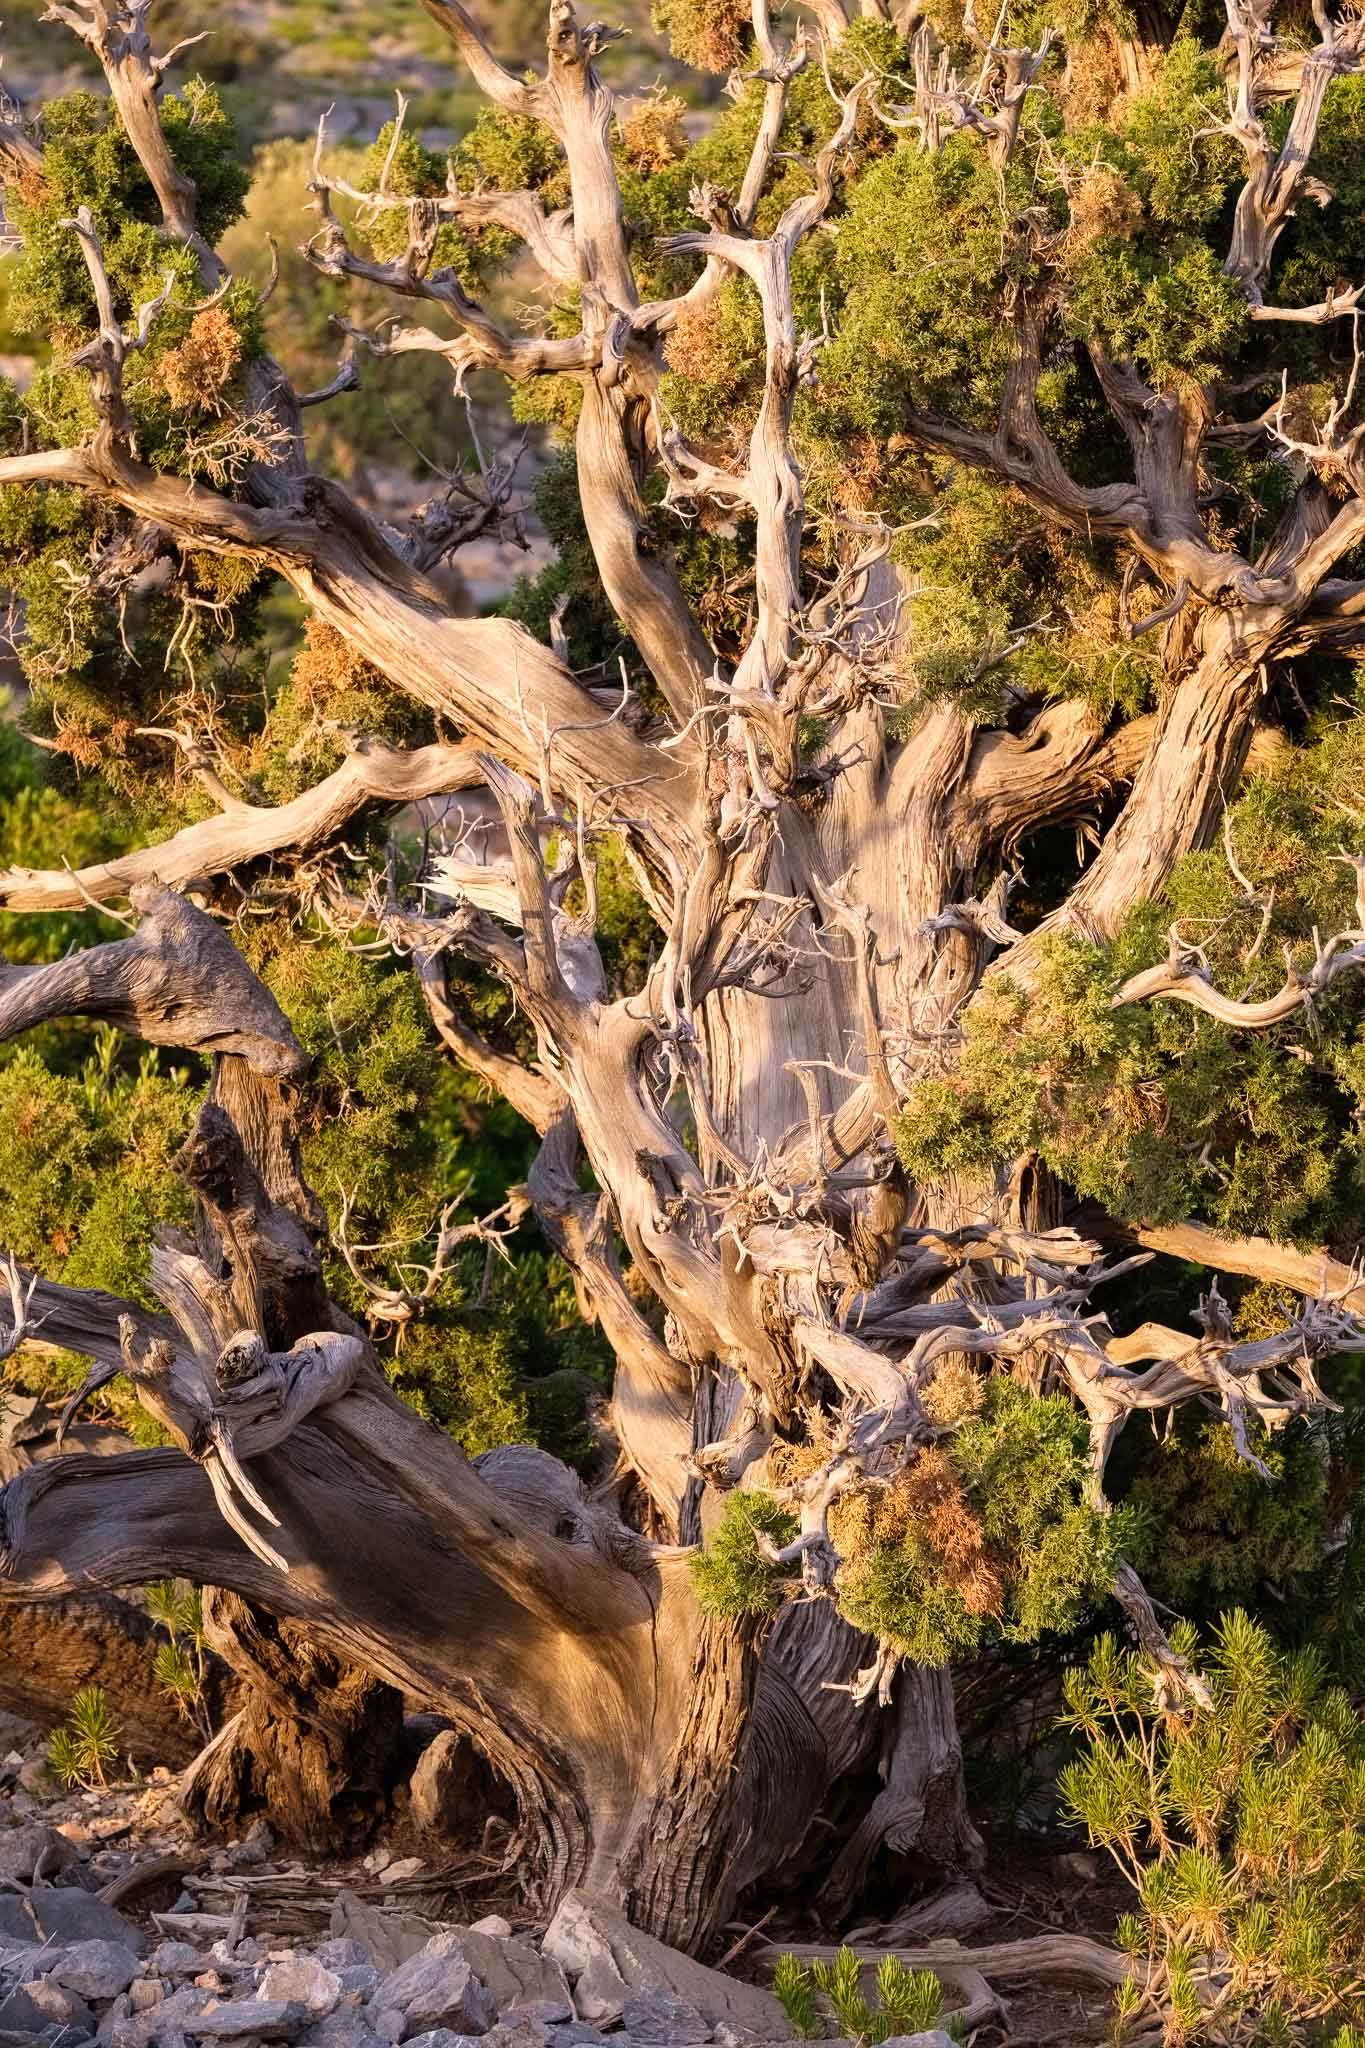
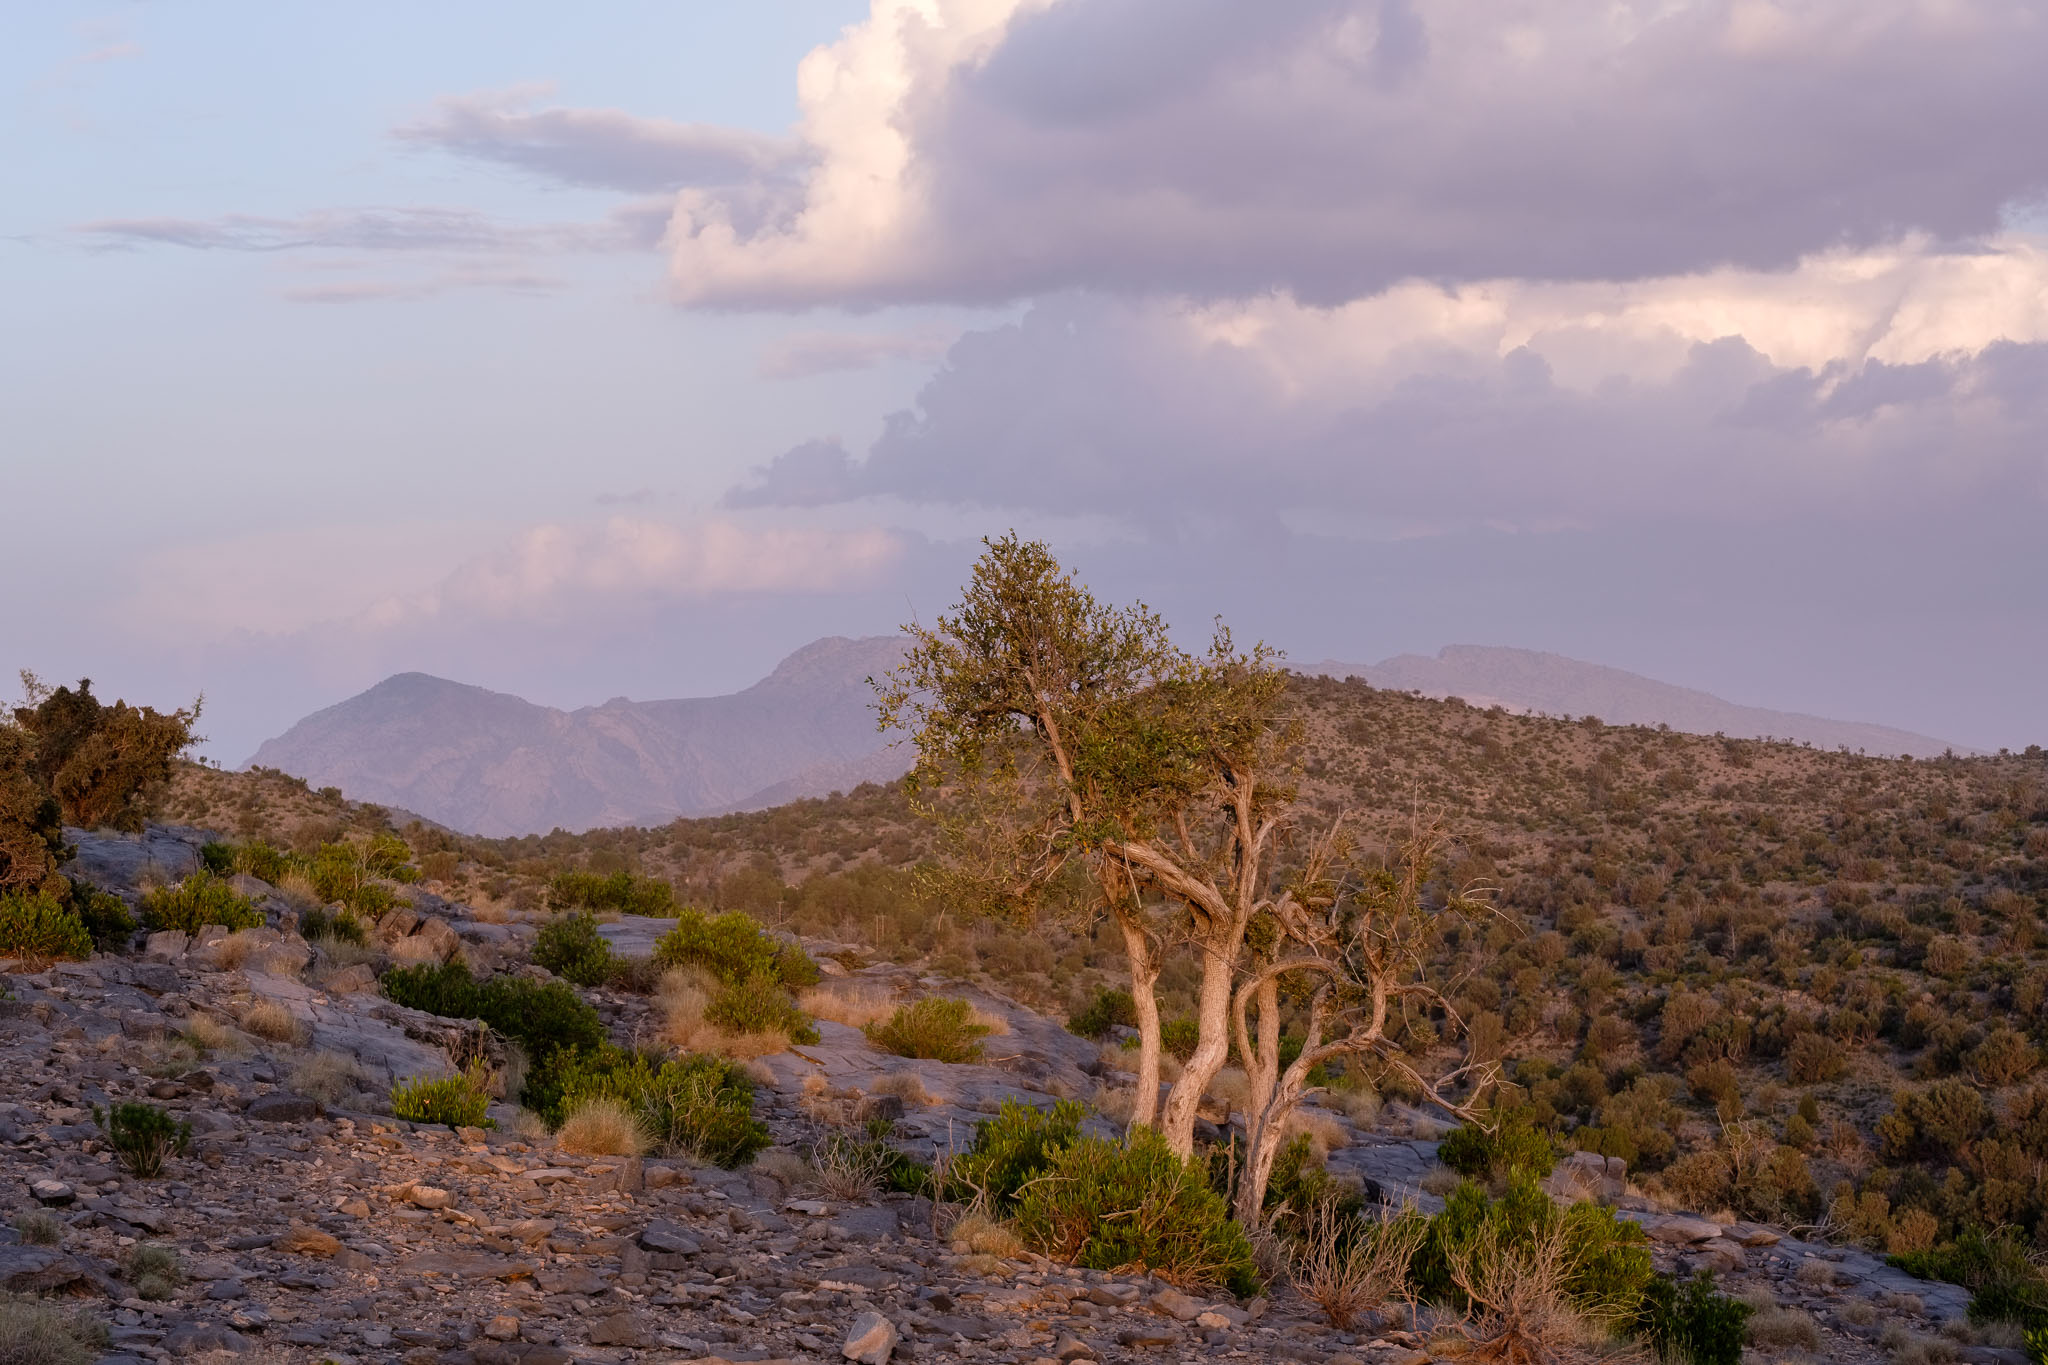
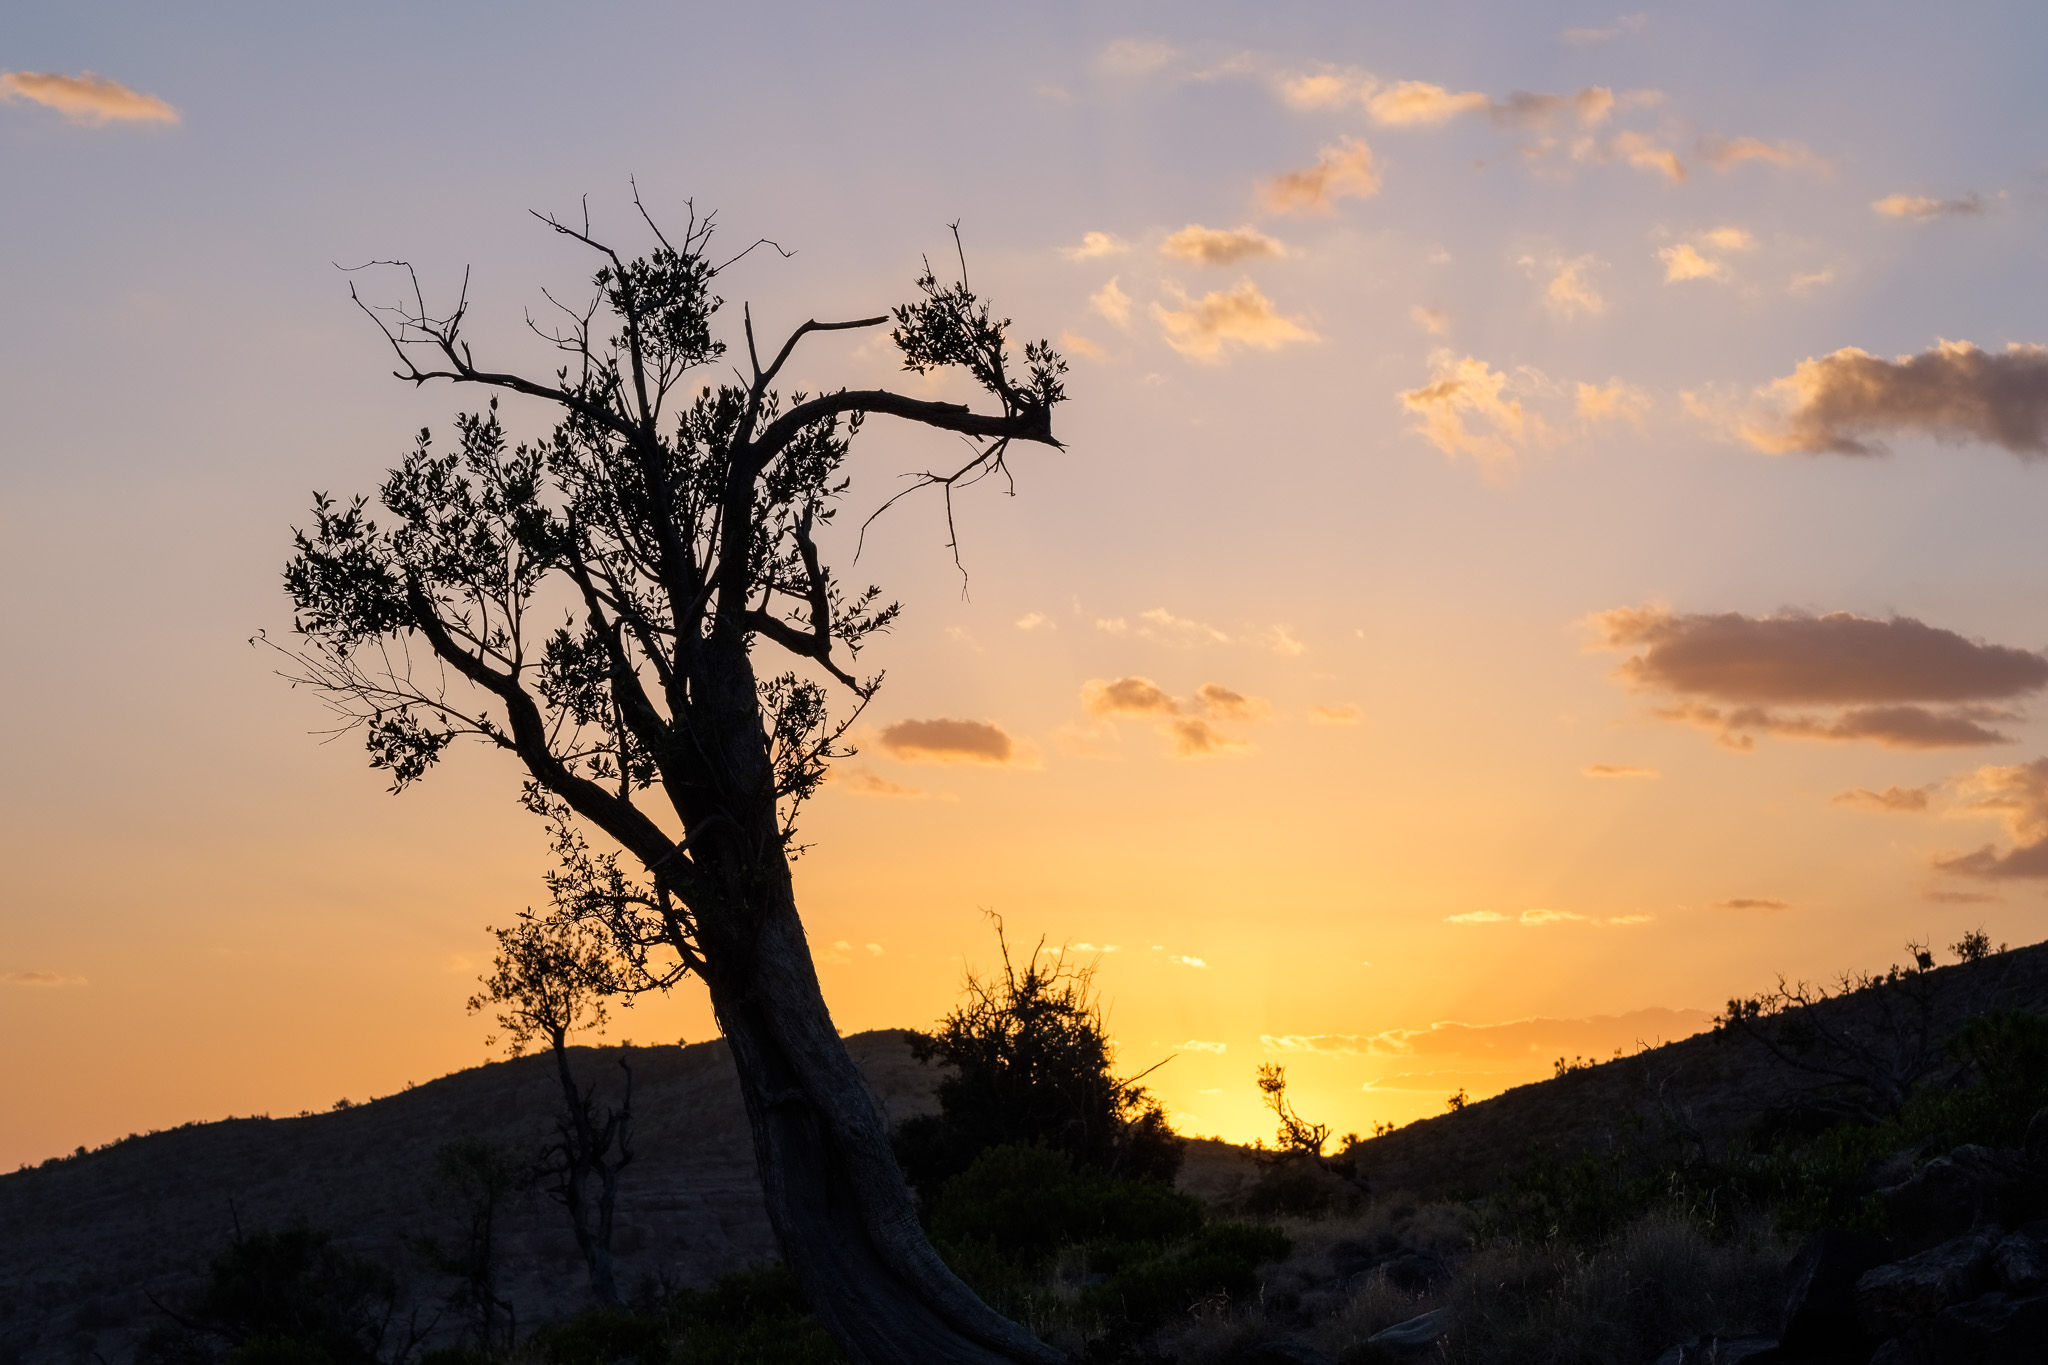
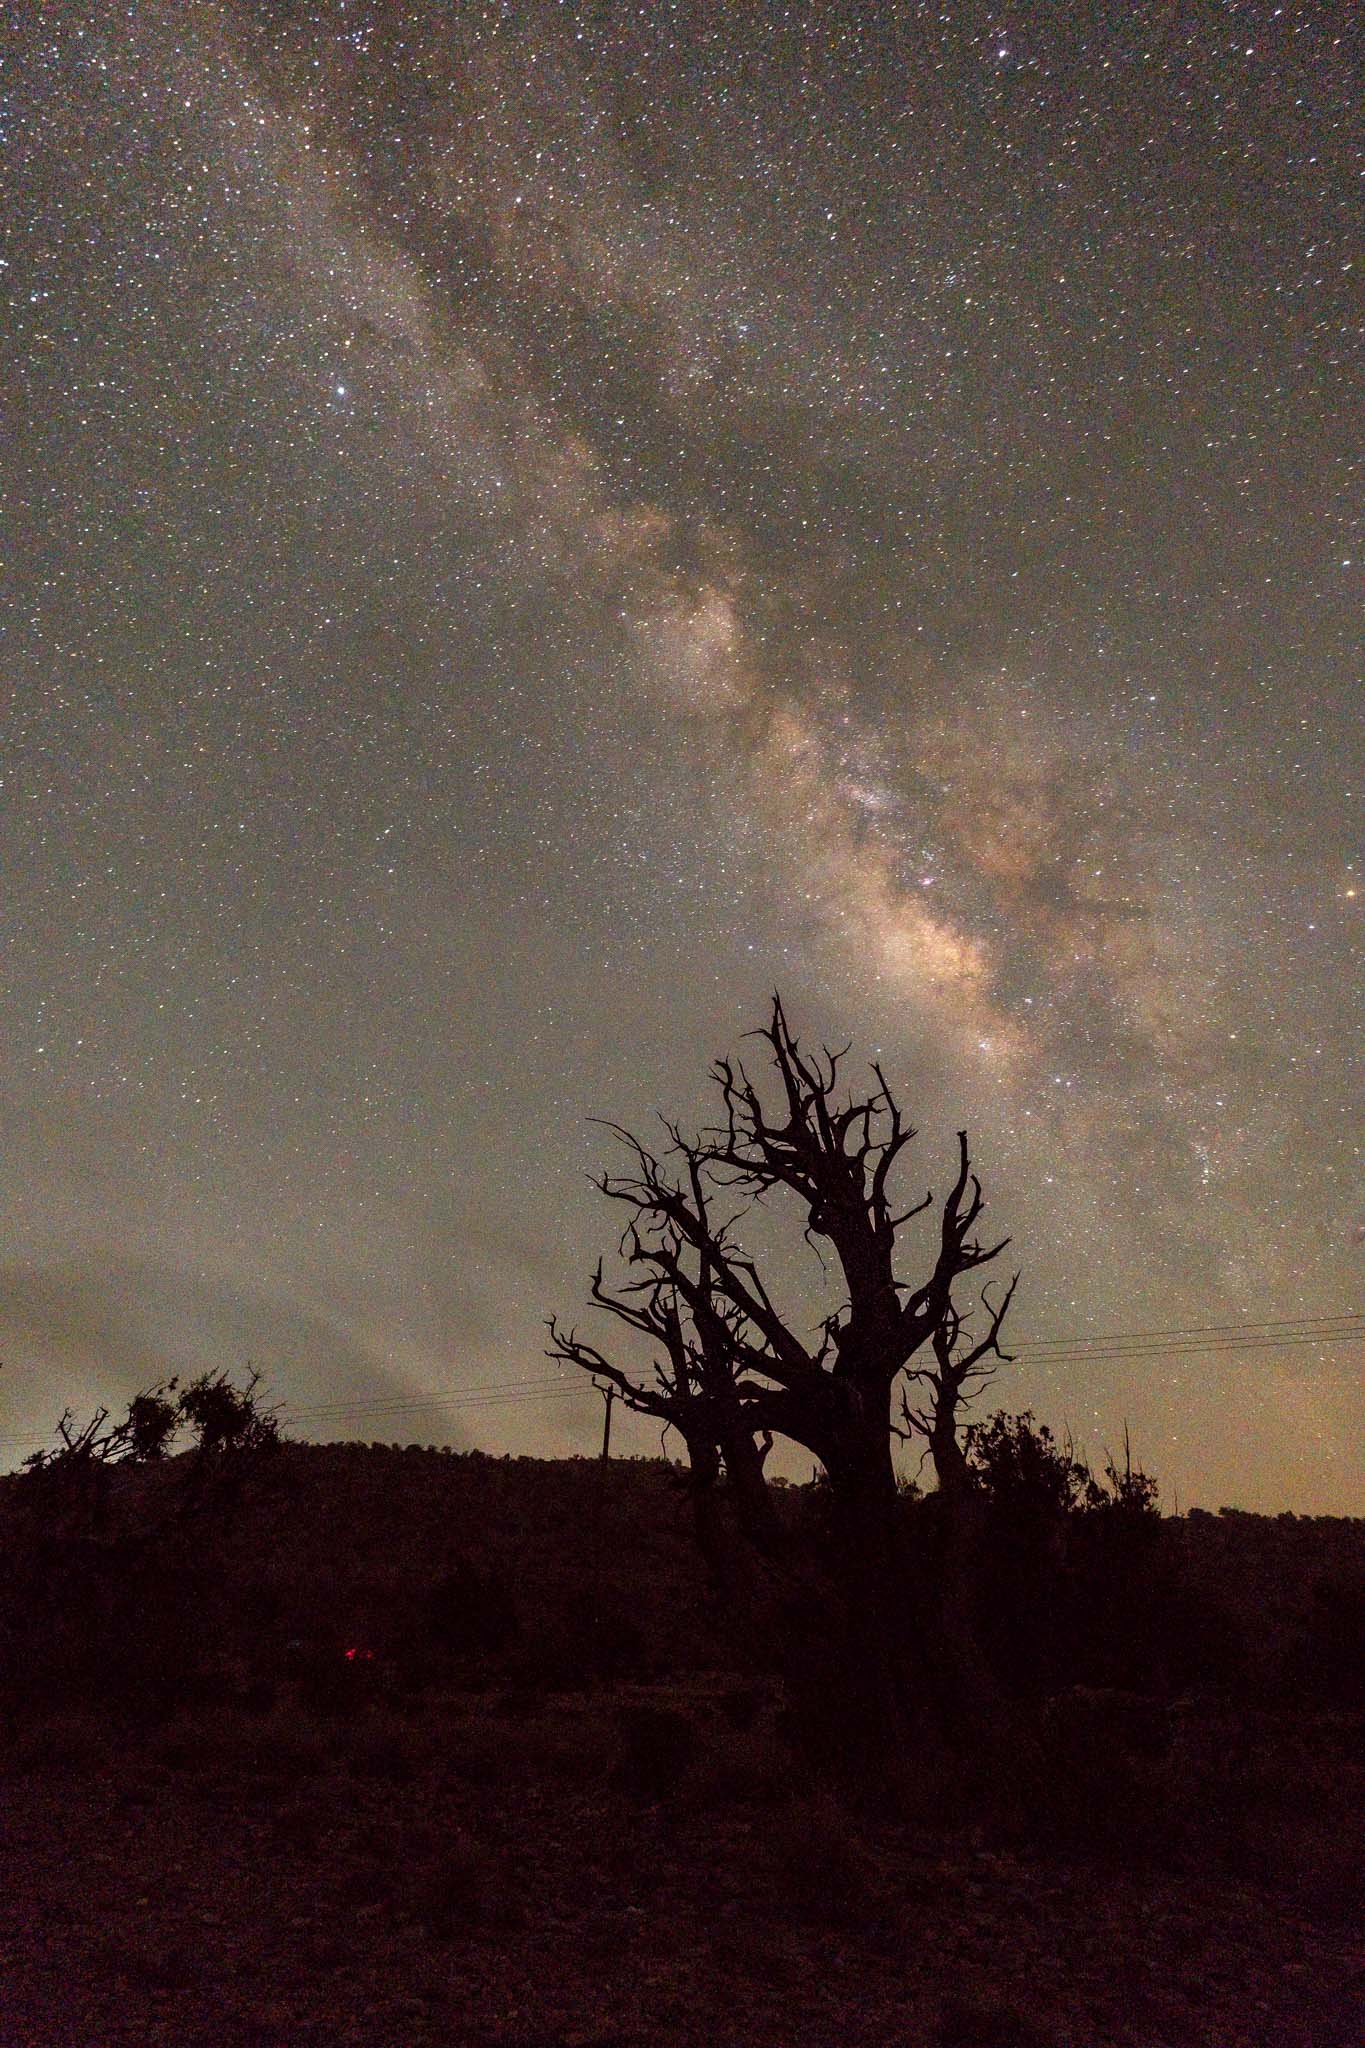
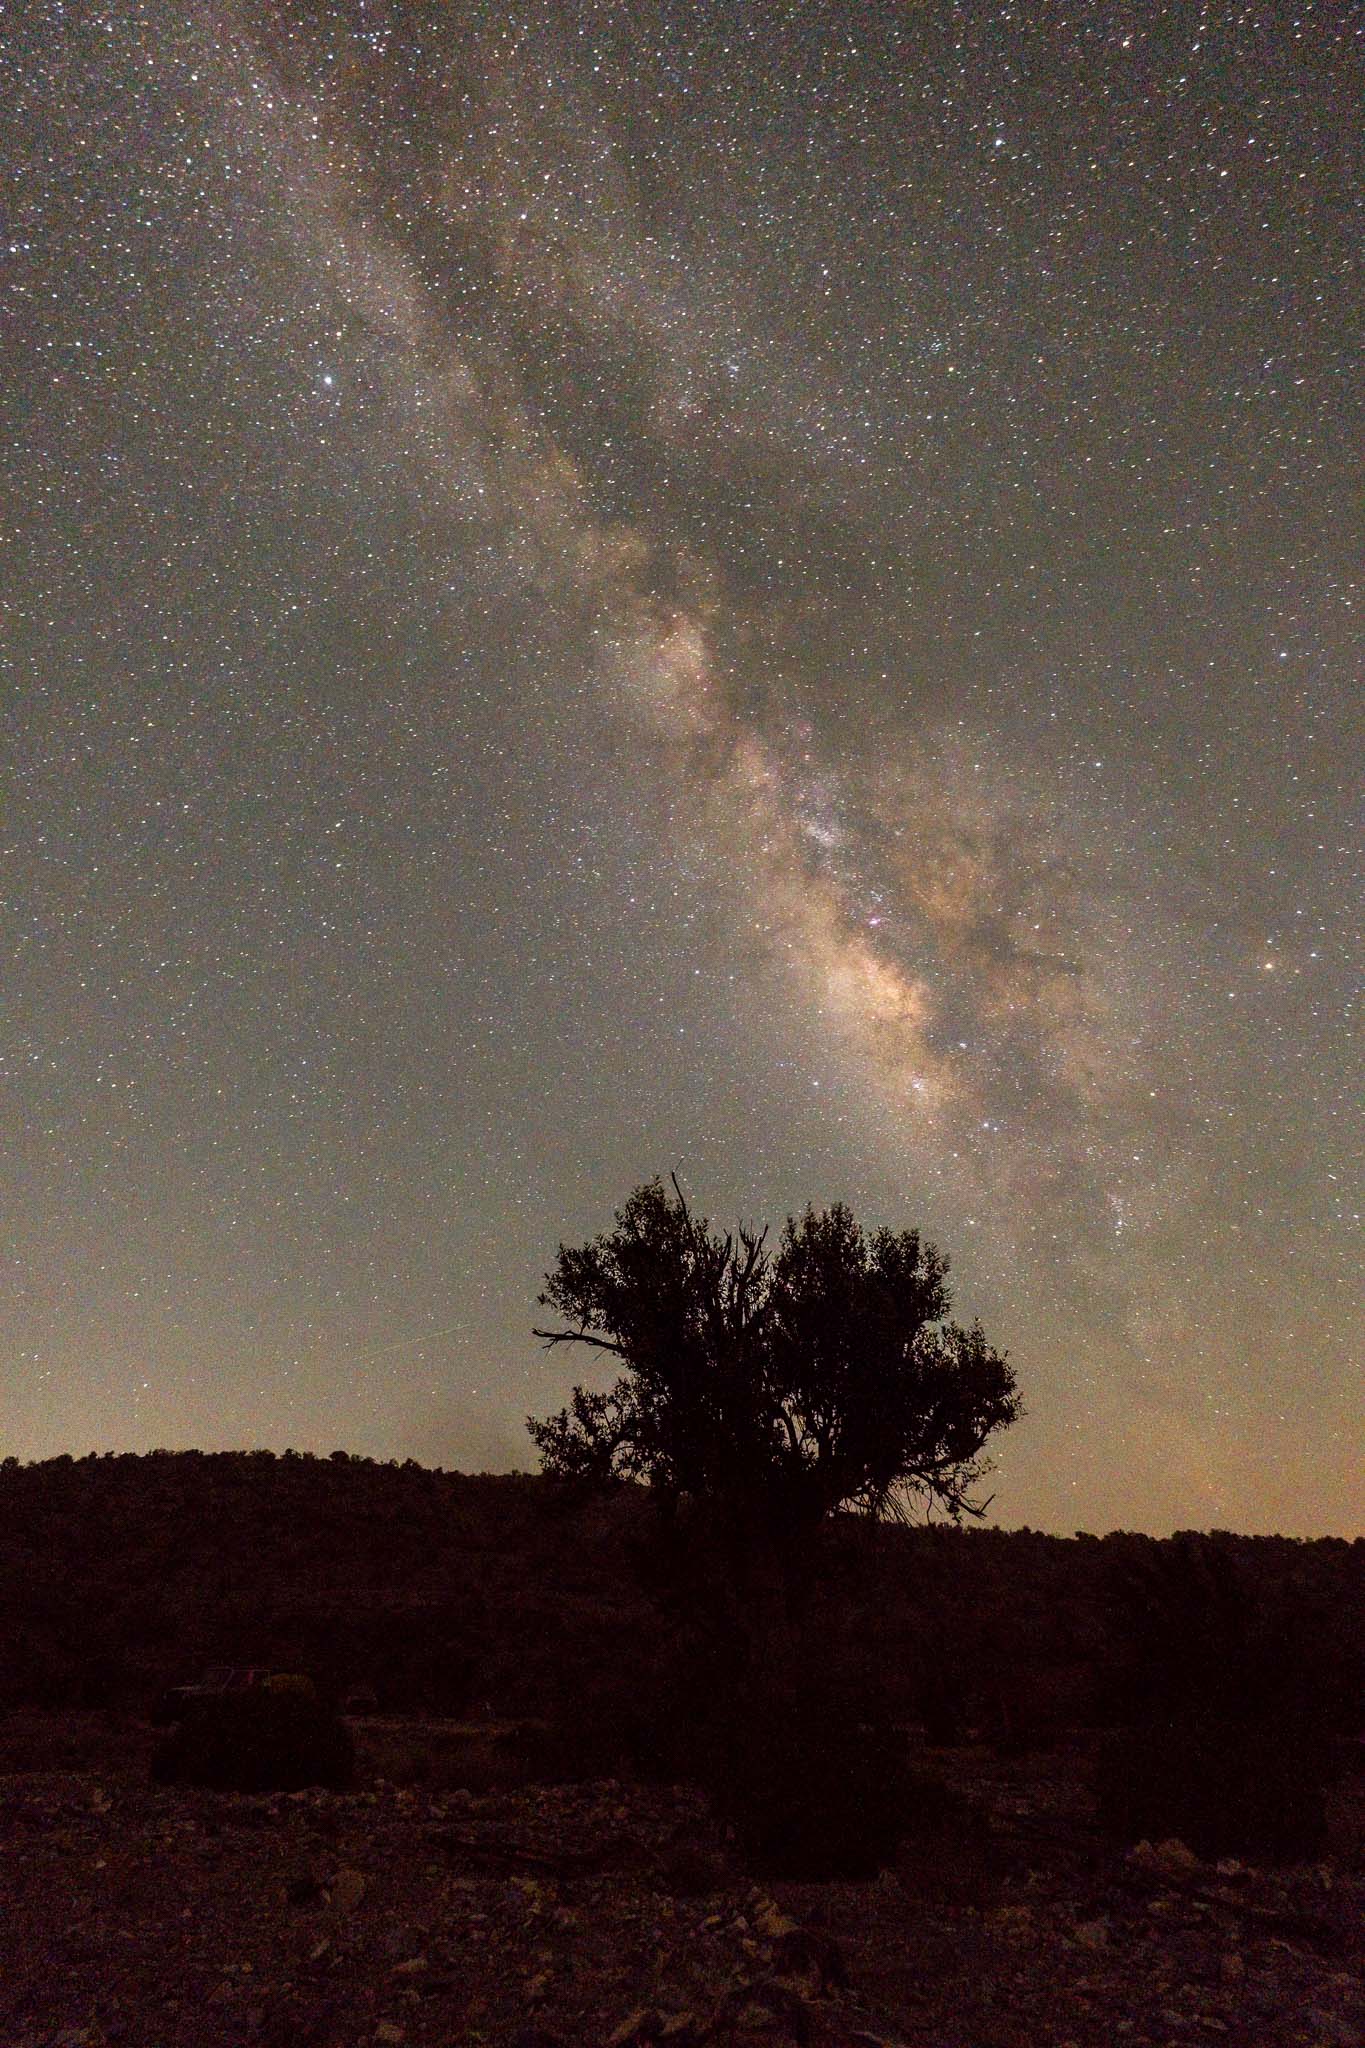
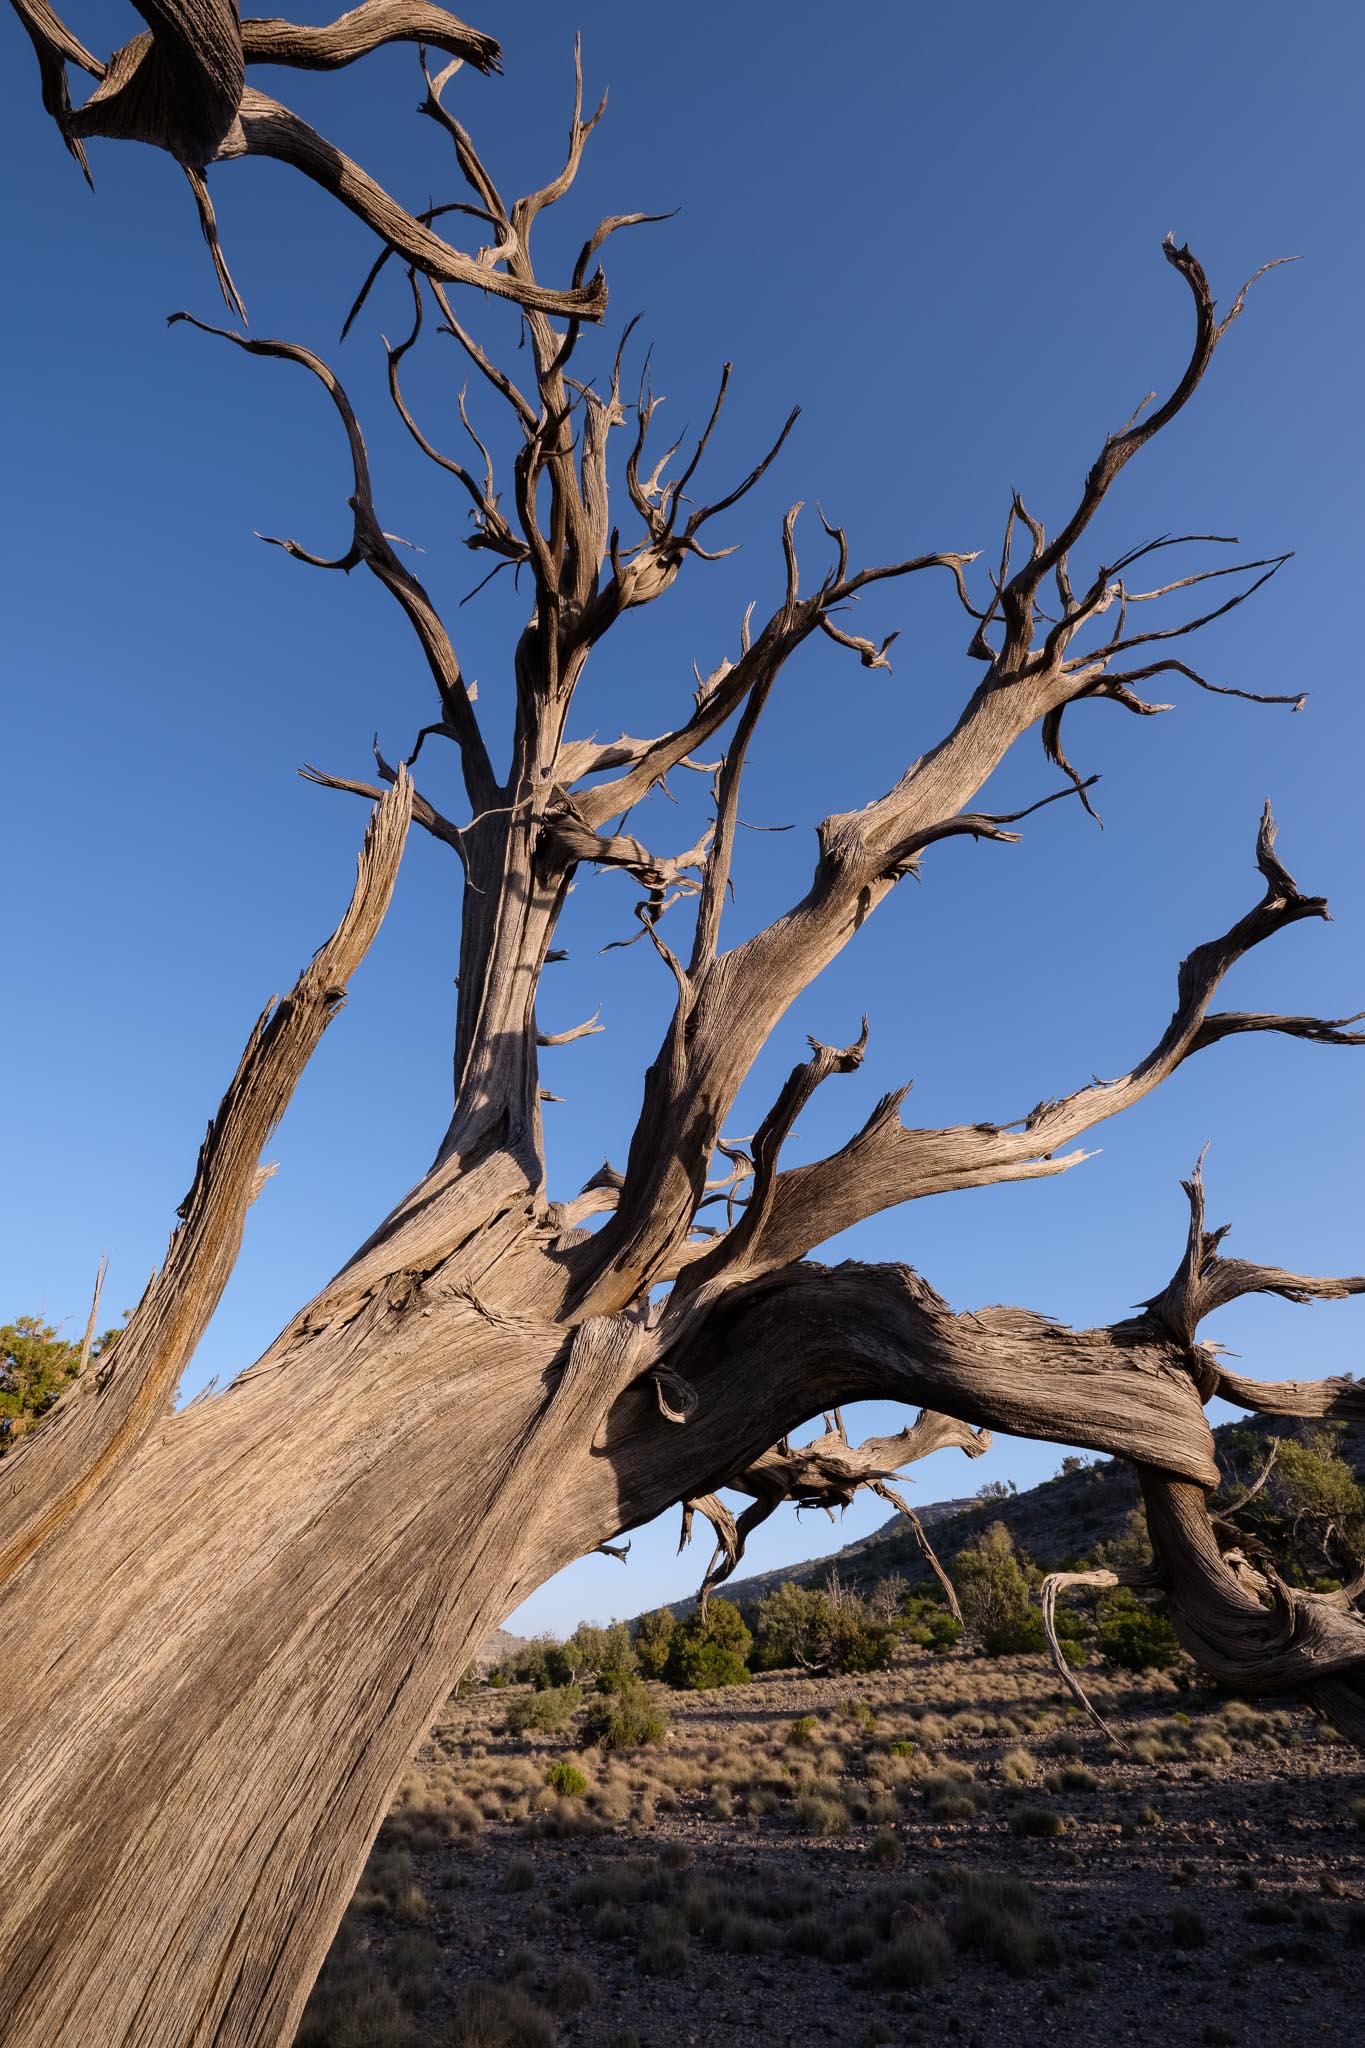
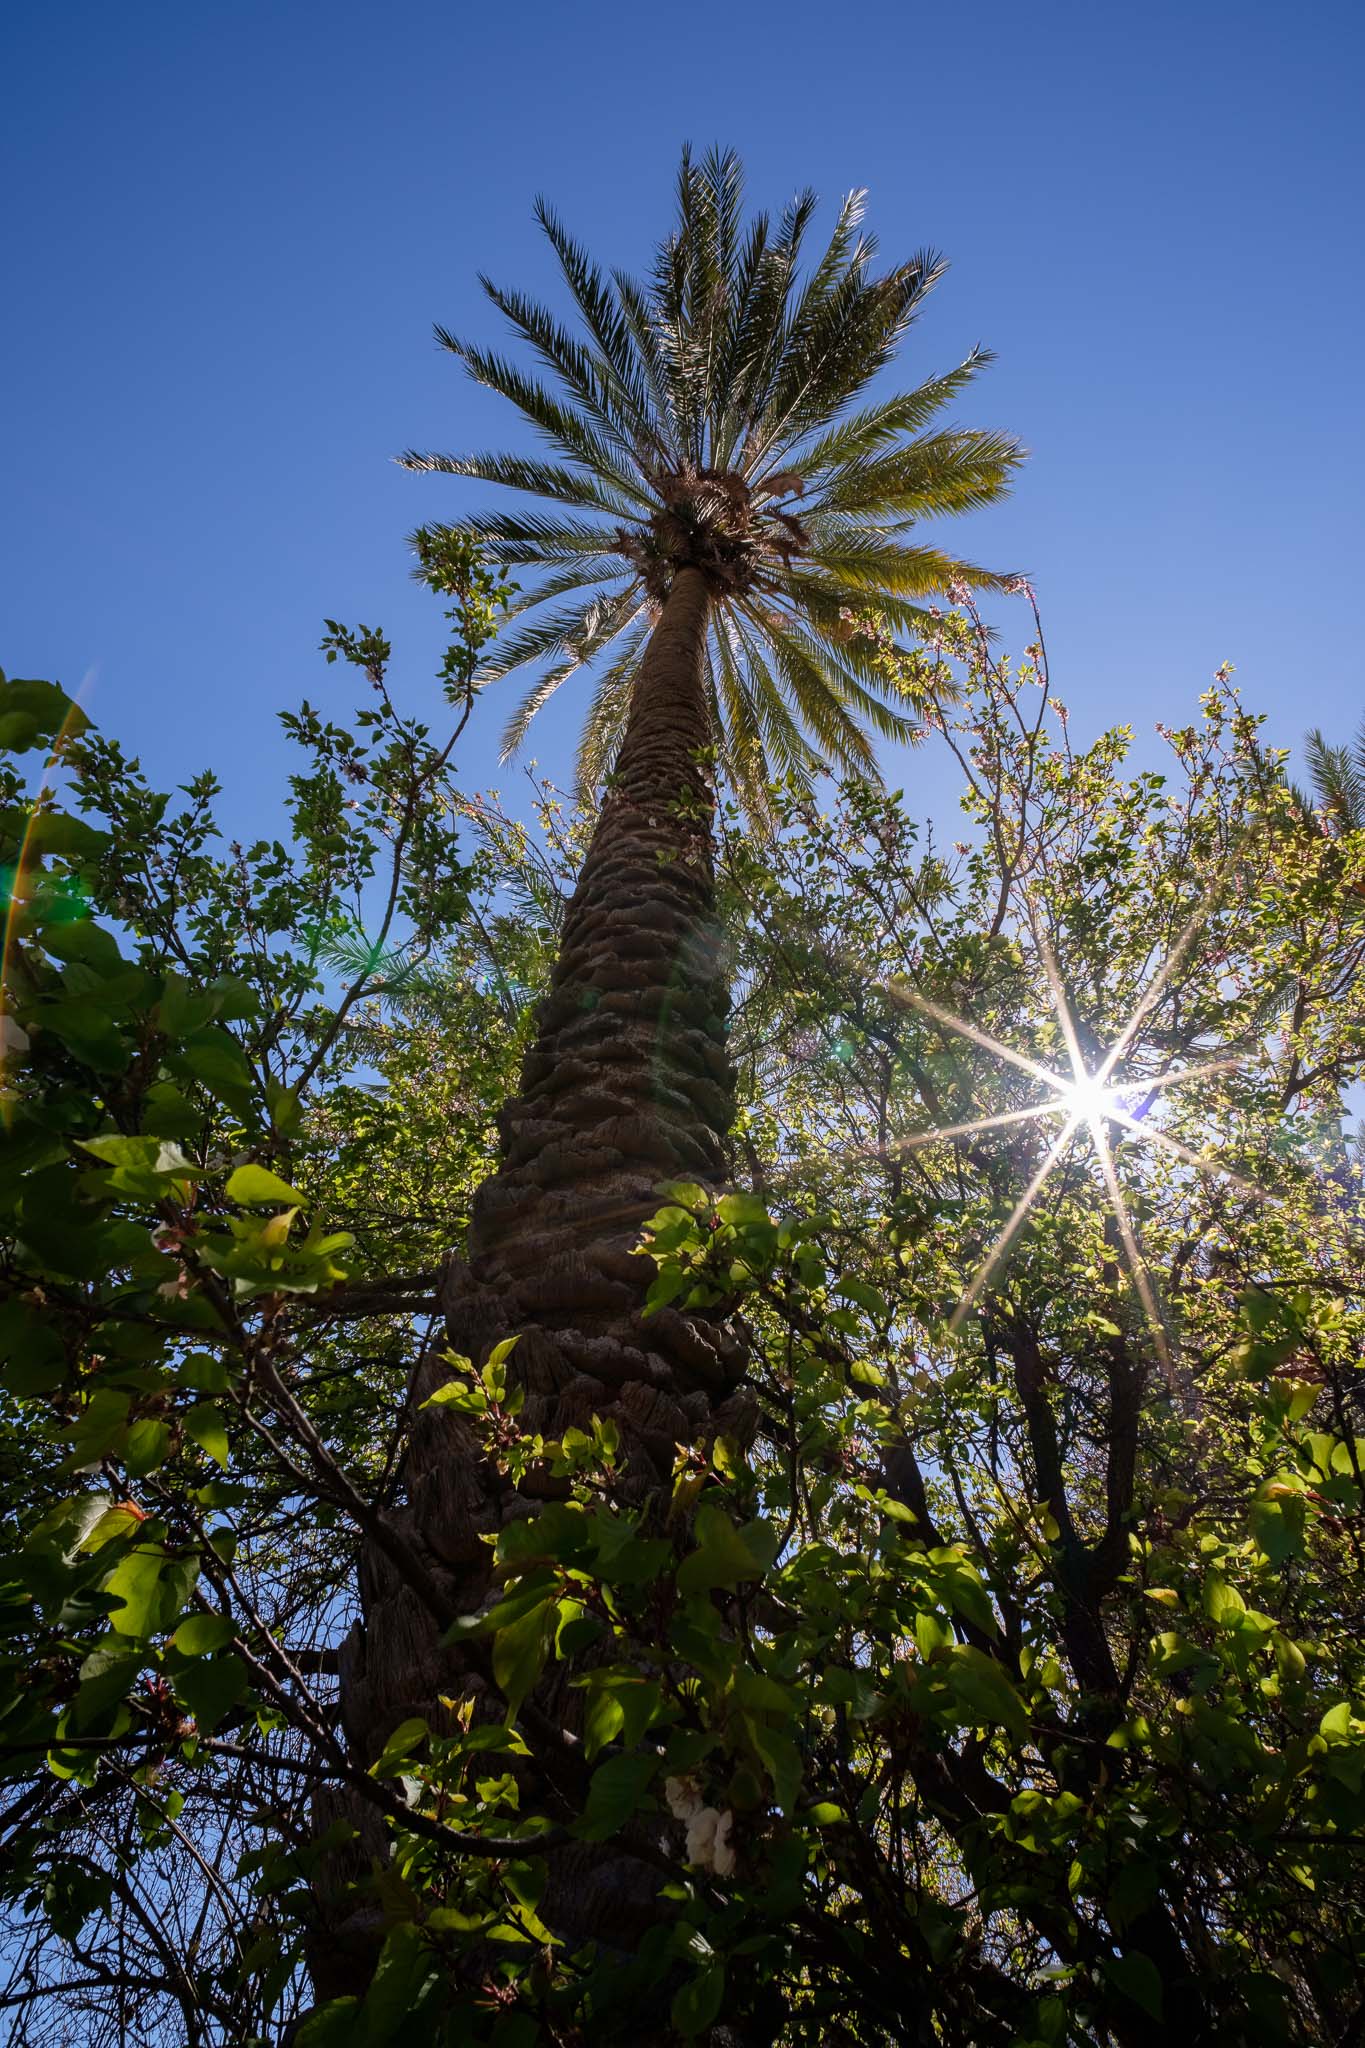
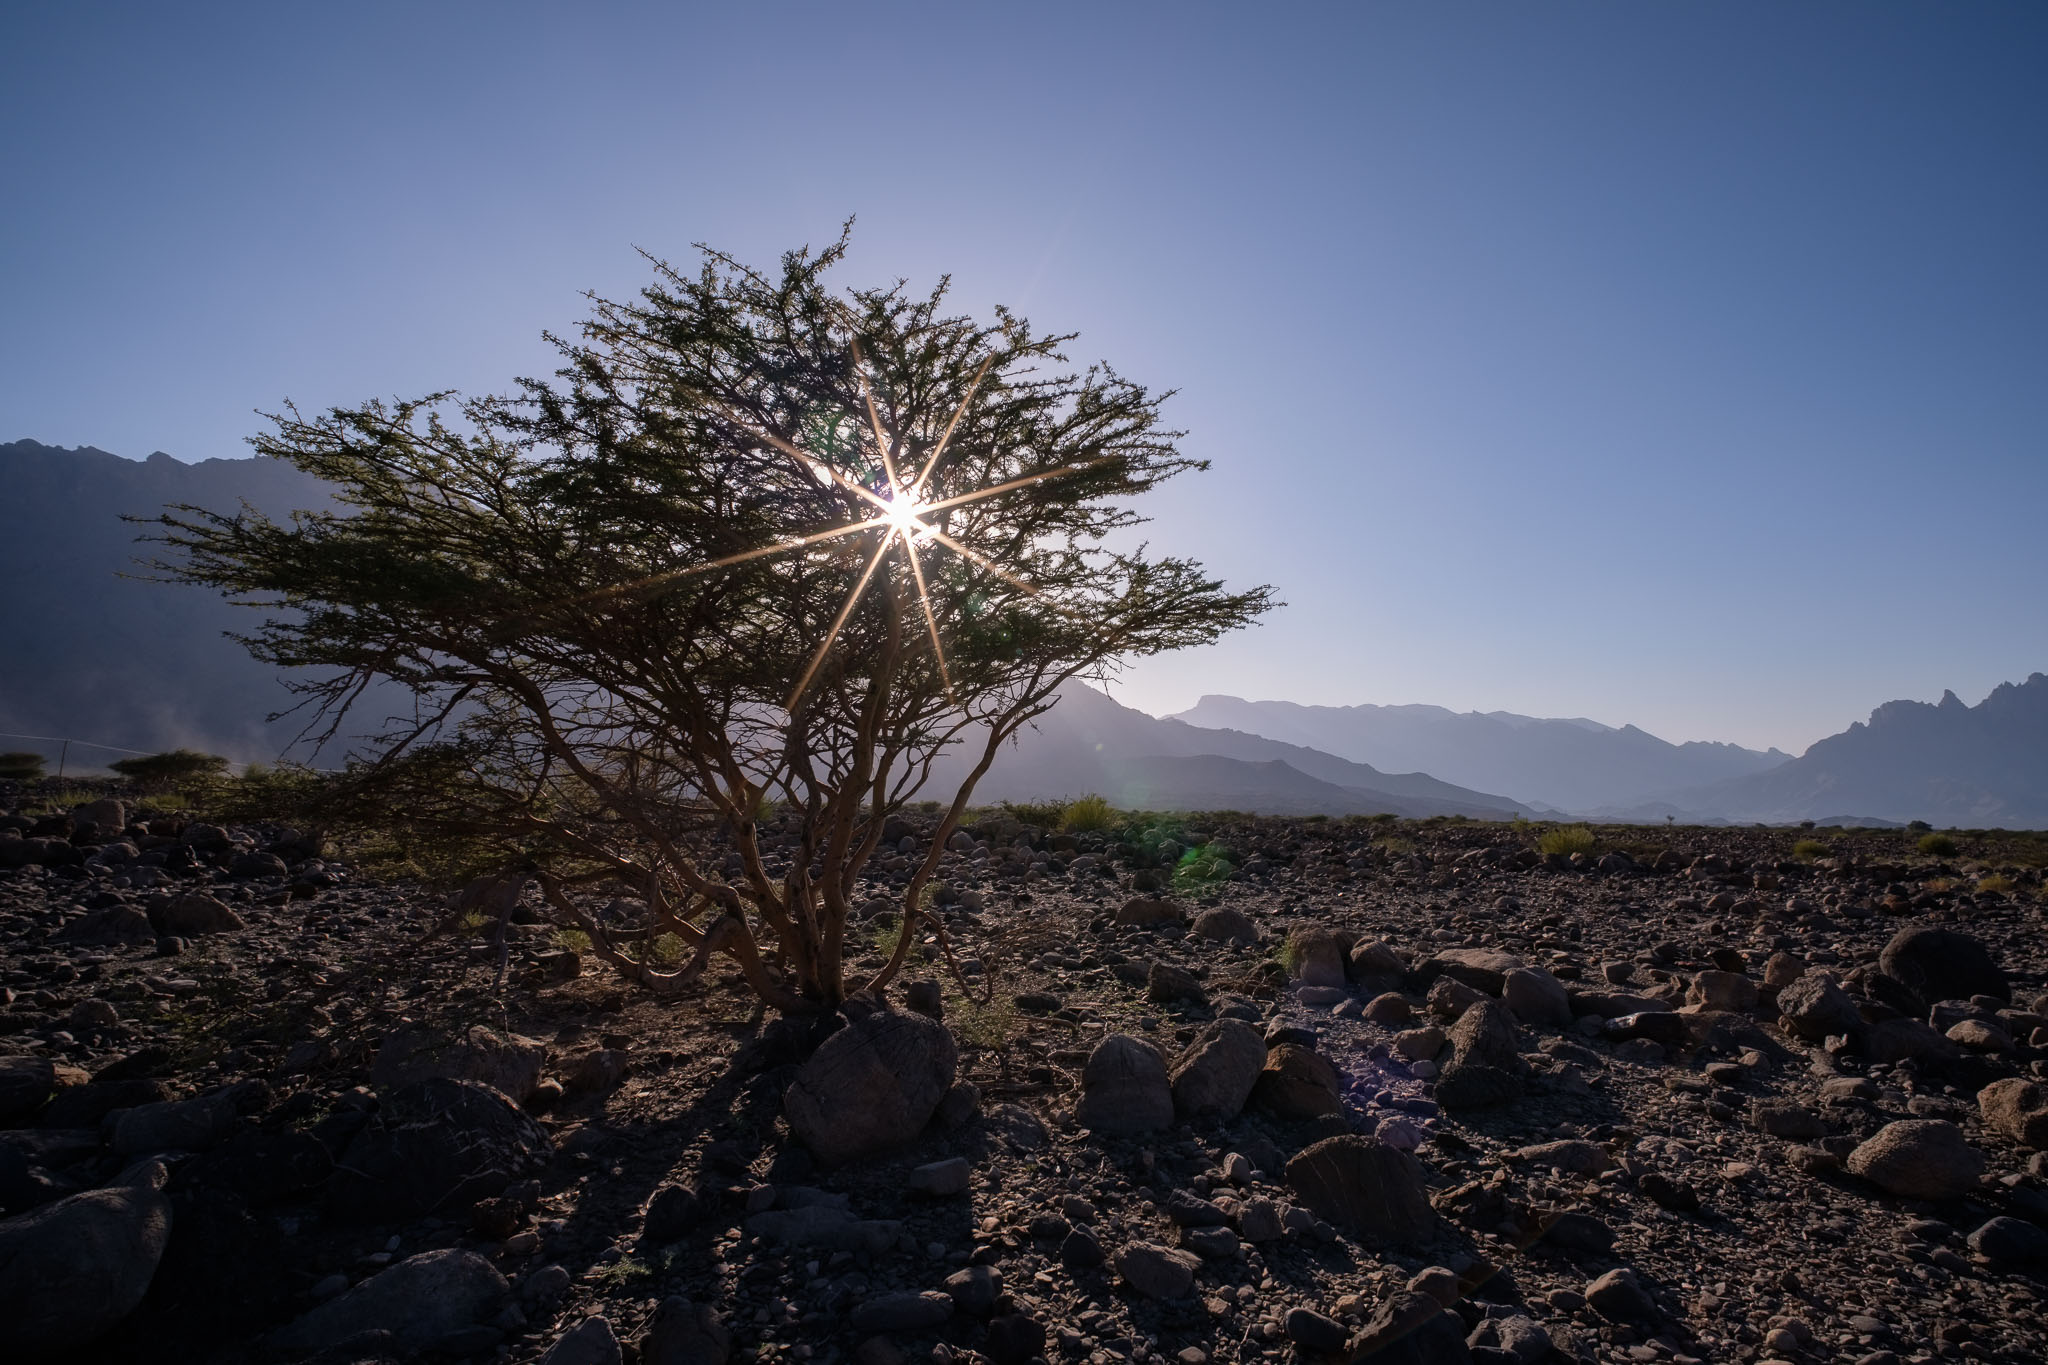
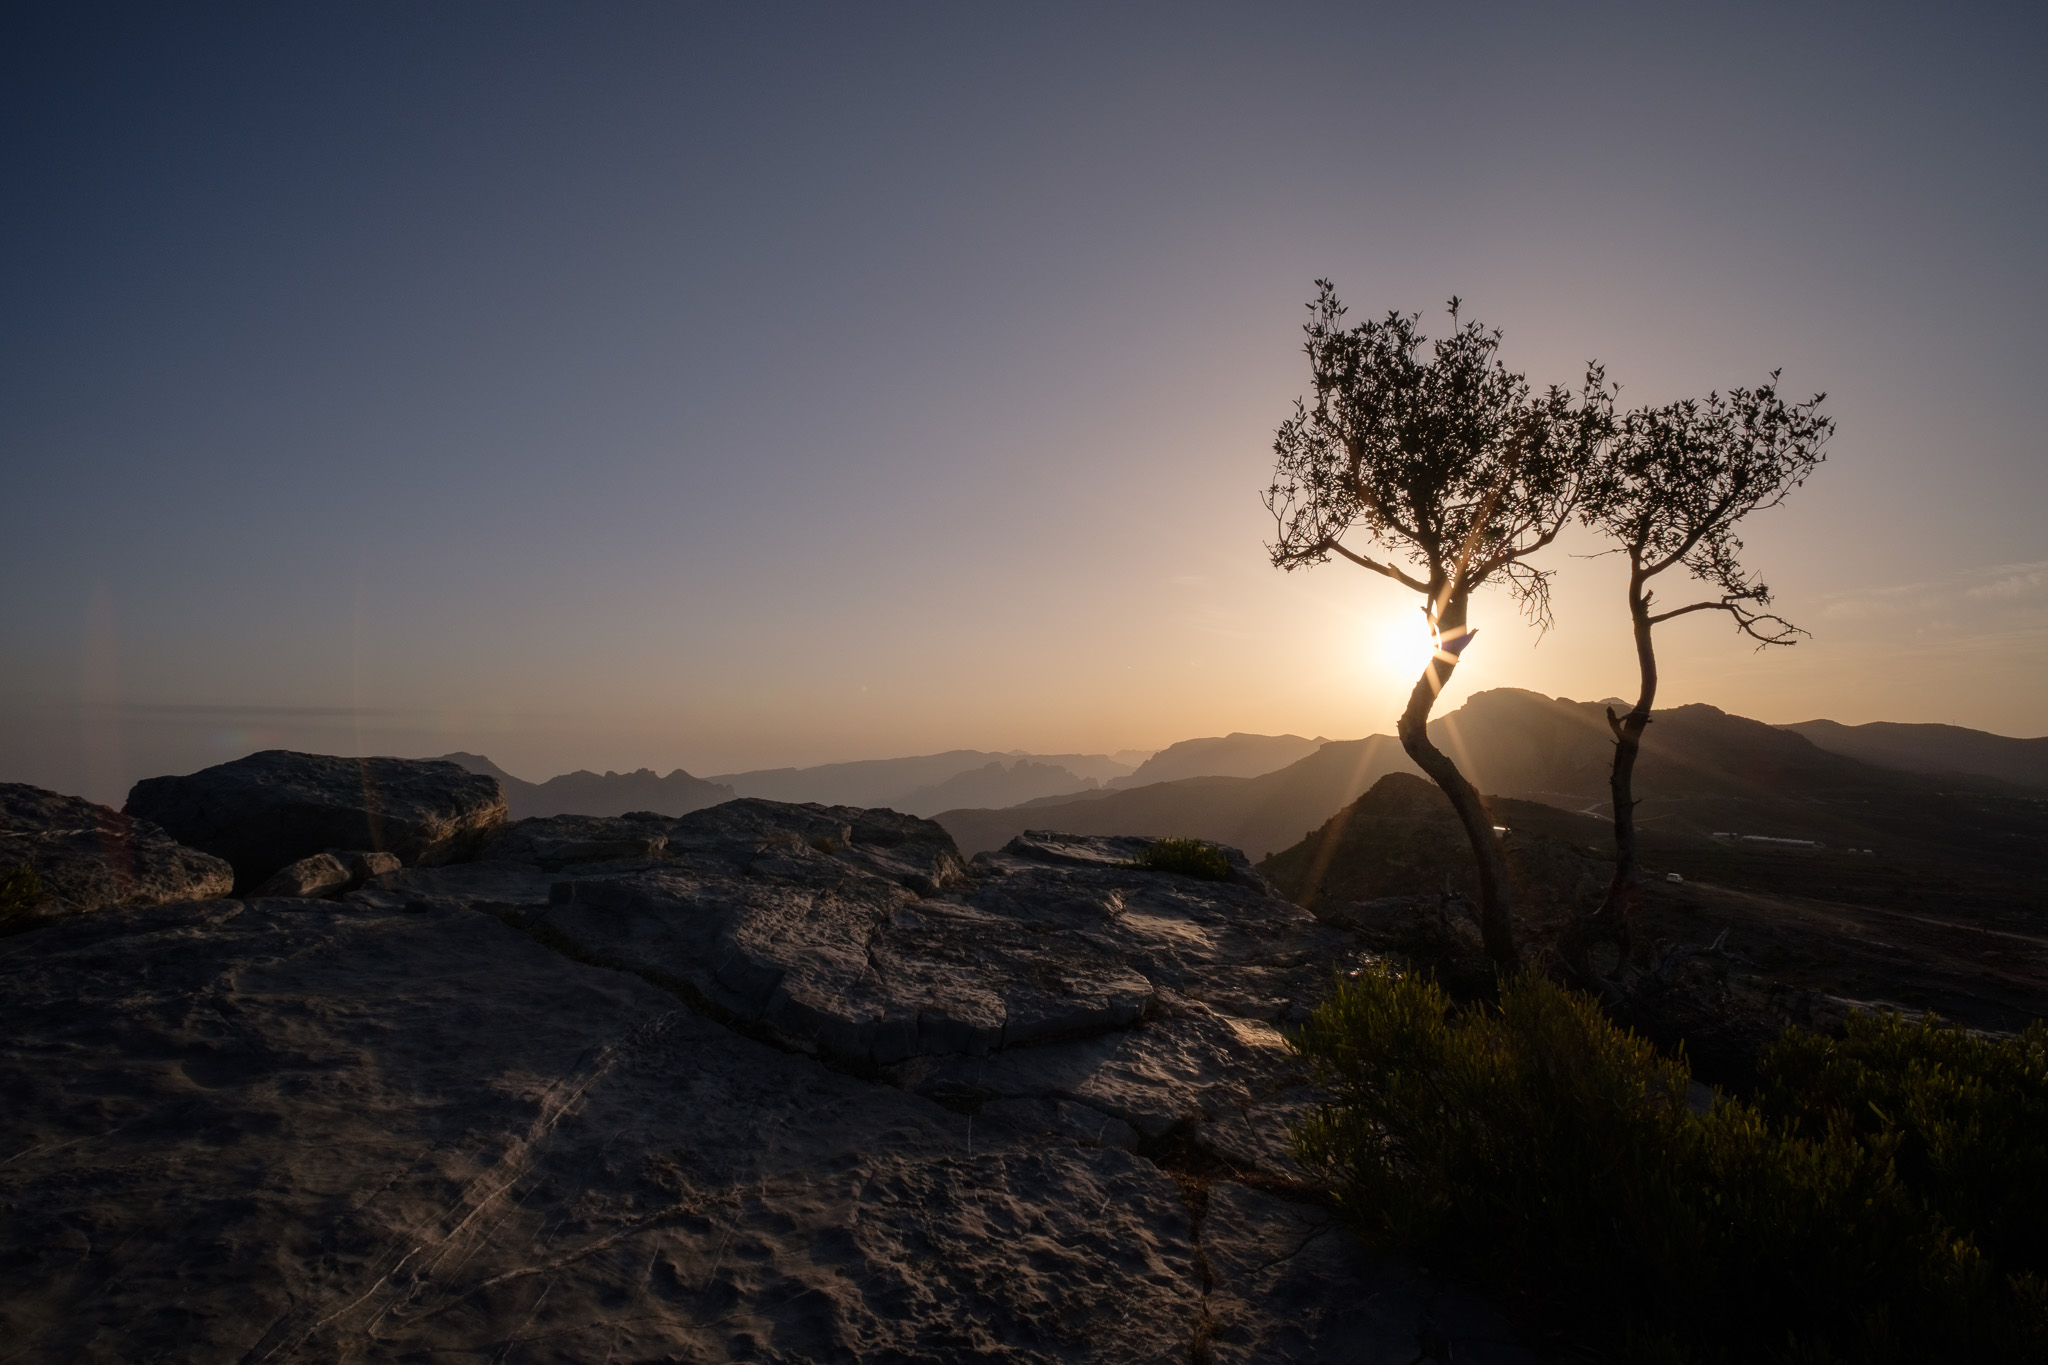
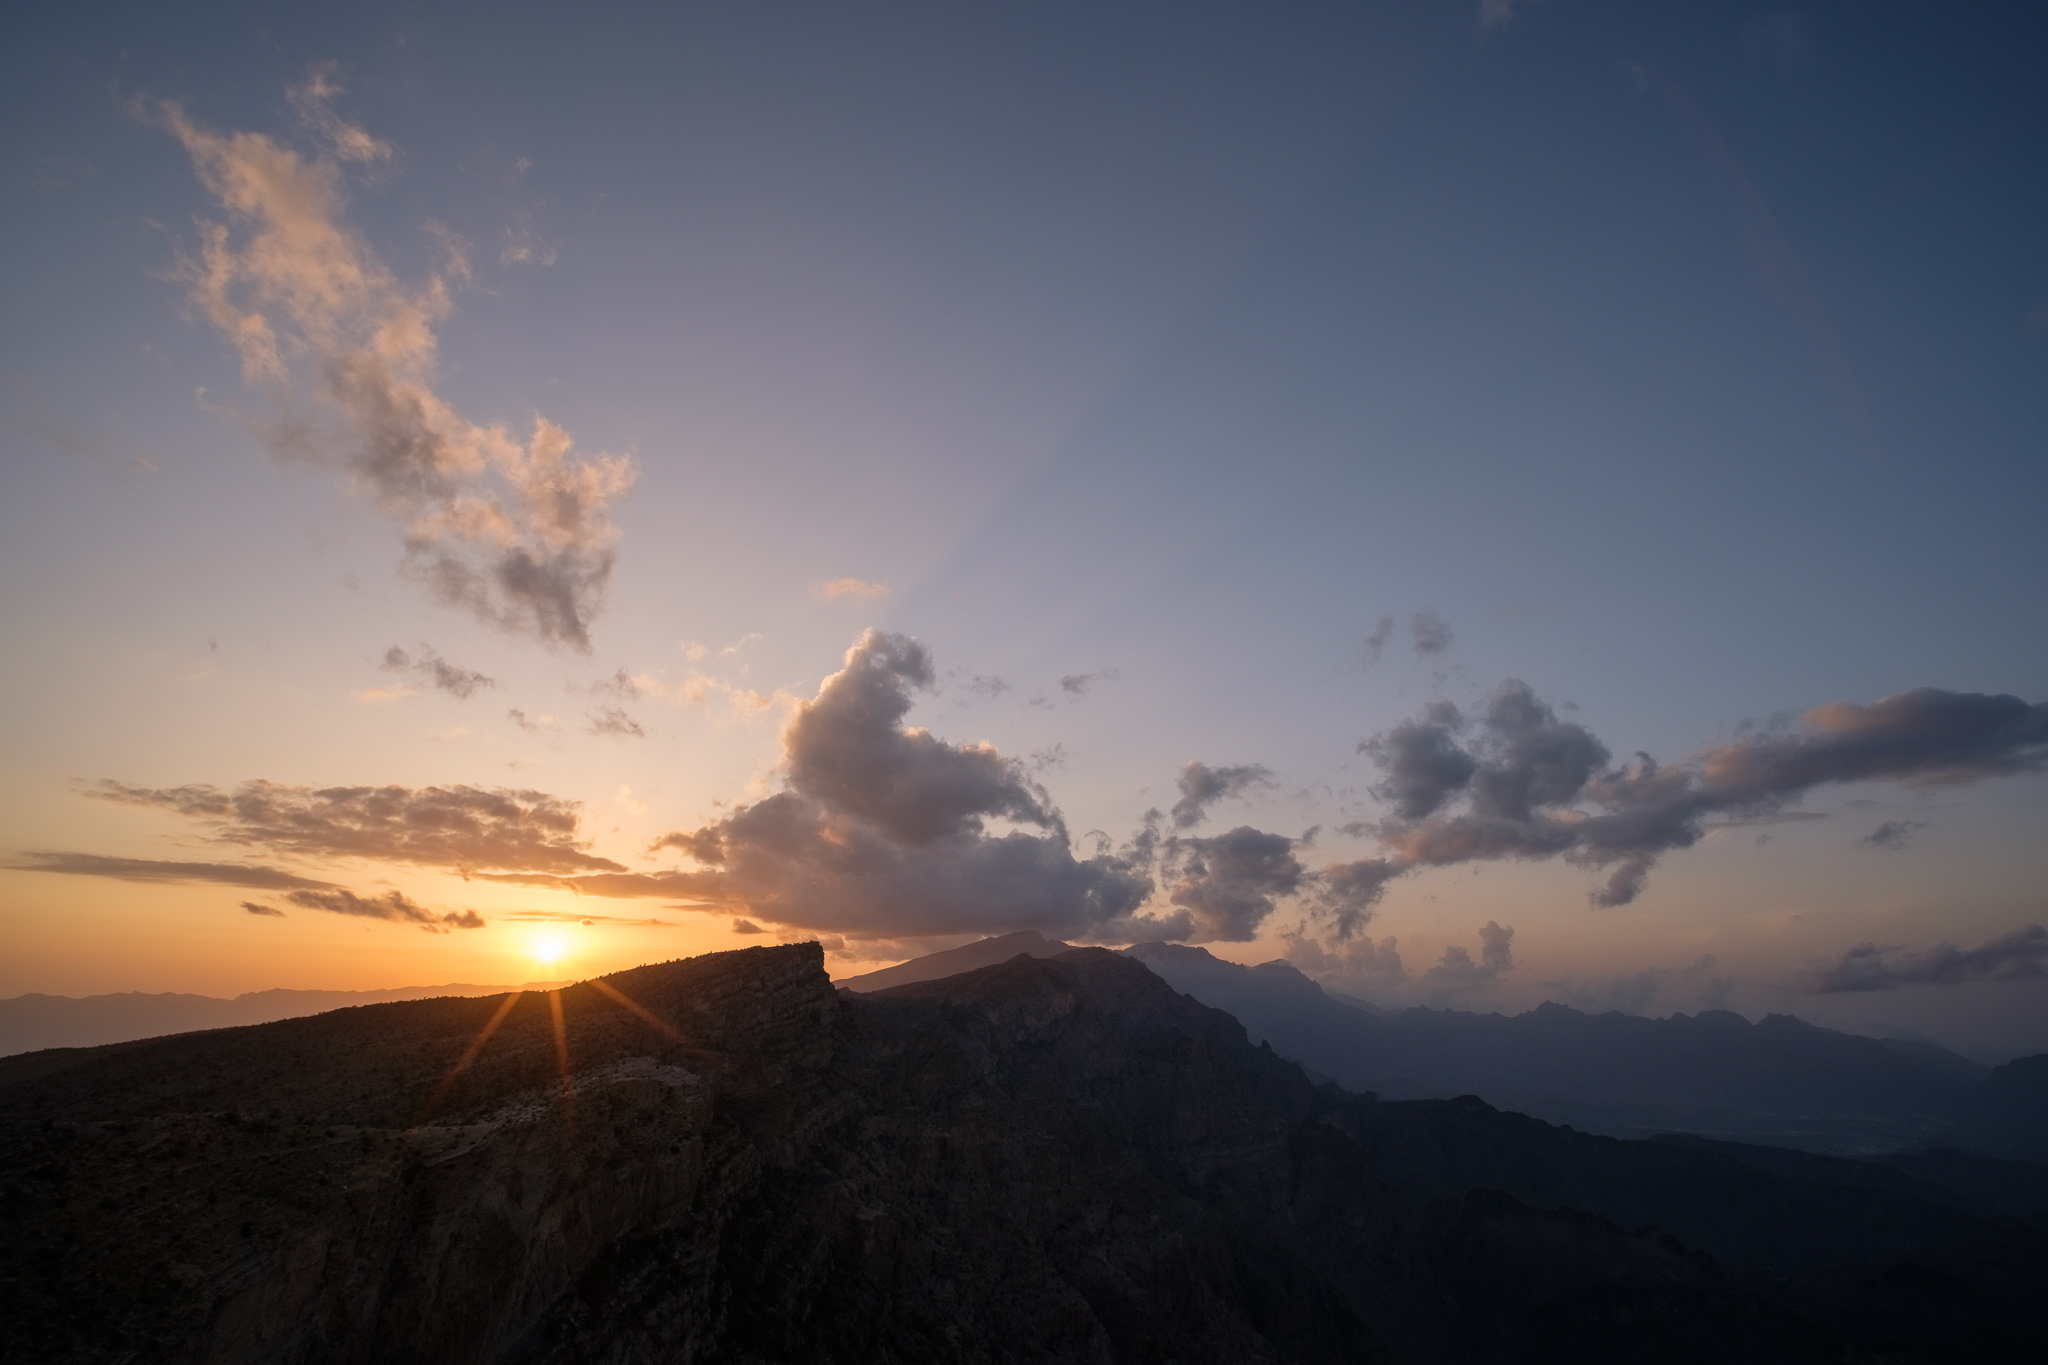
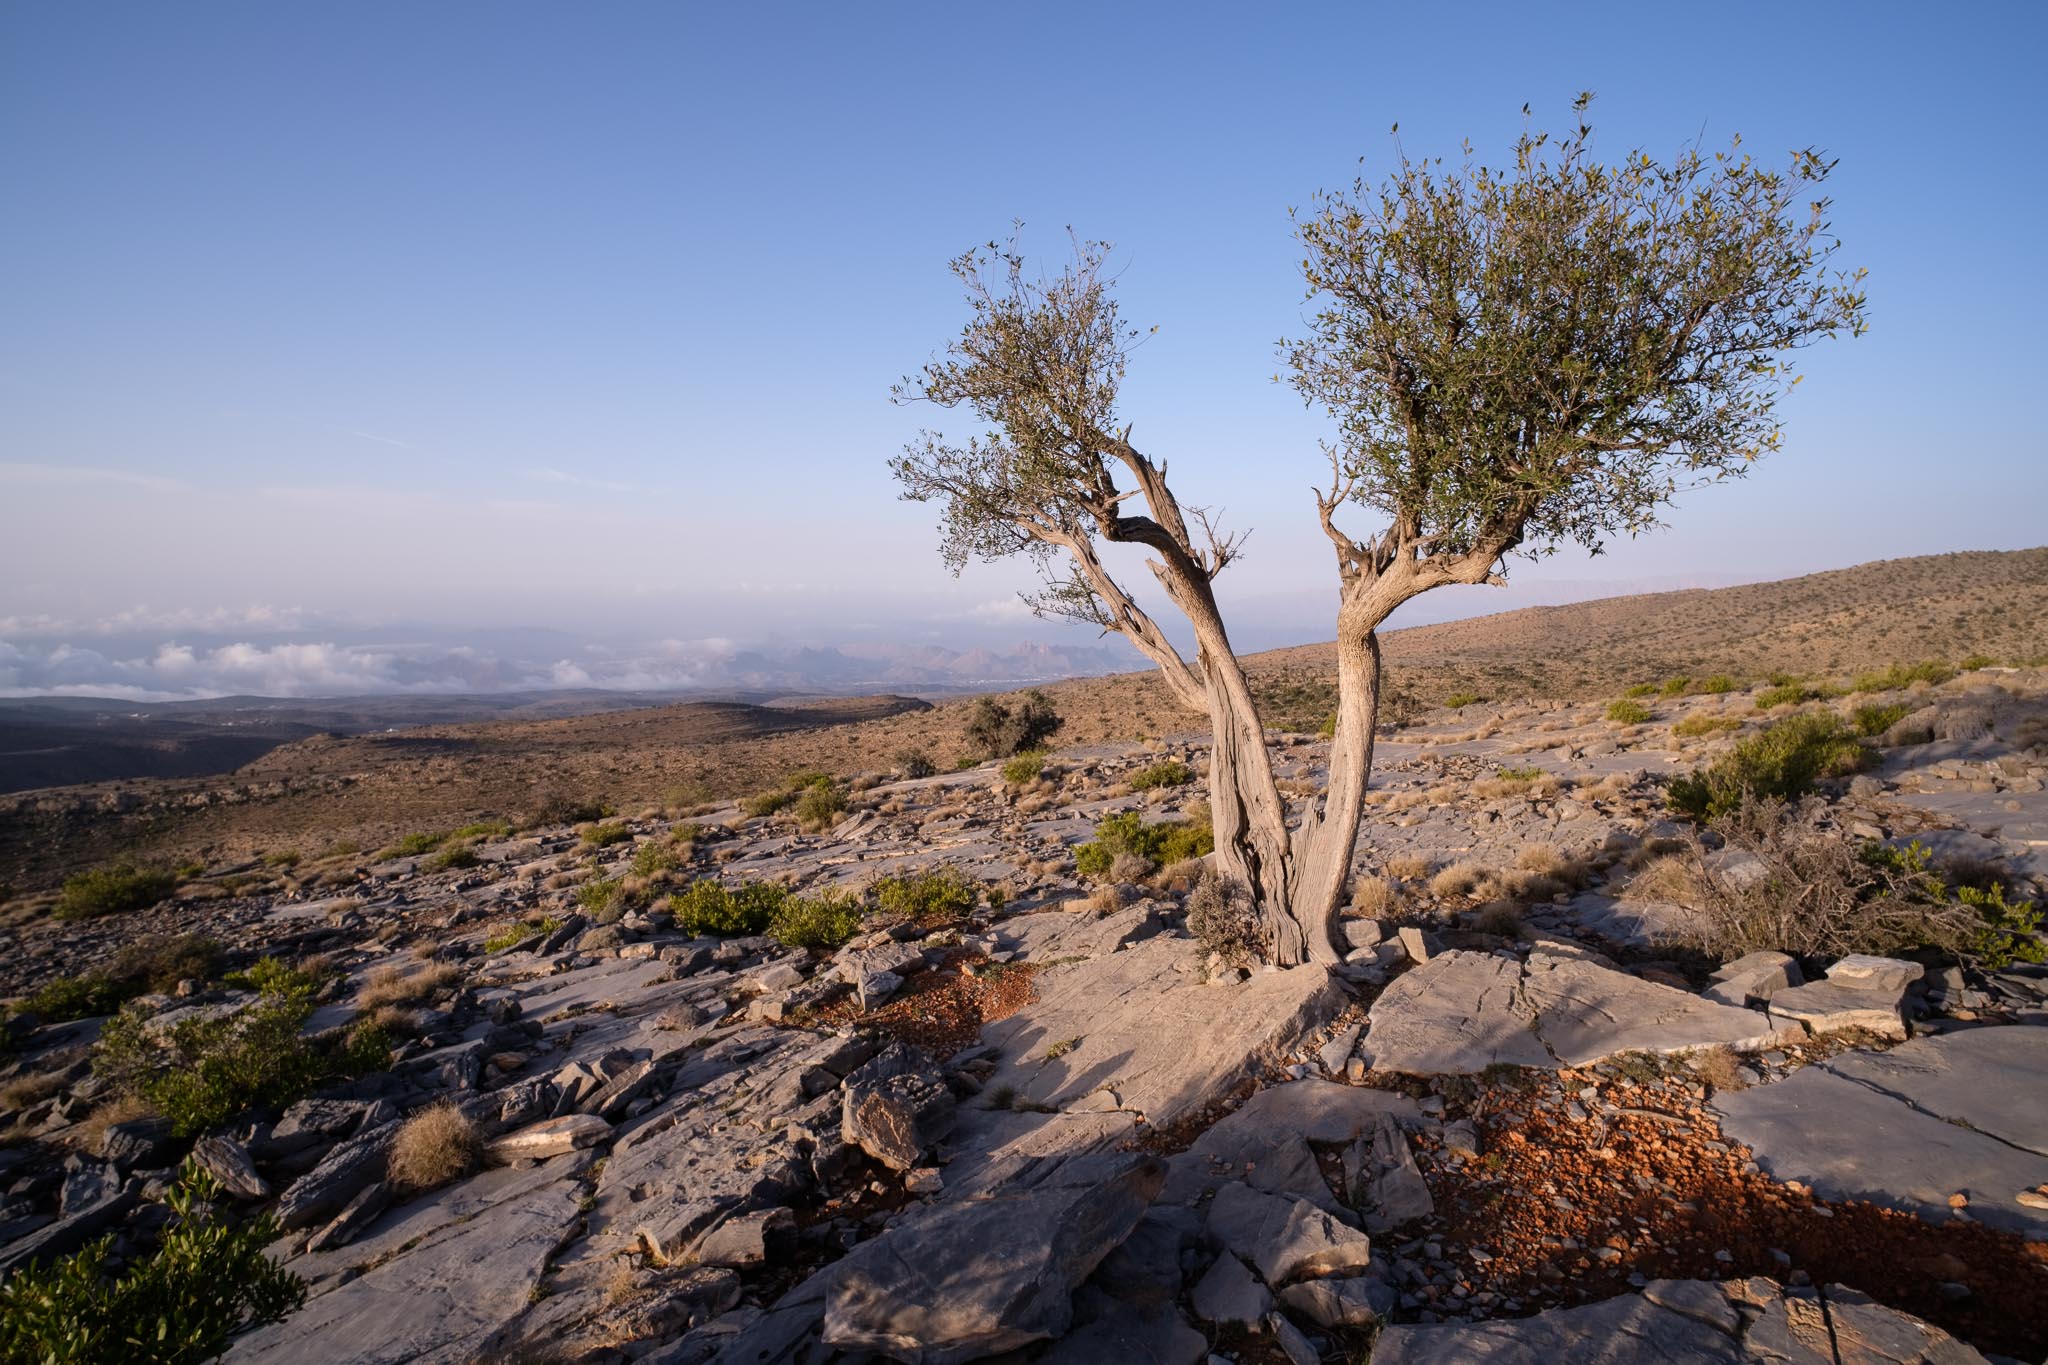
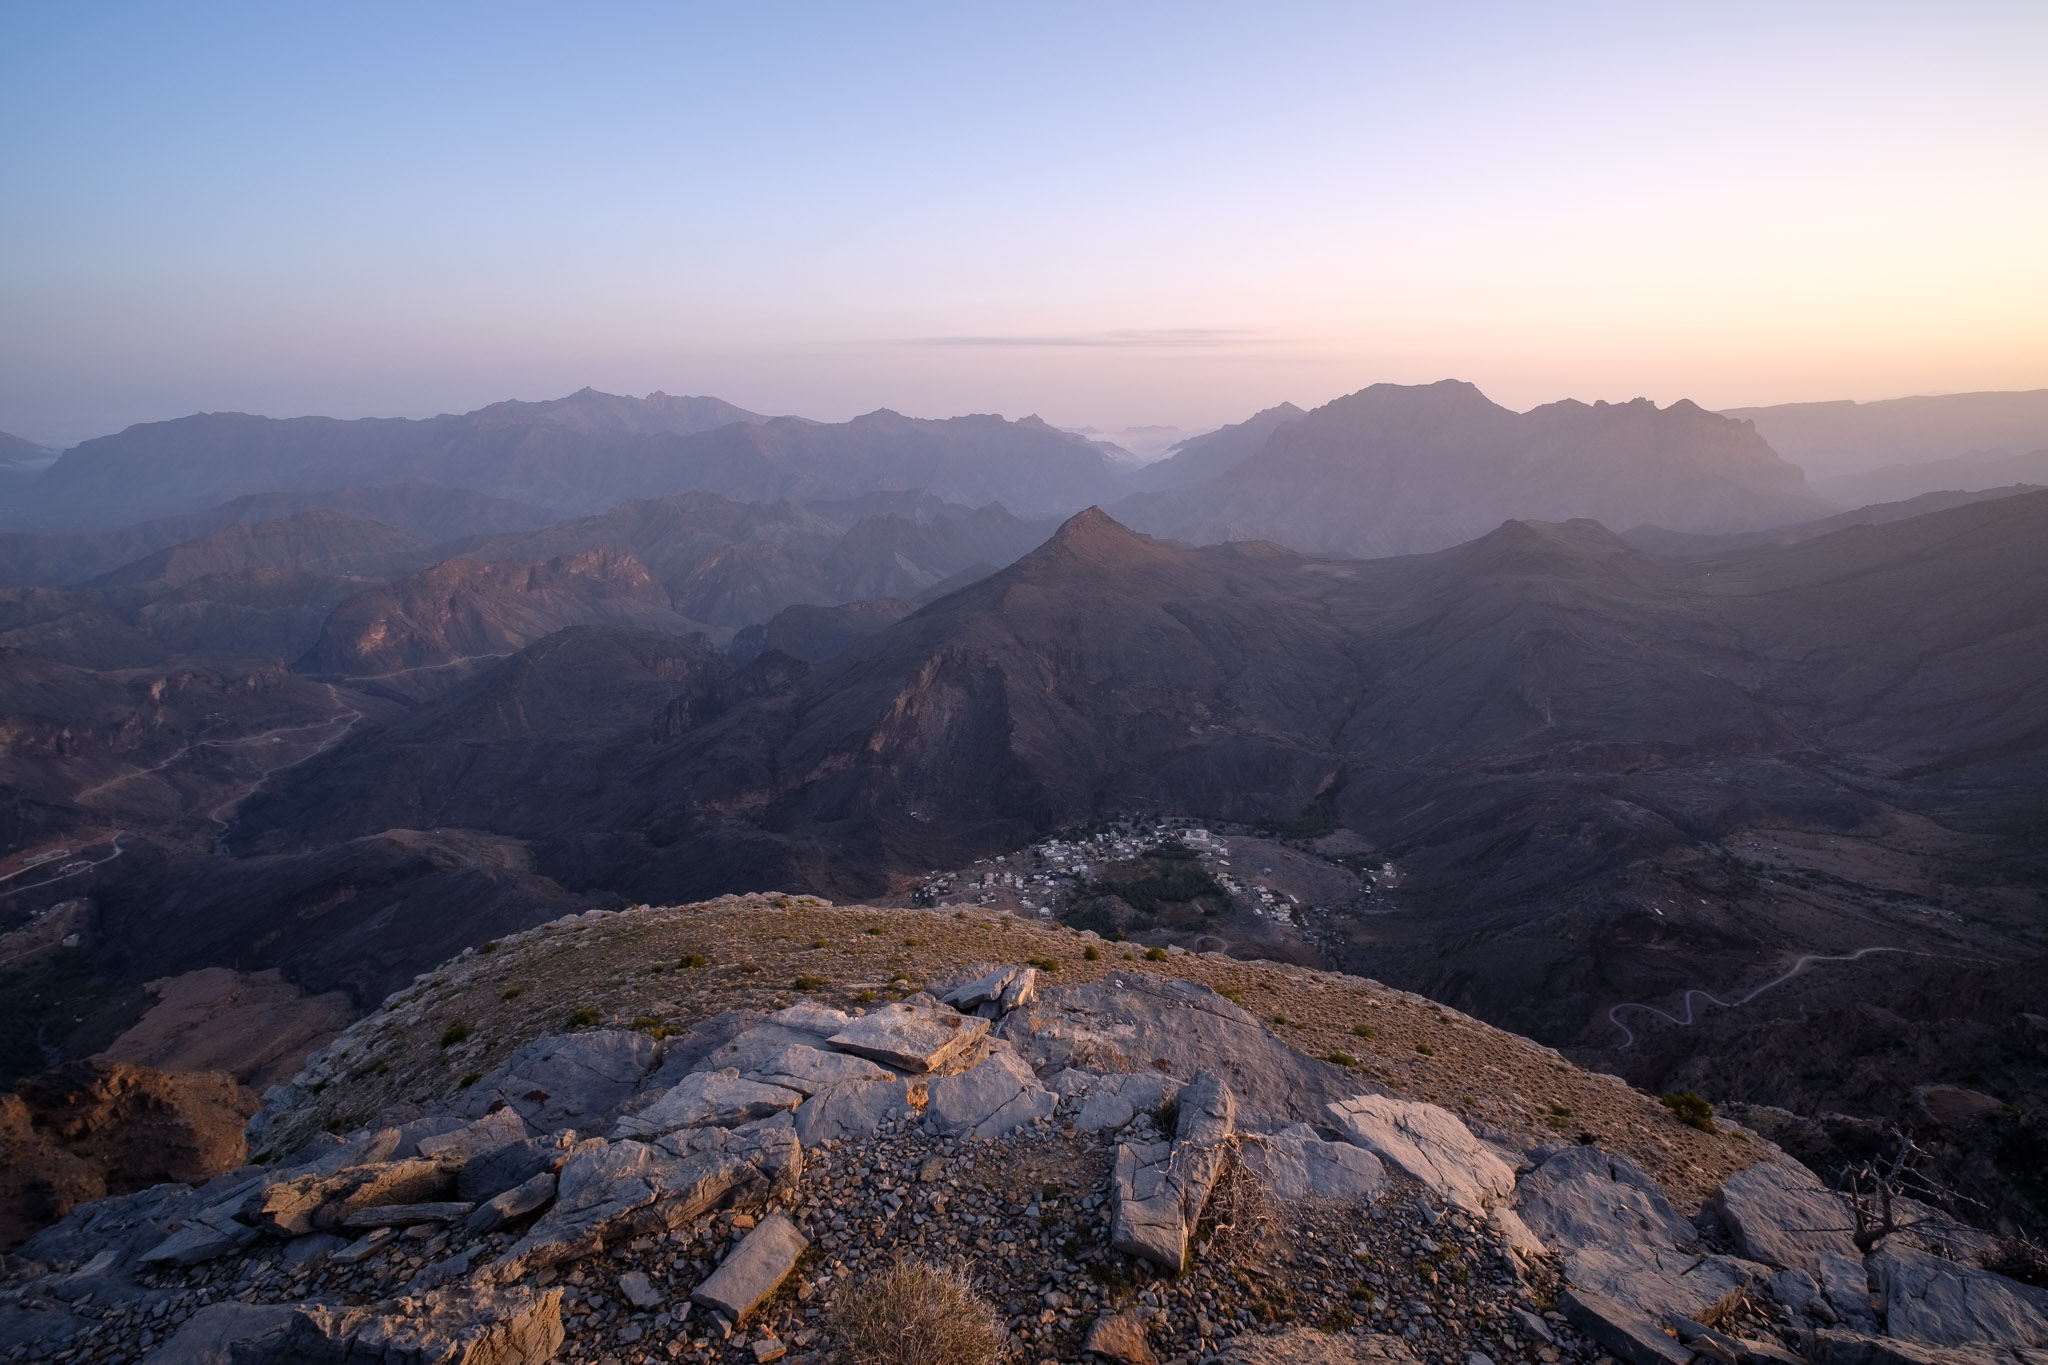
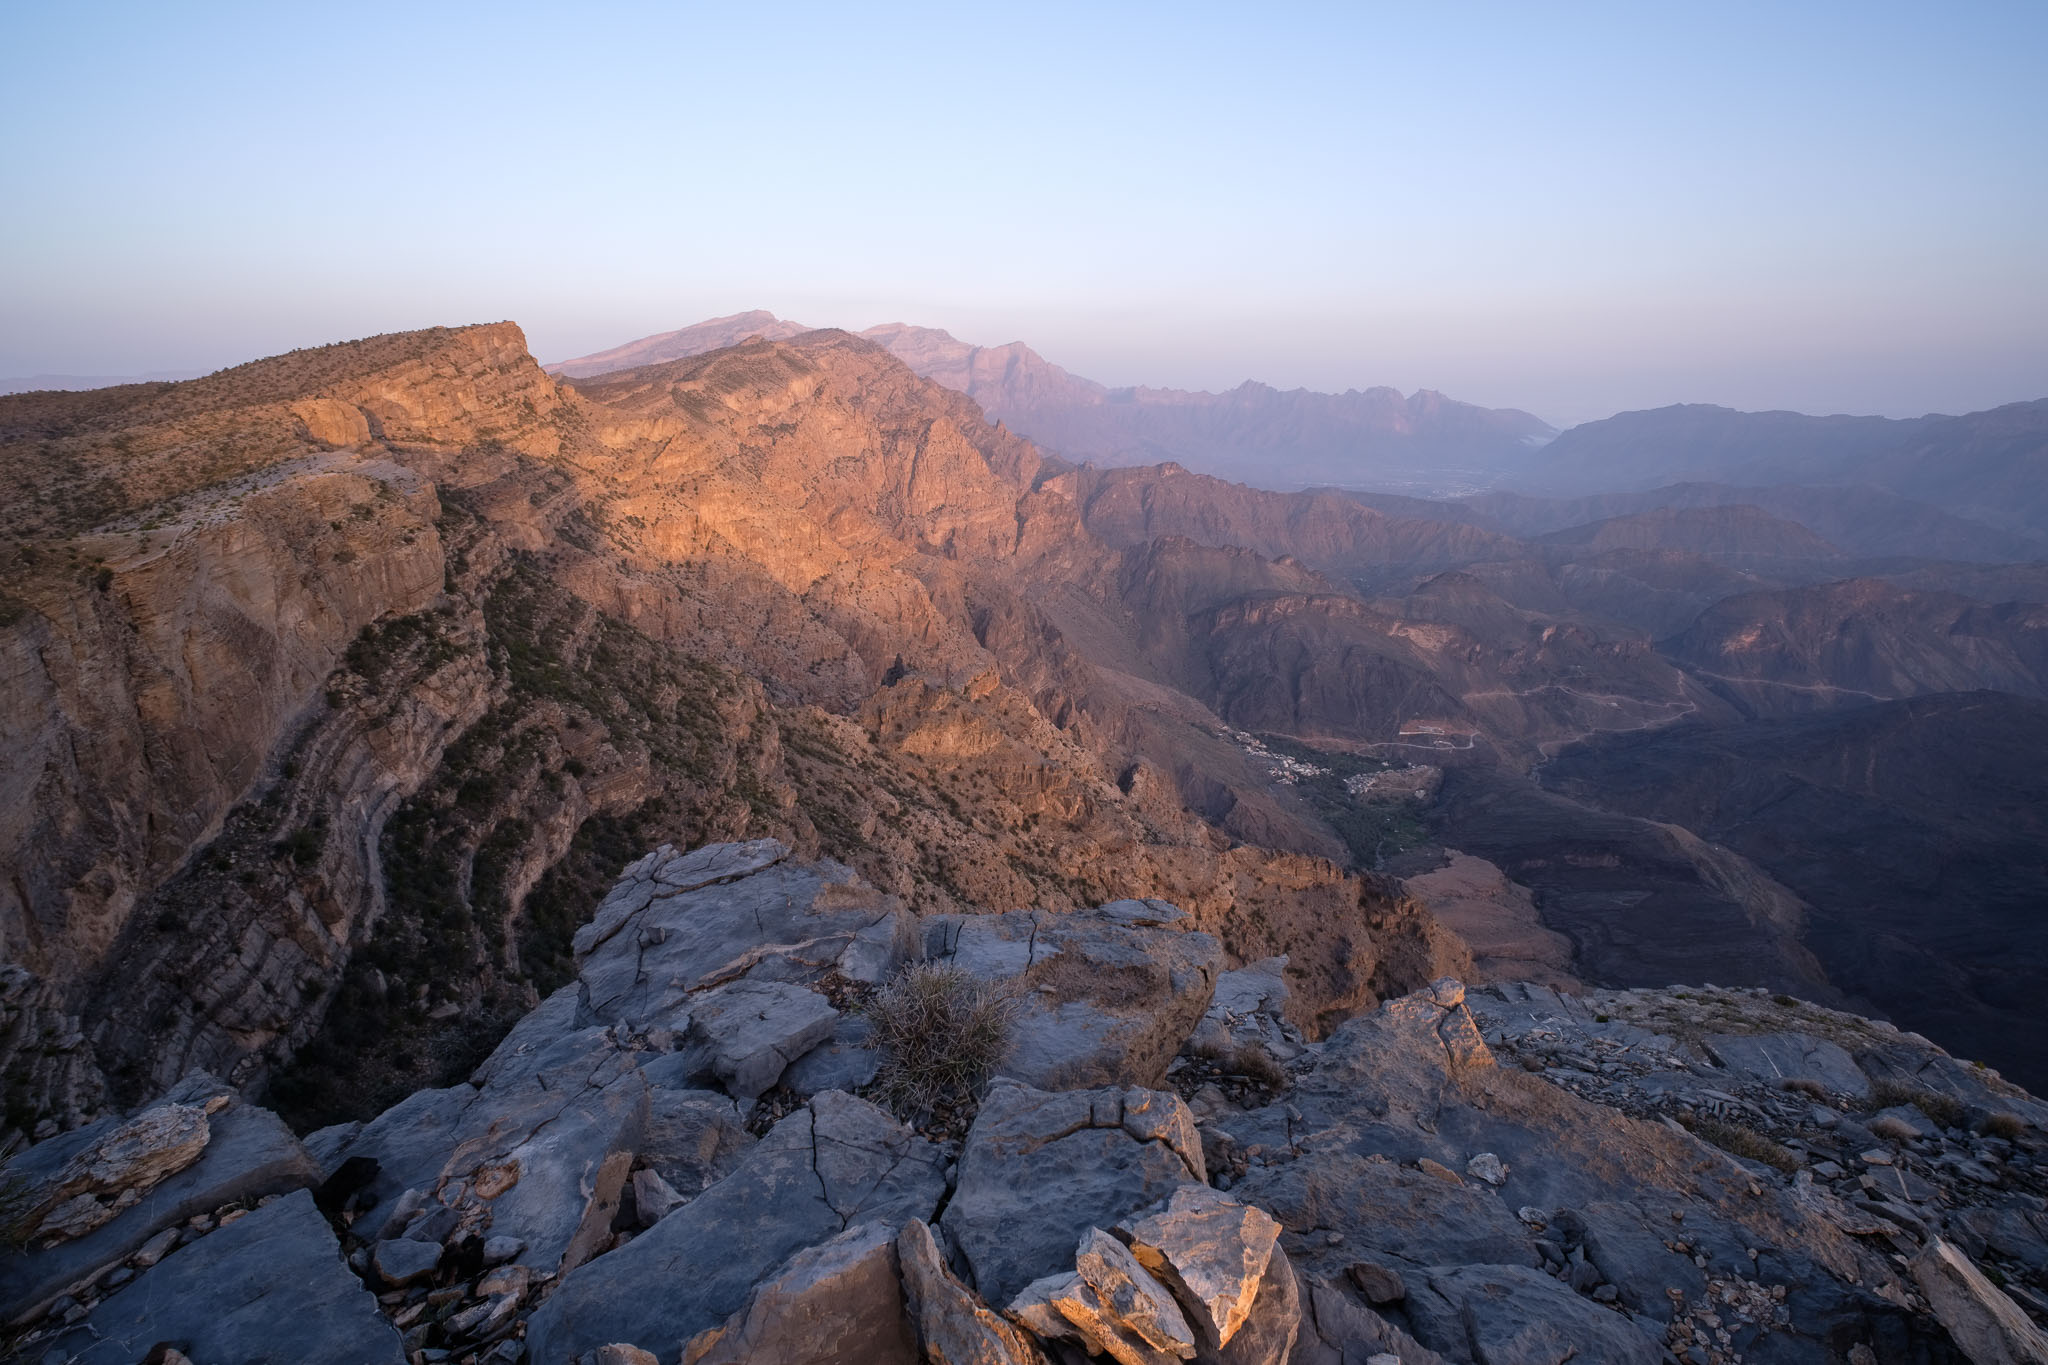
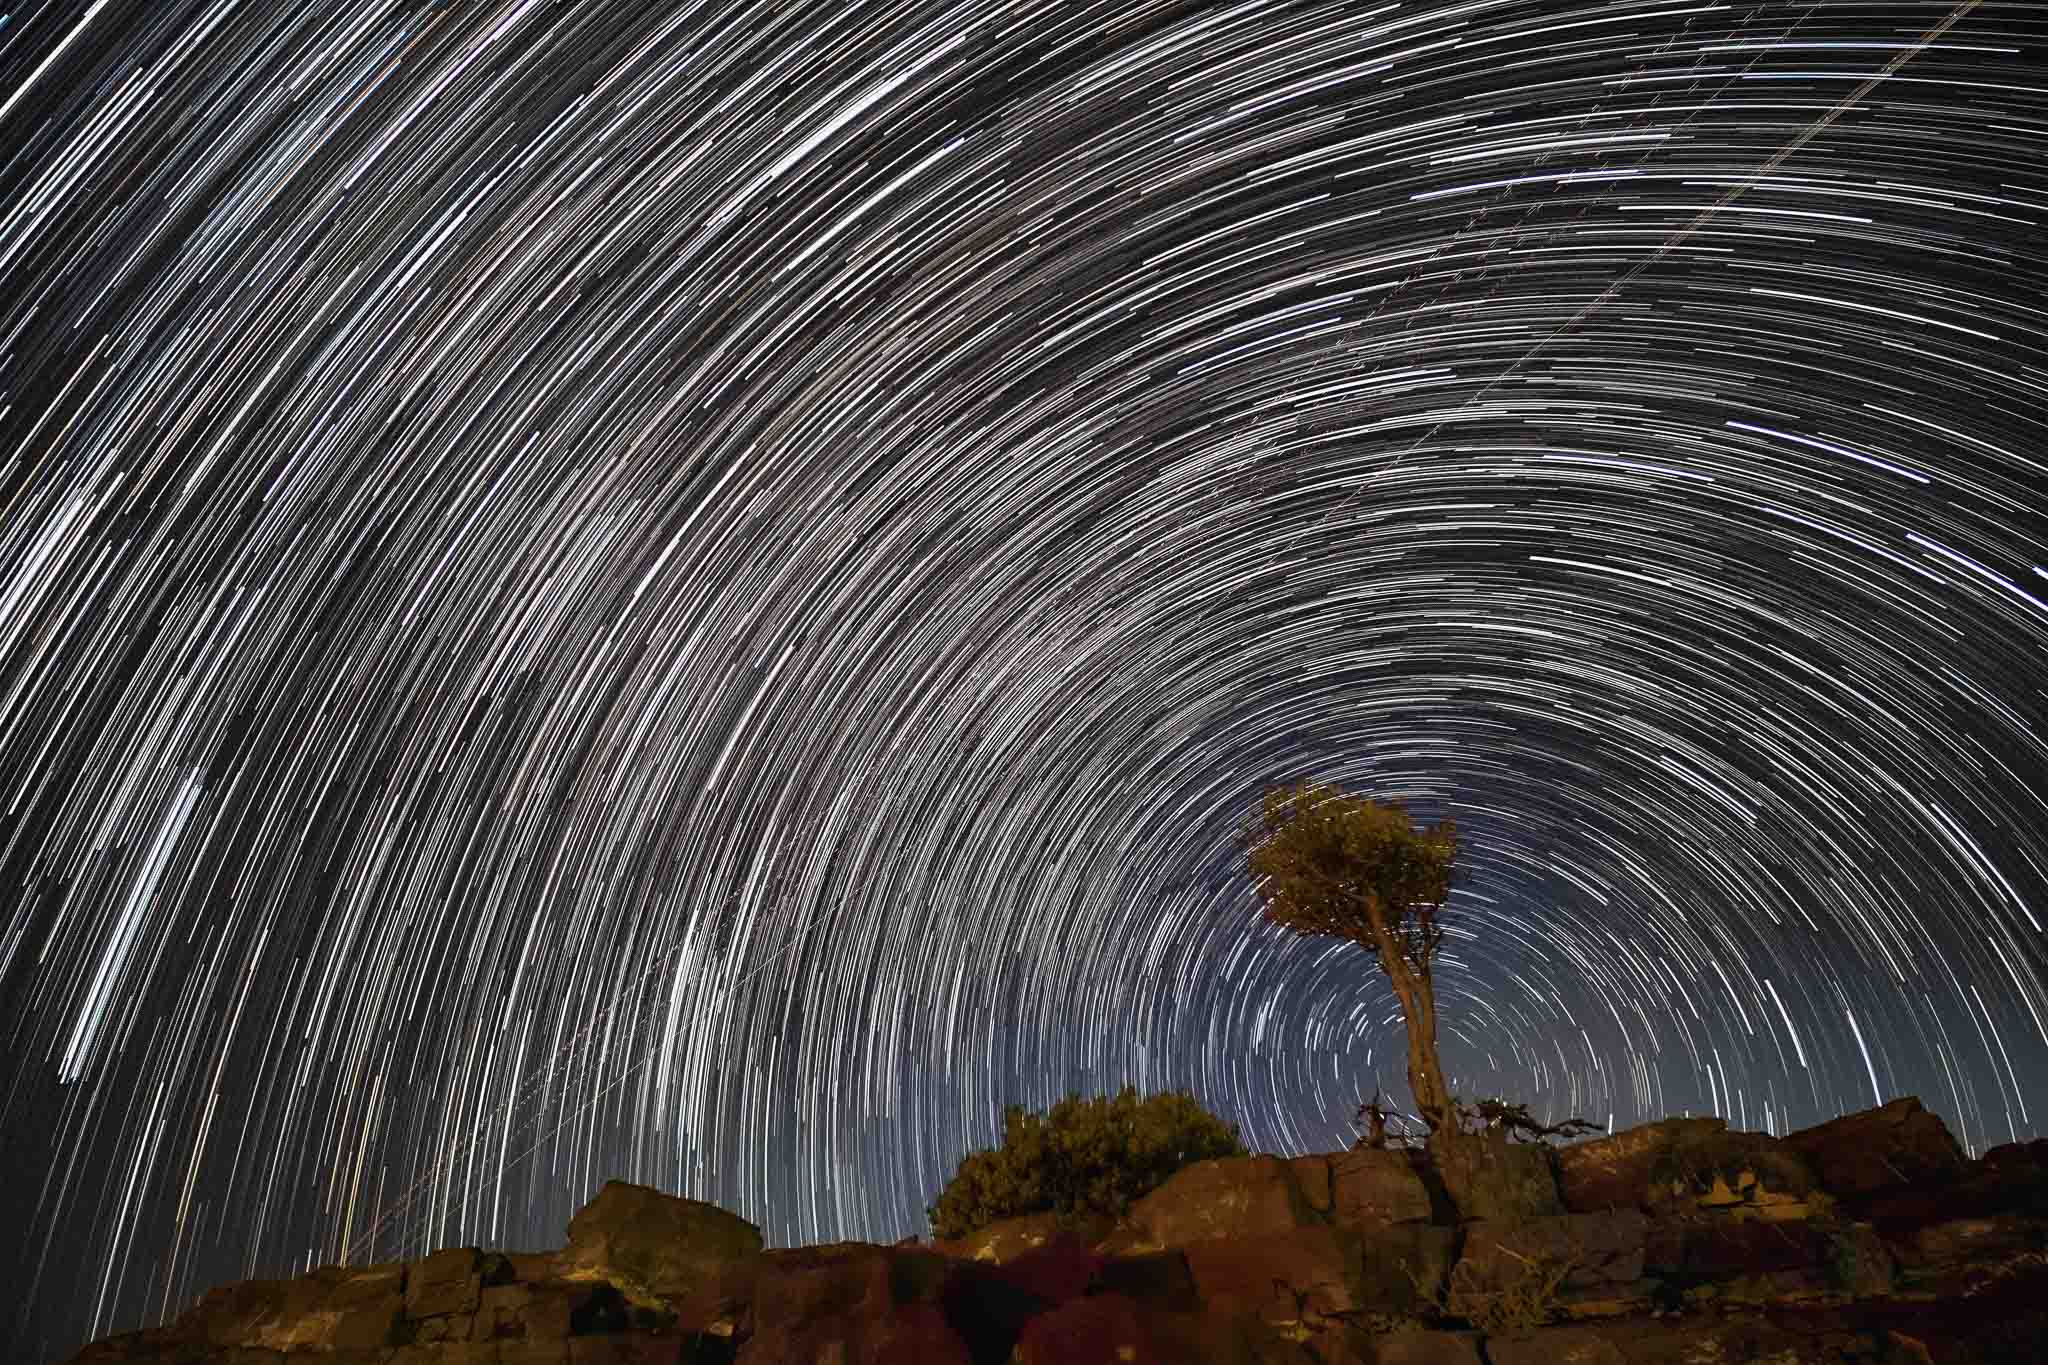
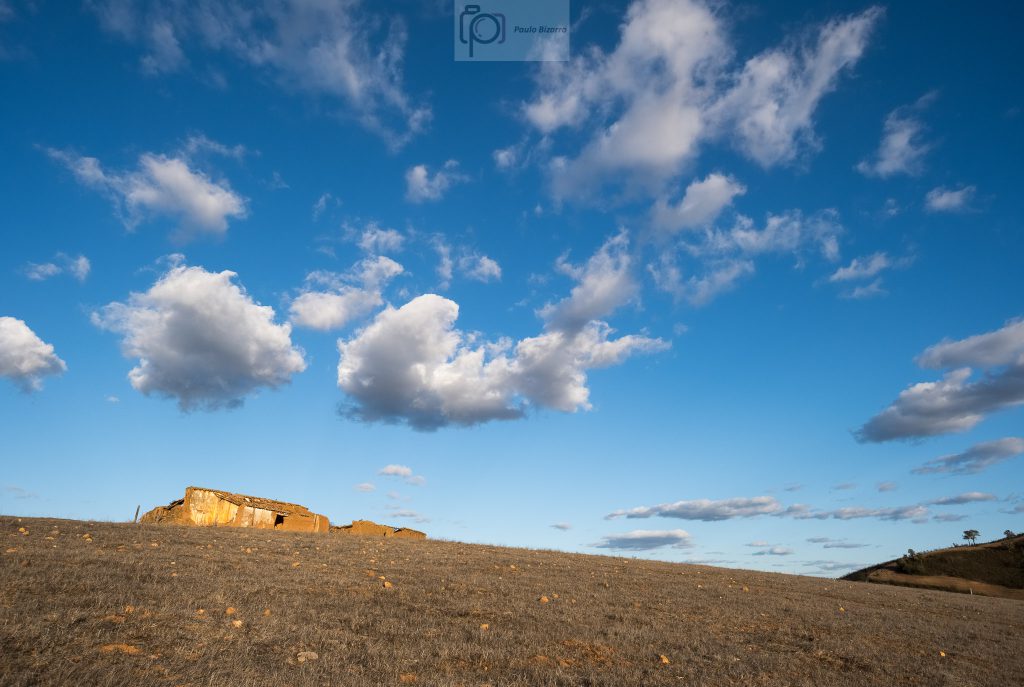
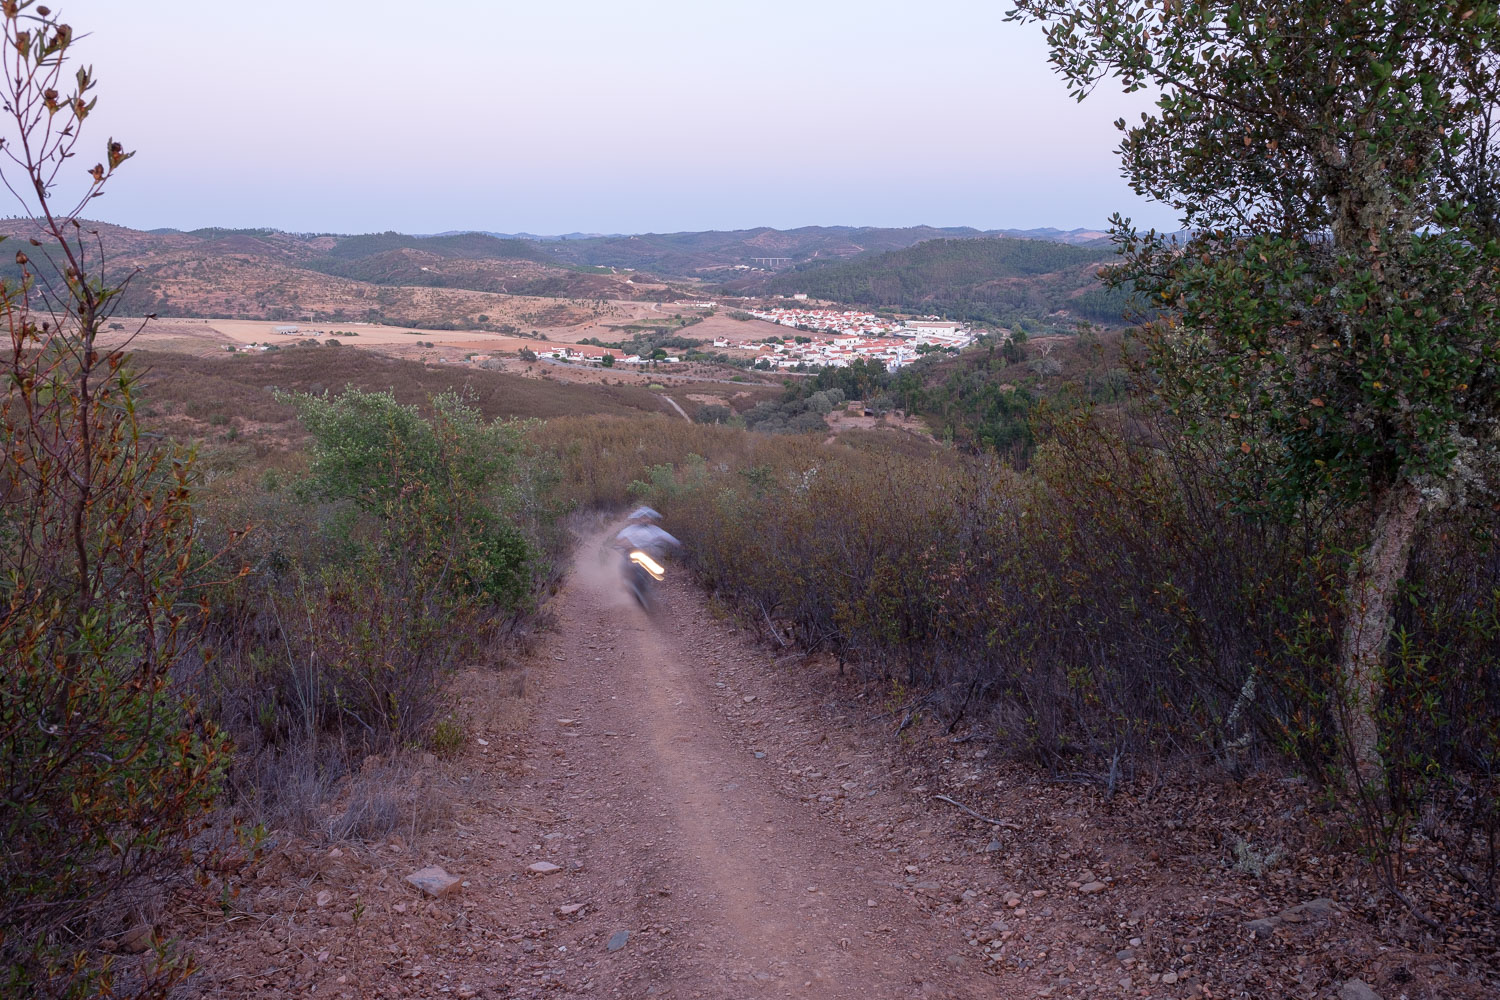
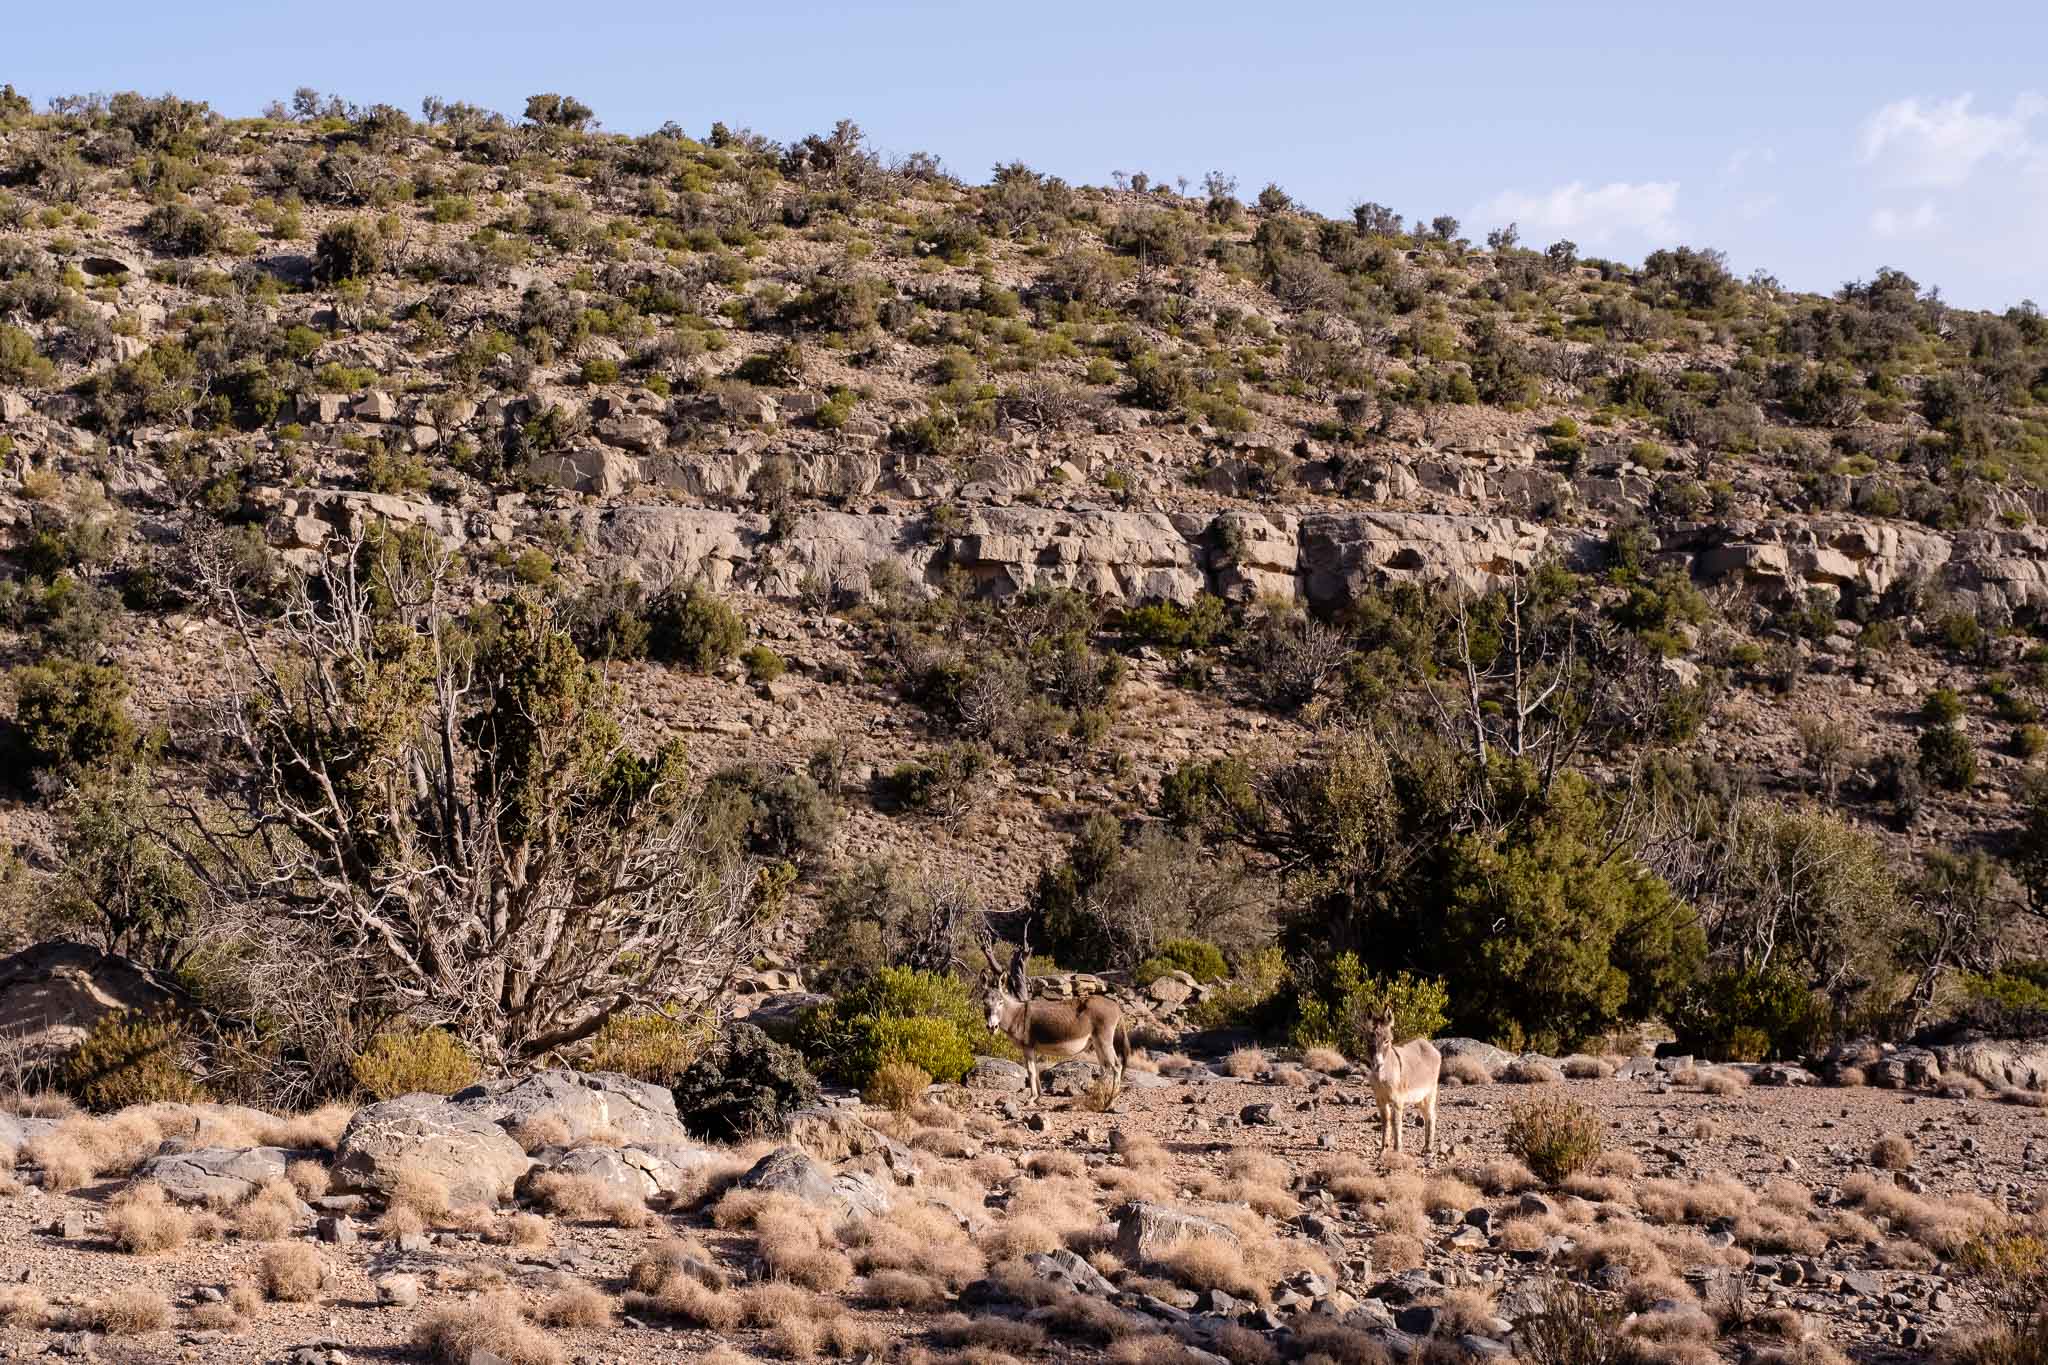
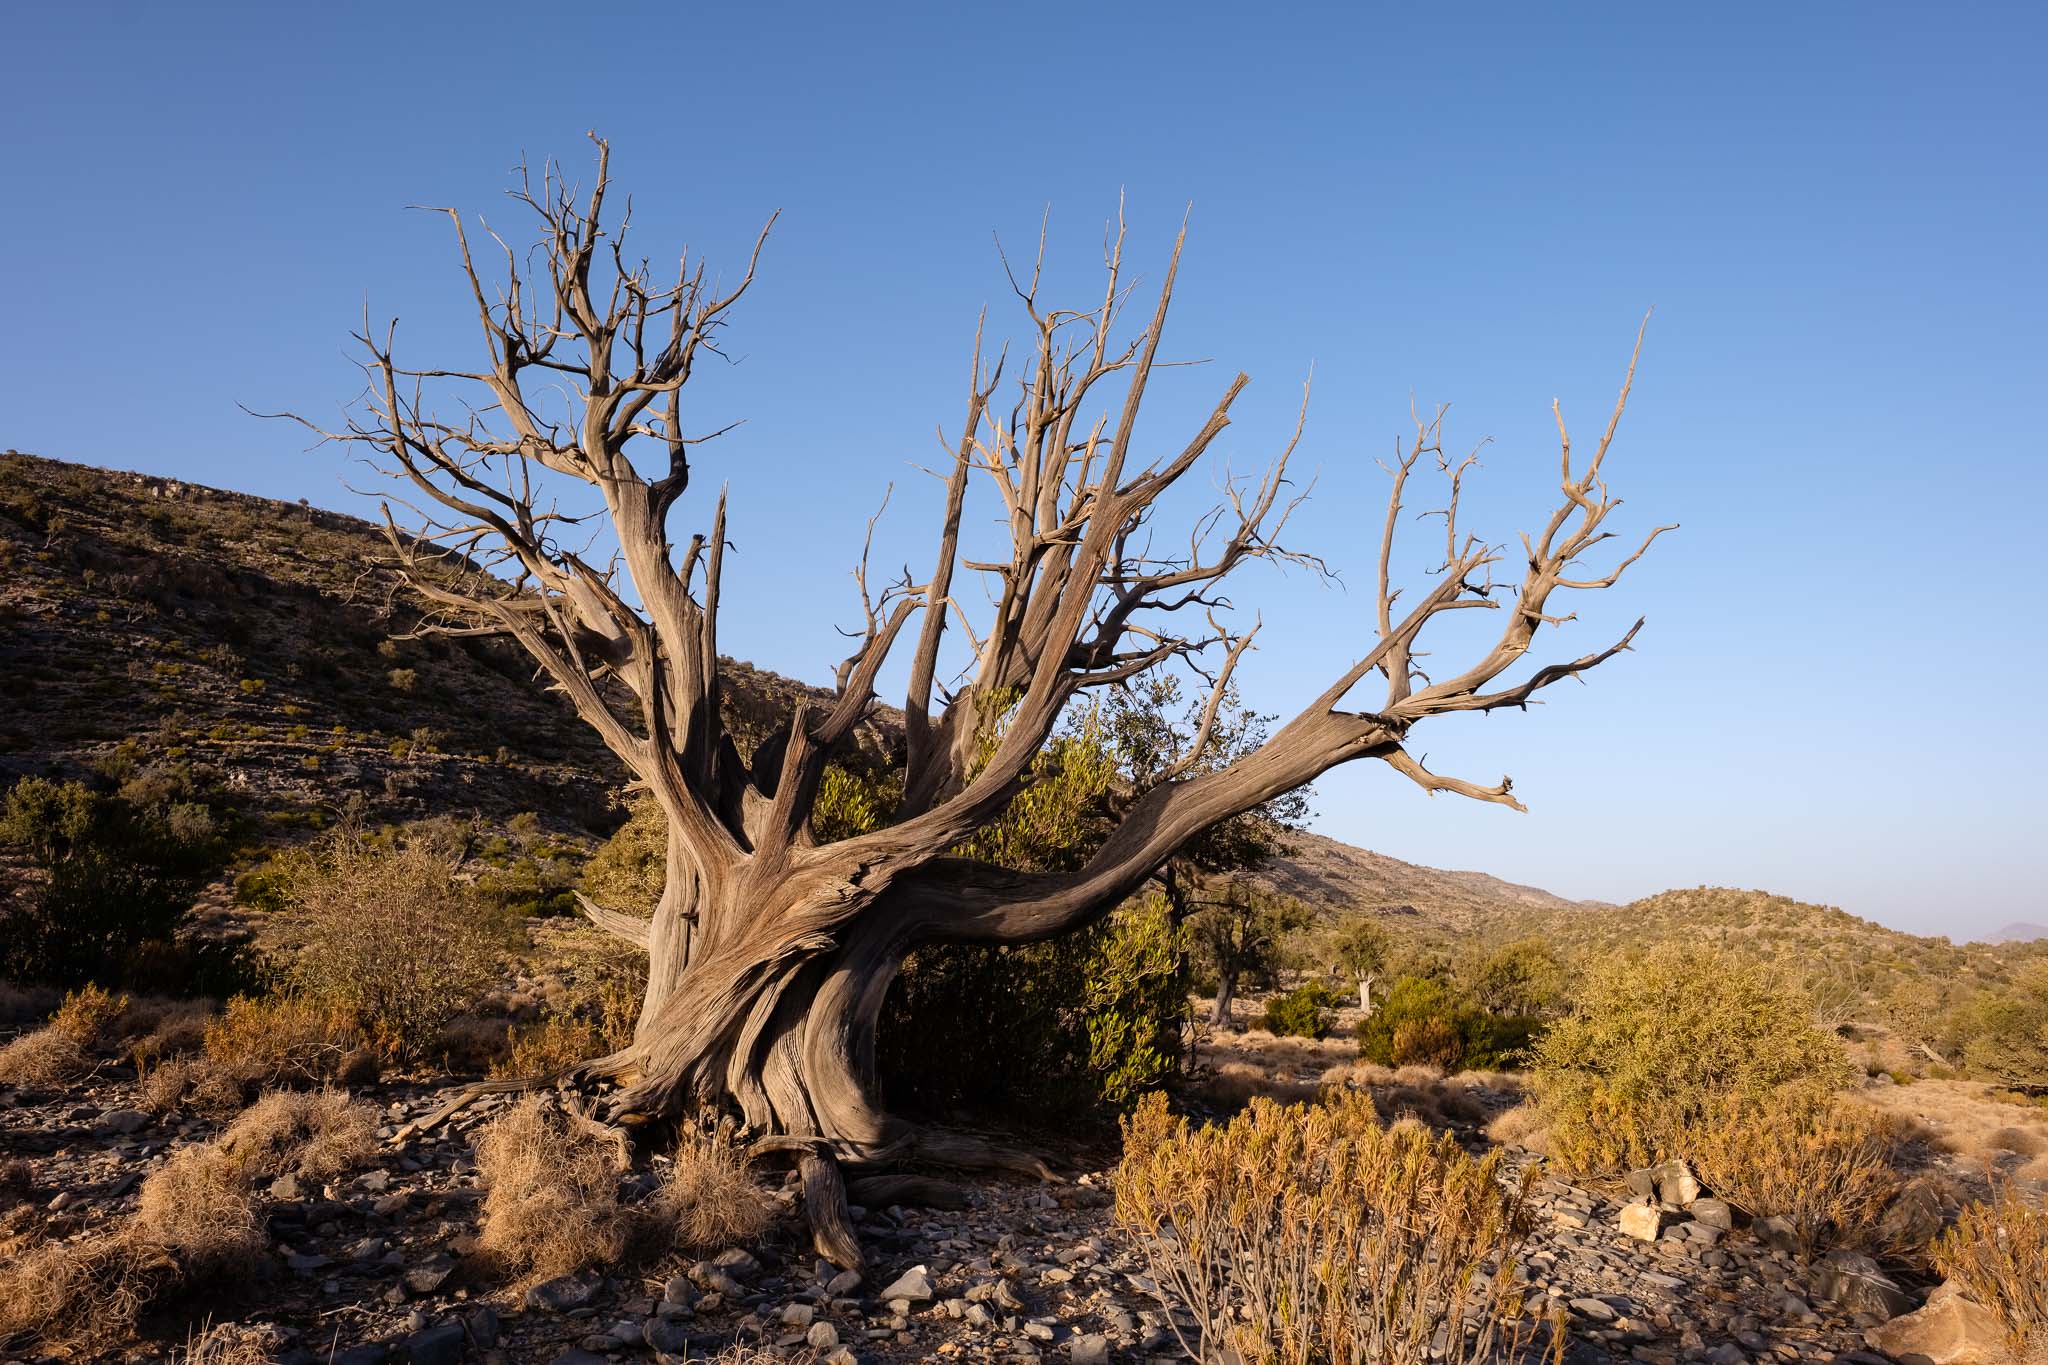
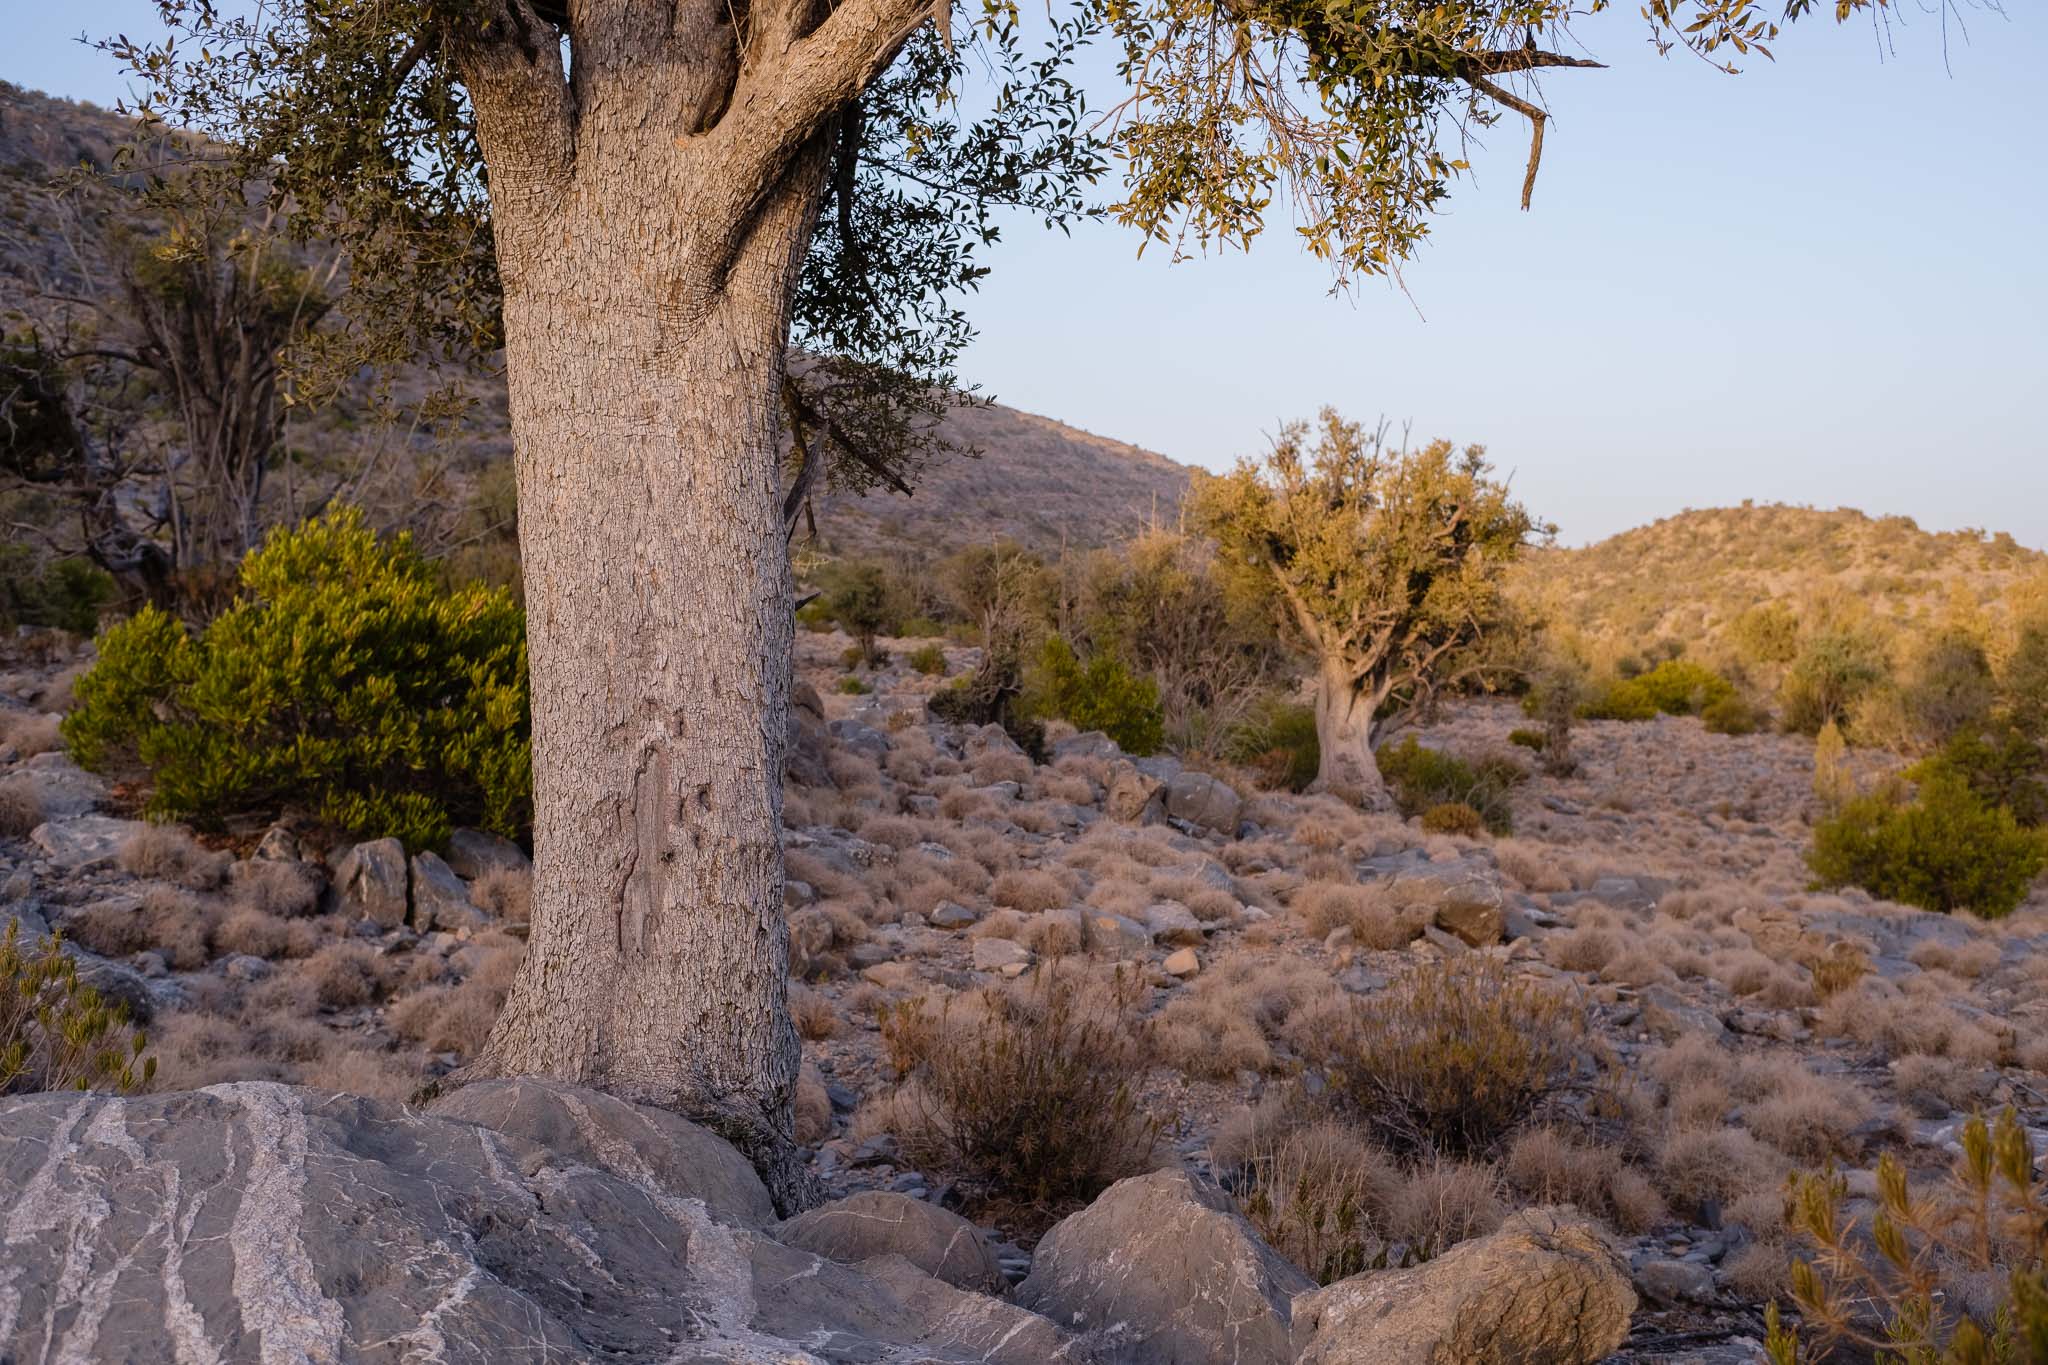
I recently went with the astronomy group here in Oman to the periodic weekend trip during new moon. We normally try to go to a dark place; during the summer, this means heading to the mountains to escape the high temperatures that prevail elsewhere. The chosen location this time was Jebel Sara, a mountain area close to Jebel Shams. At 2,300m above sea-level, the temperature is significantly lower, around 24 centigrade. The drive from Muscat took about 4 hours and was uneventful. A 4WD is required, to negotiate the gravel mountain roads. After setting up camp, I walked around making some photos of the interesting trees in these Juniper woods.
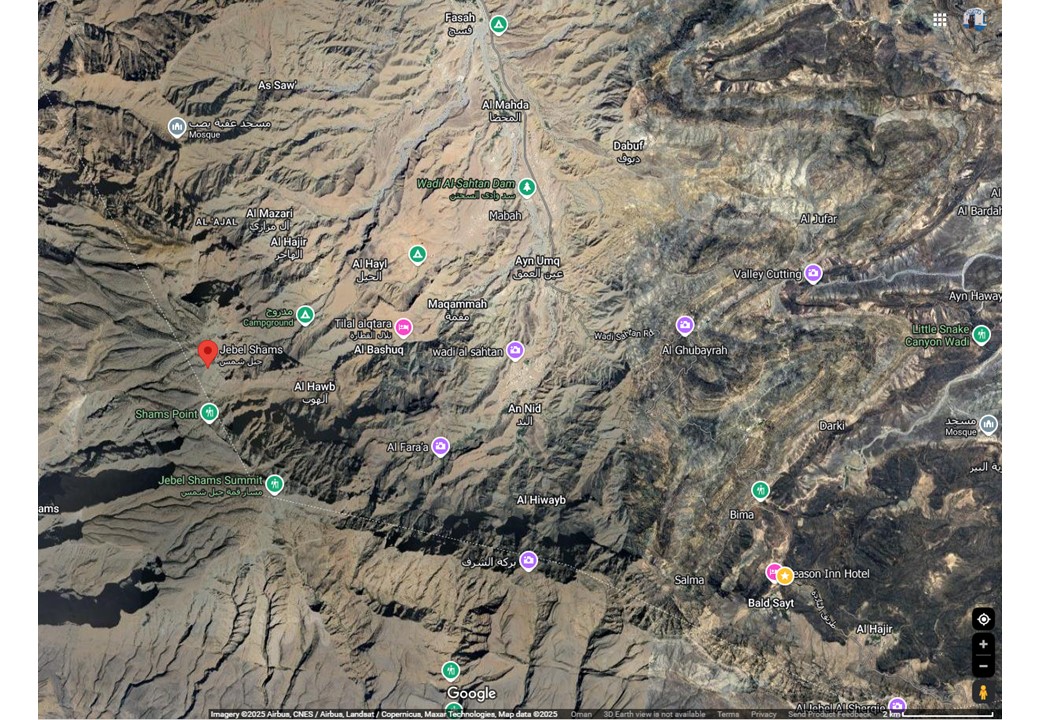
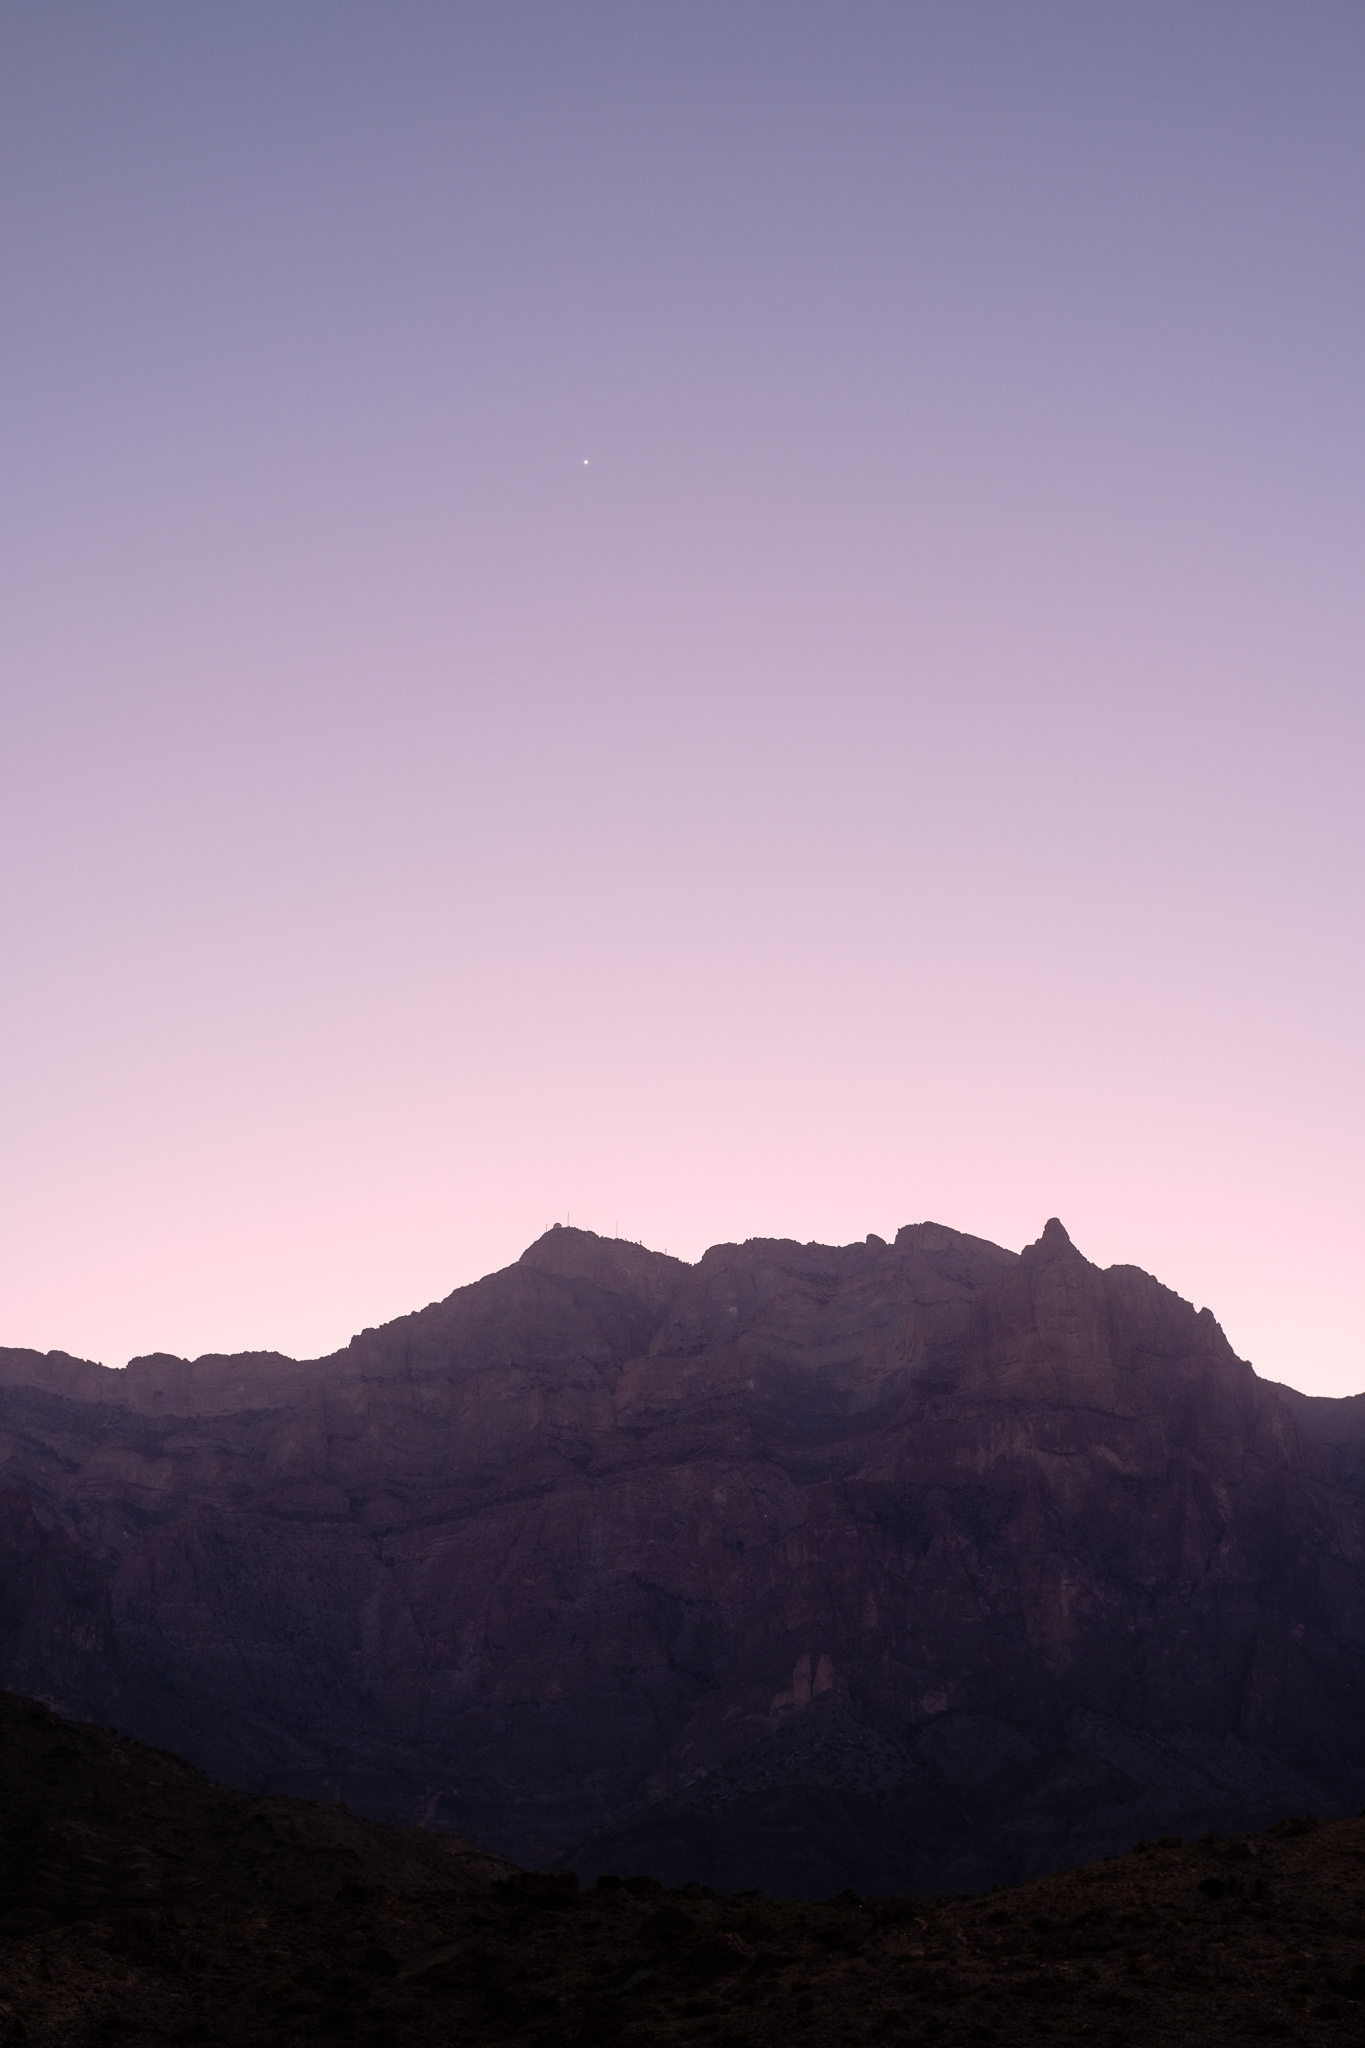
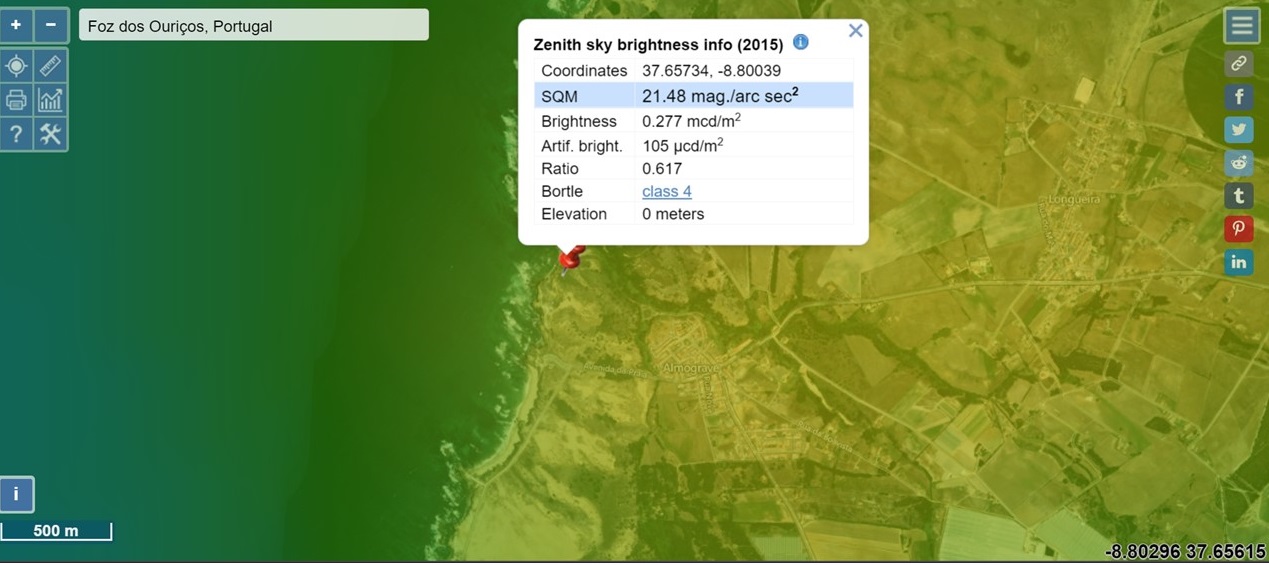
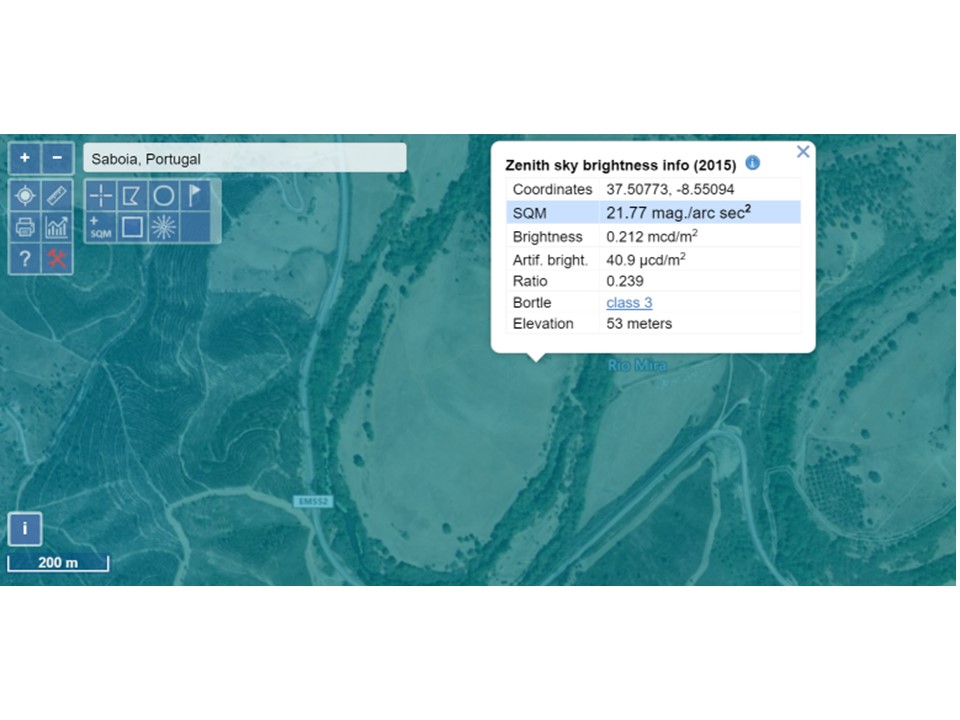
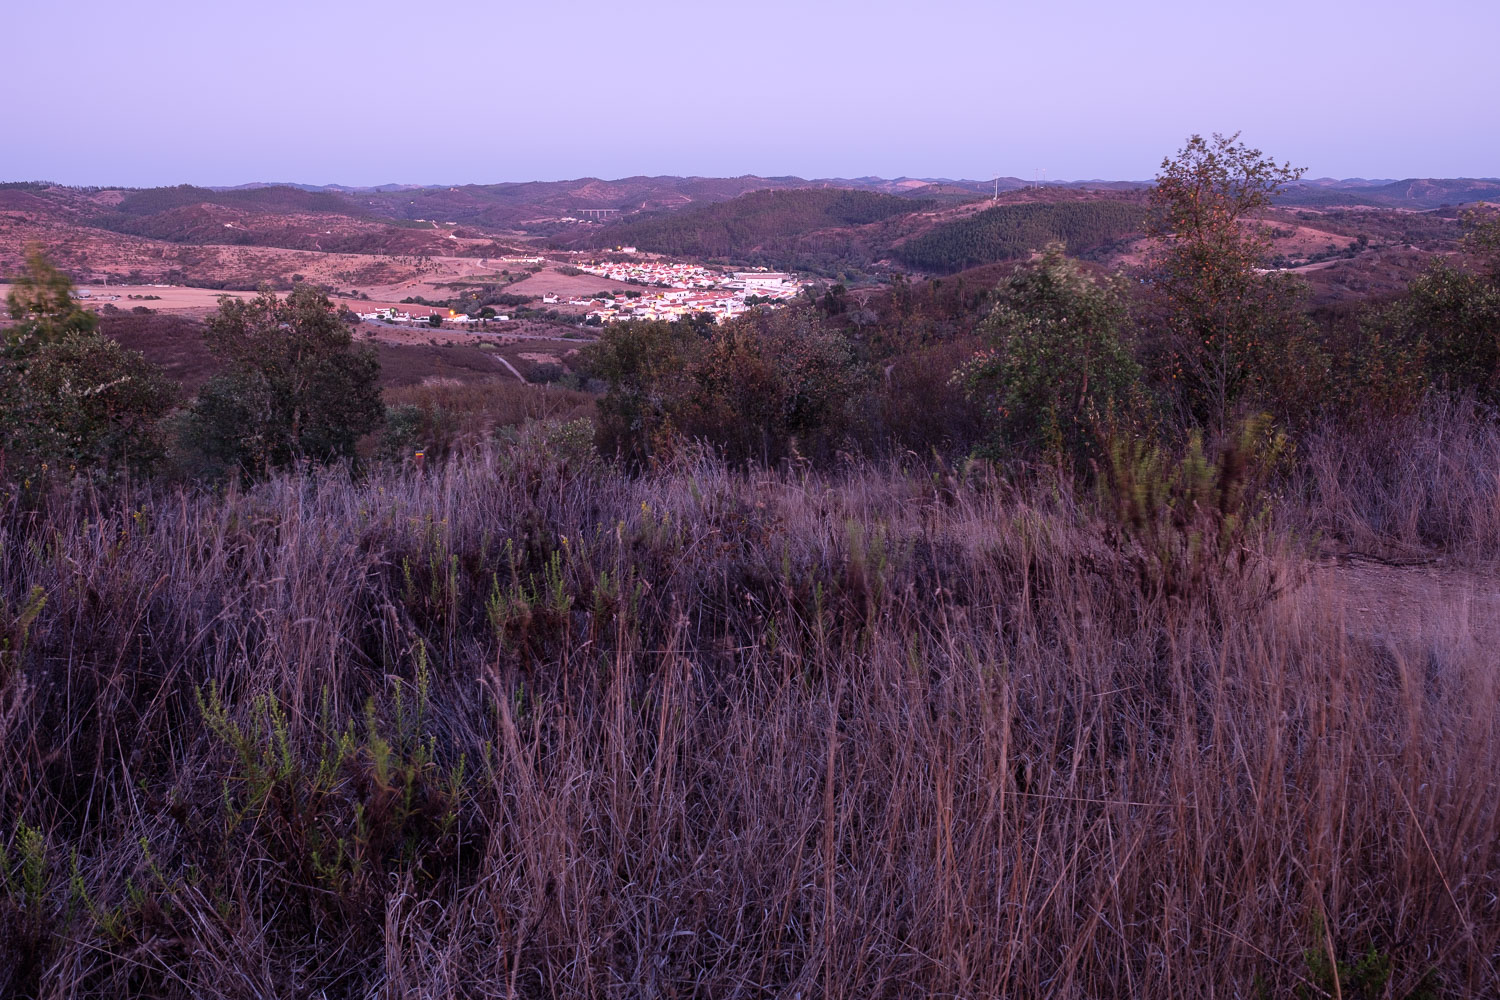
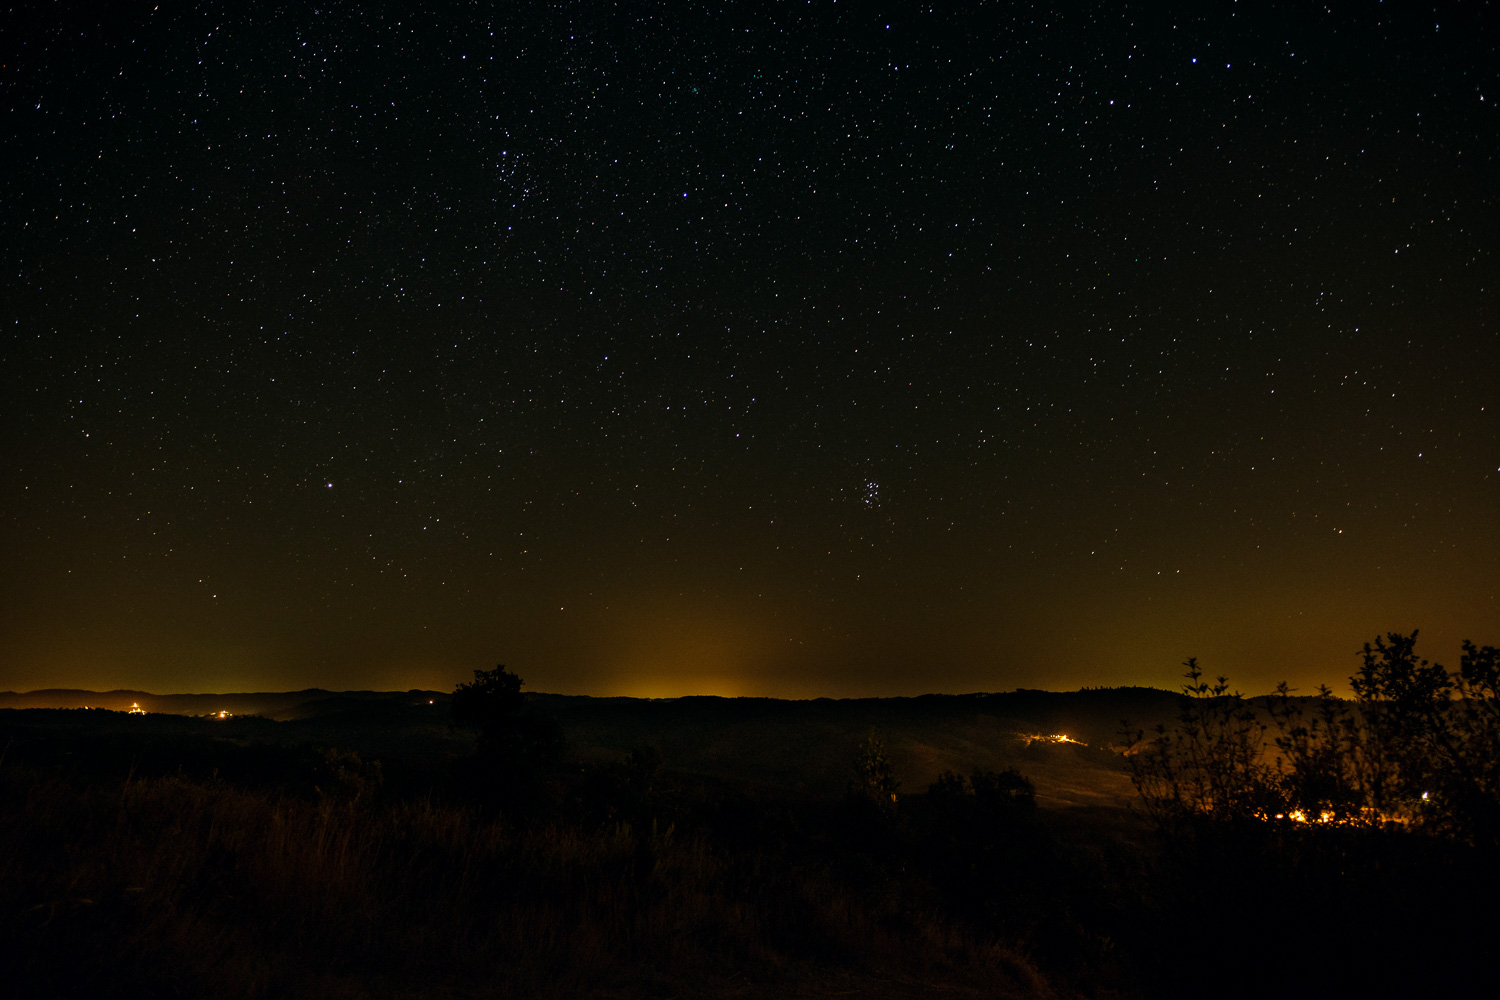
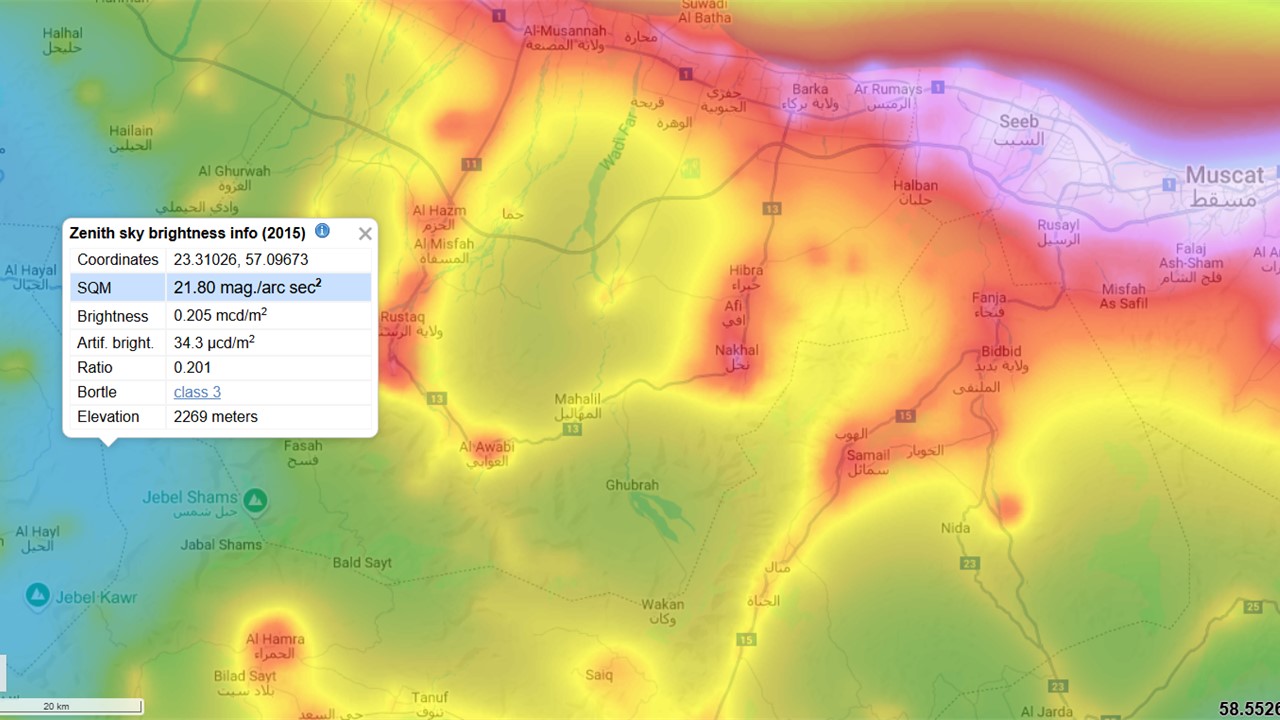
Our camping spot is in a Bortle class 3 location, which corresponds to “rural sky”; this means good dark sky observation properties, with some light pollution in the horizon (see map below).
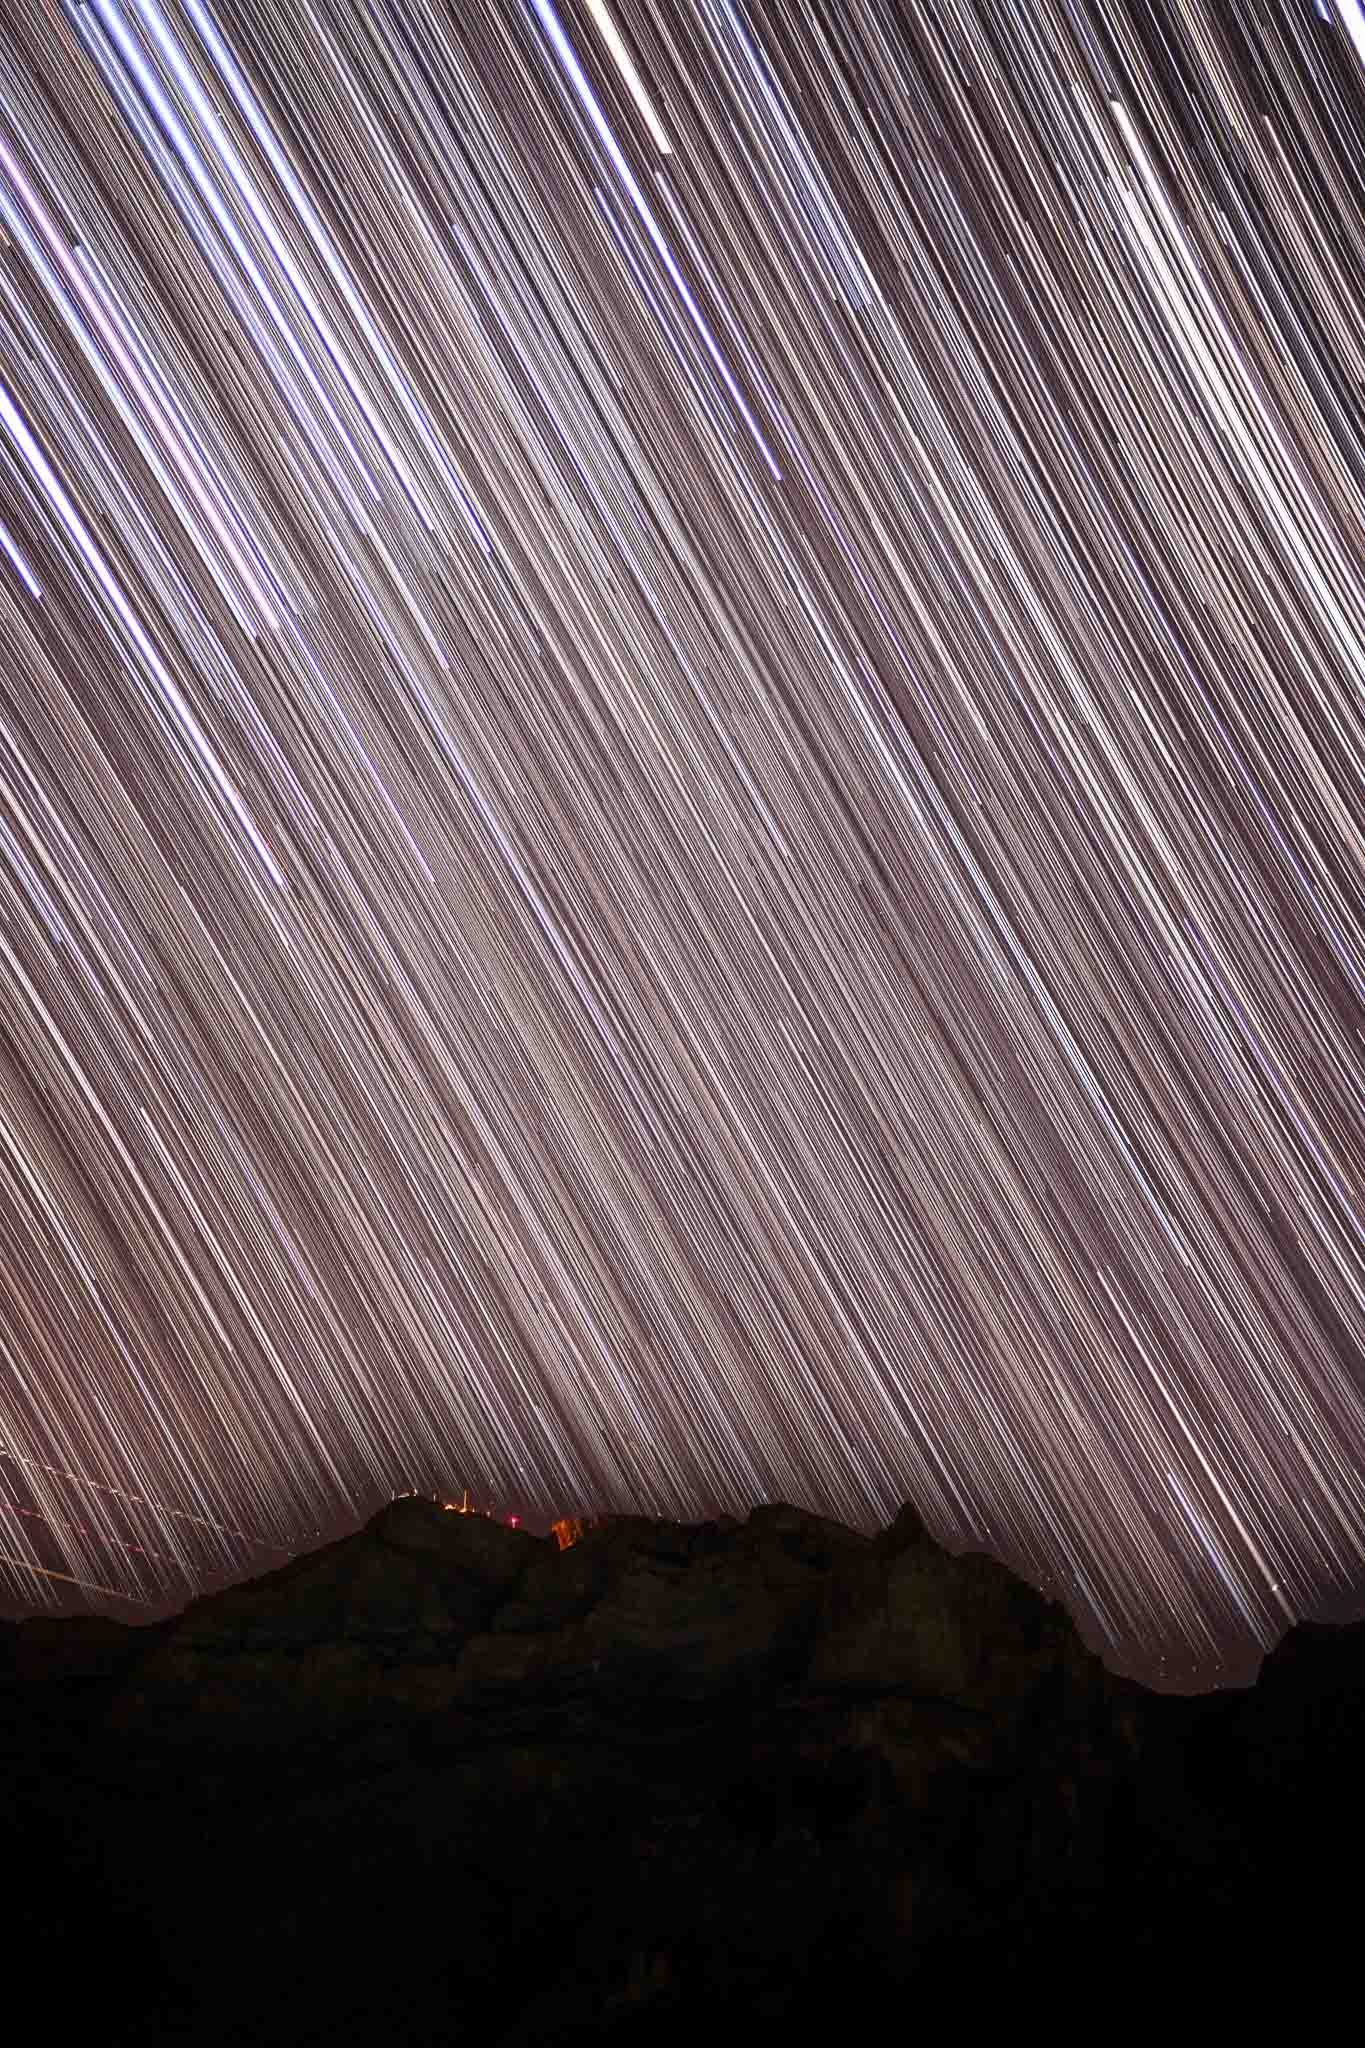
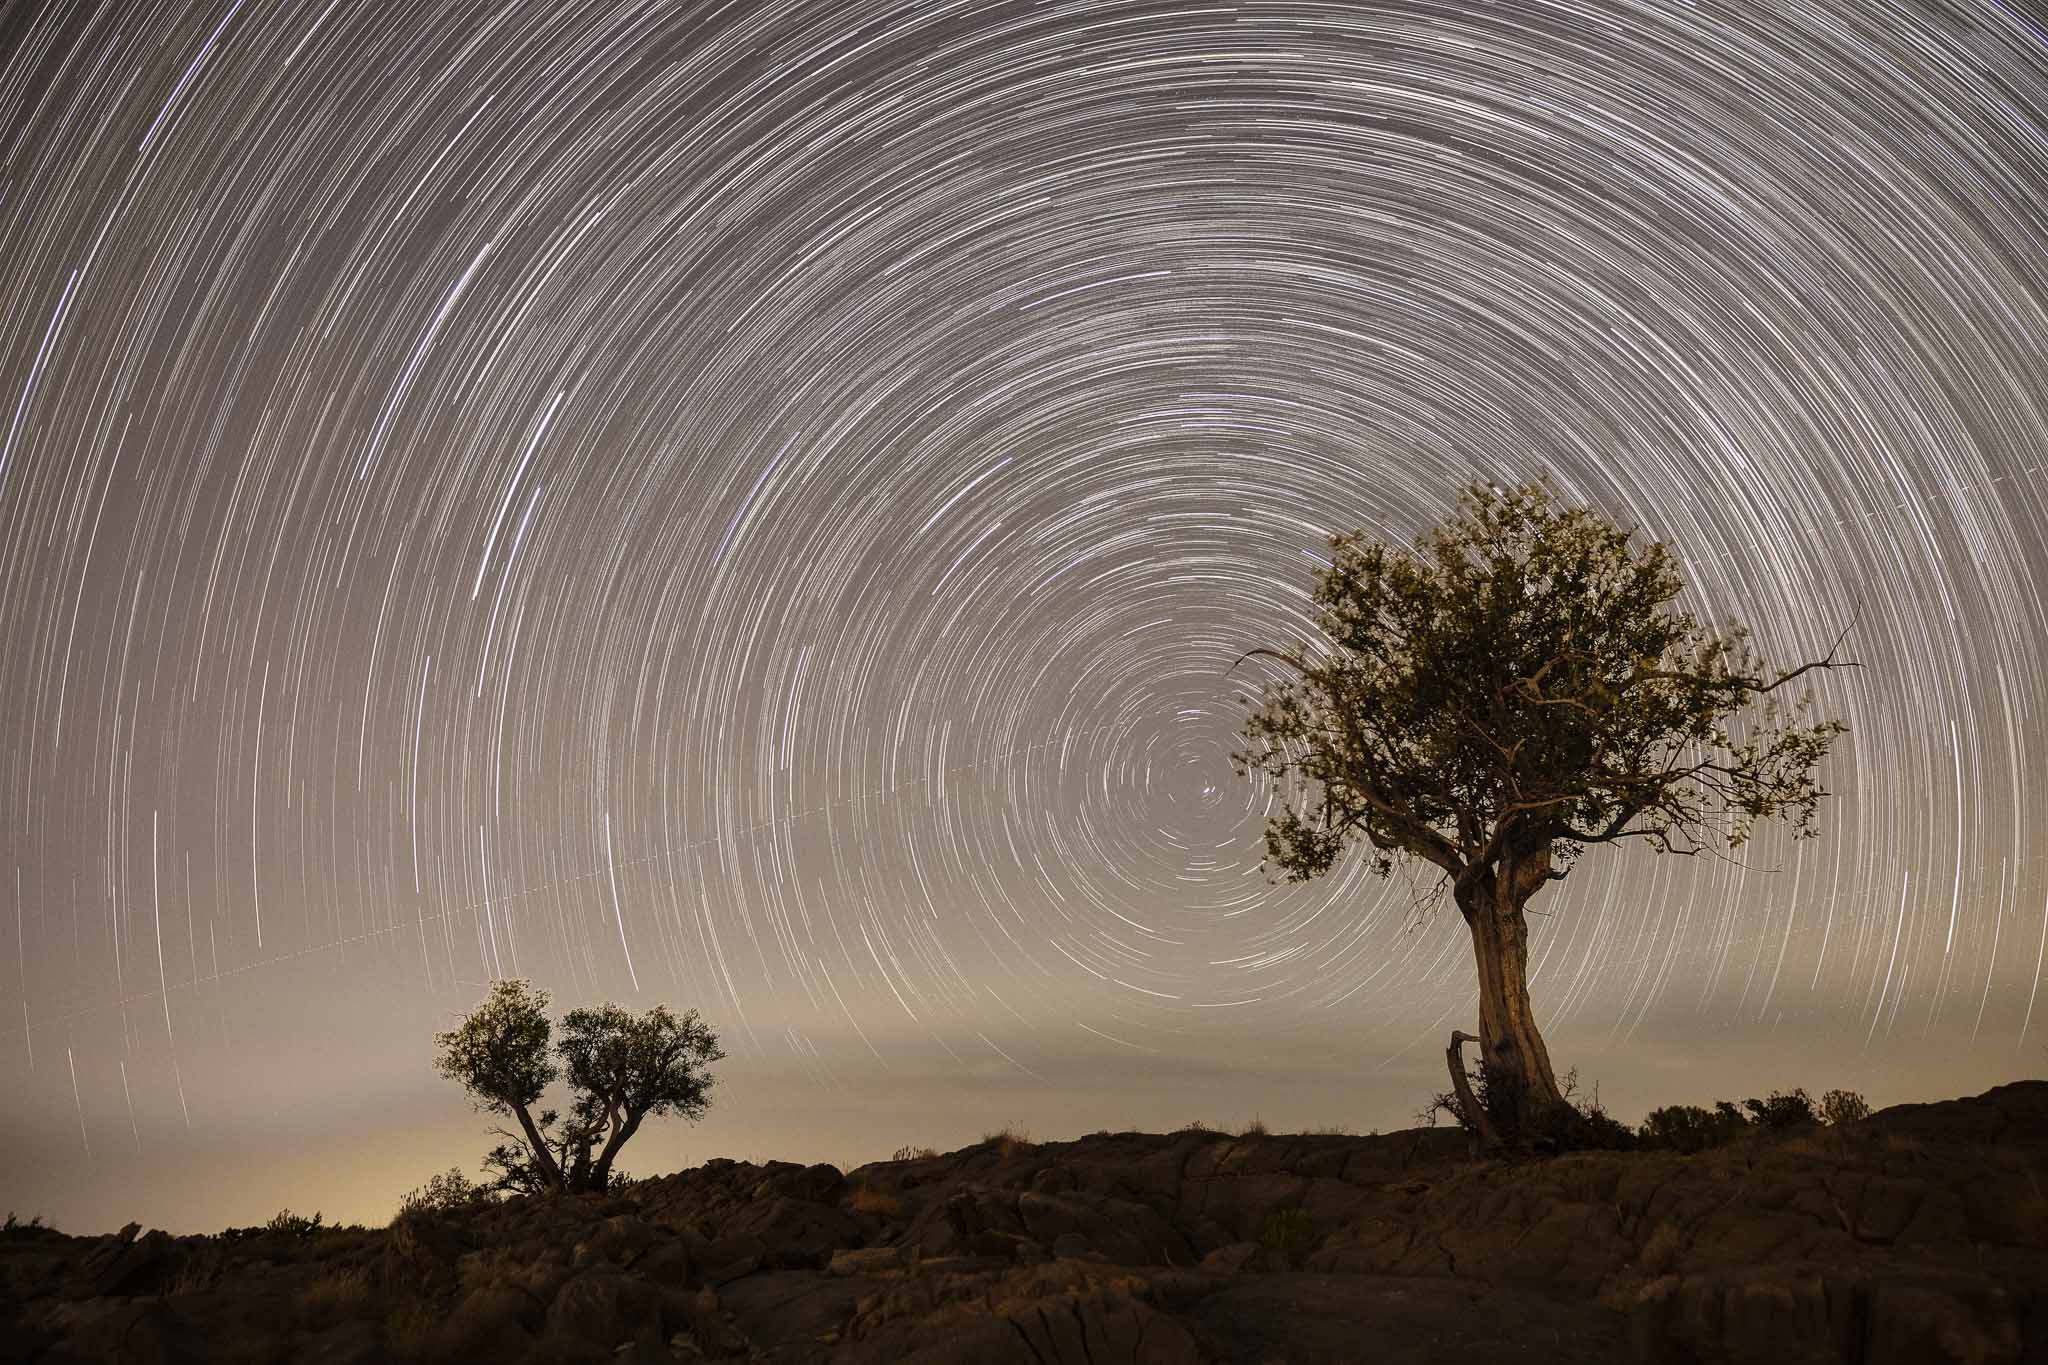
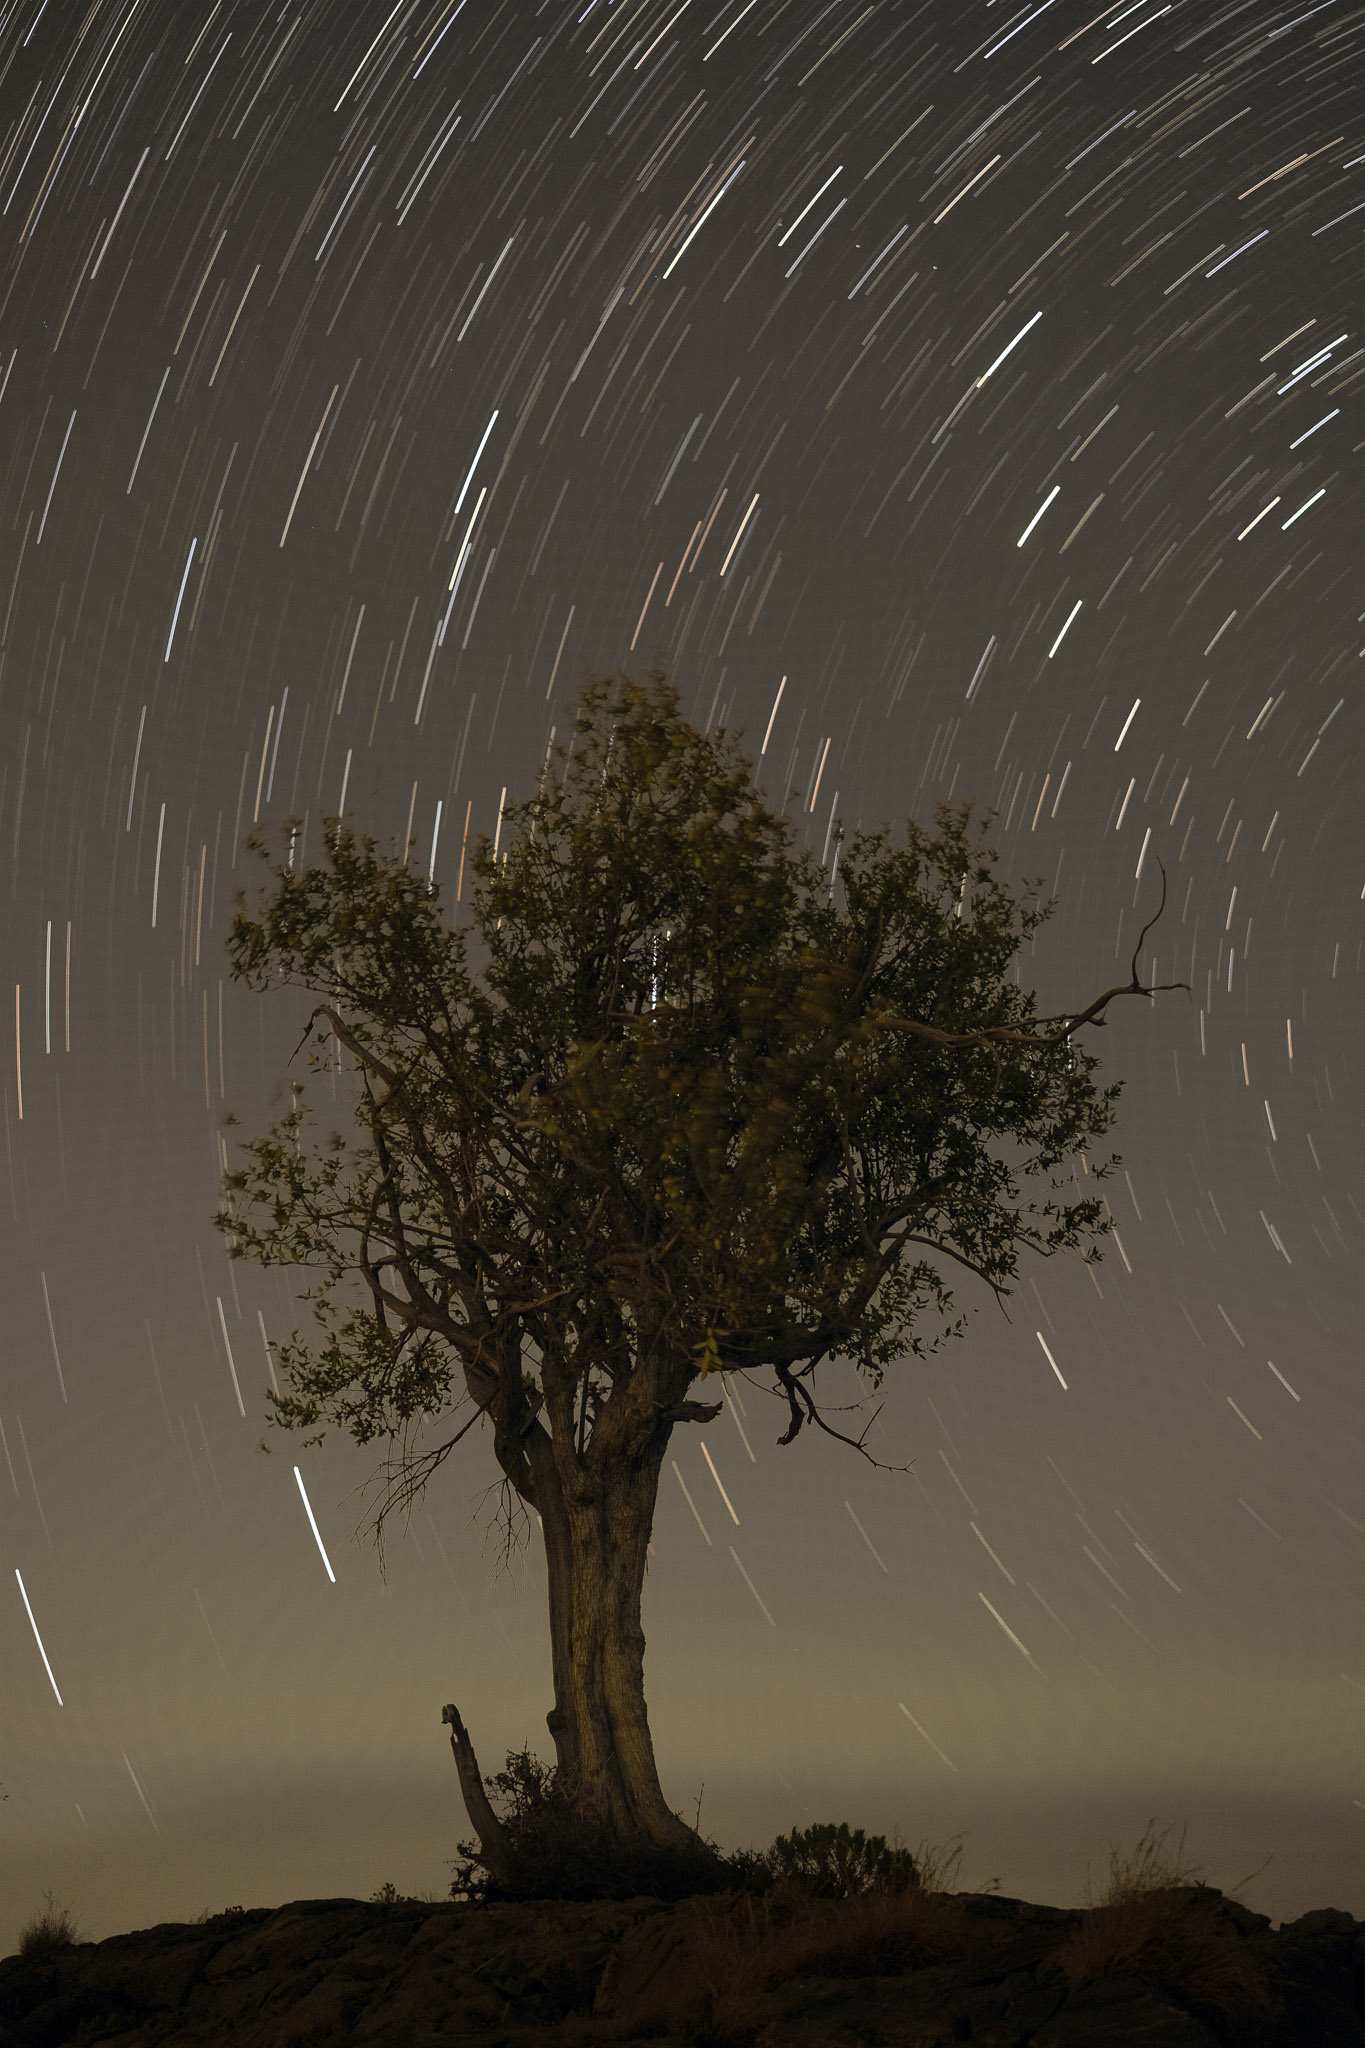
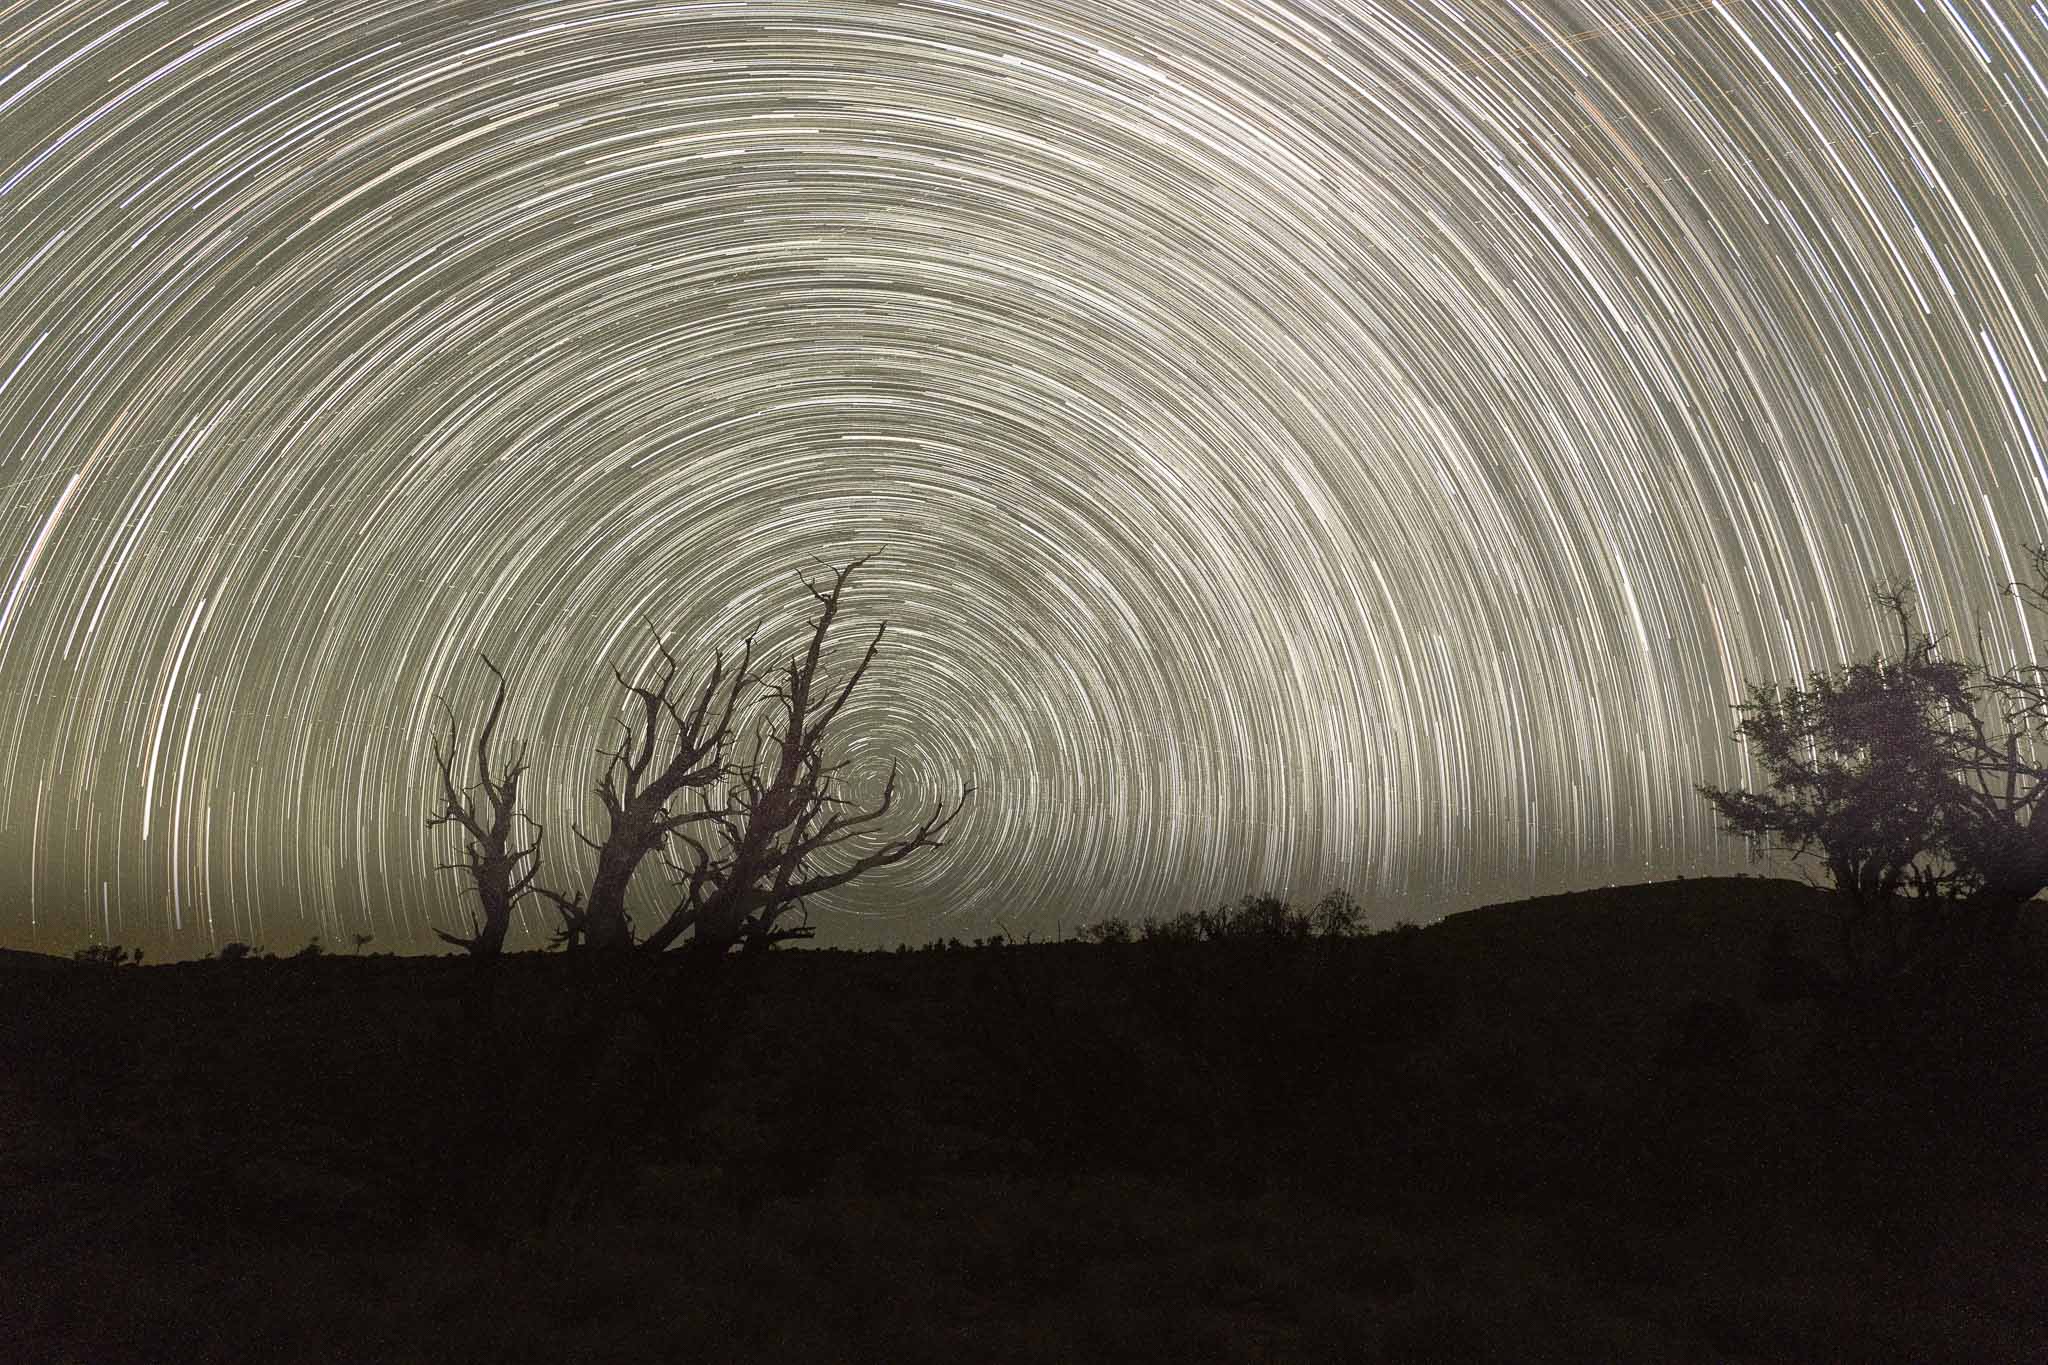
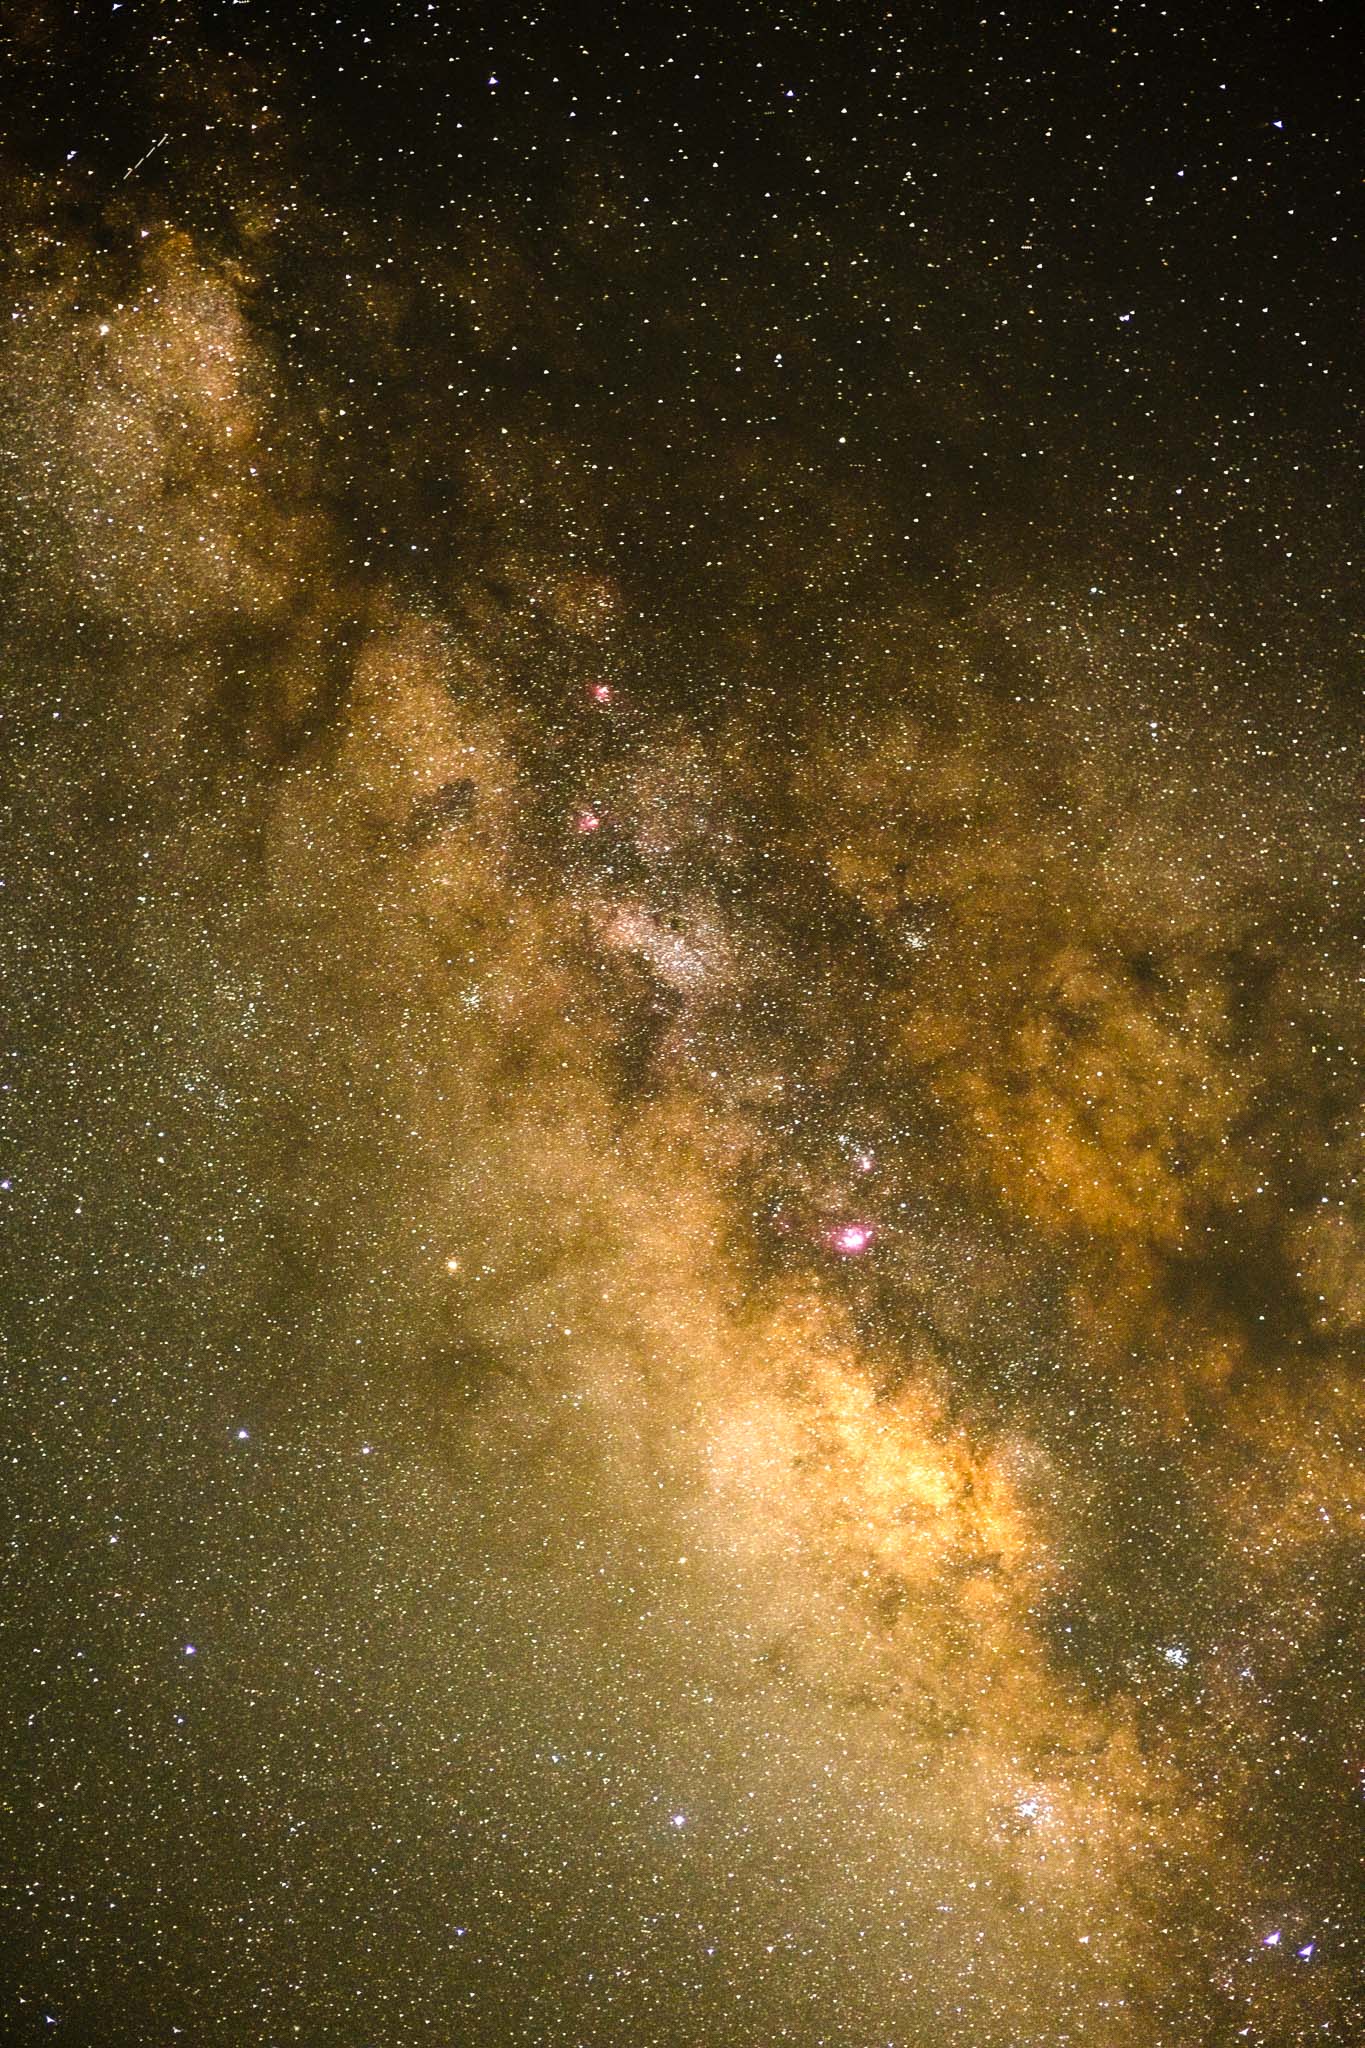
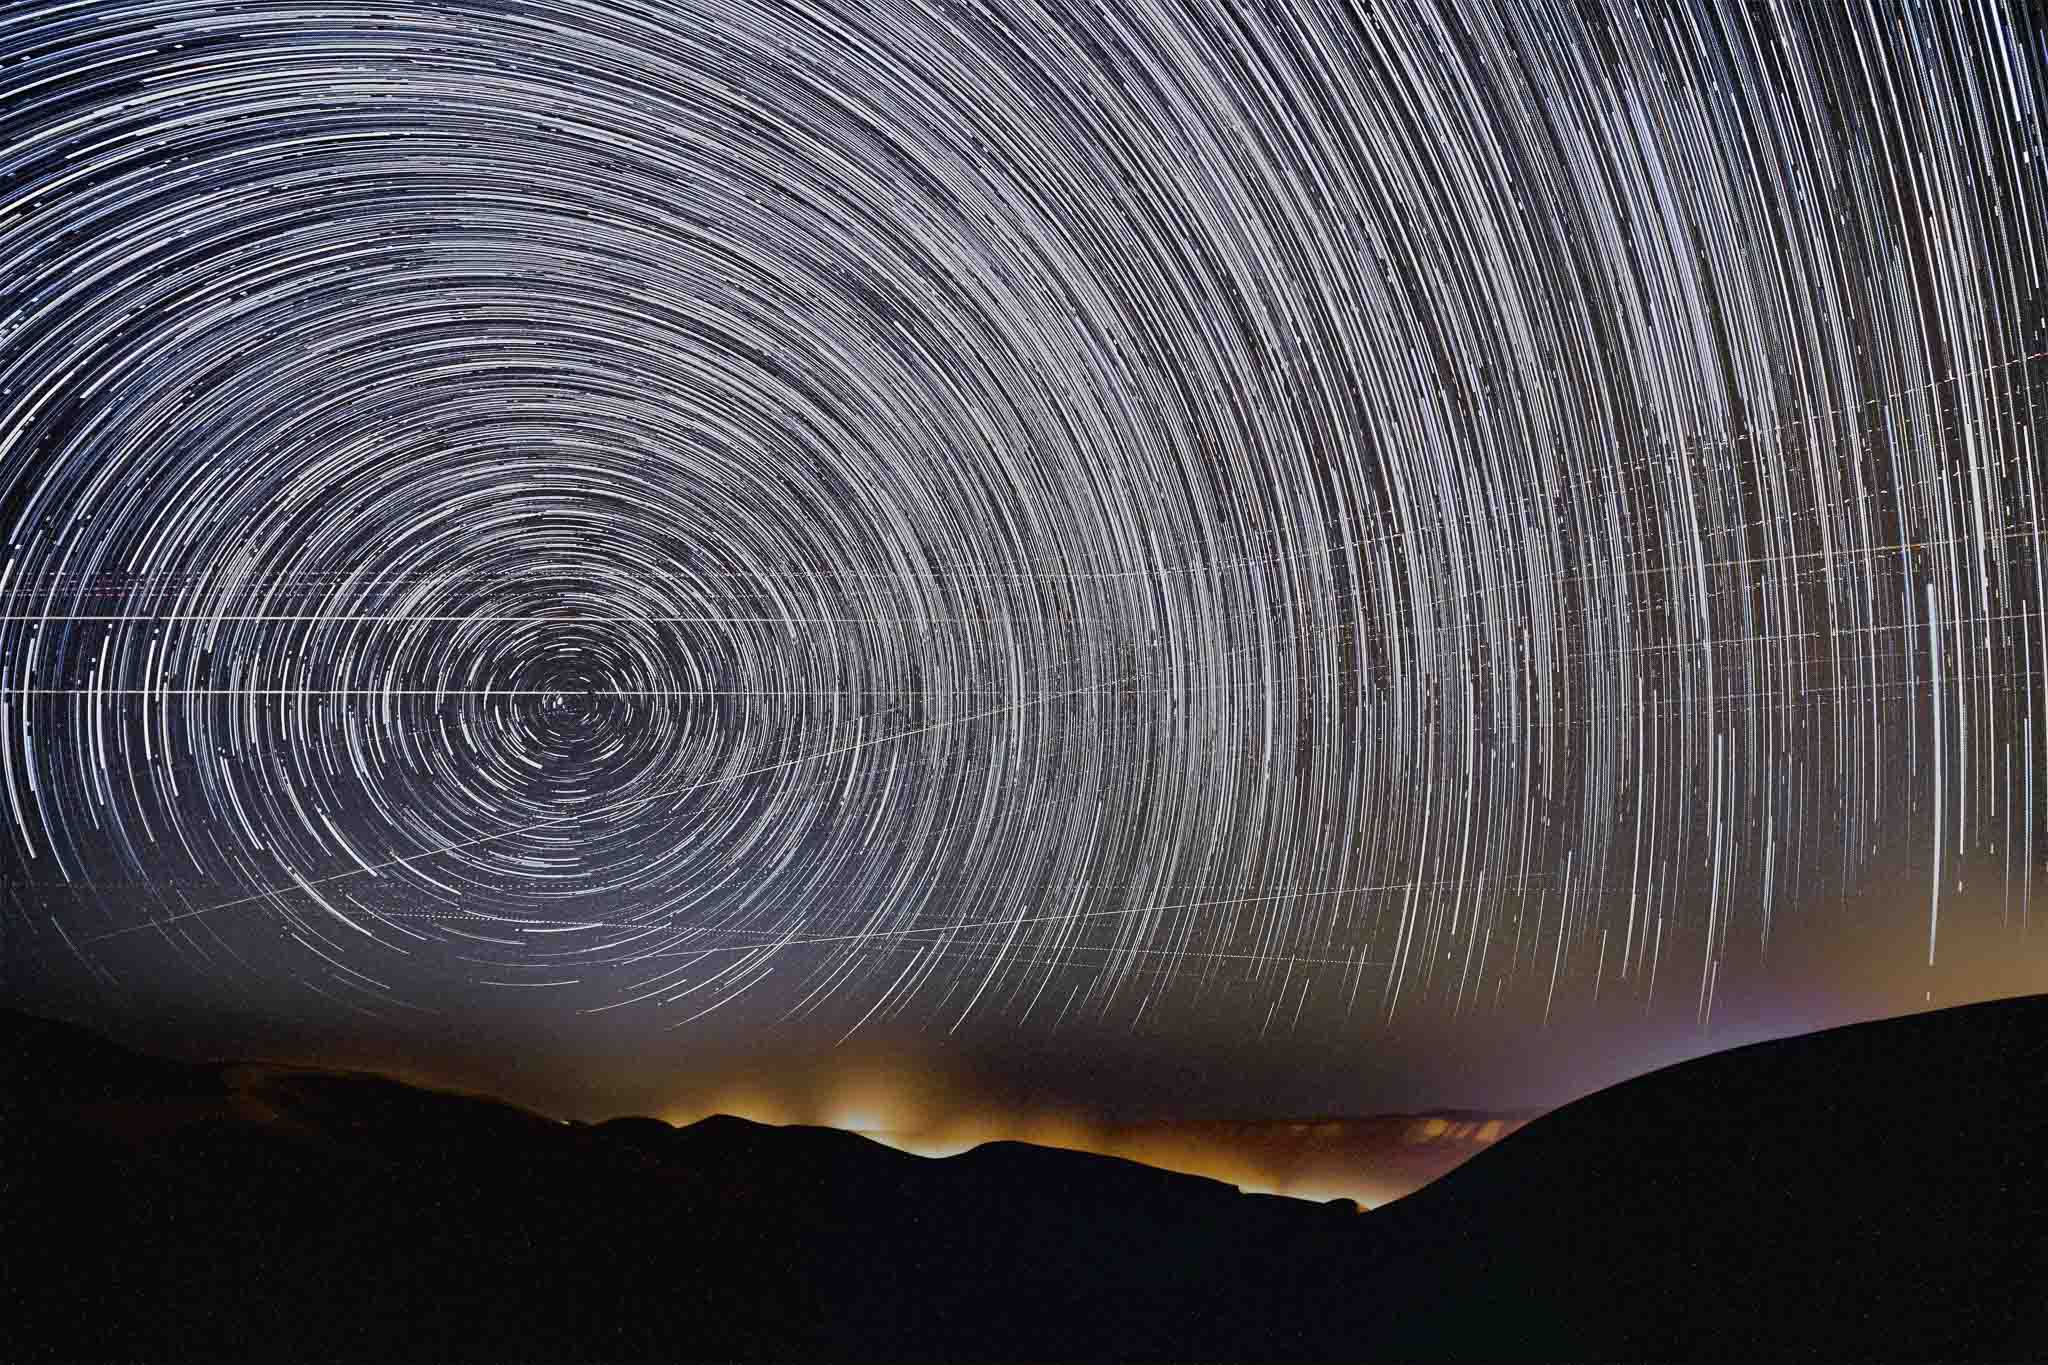
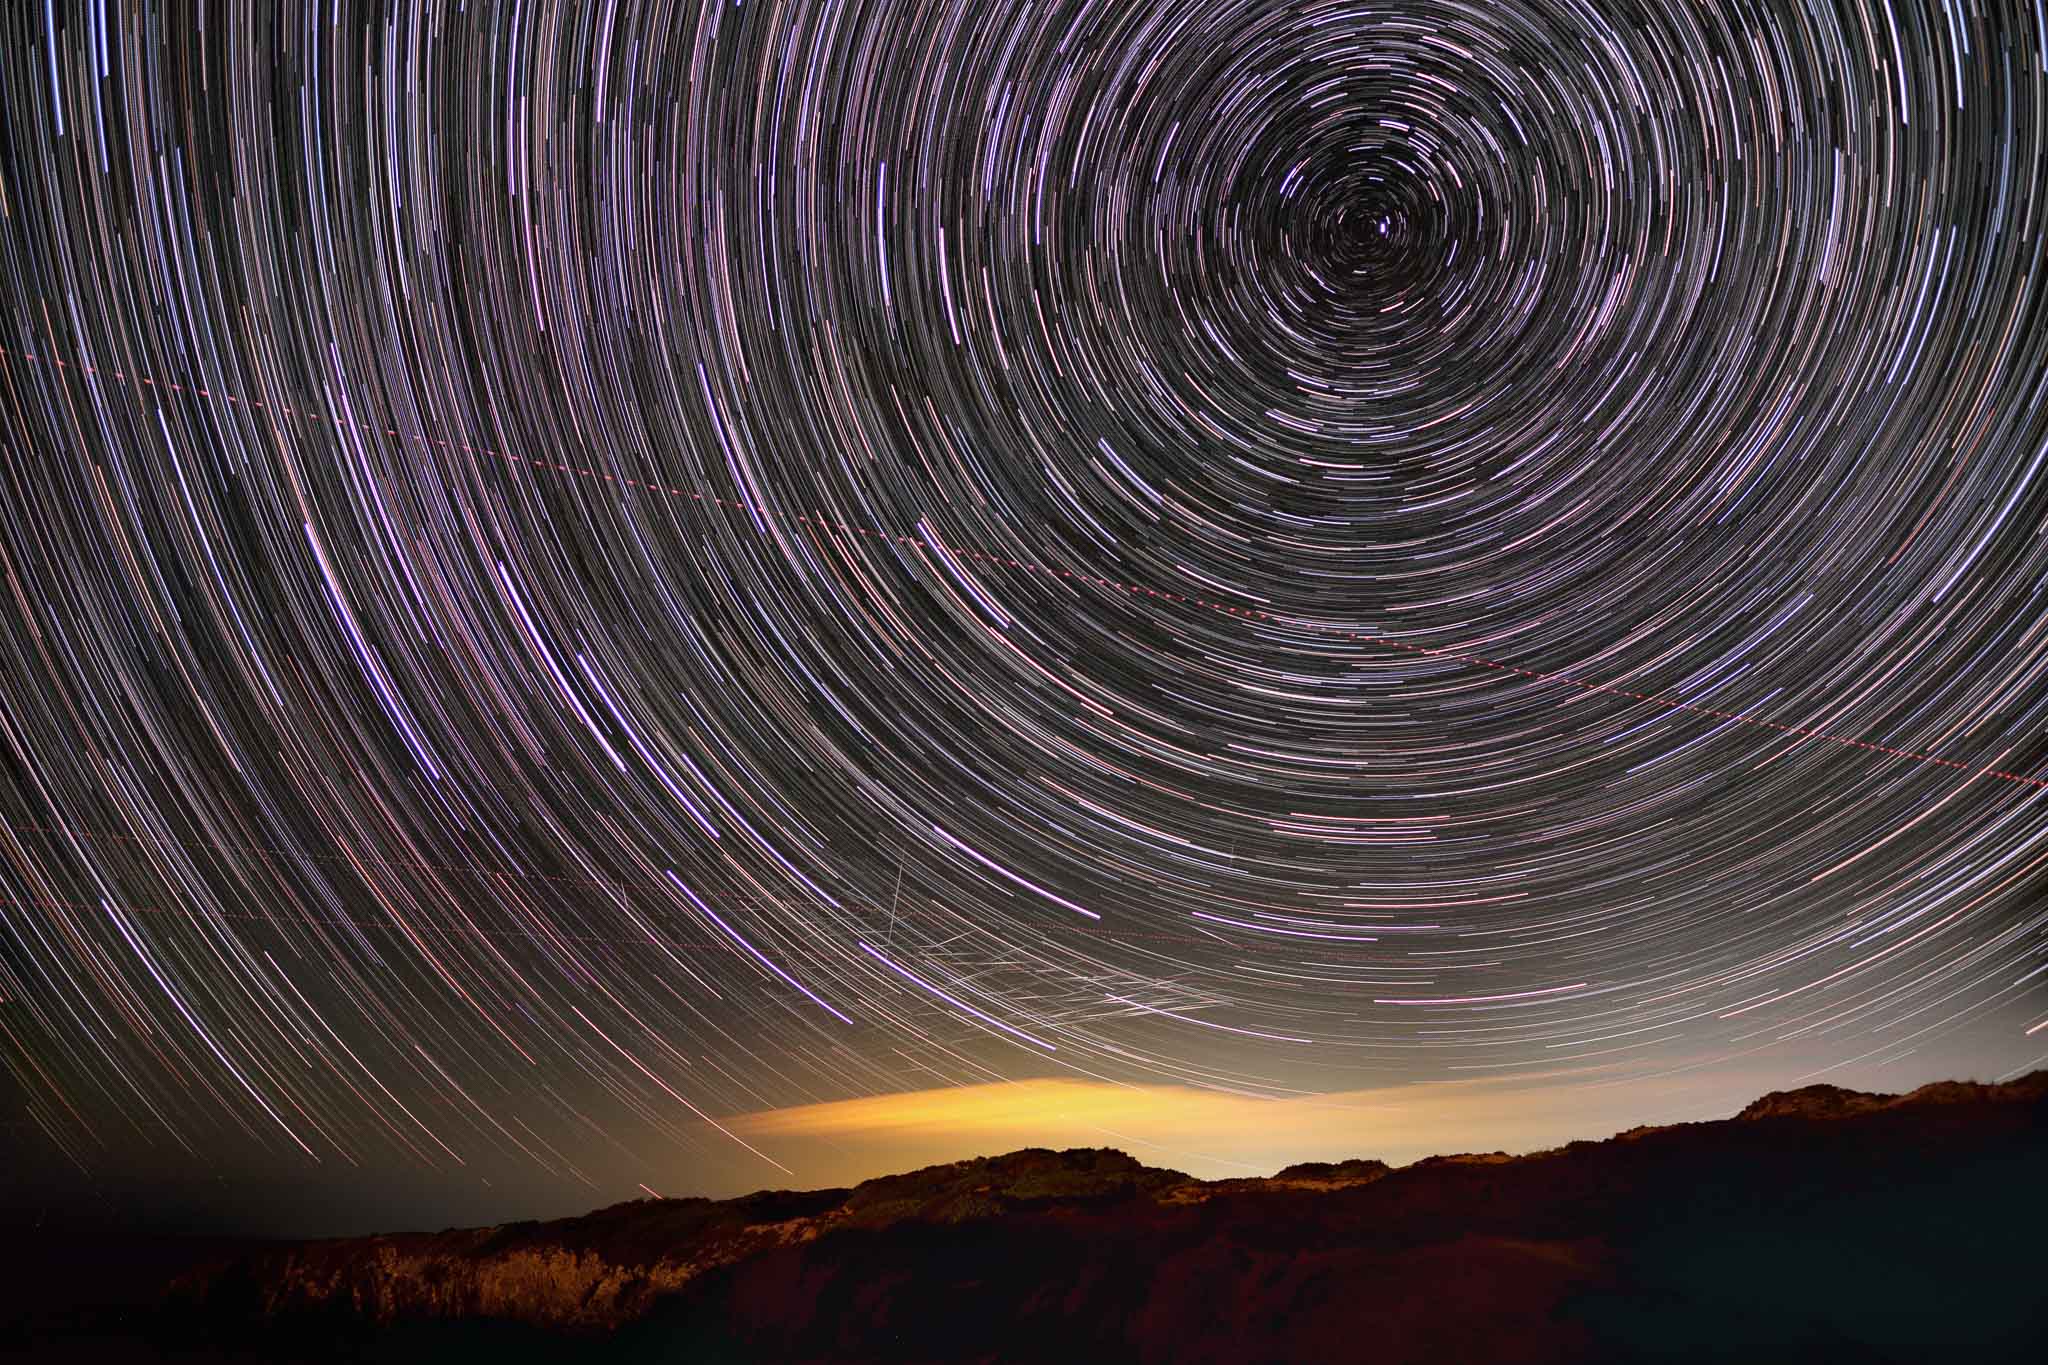
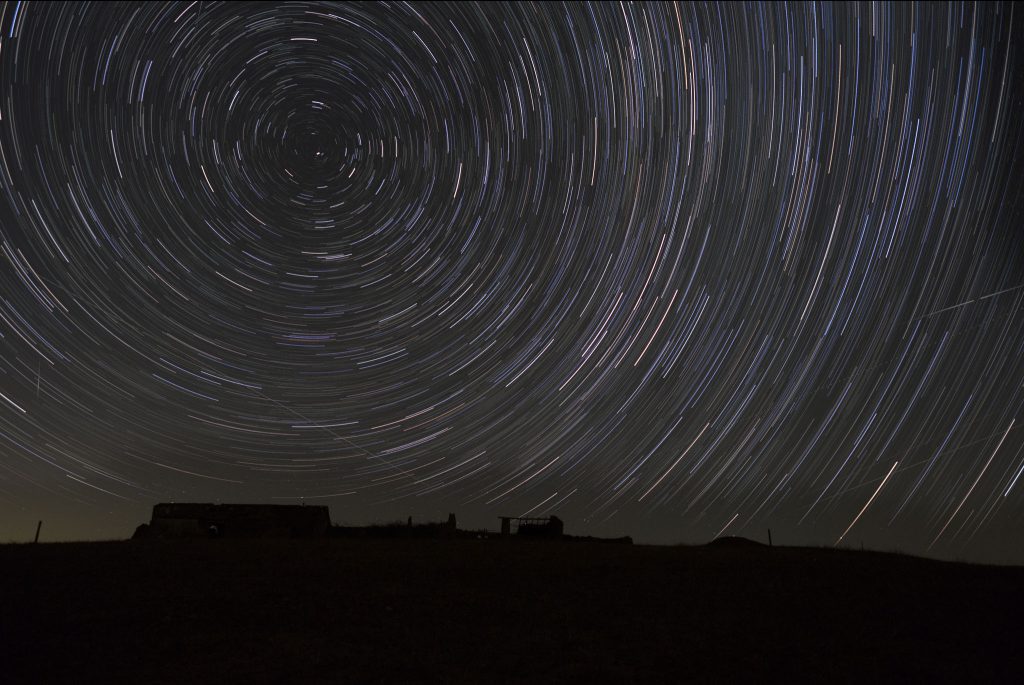
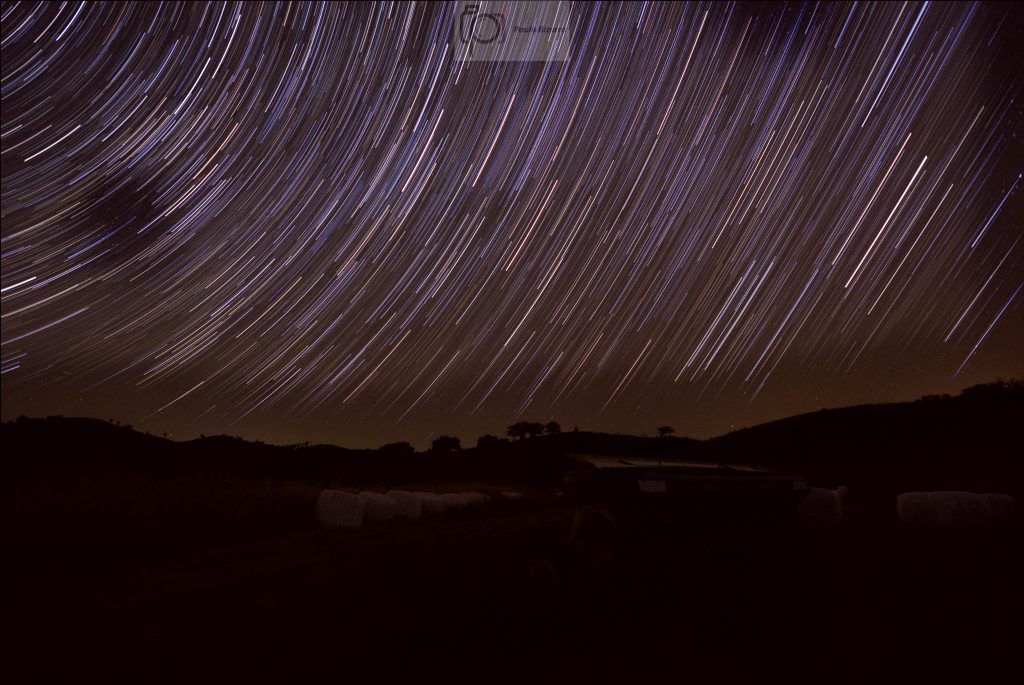
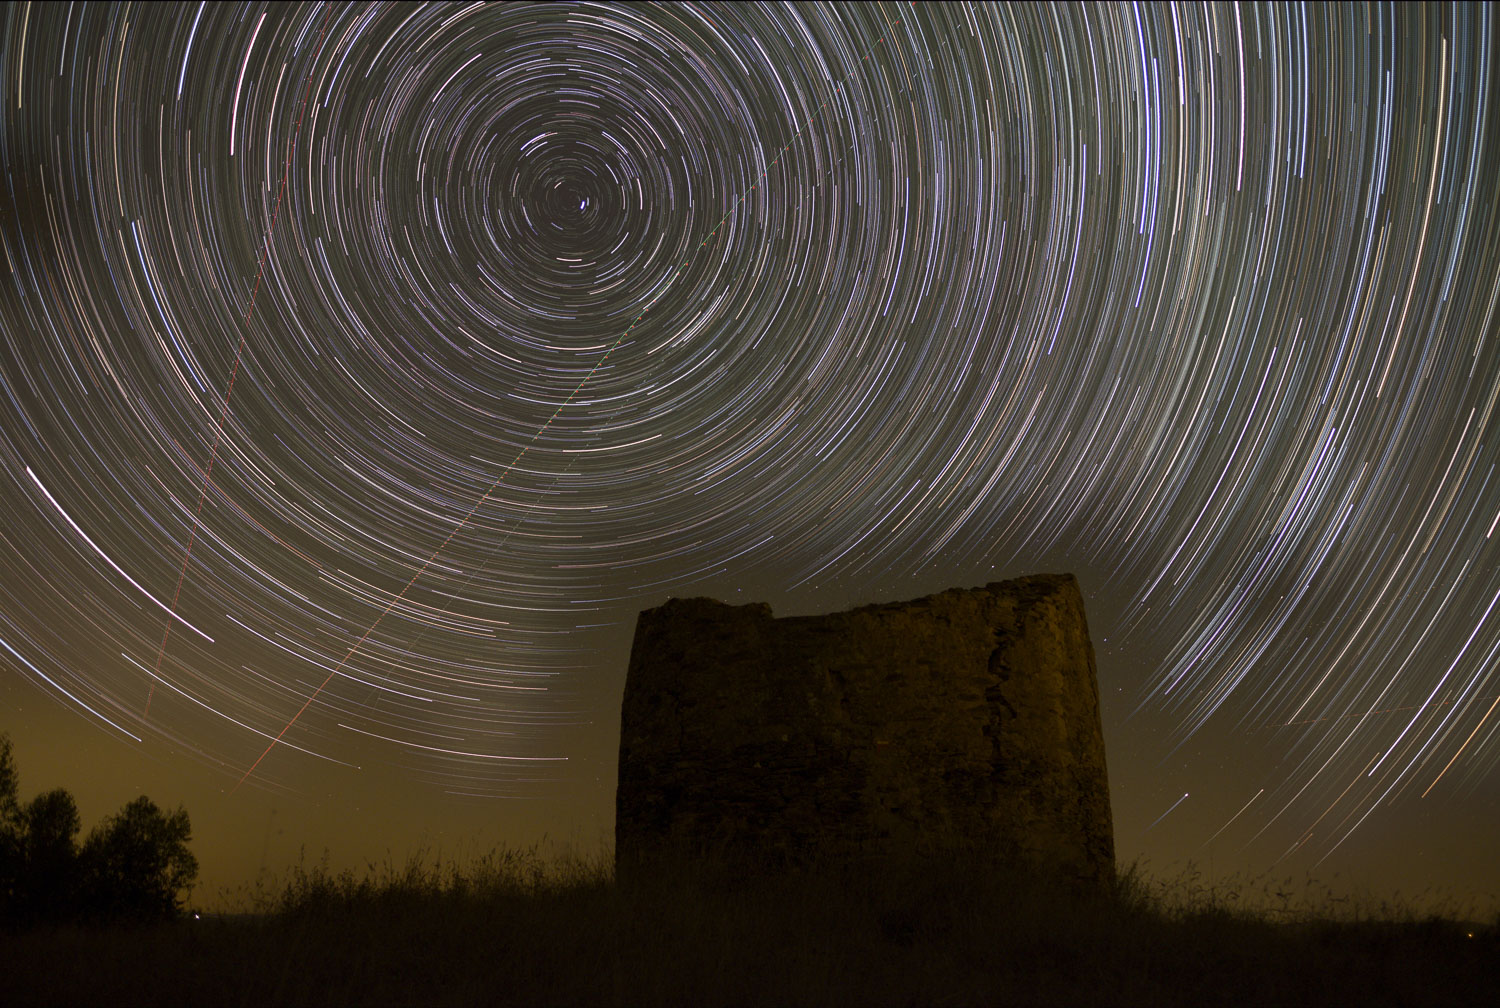
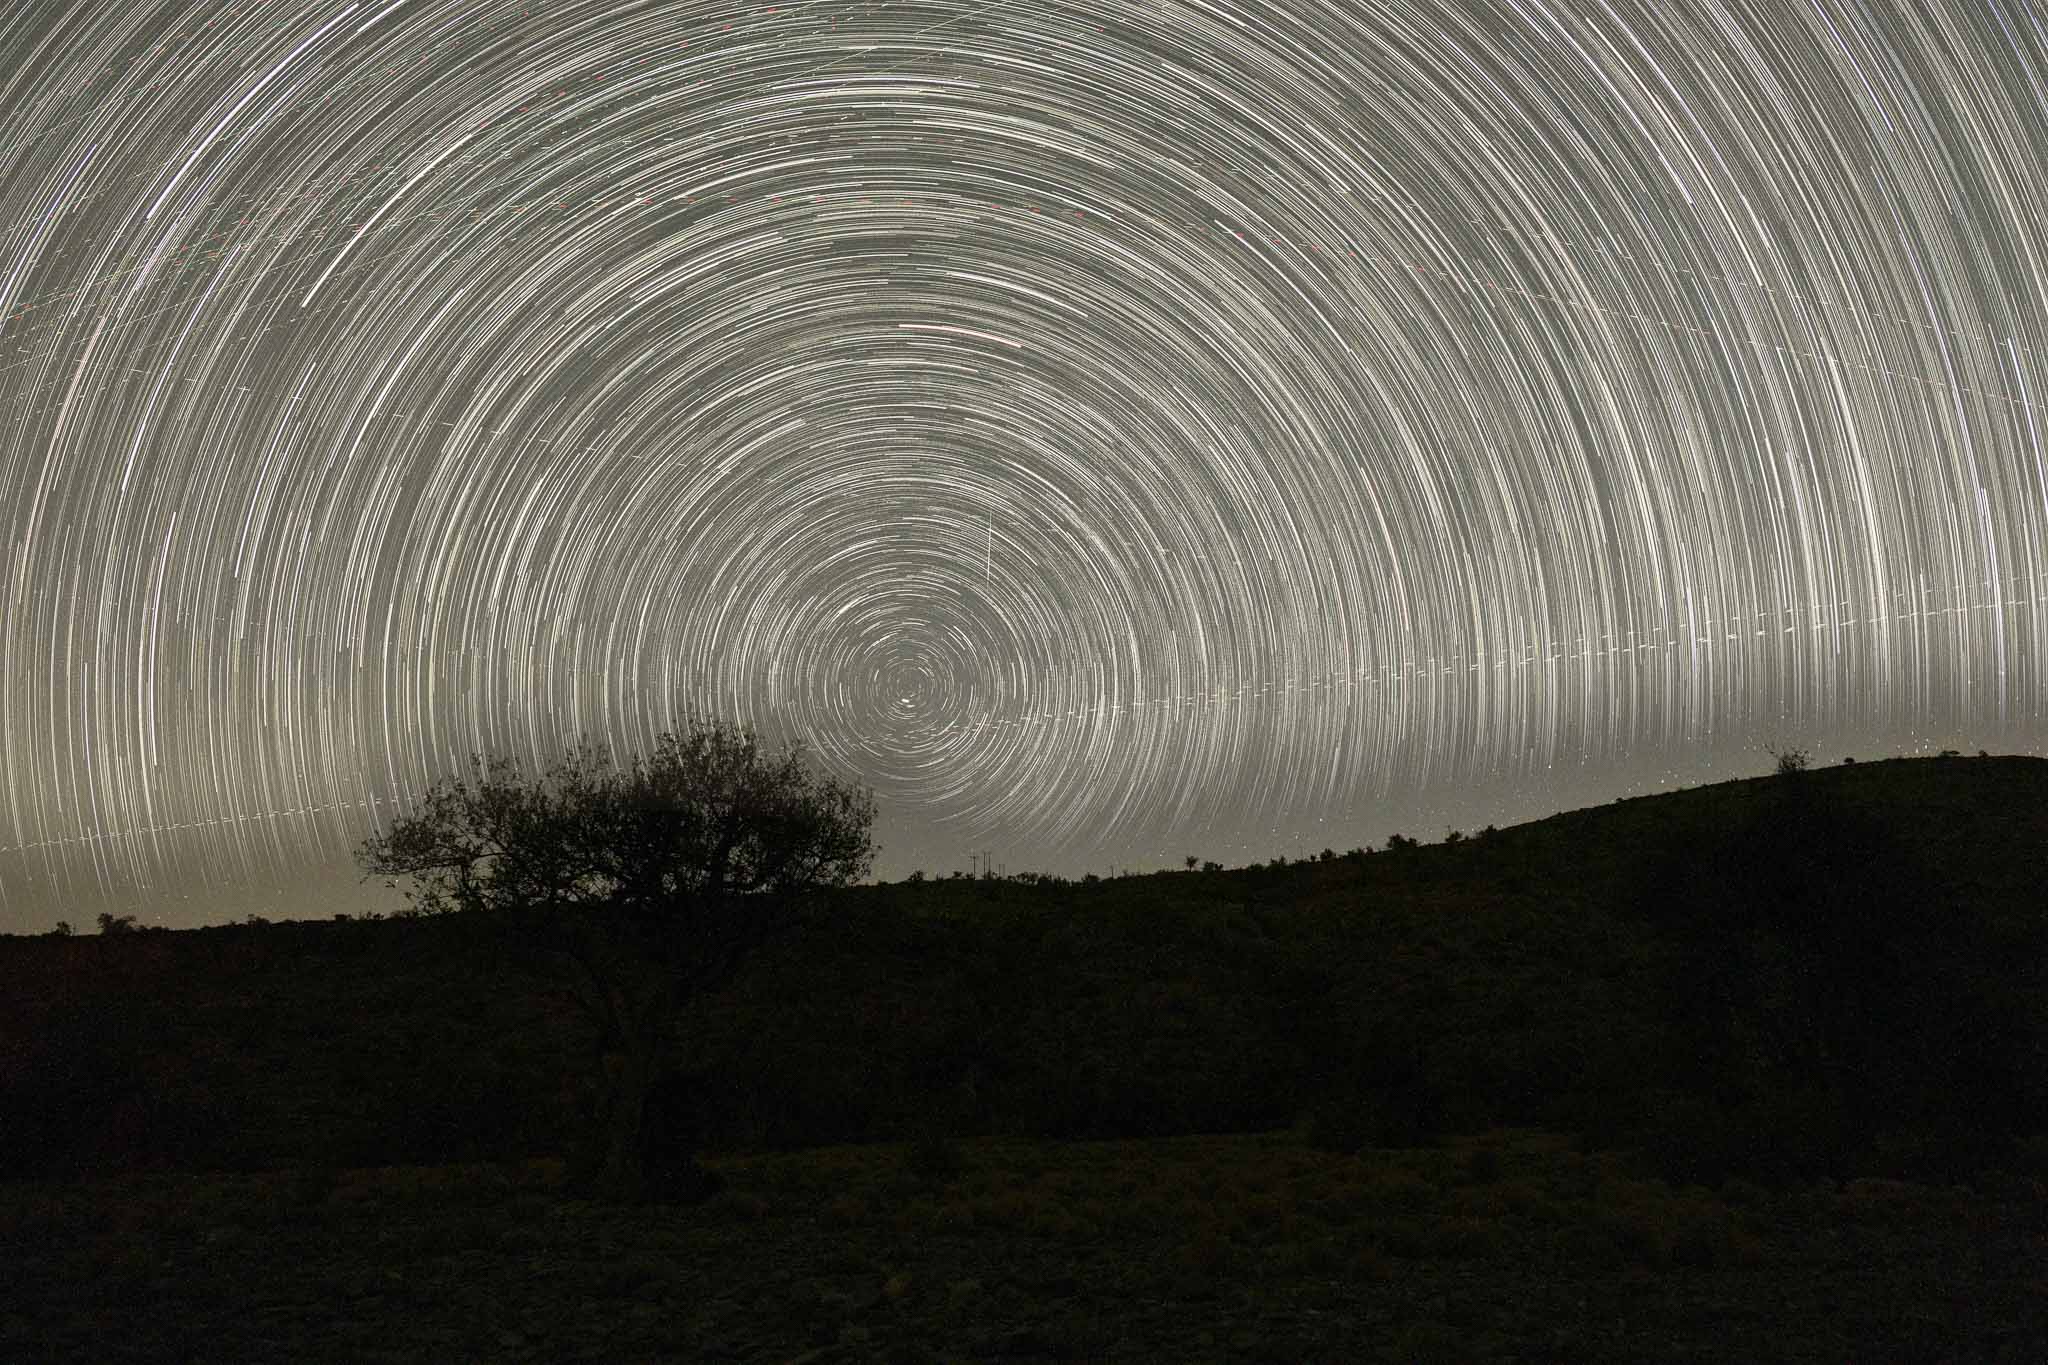
For this trip my plan was to shoot enough images for a good star trail, plus some good photos of the Milky Way. For that, I had with me my Fujinon 14mm f/2.8 wide angle lens, plus the Fujifilm X-T5 camera and tripod. My approach is to set up the camera and lens for star trail shooting and then go and get some sleep. For example, this time I selected 150 exposures in the camera’s intervalometer, 30 seconds each; this gives a total time of 75 minutes.
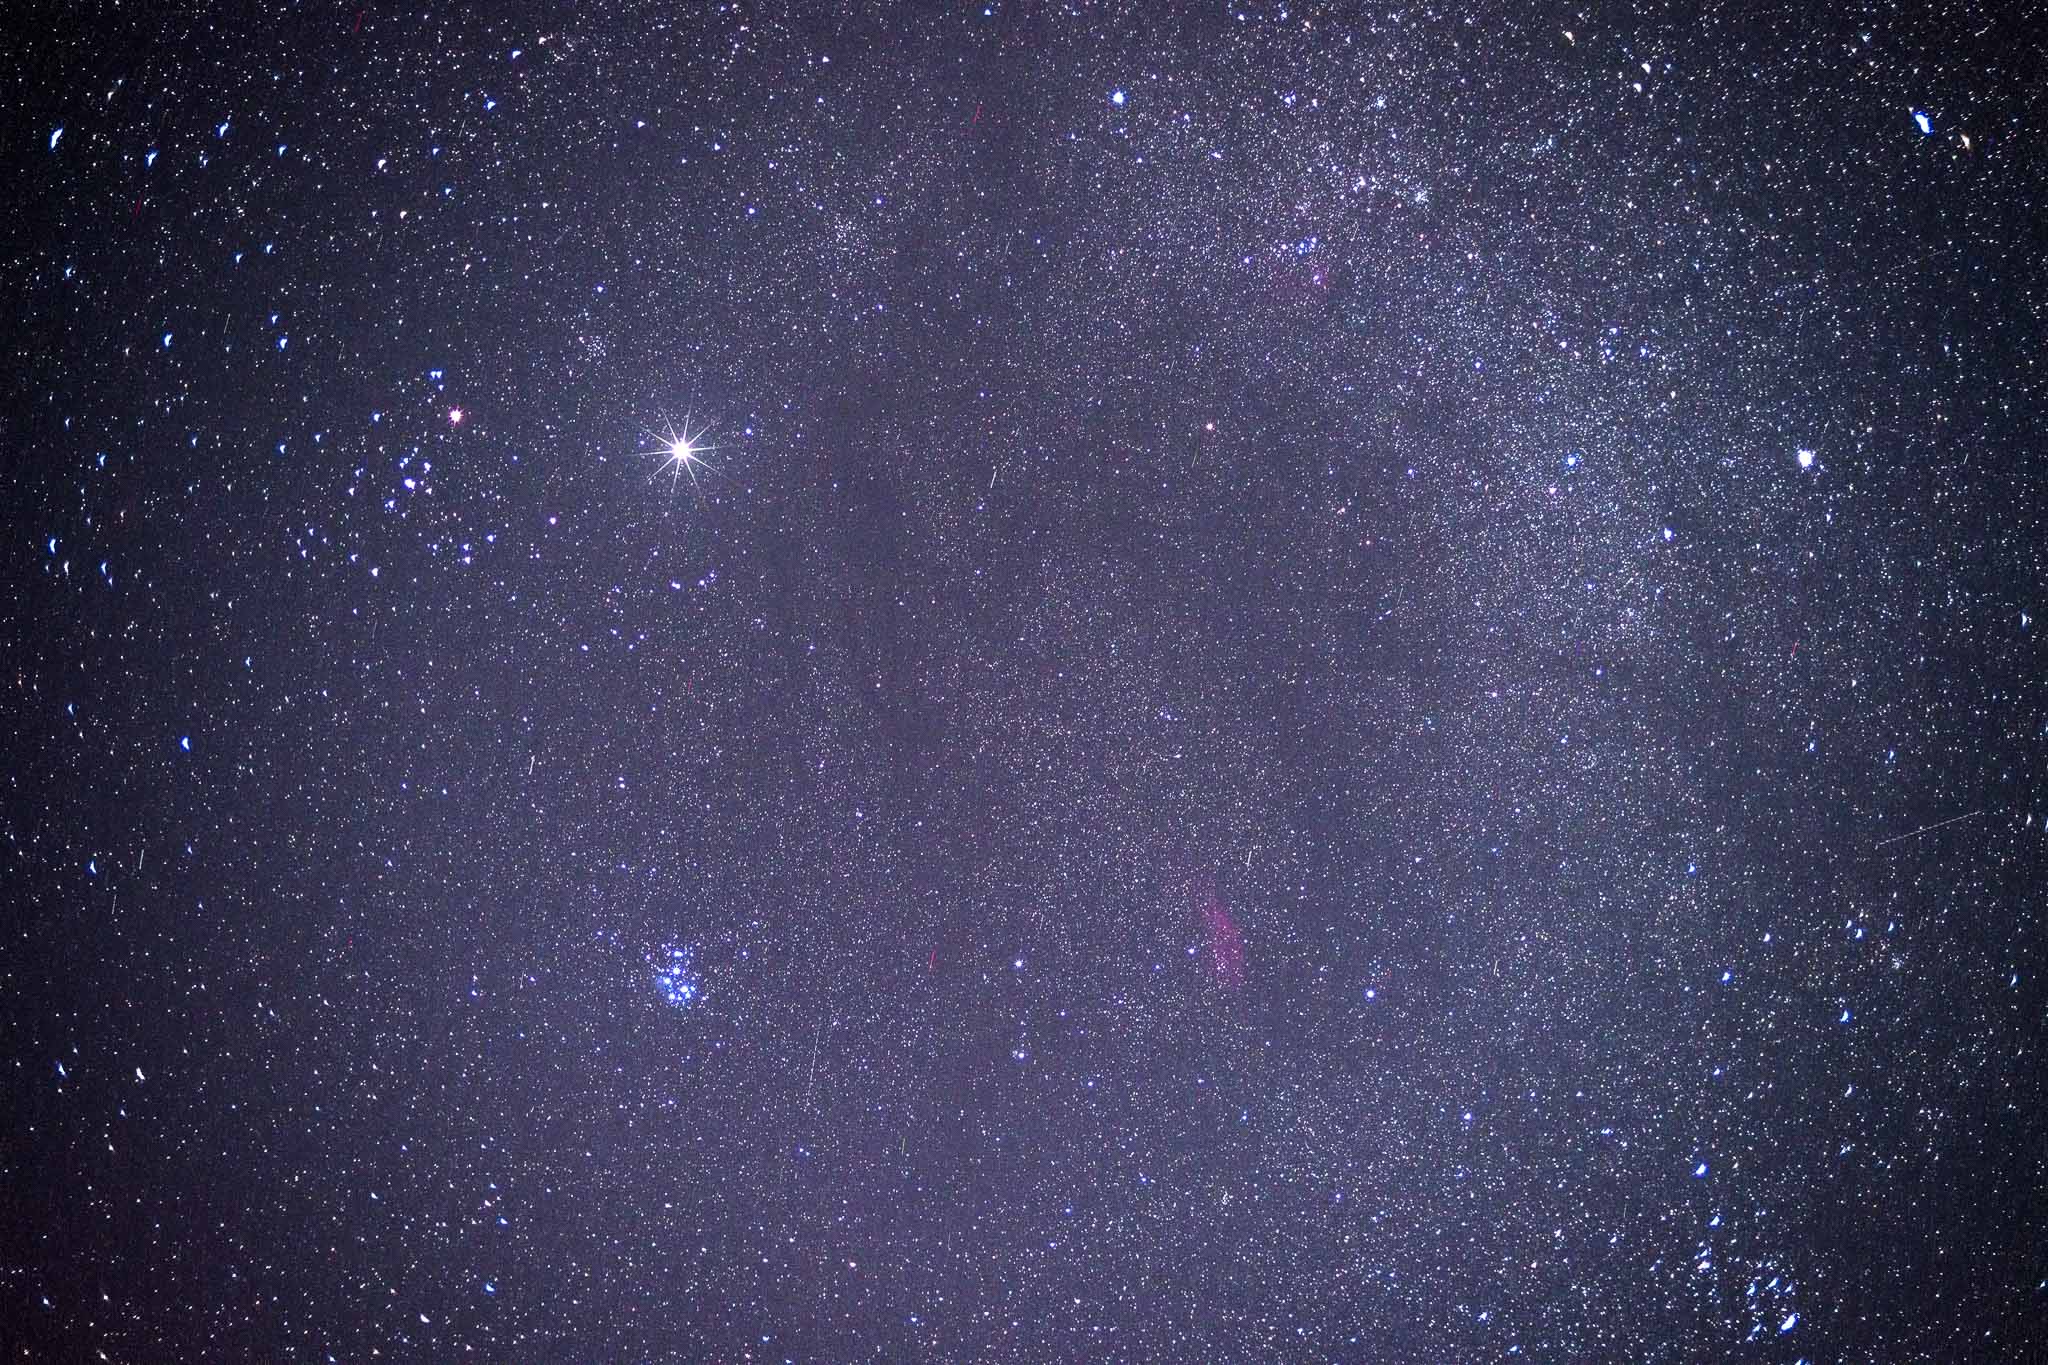
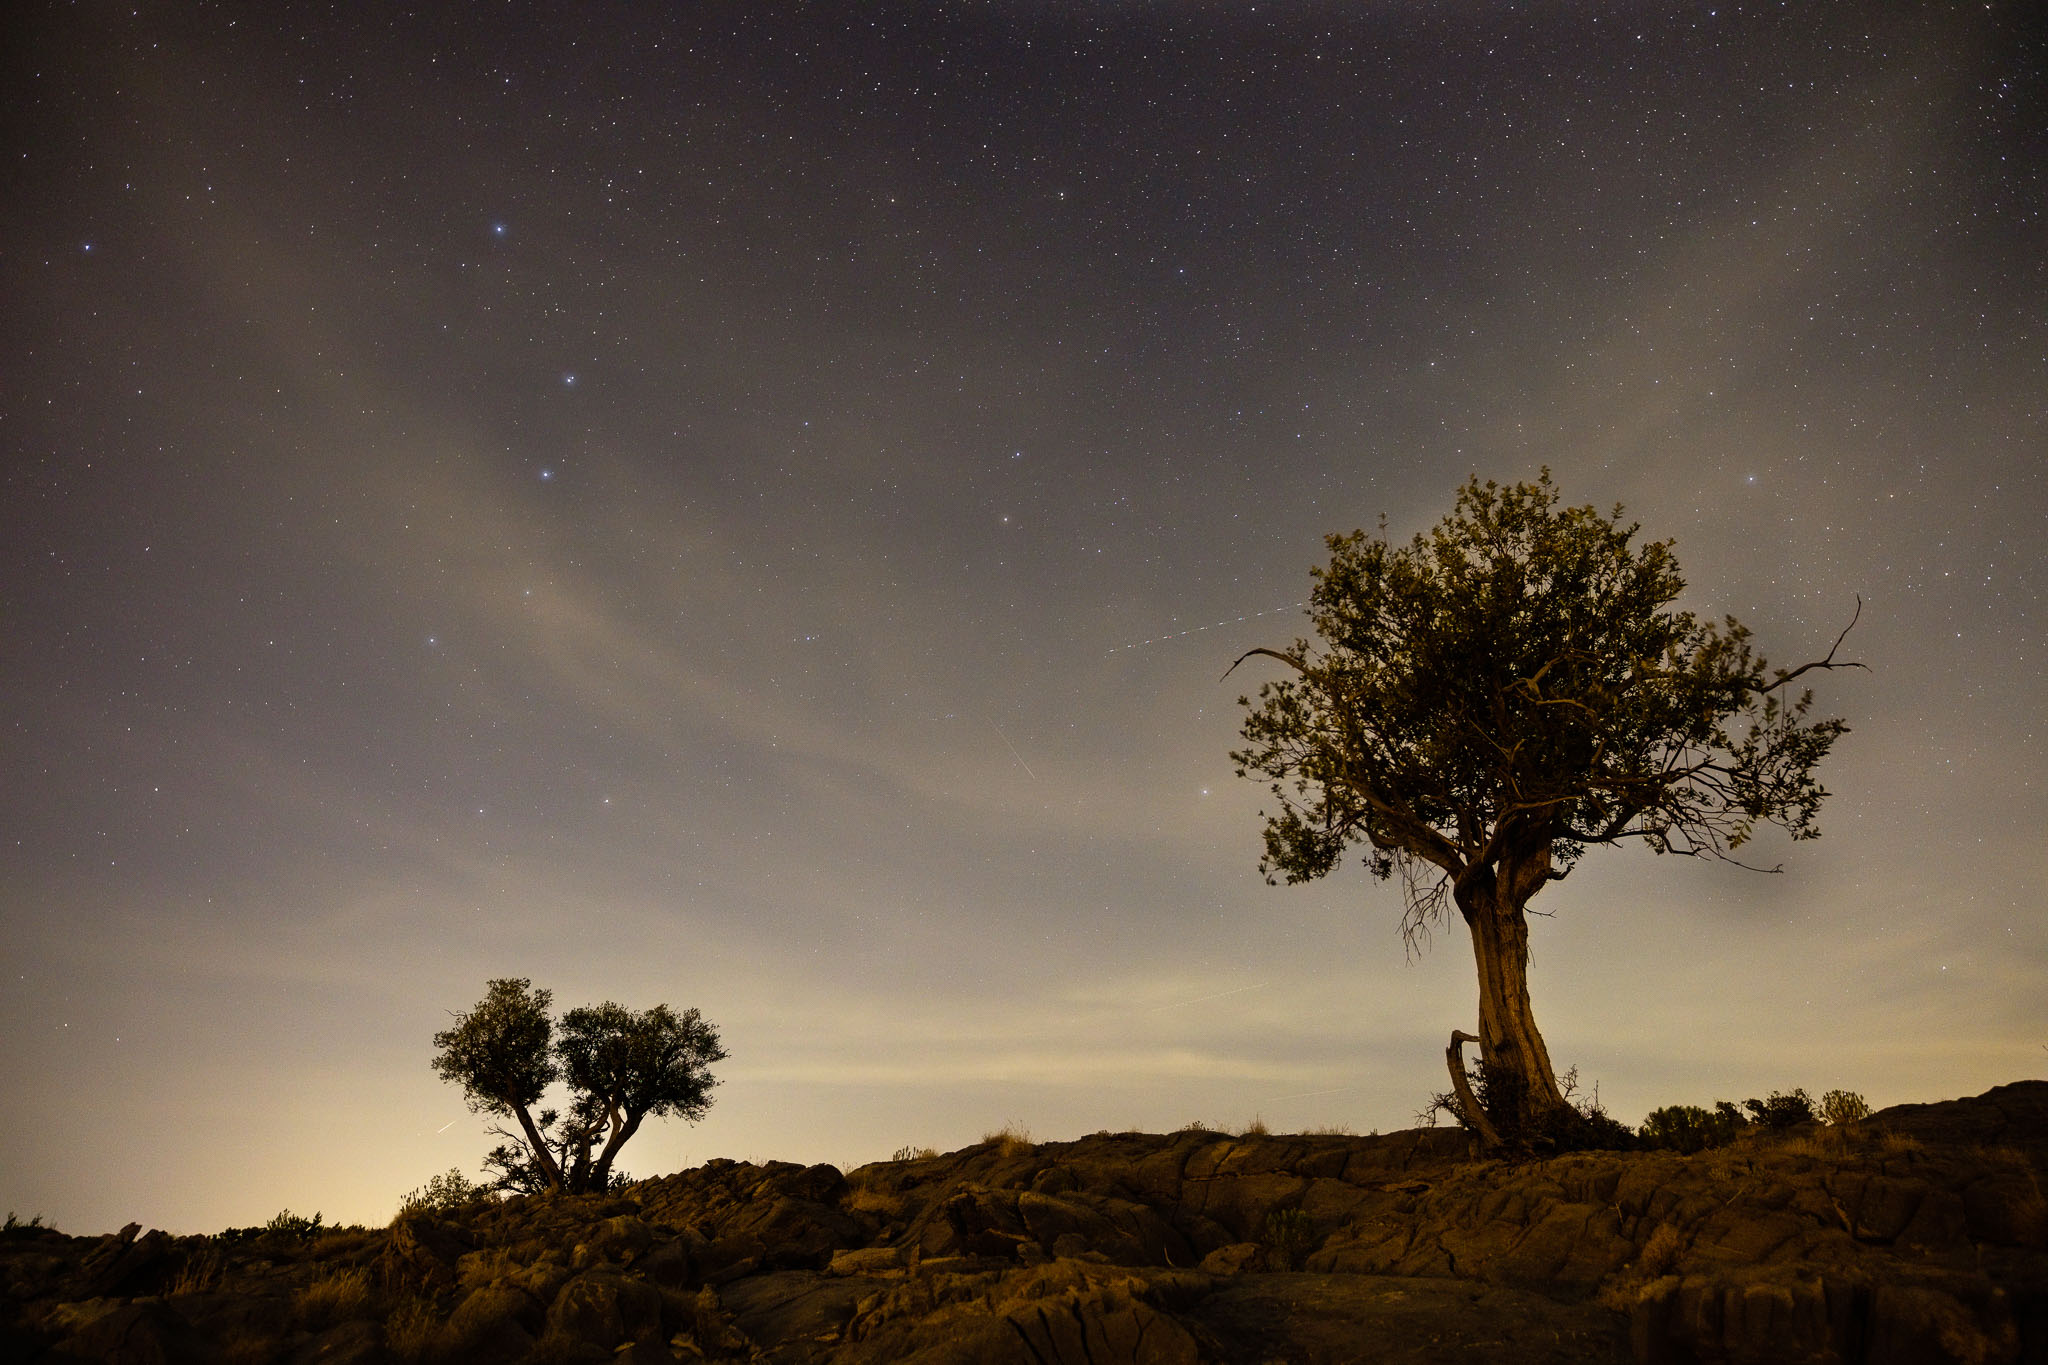
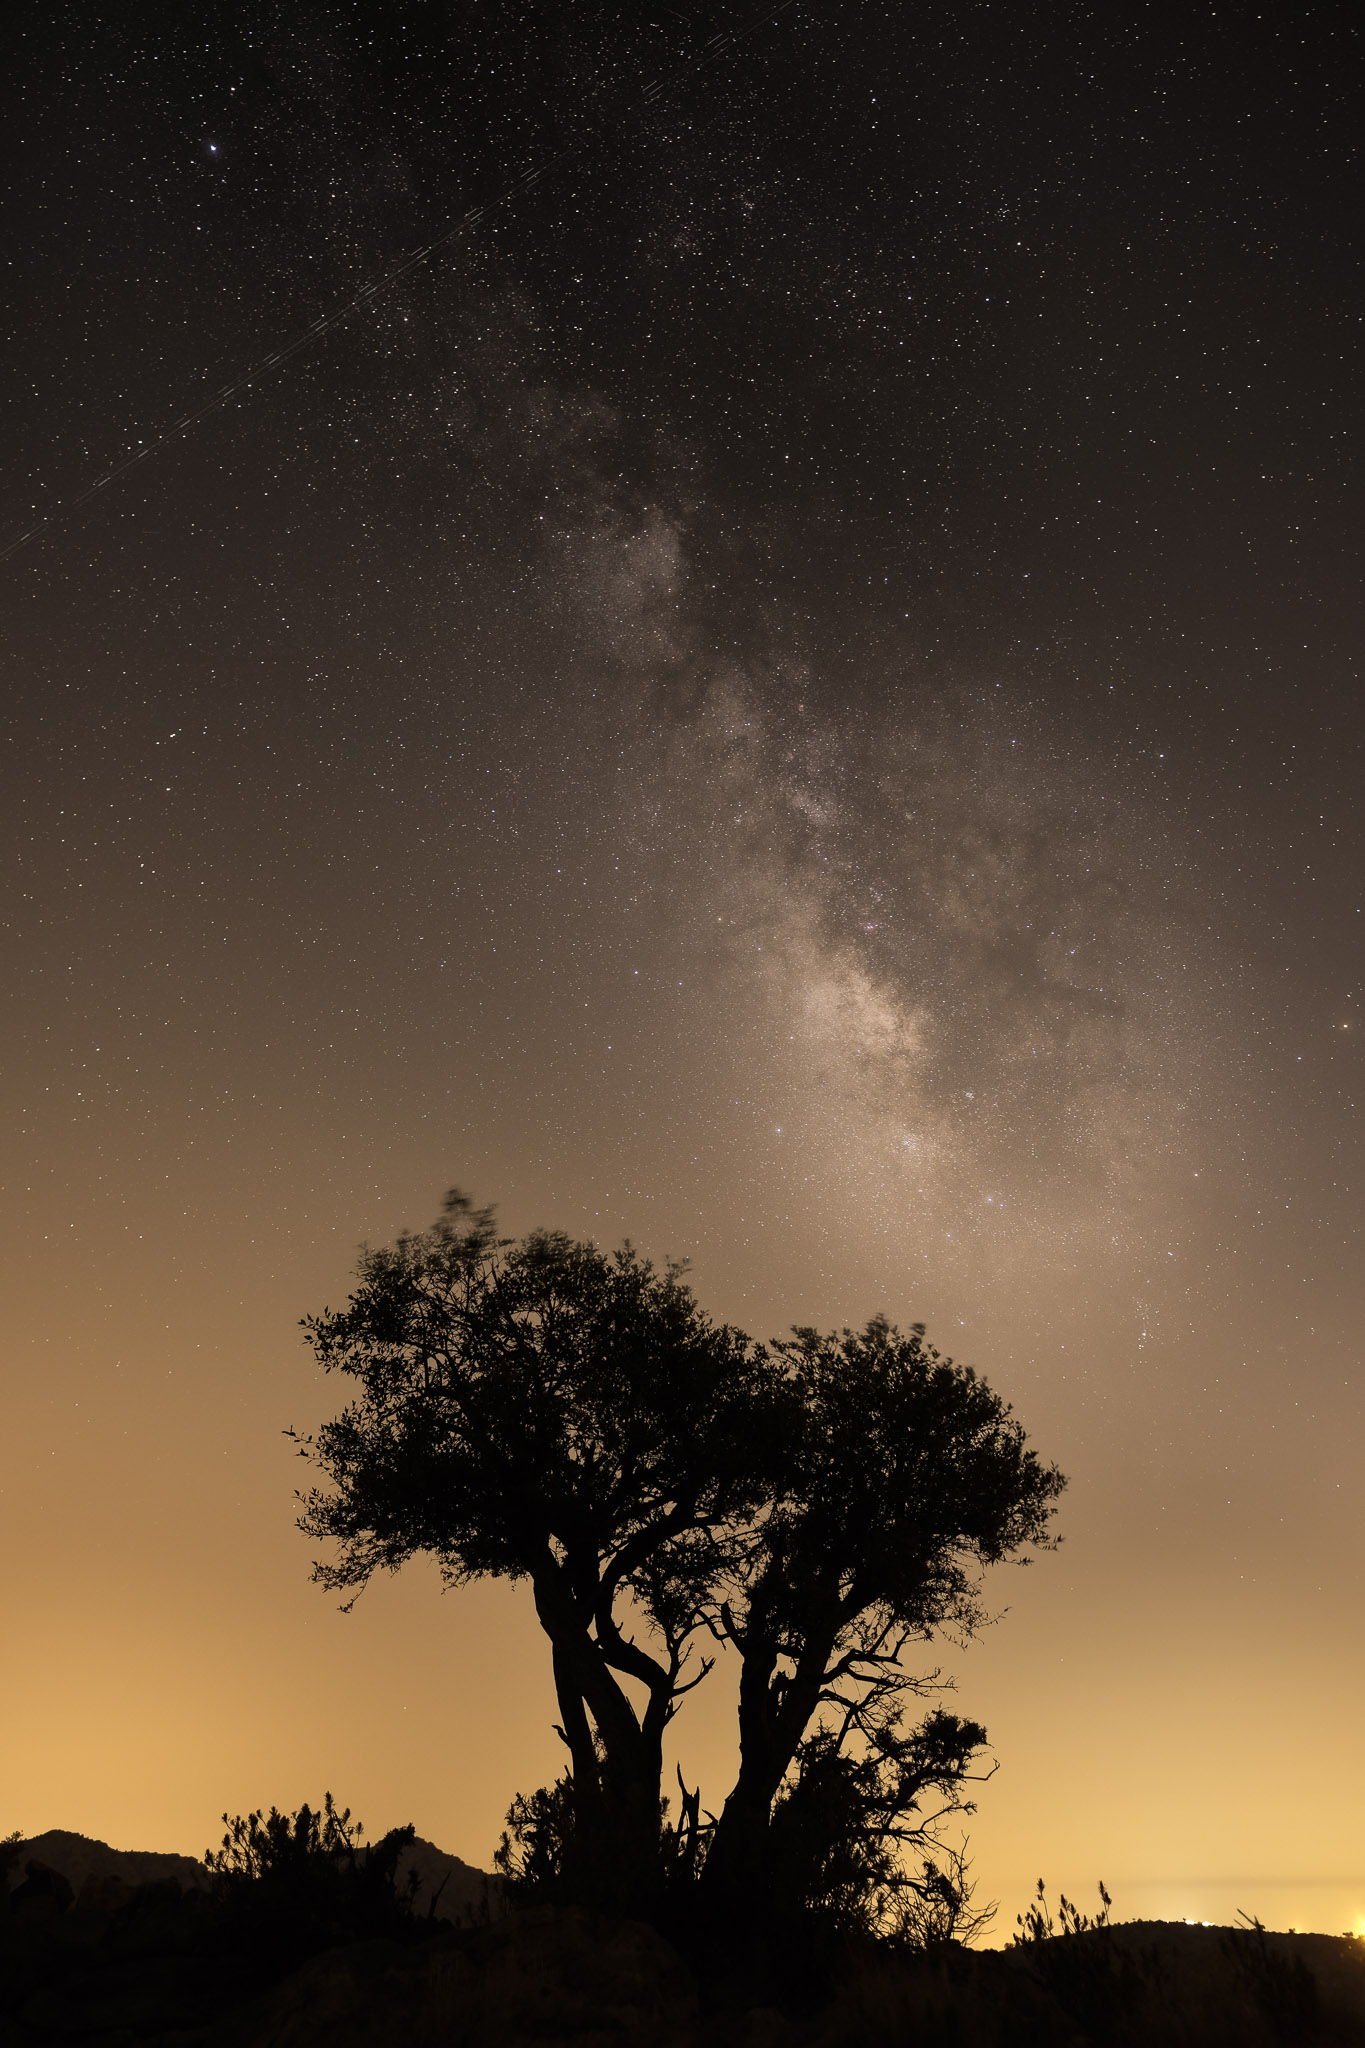
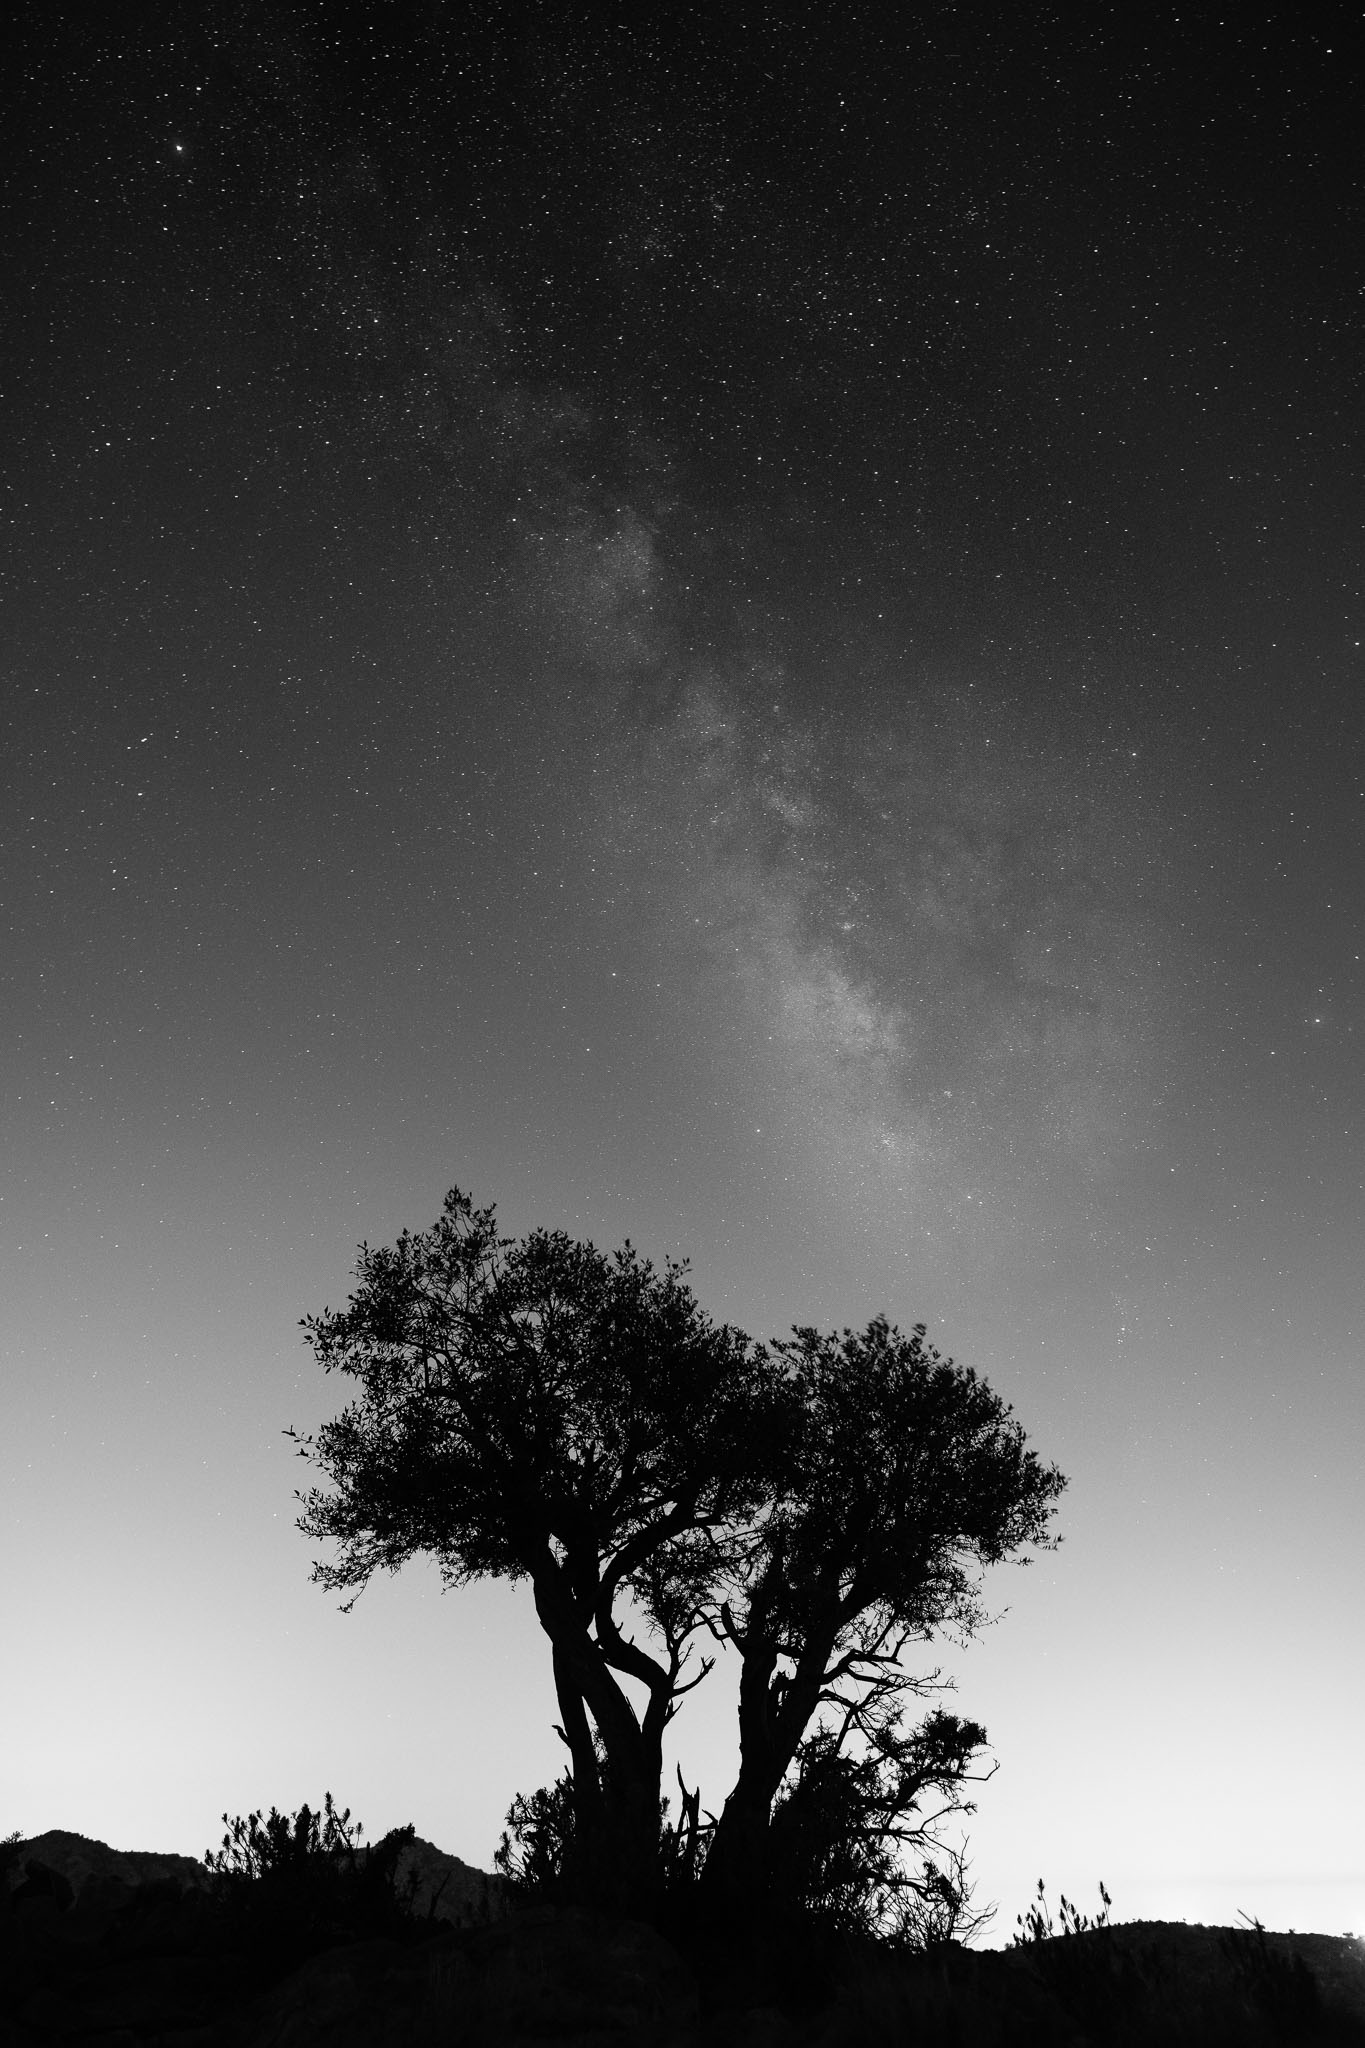
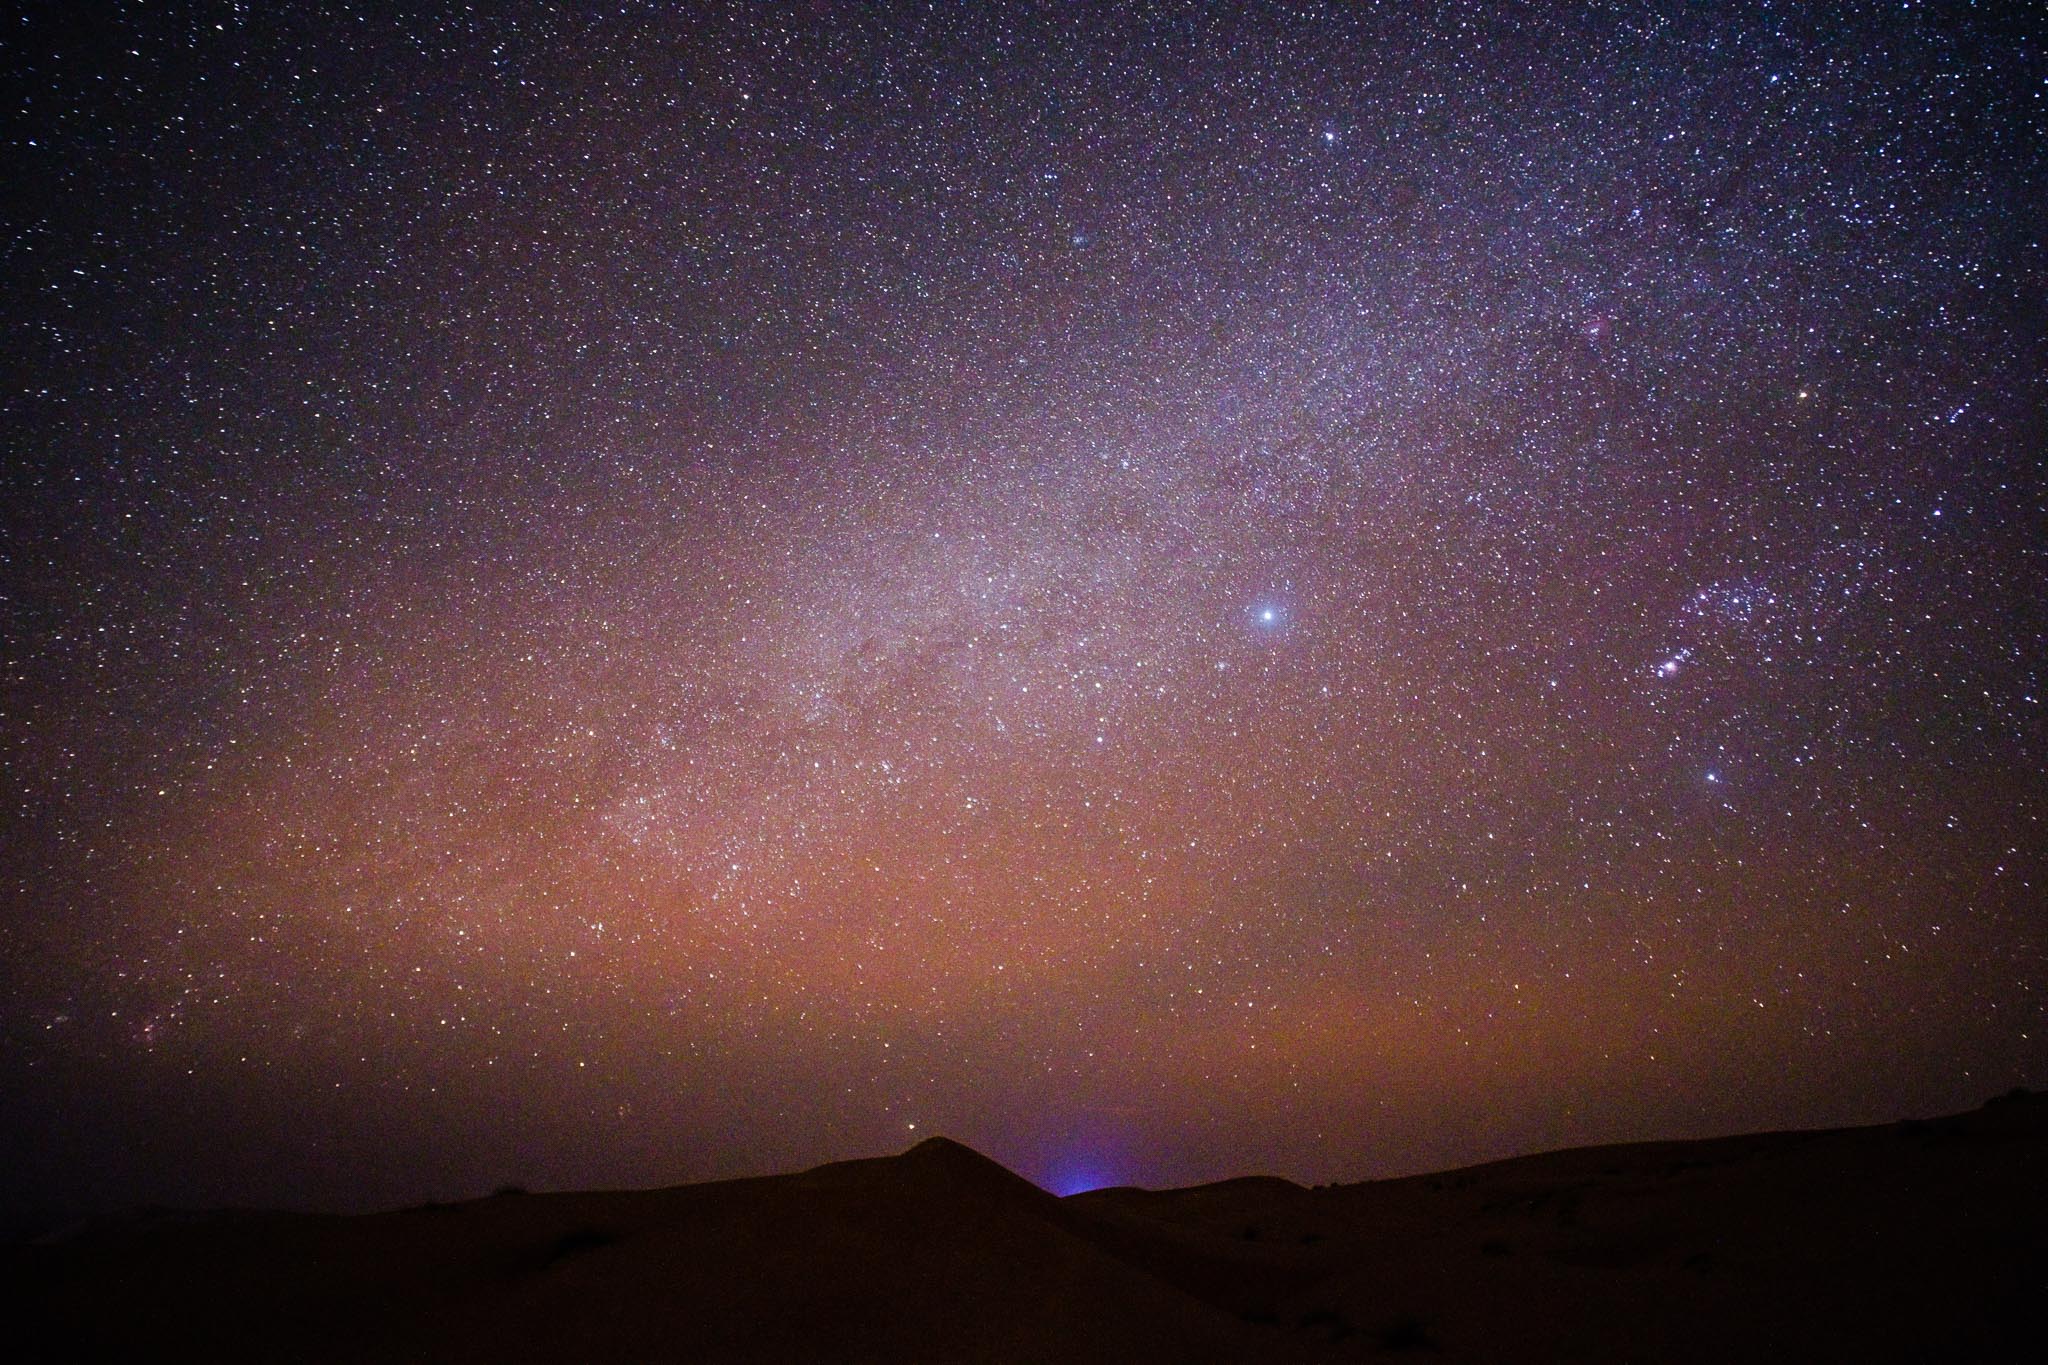
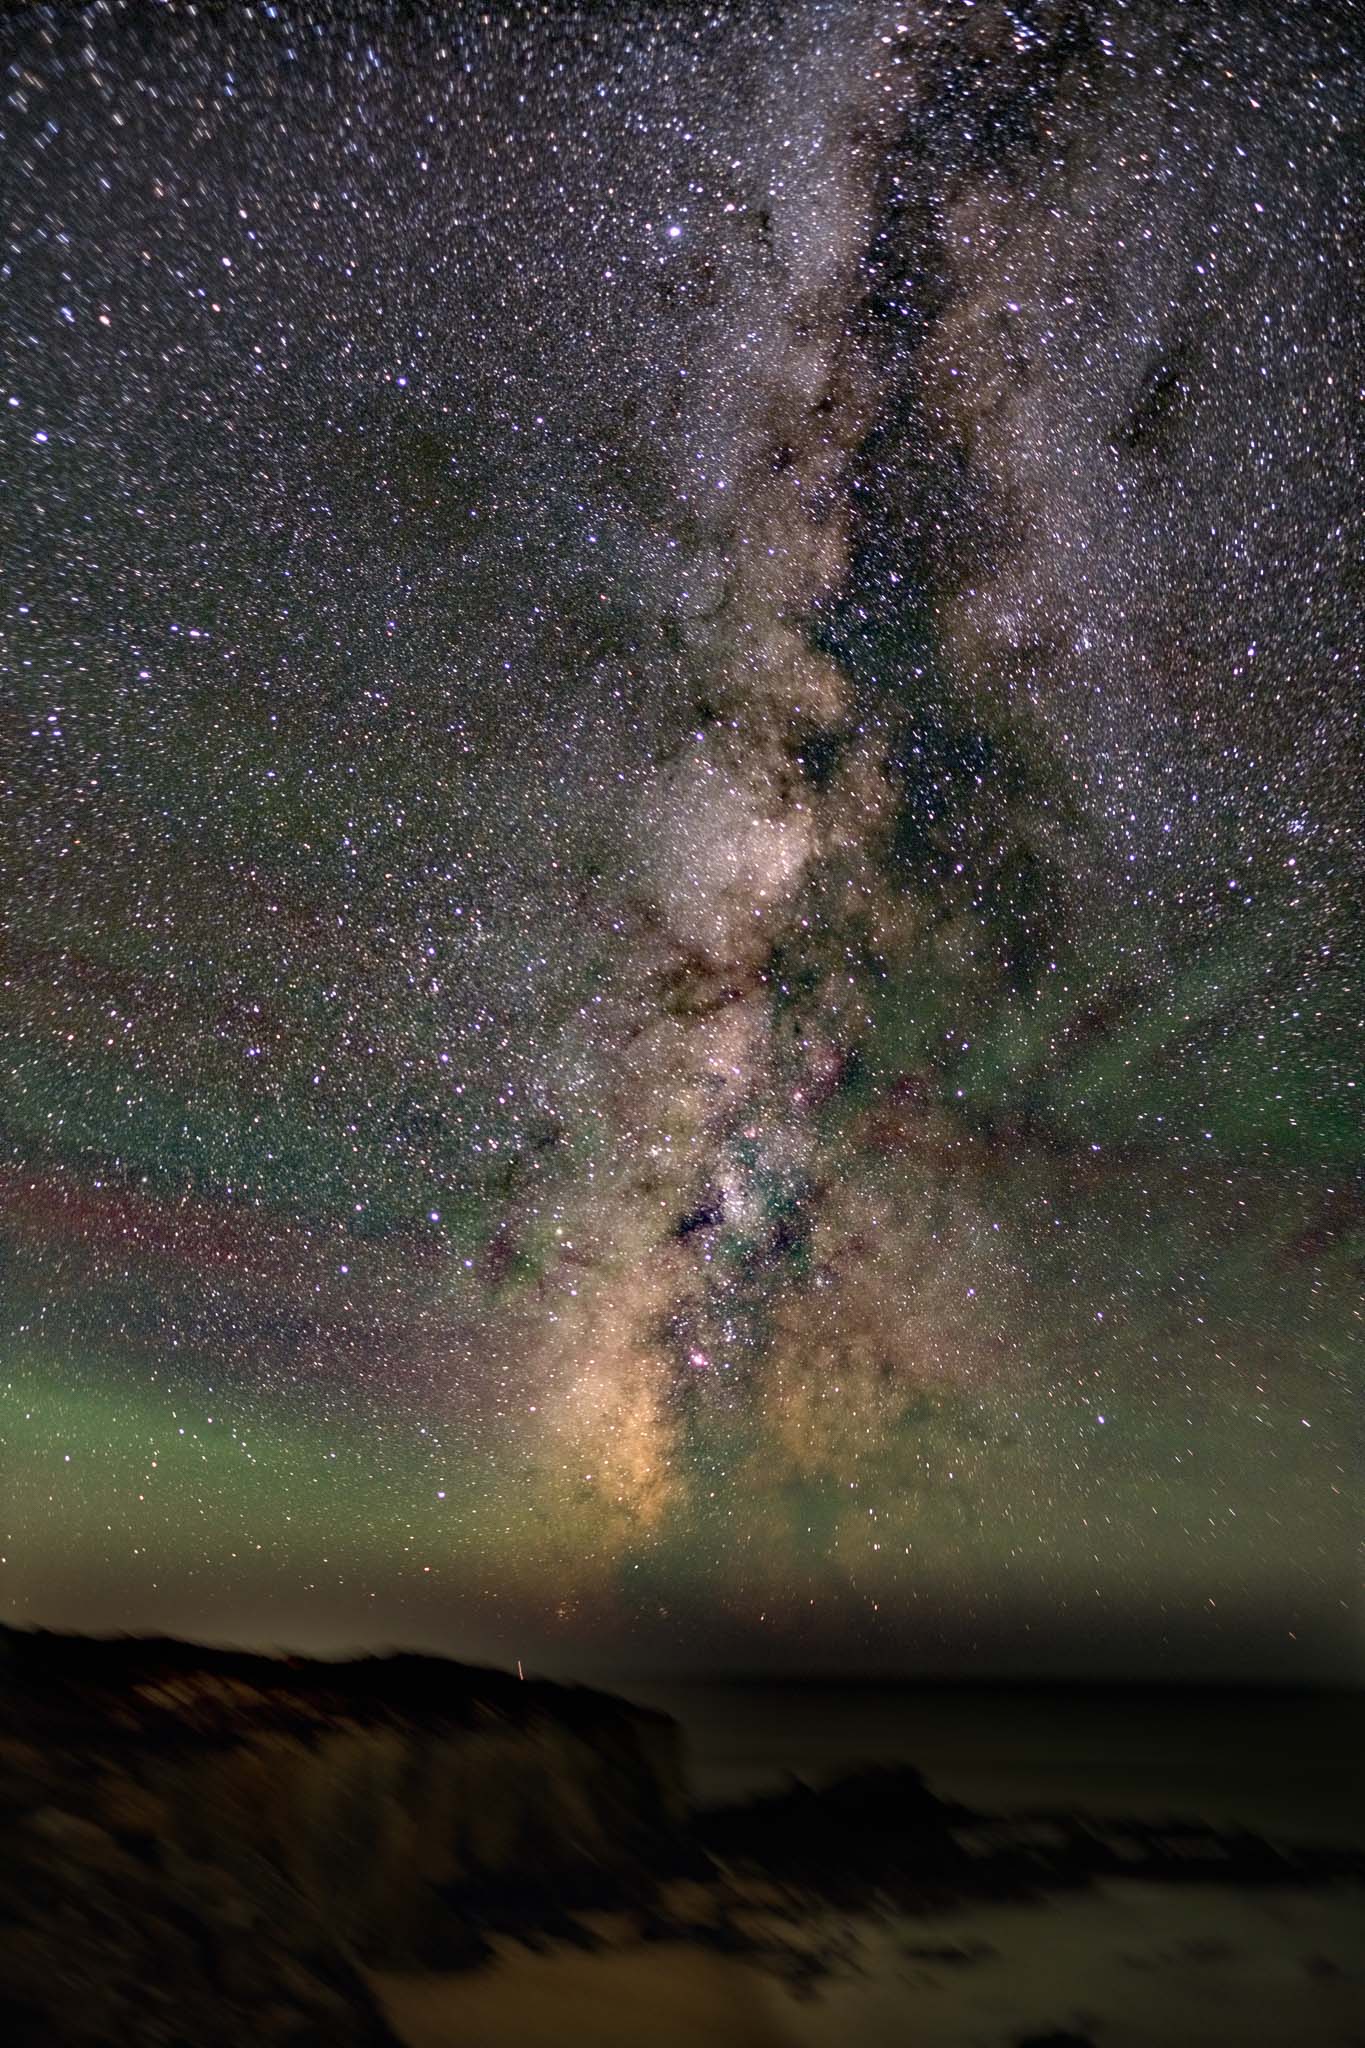
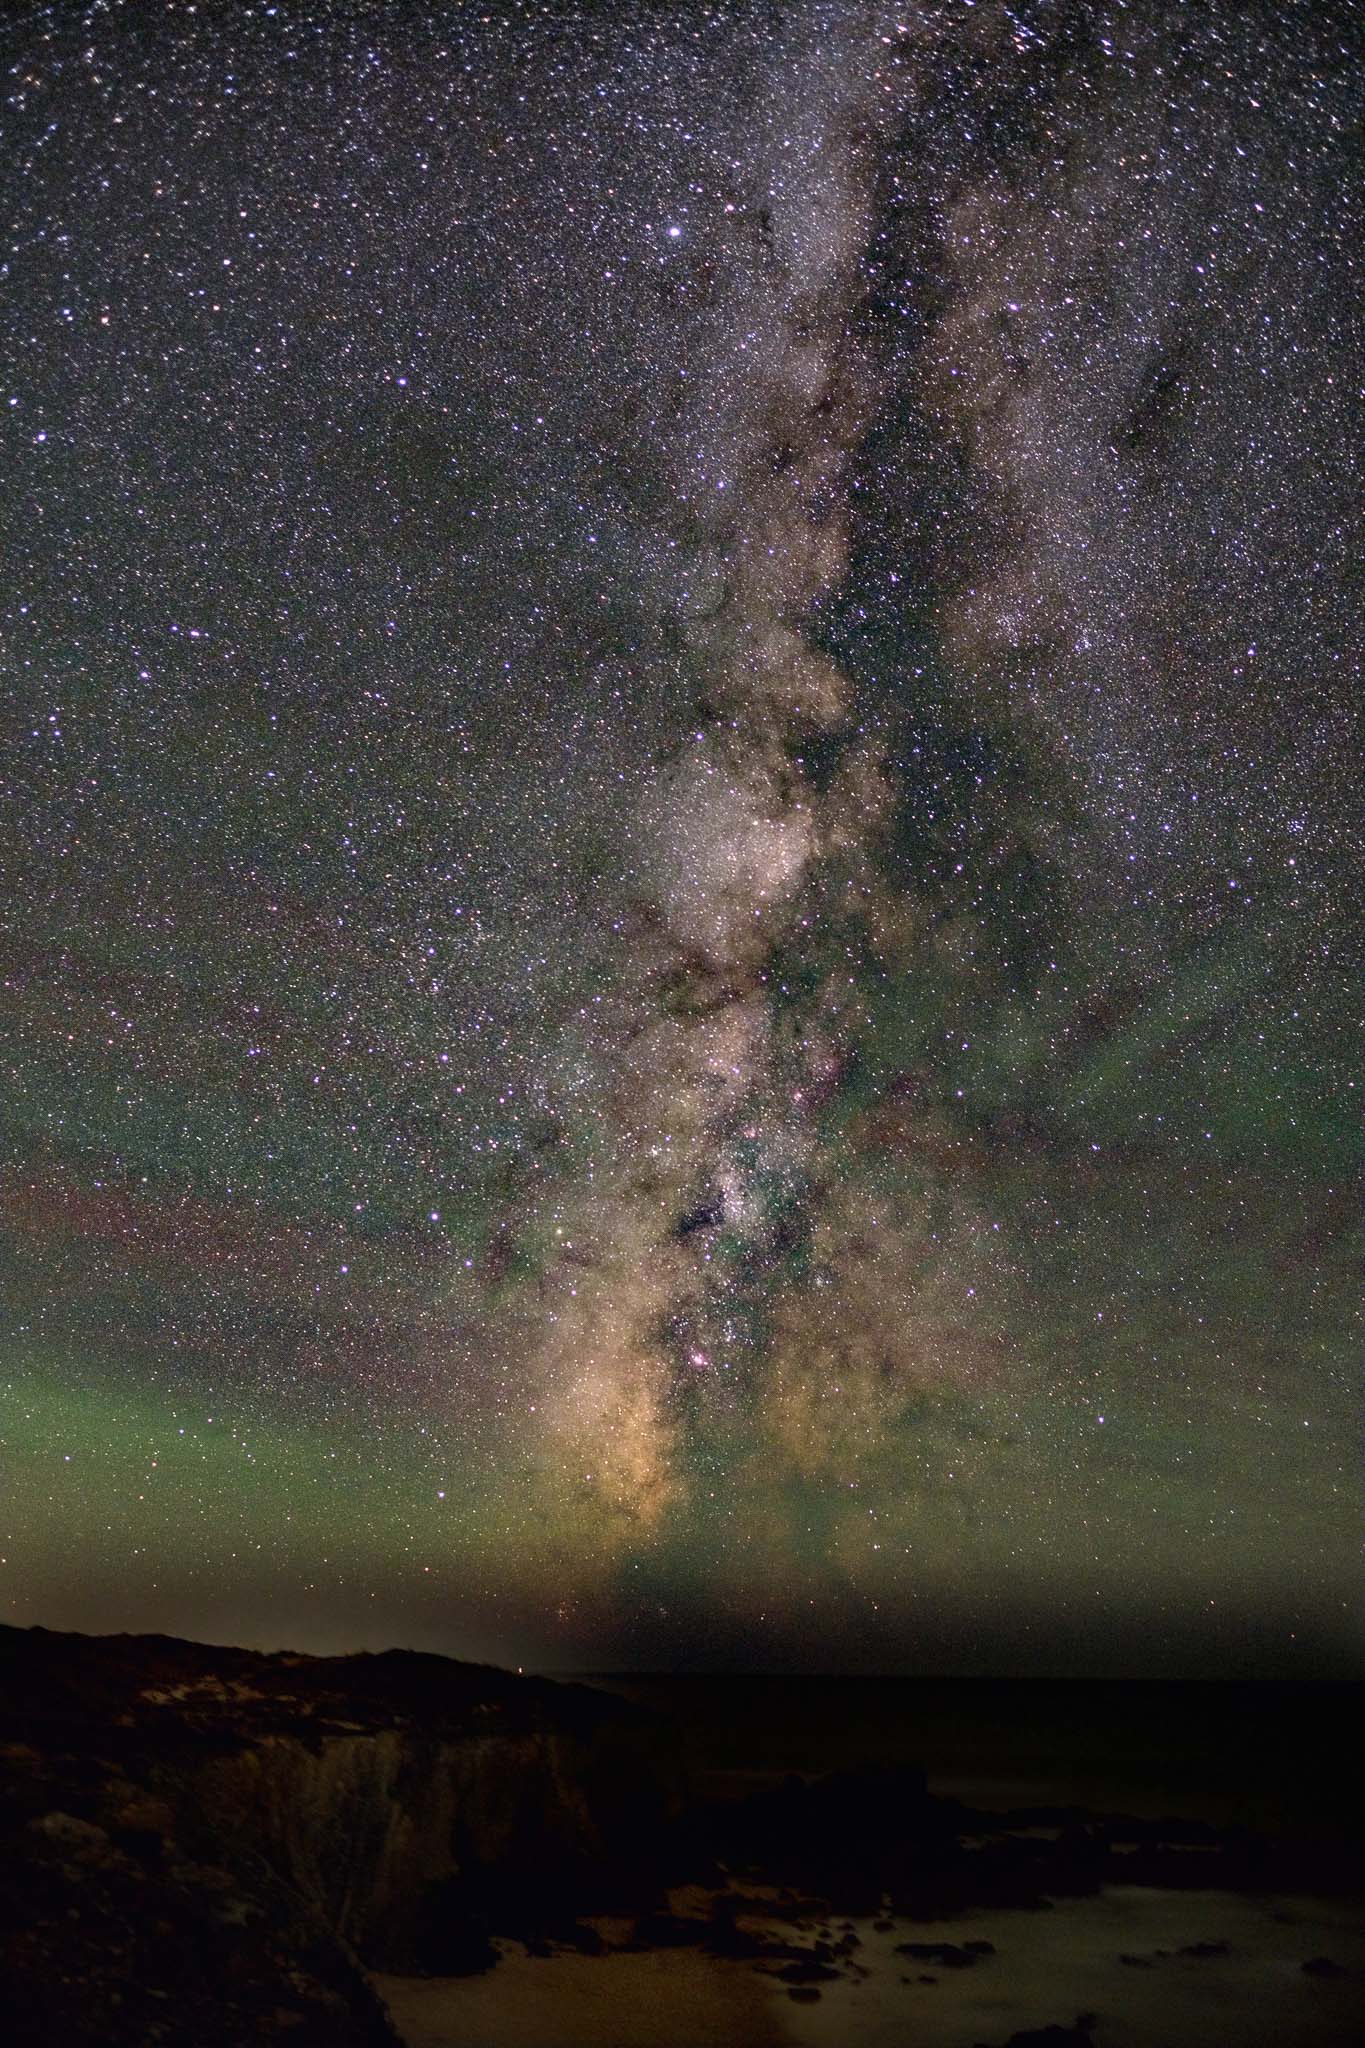
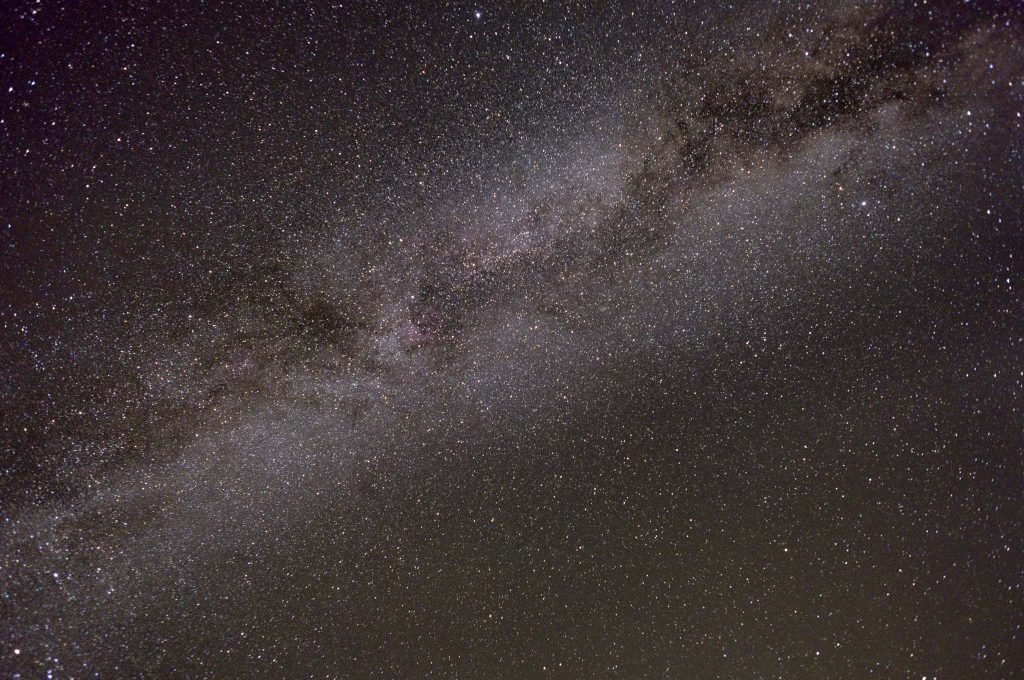
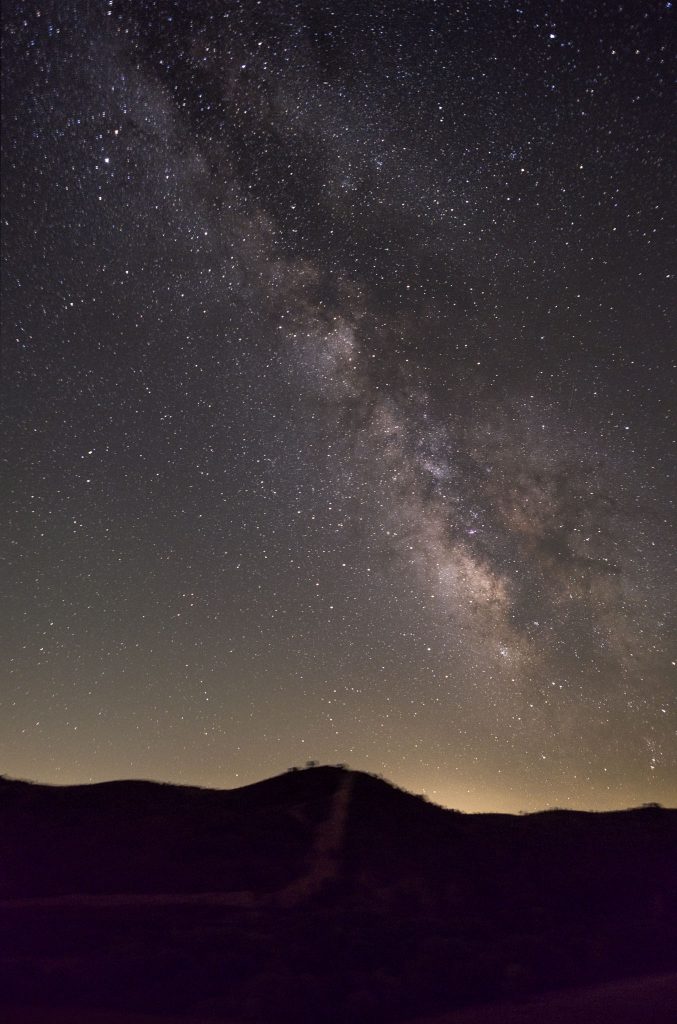
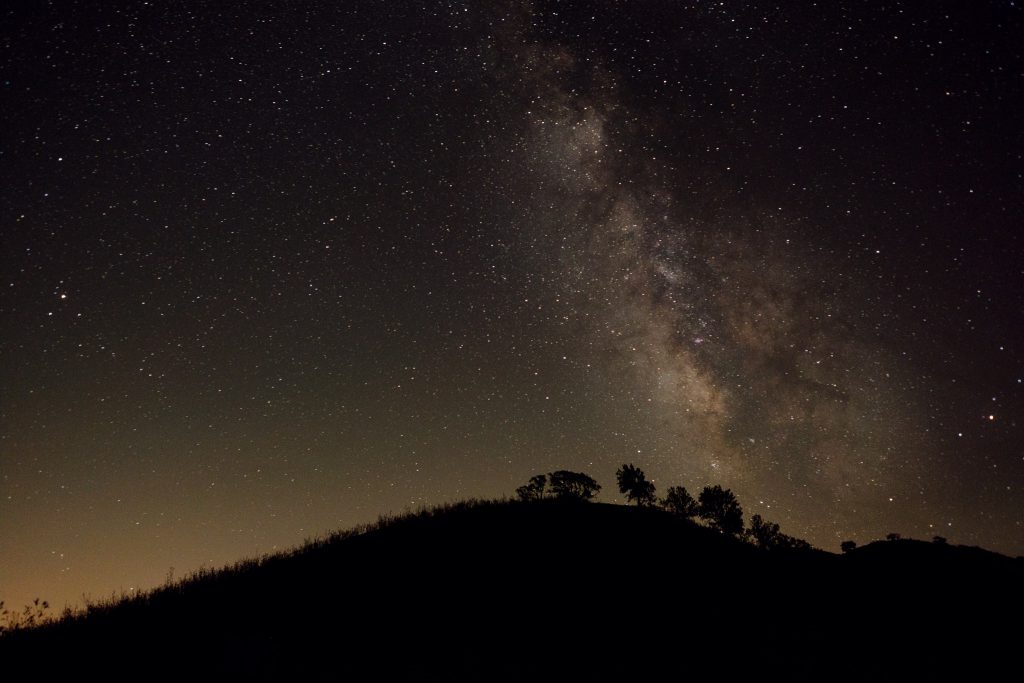
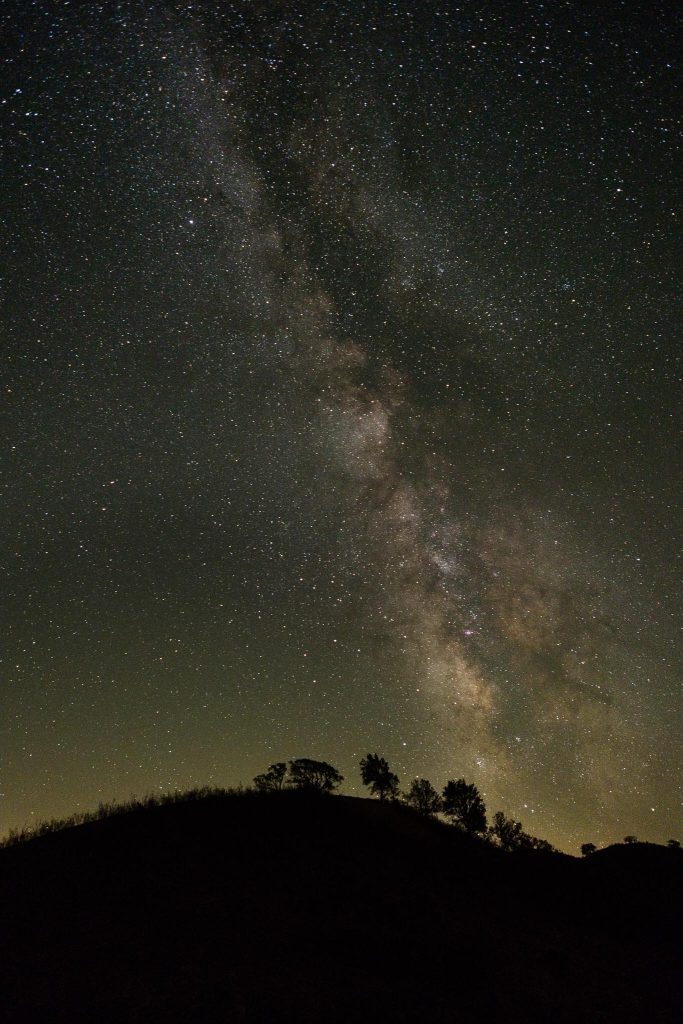
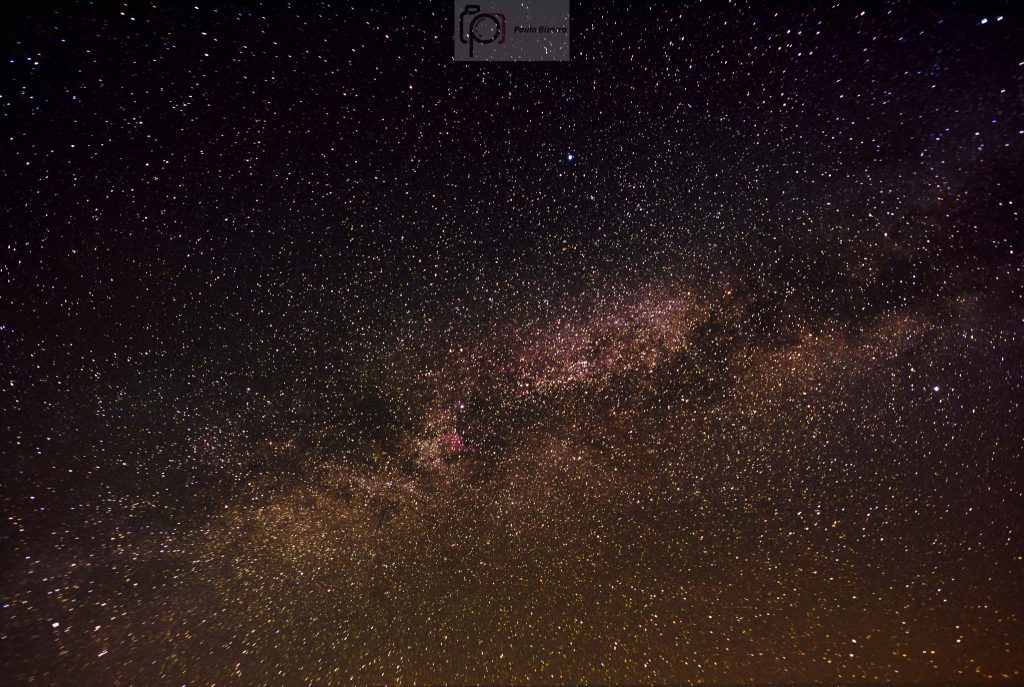
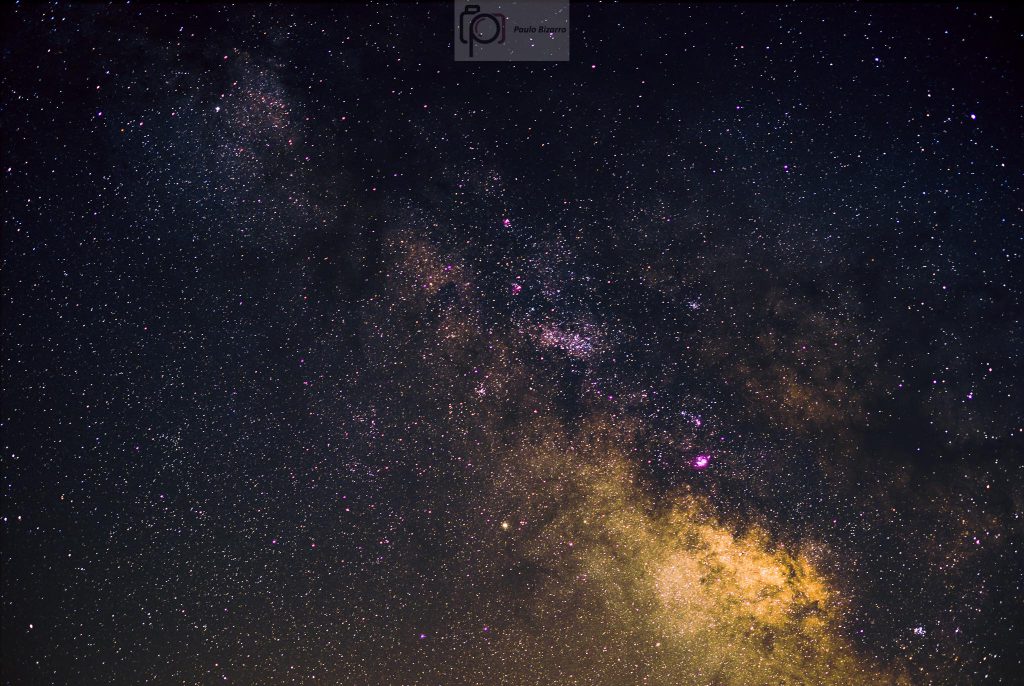
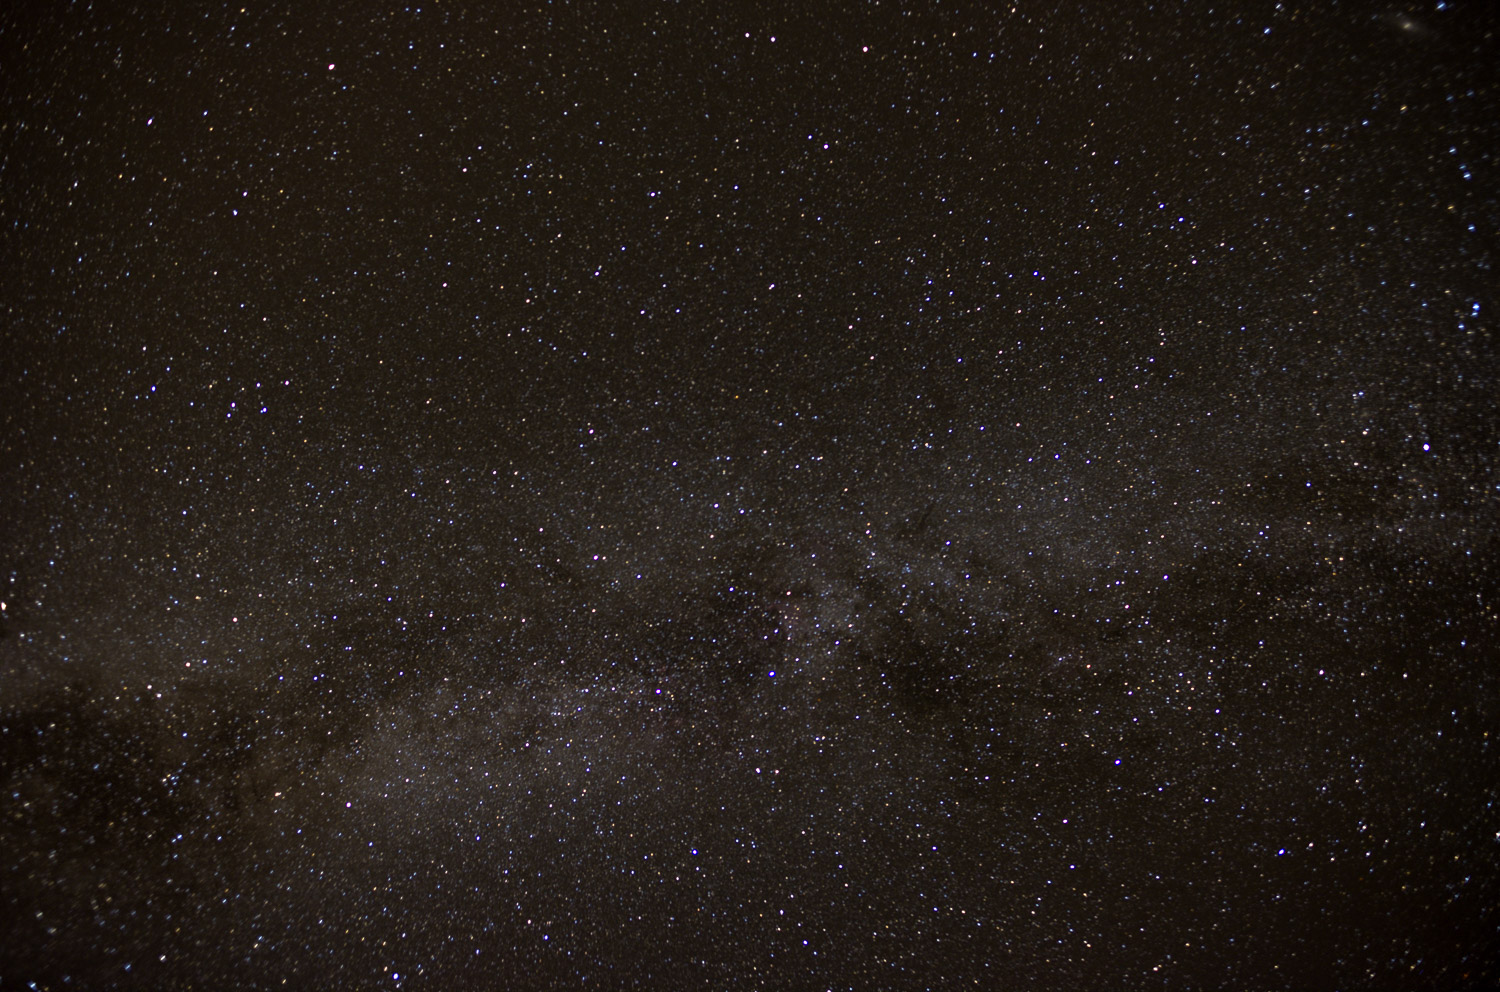
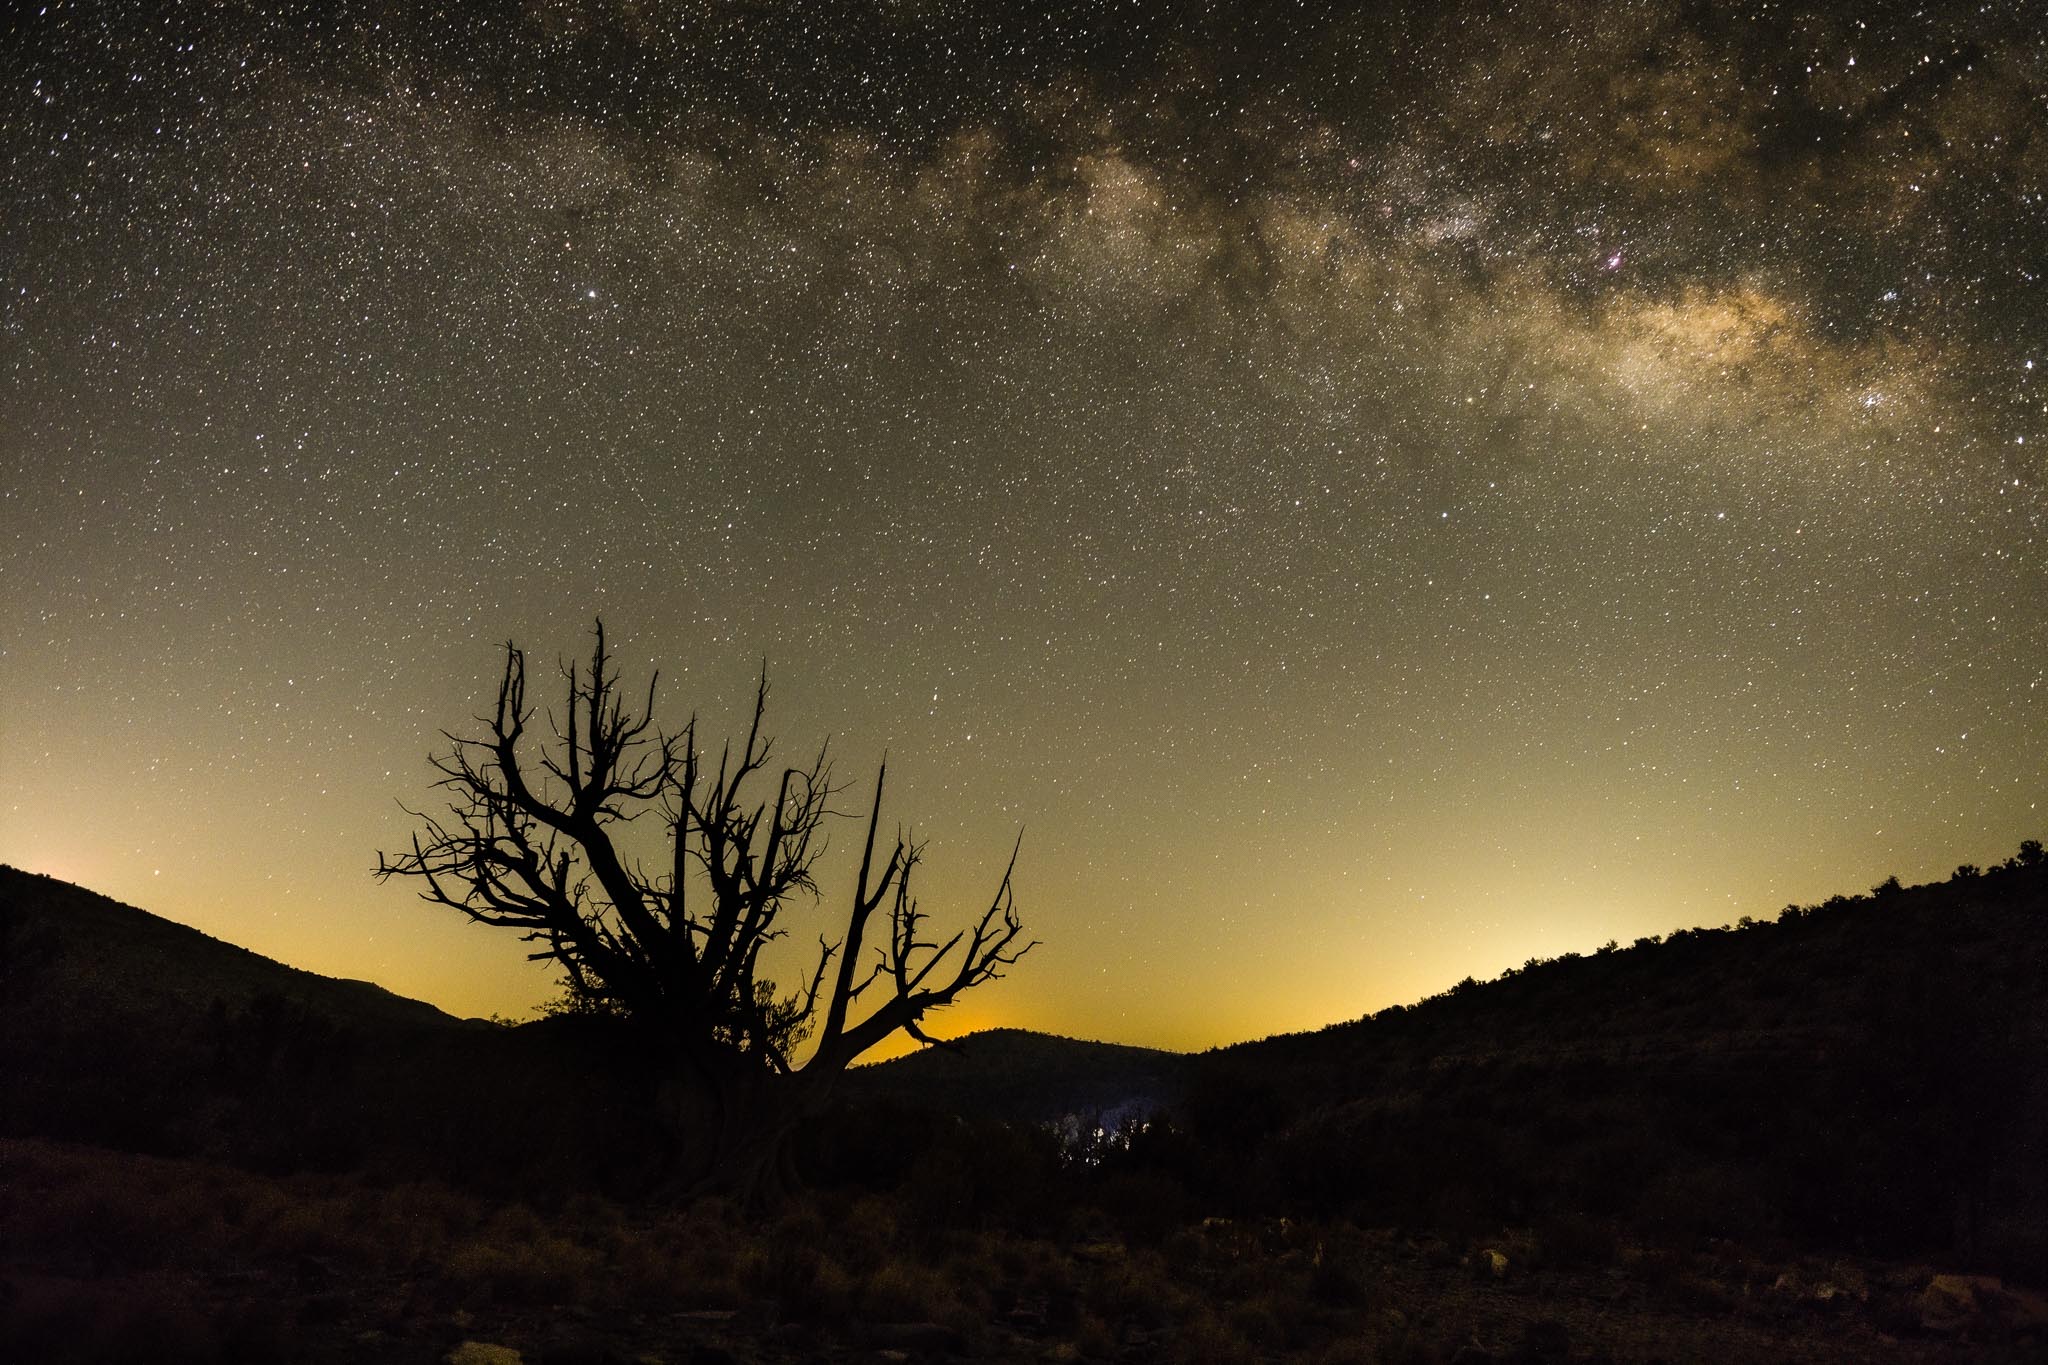
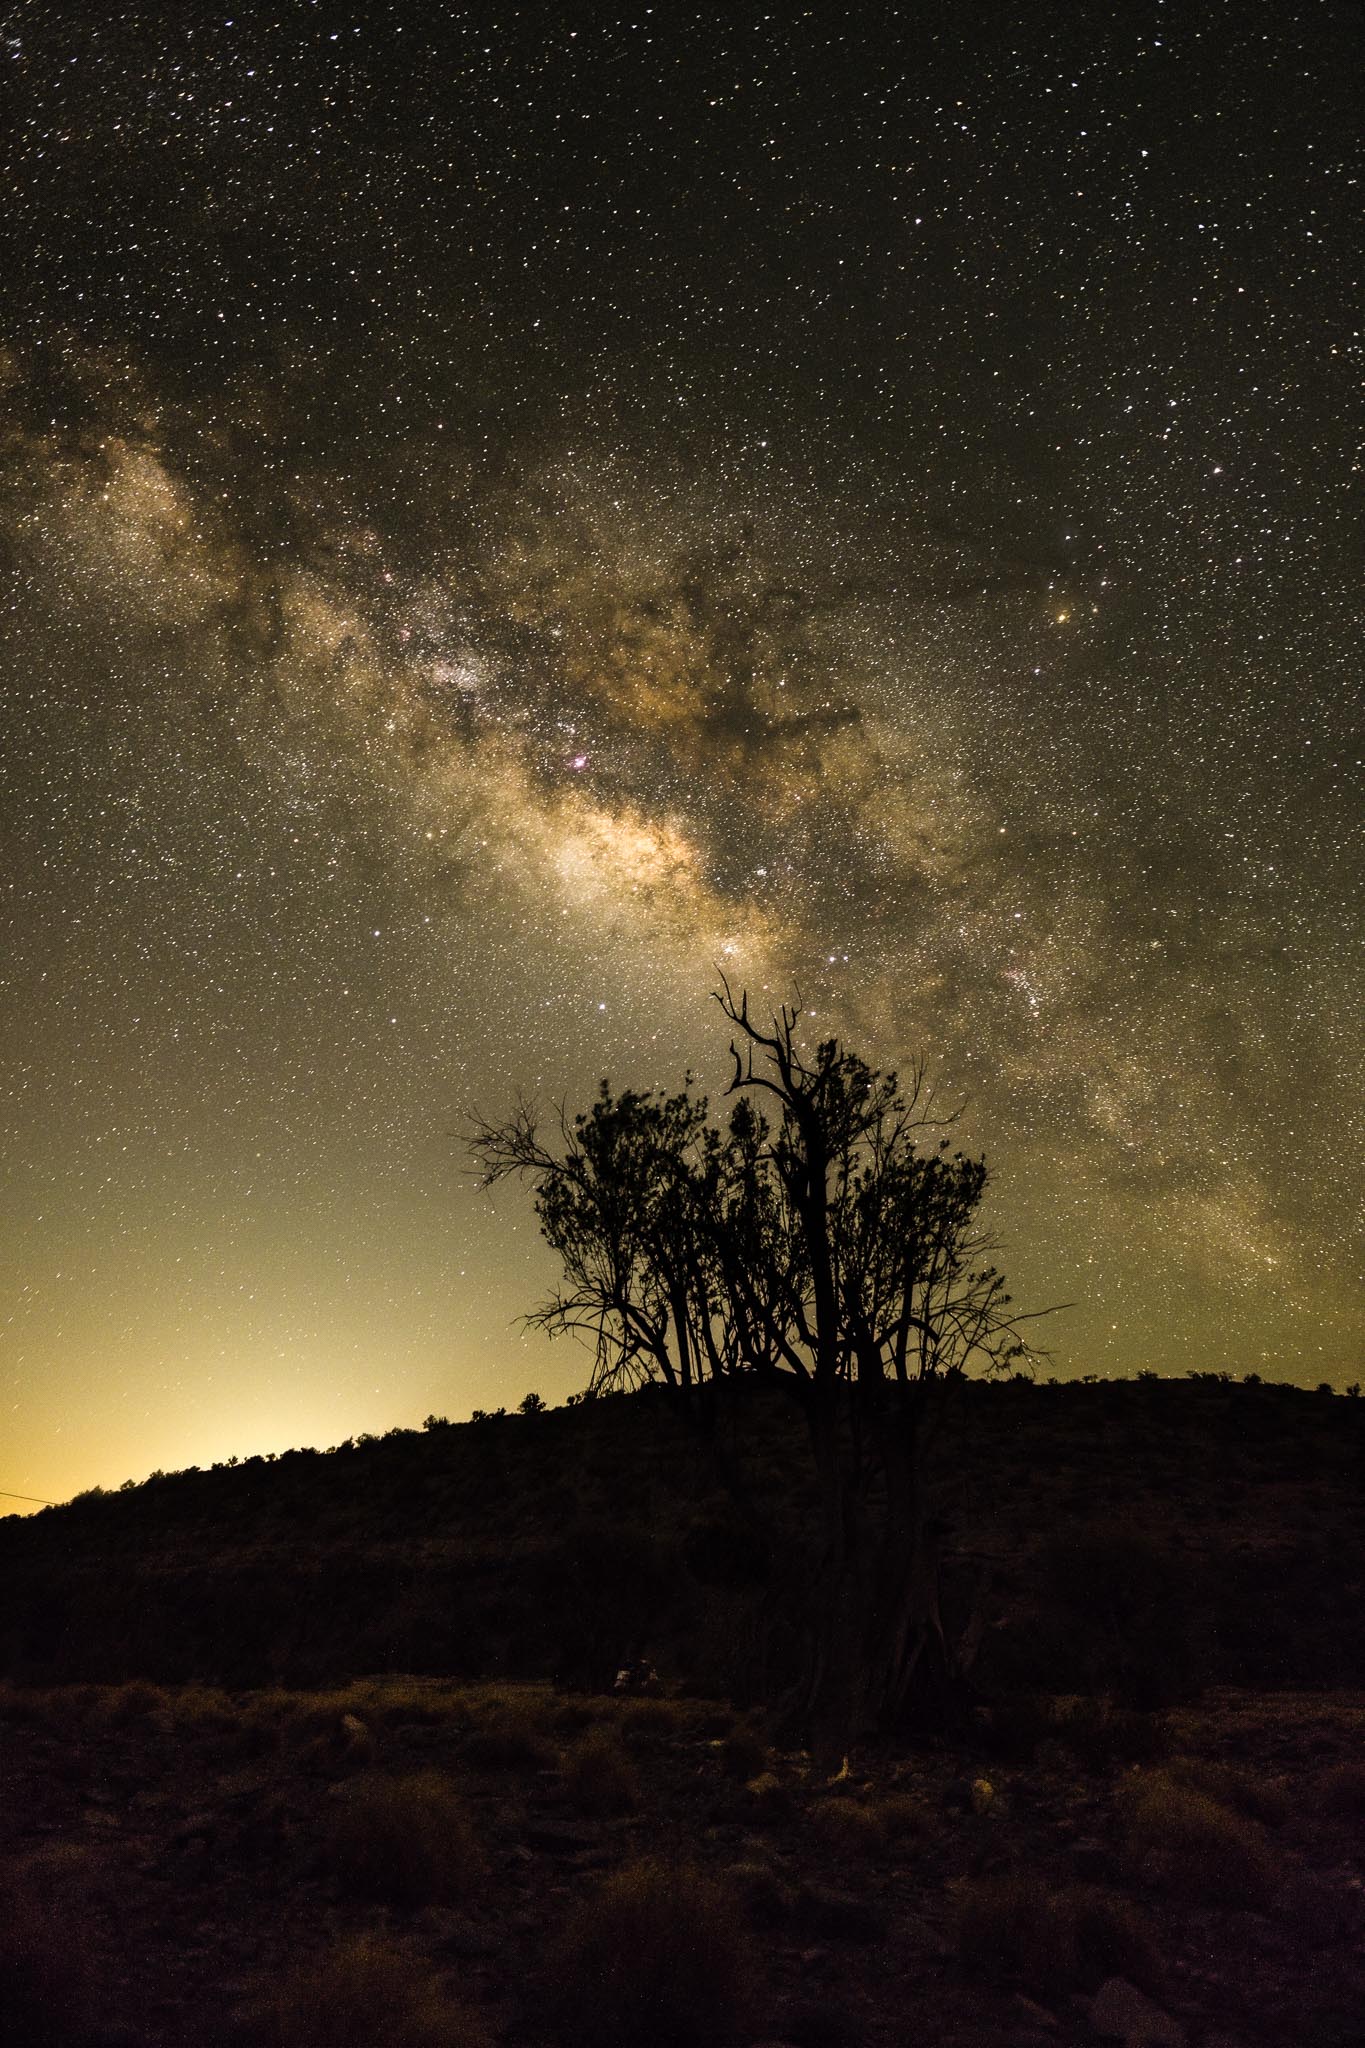
Waking up around 12am, I checked the status of the star trail shots, which was fine. I then proceeded to set up the camera and lens to frame the Milky Way, which in the meantime had risen in the sky. I had previously scouted the area for interesting foregrounds, thus saving some time. You don’t want to stumble in the dark looking for compositions. Again, I shot using the intervalometer, but this time 10 images only; later I would stack them in Sequator.

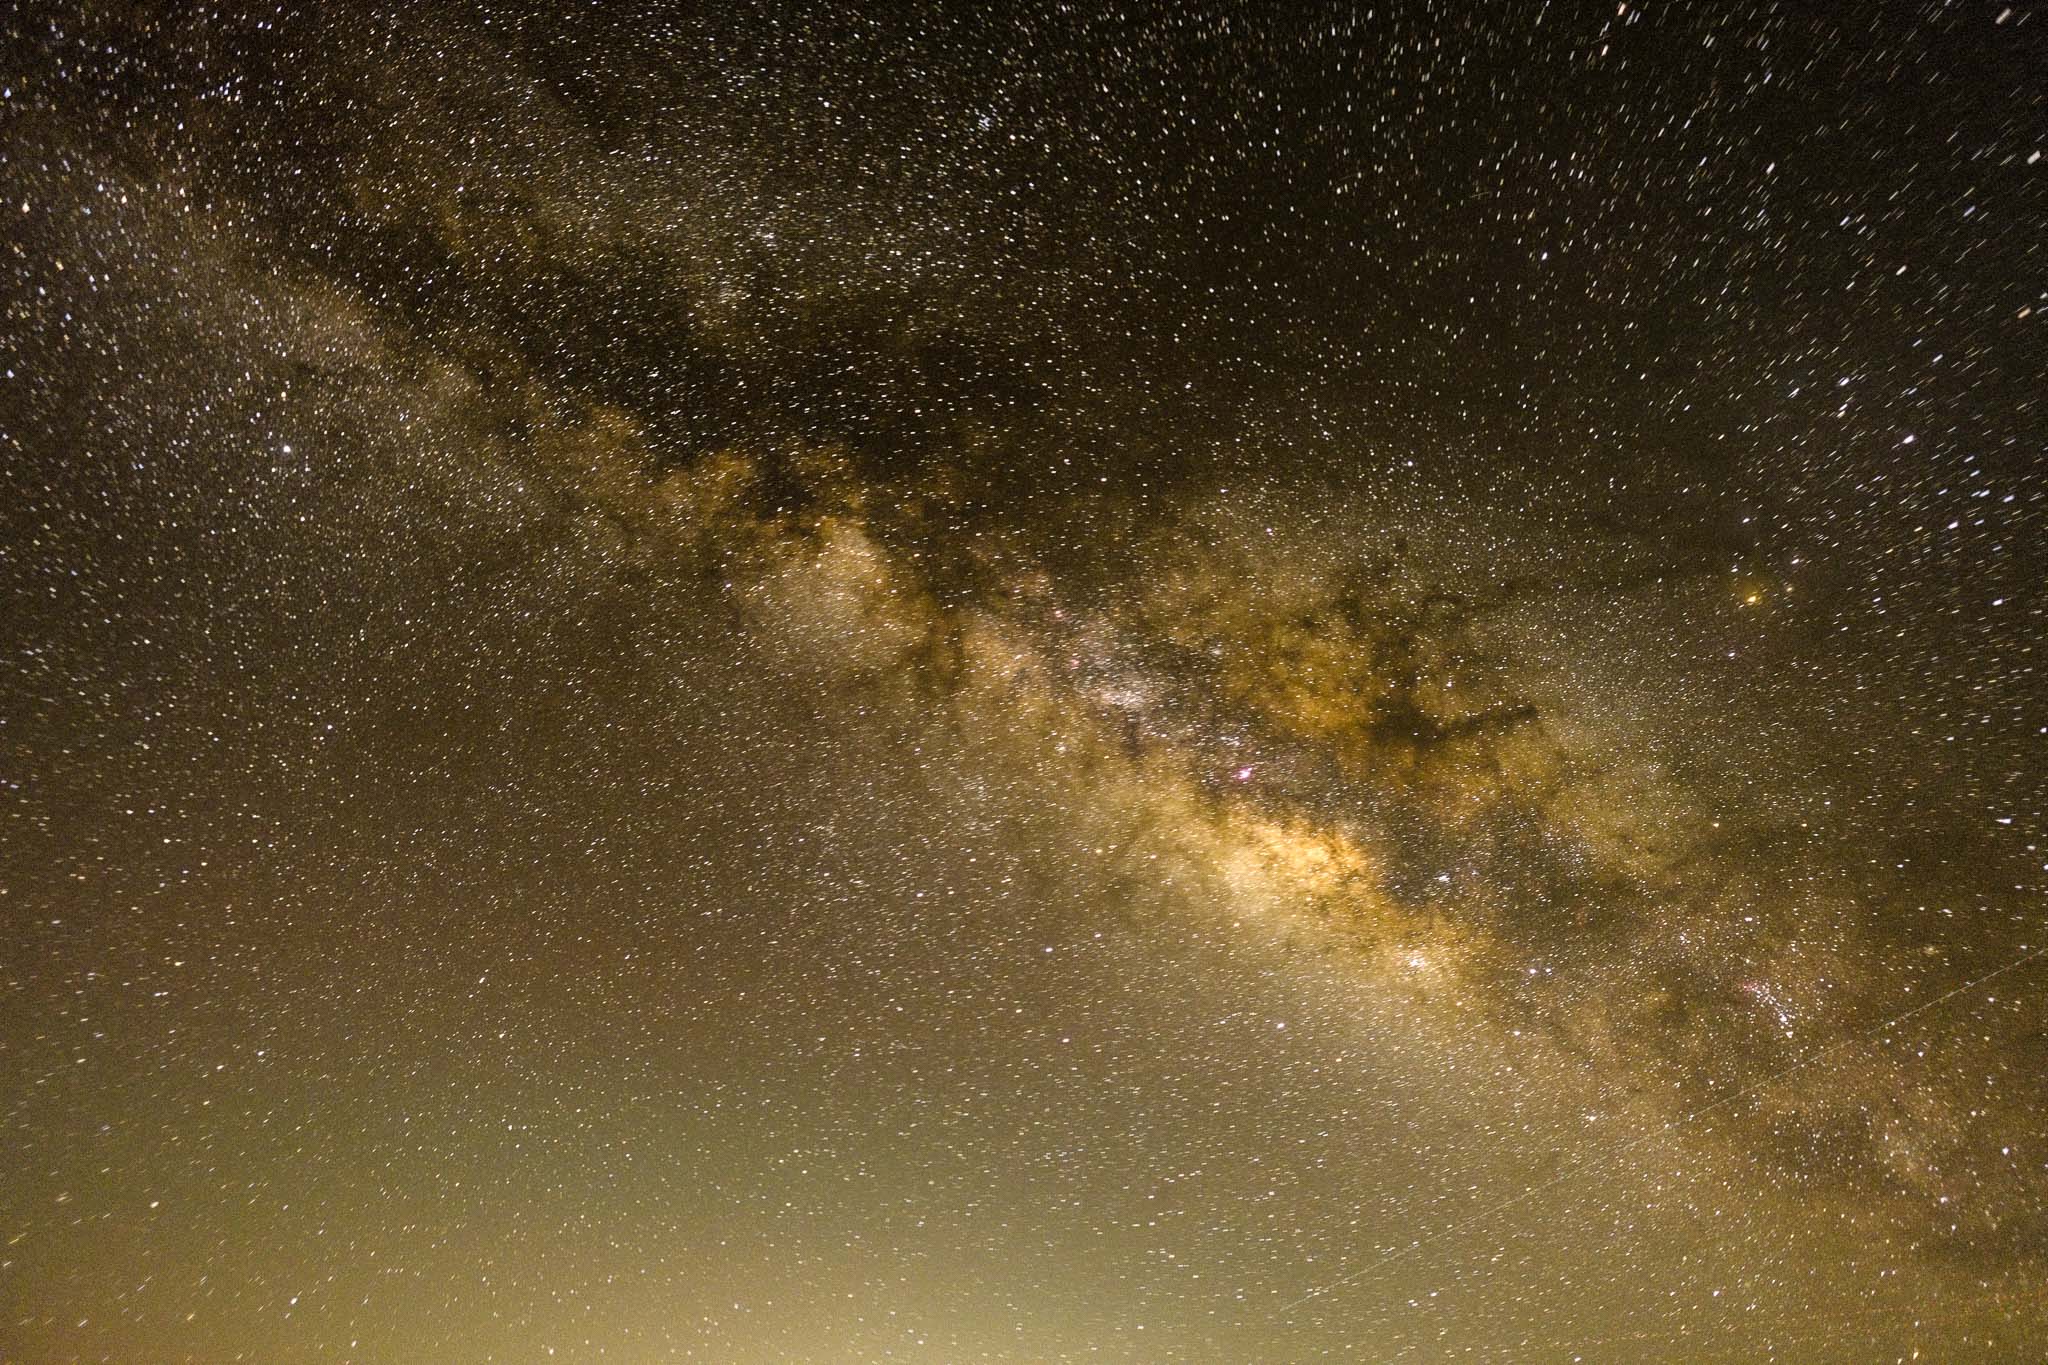
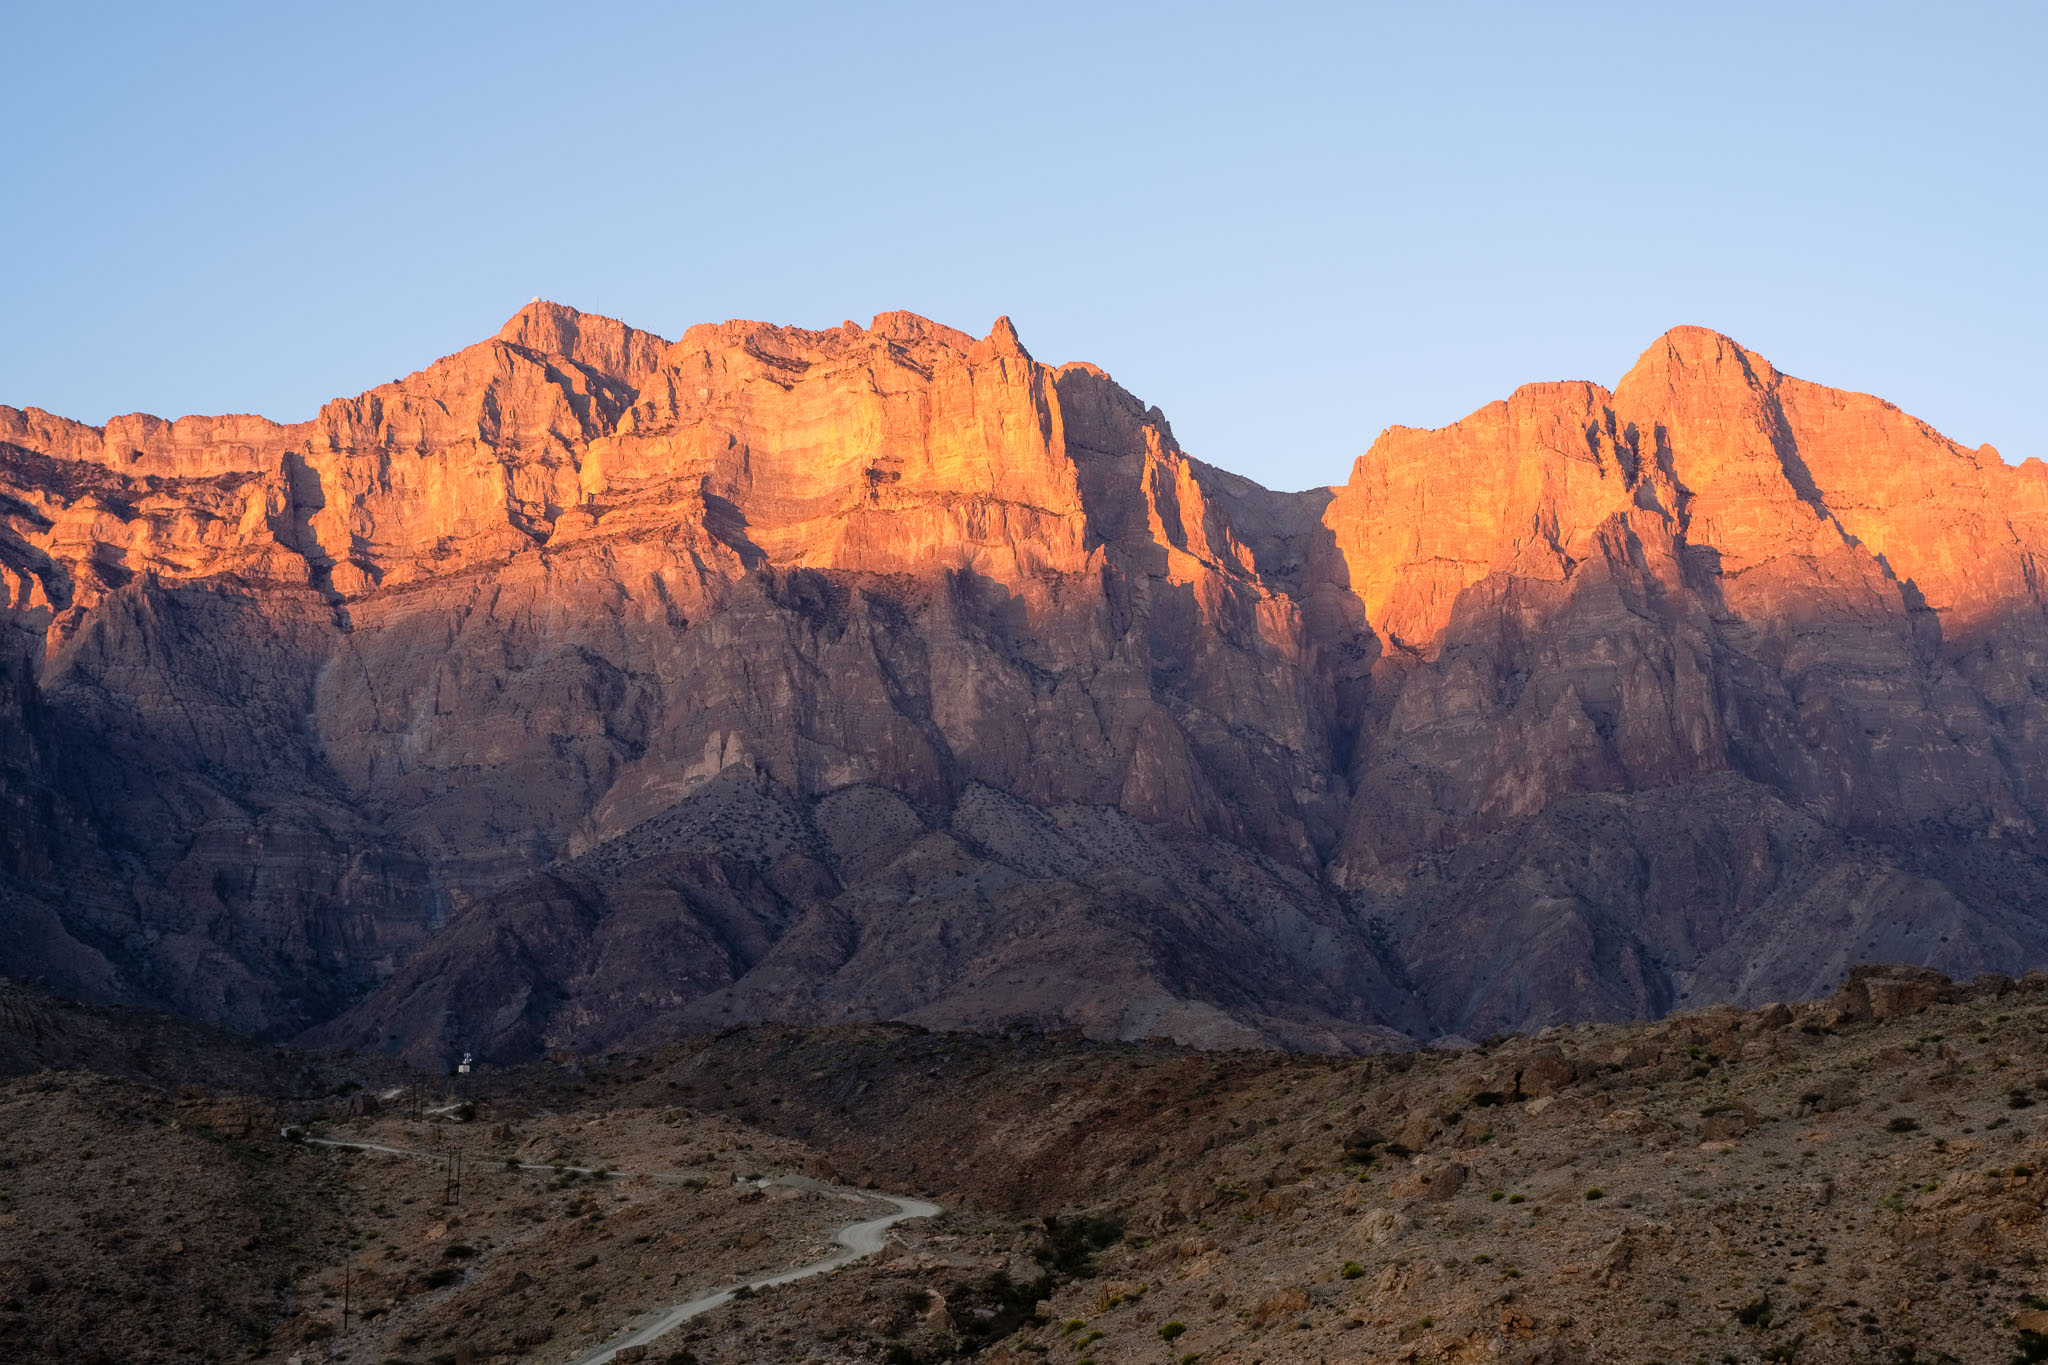
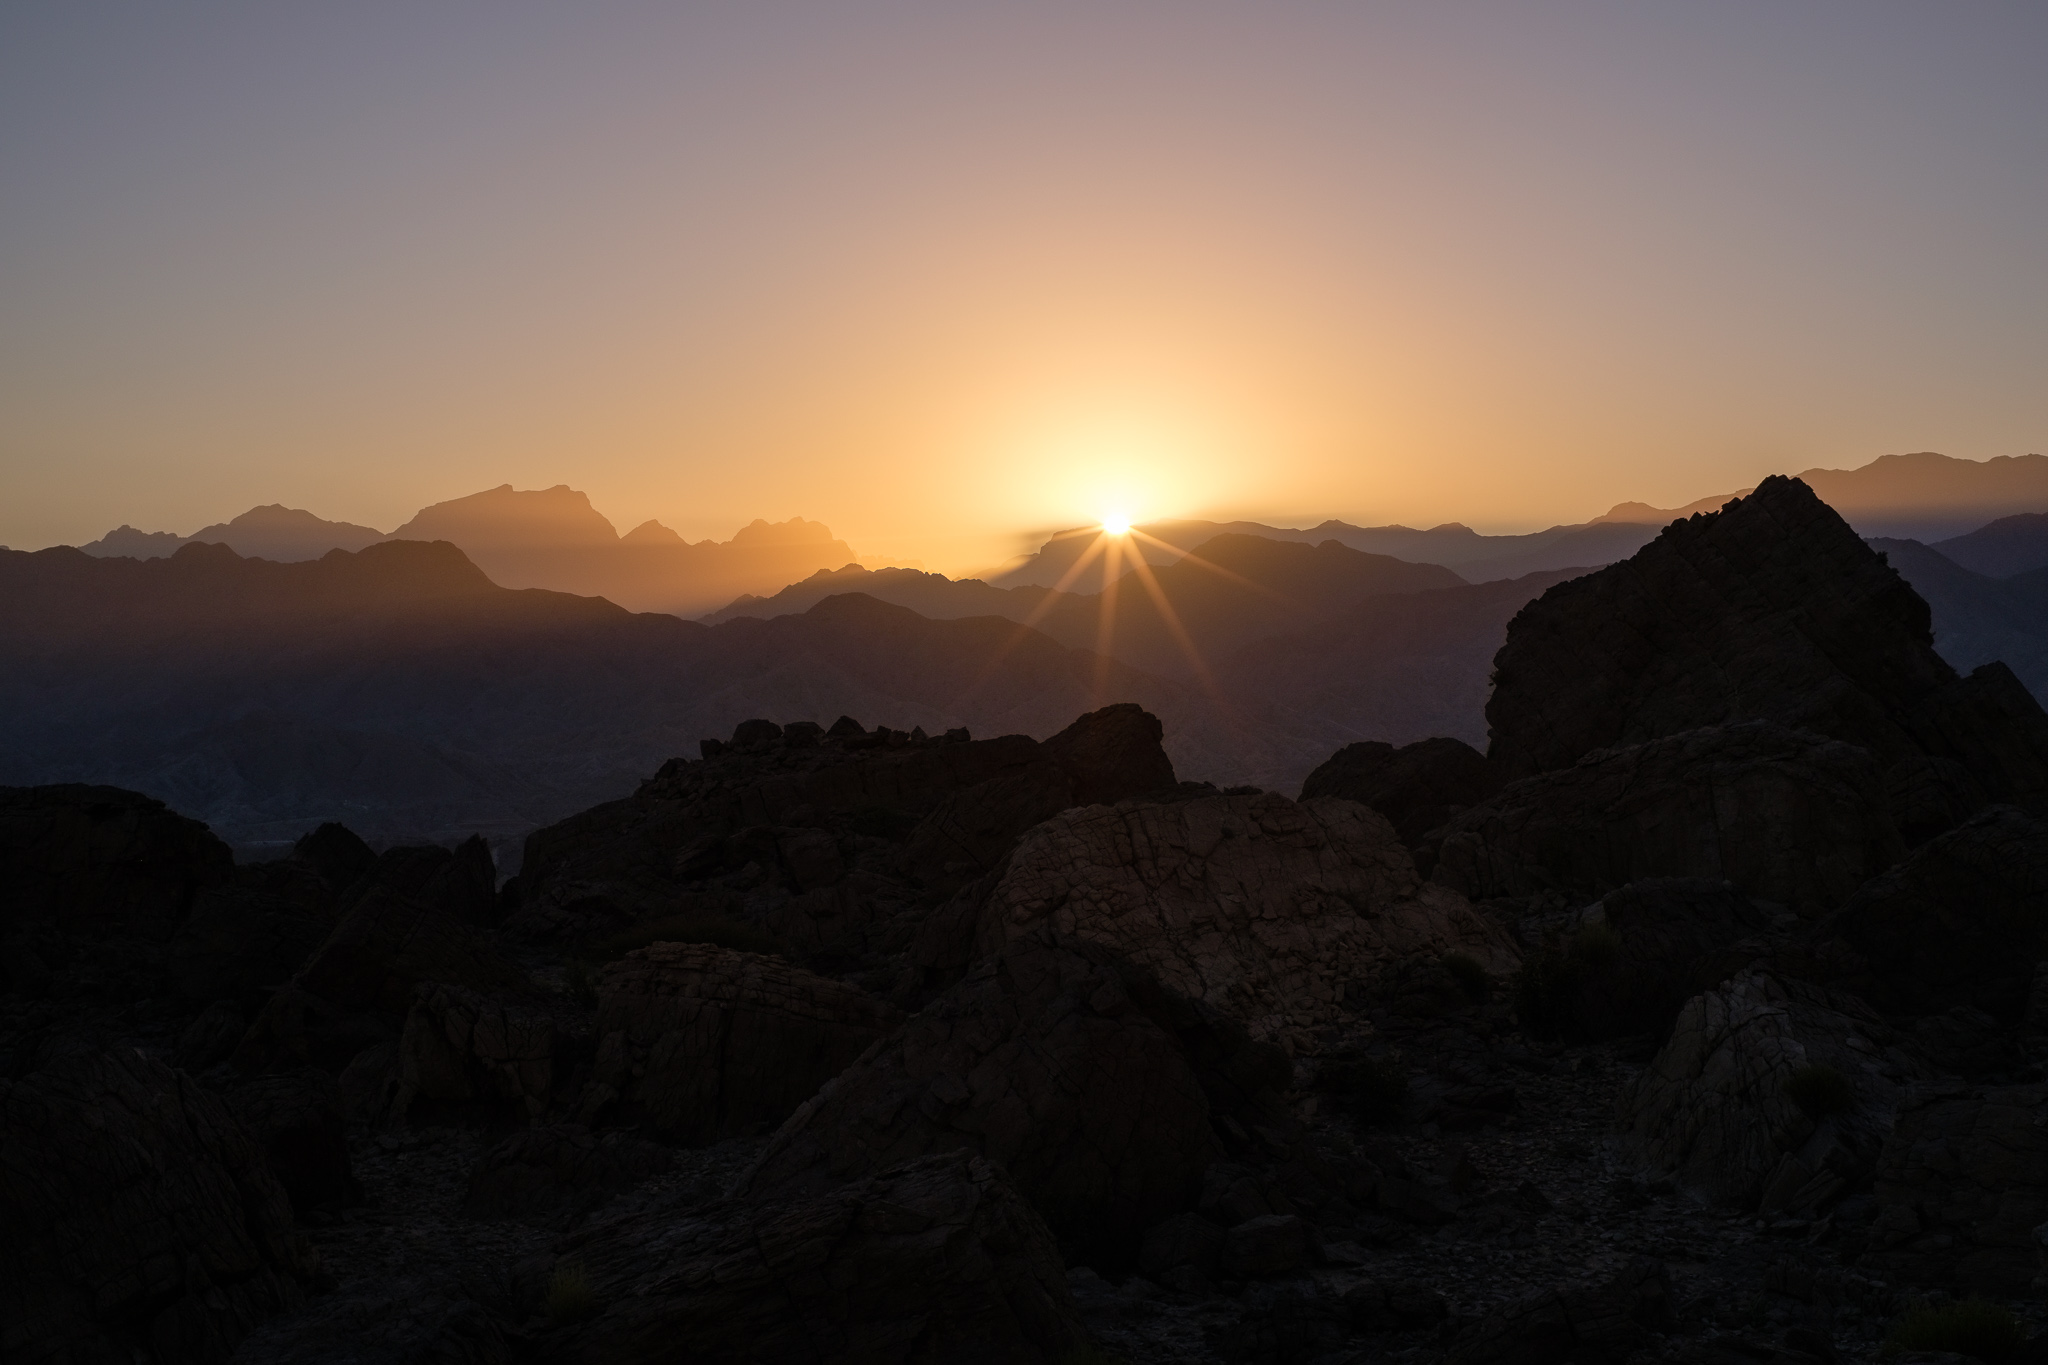
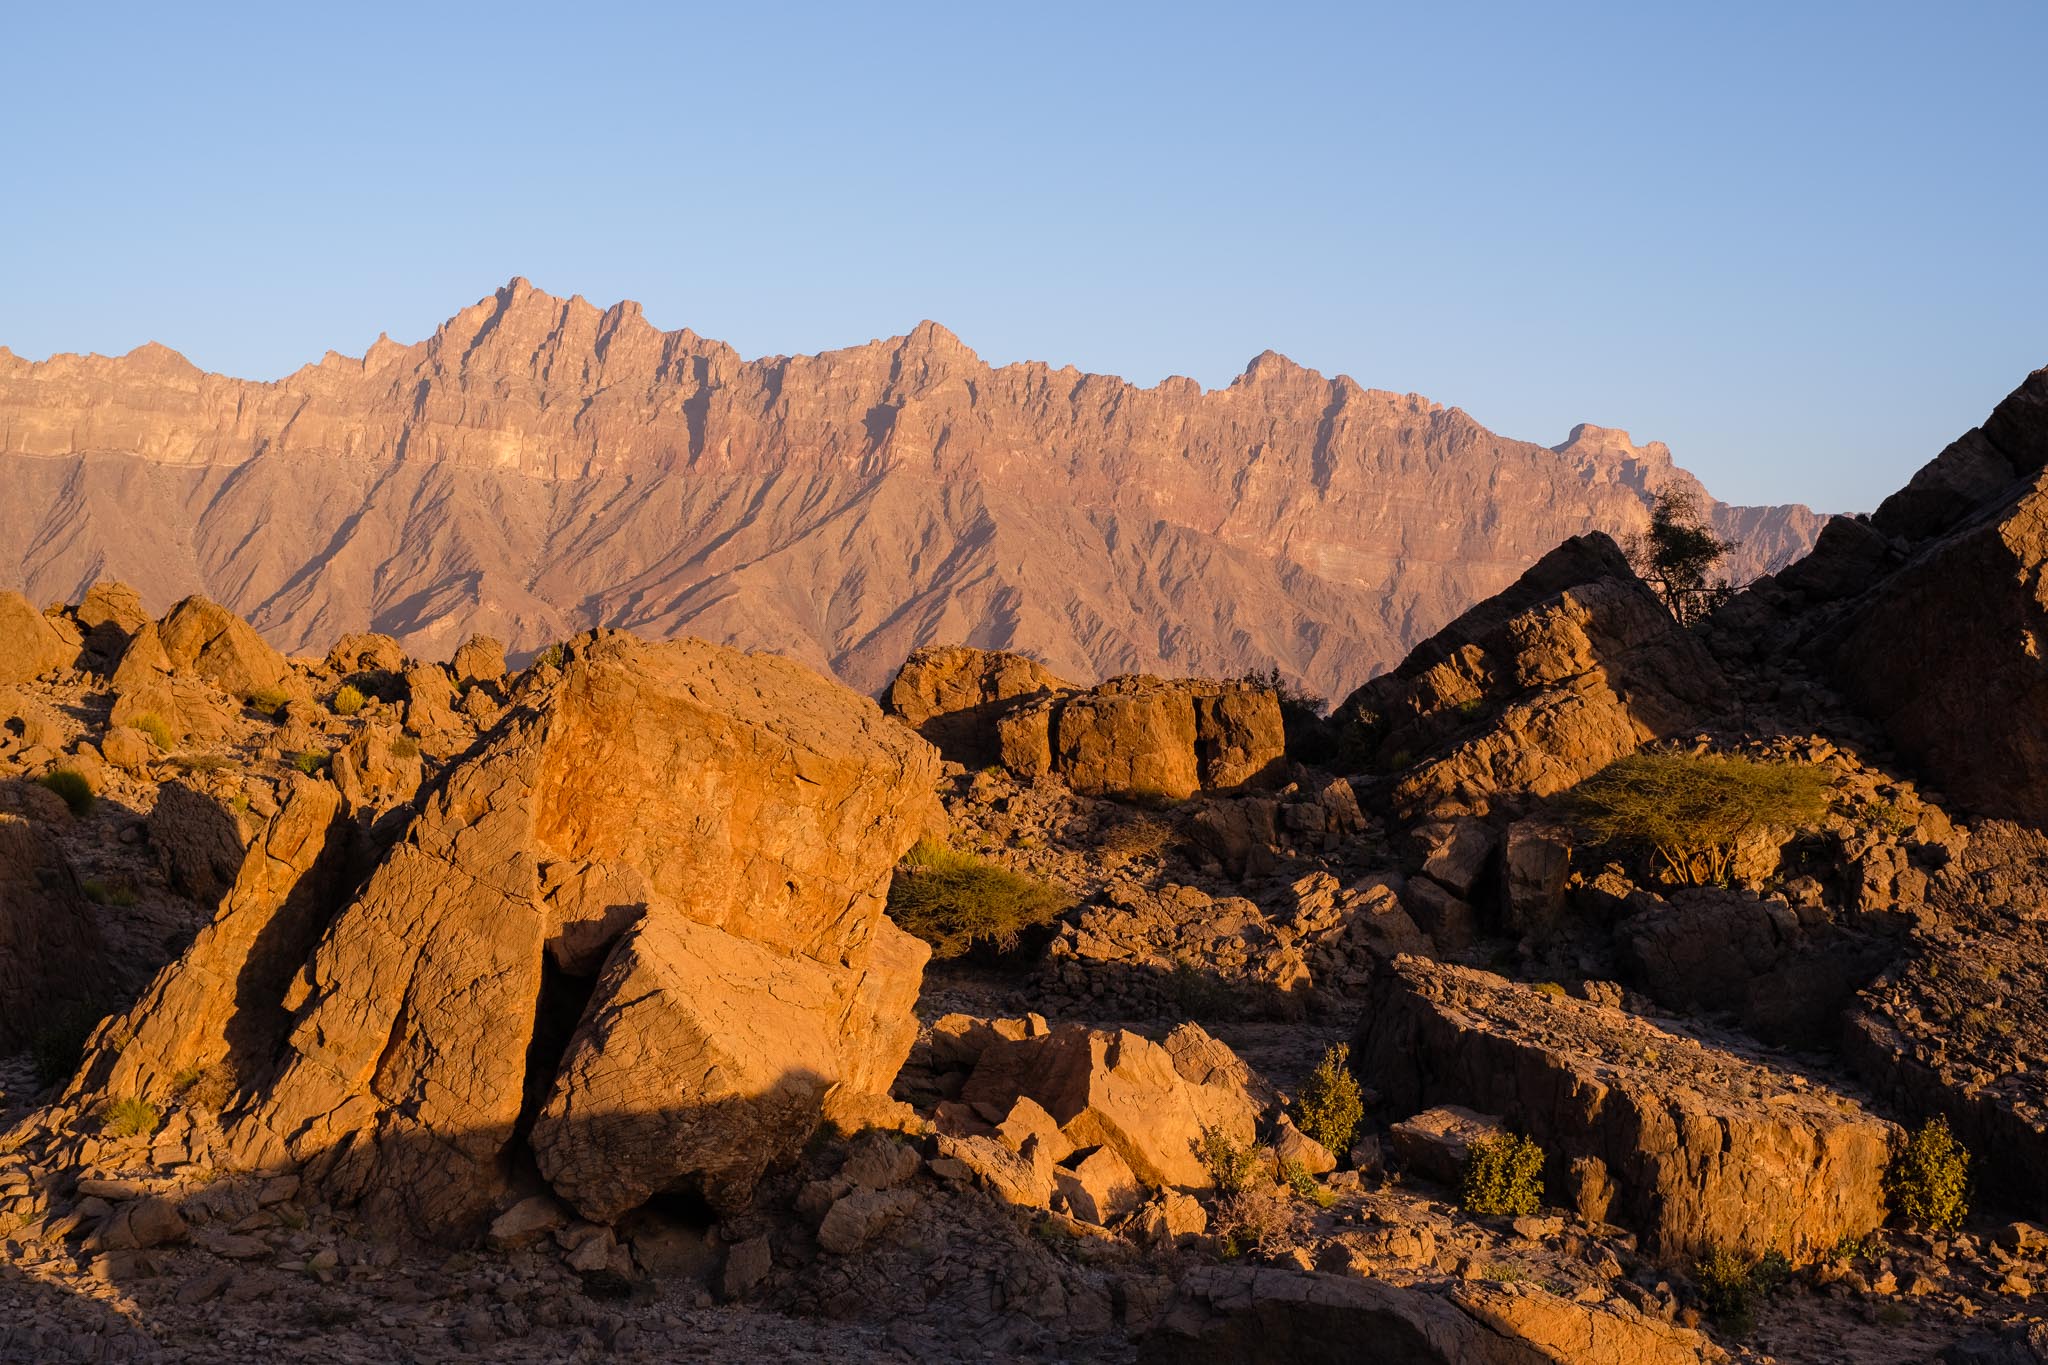
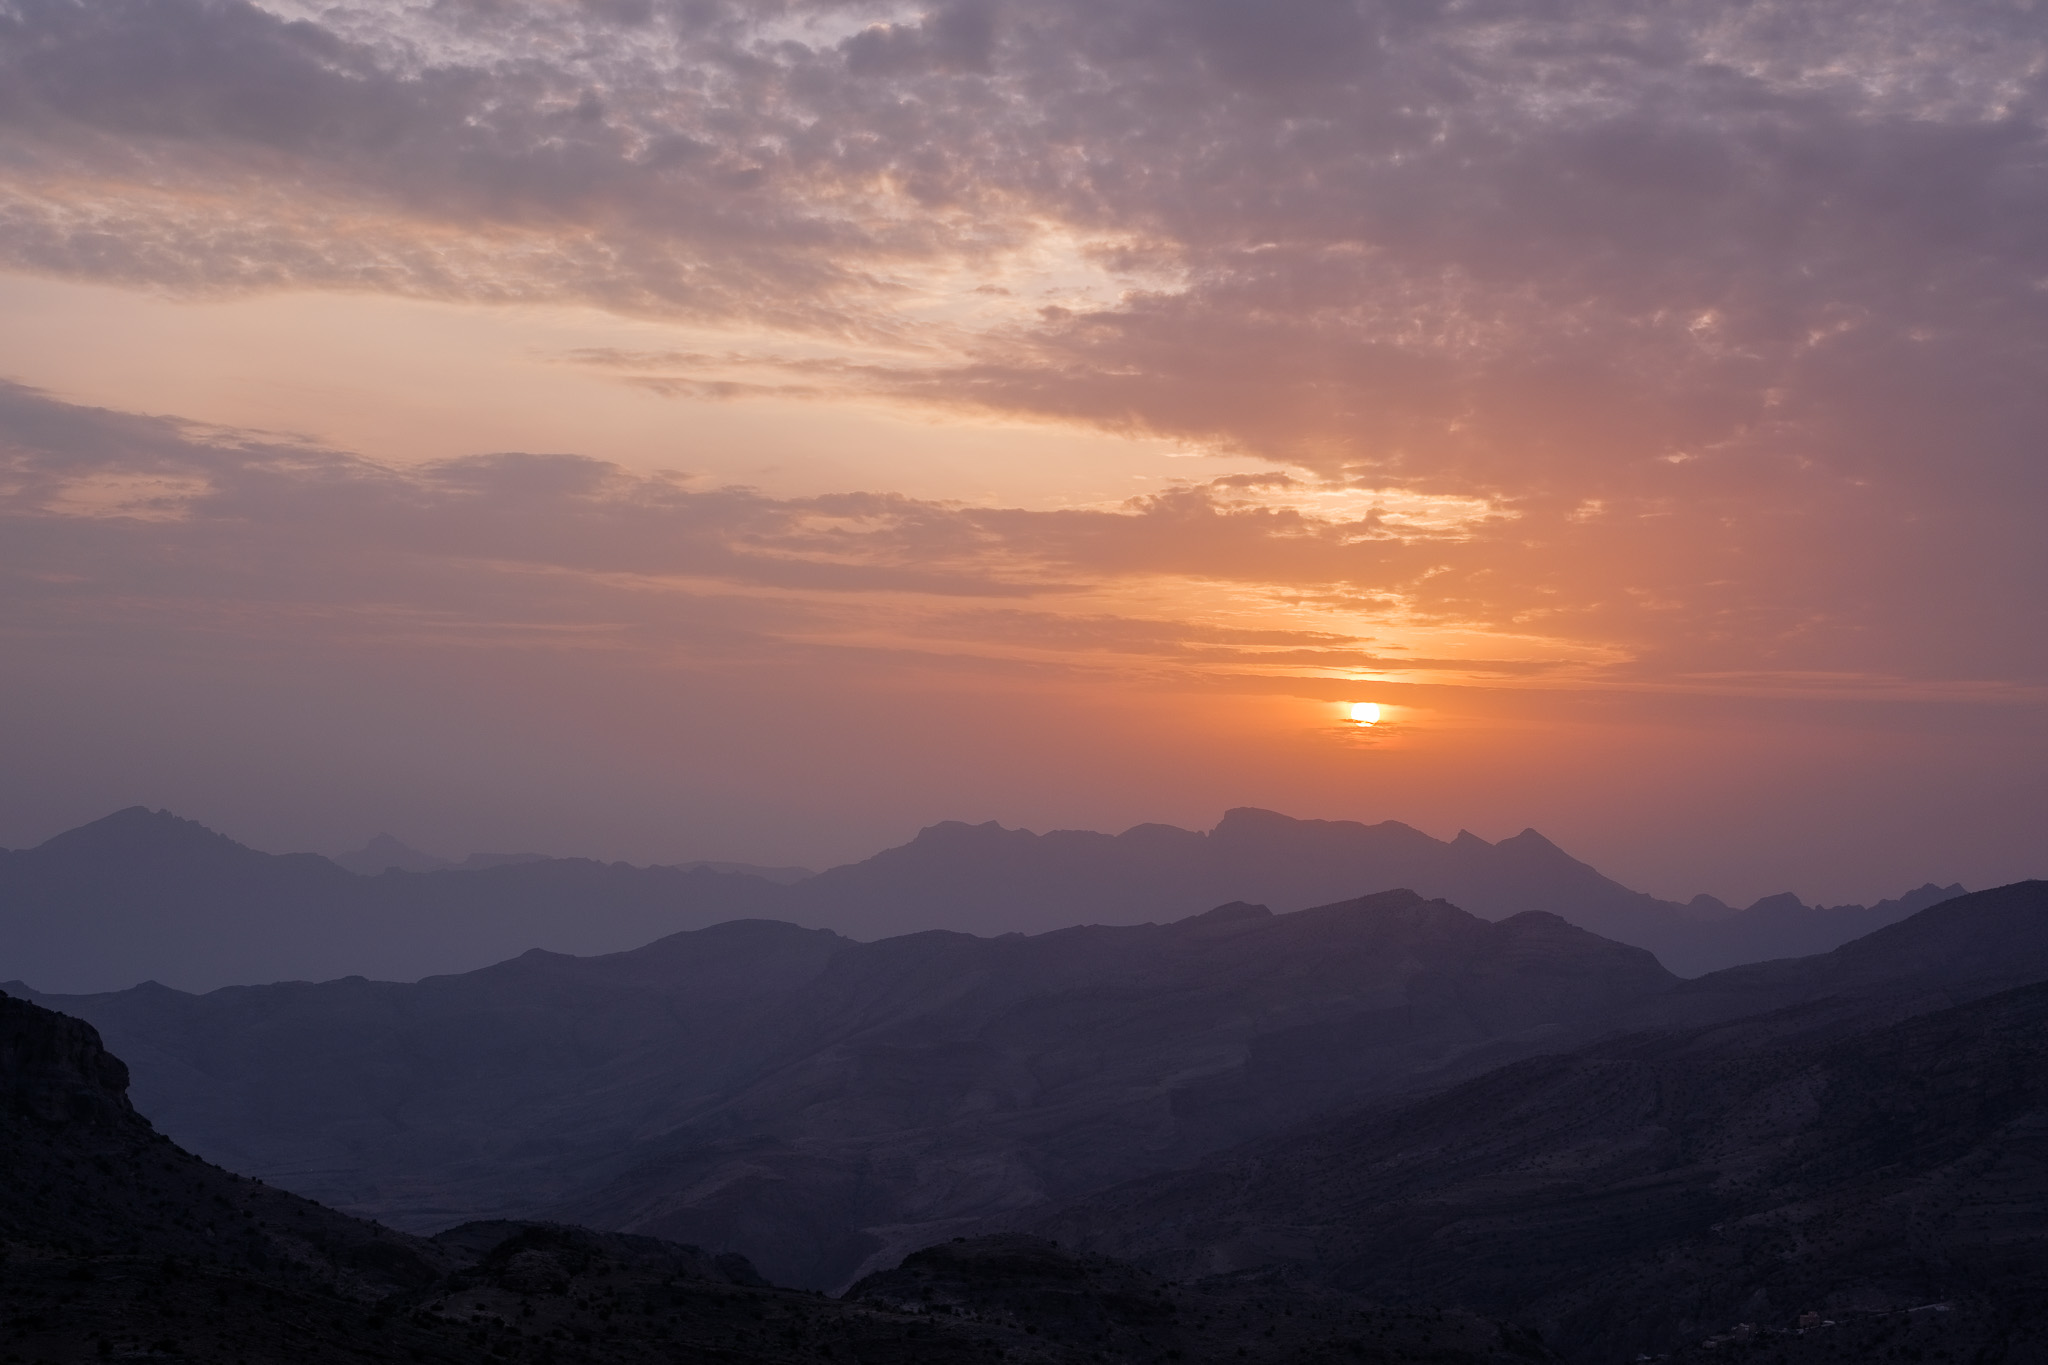
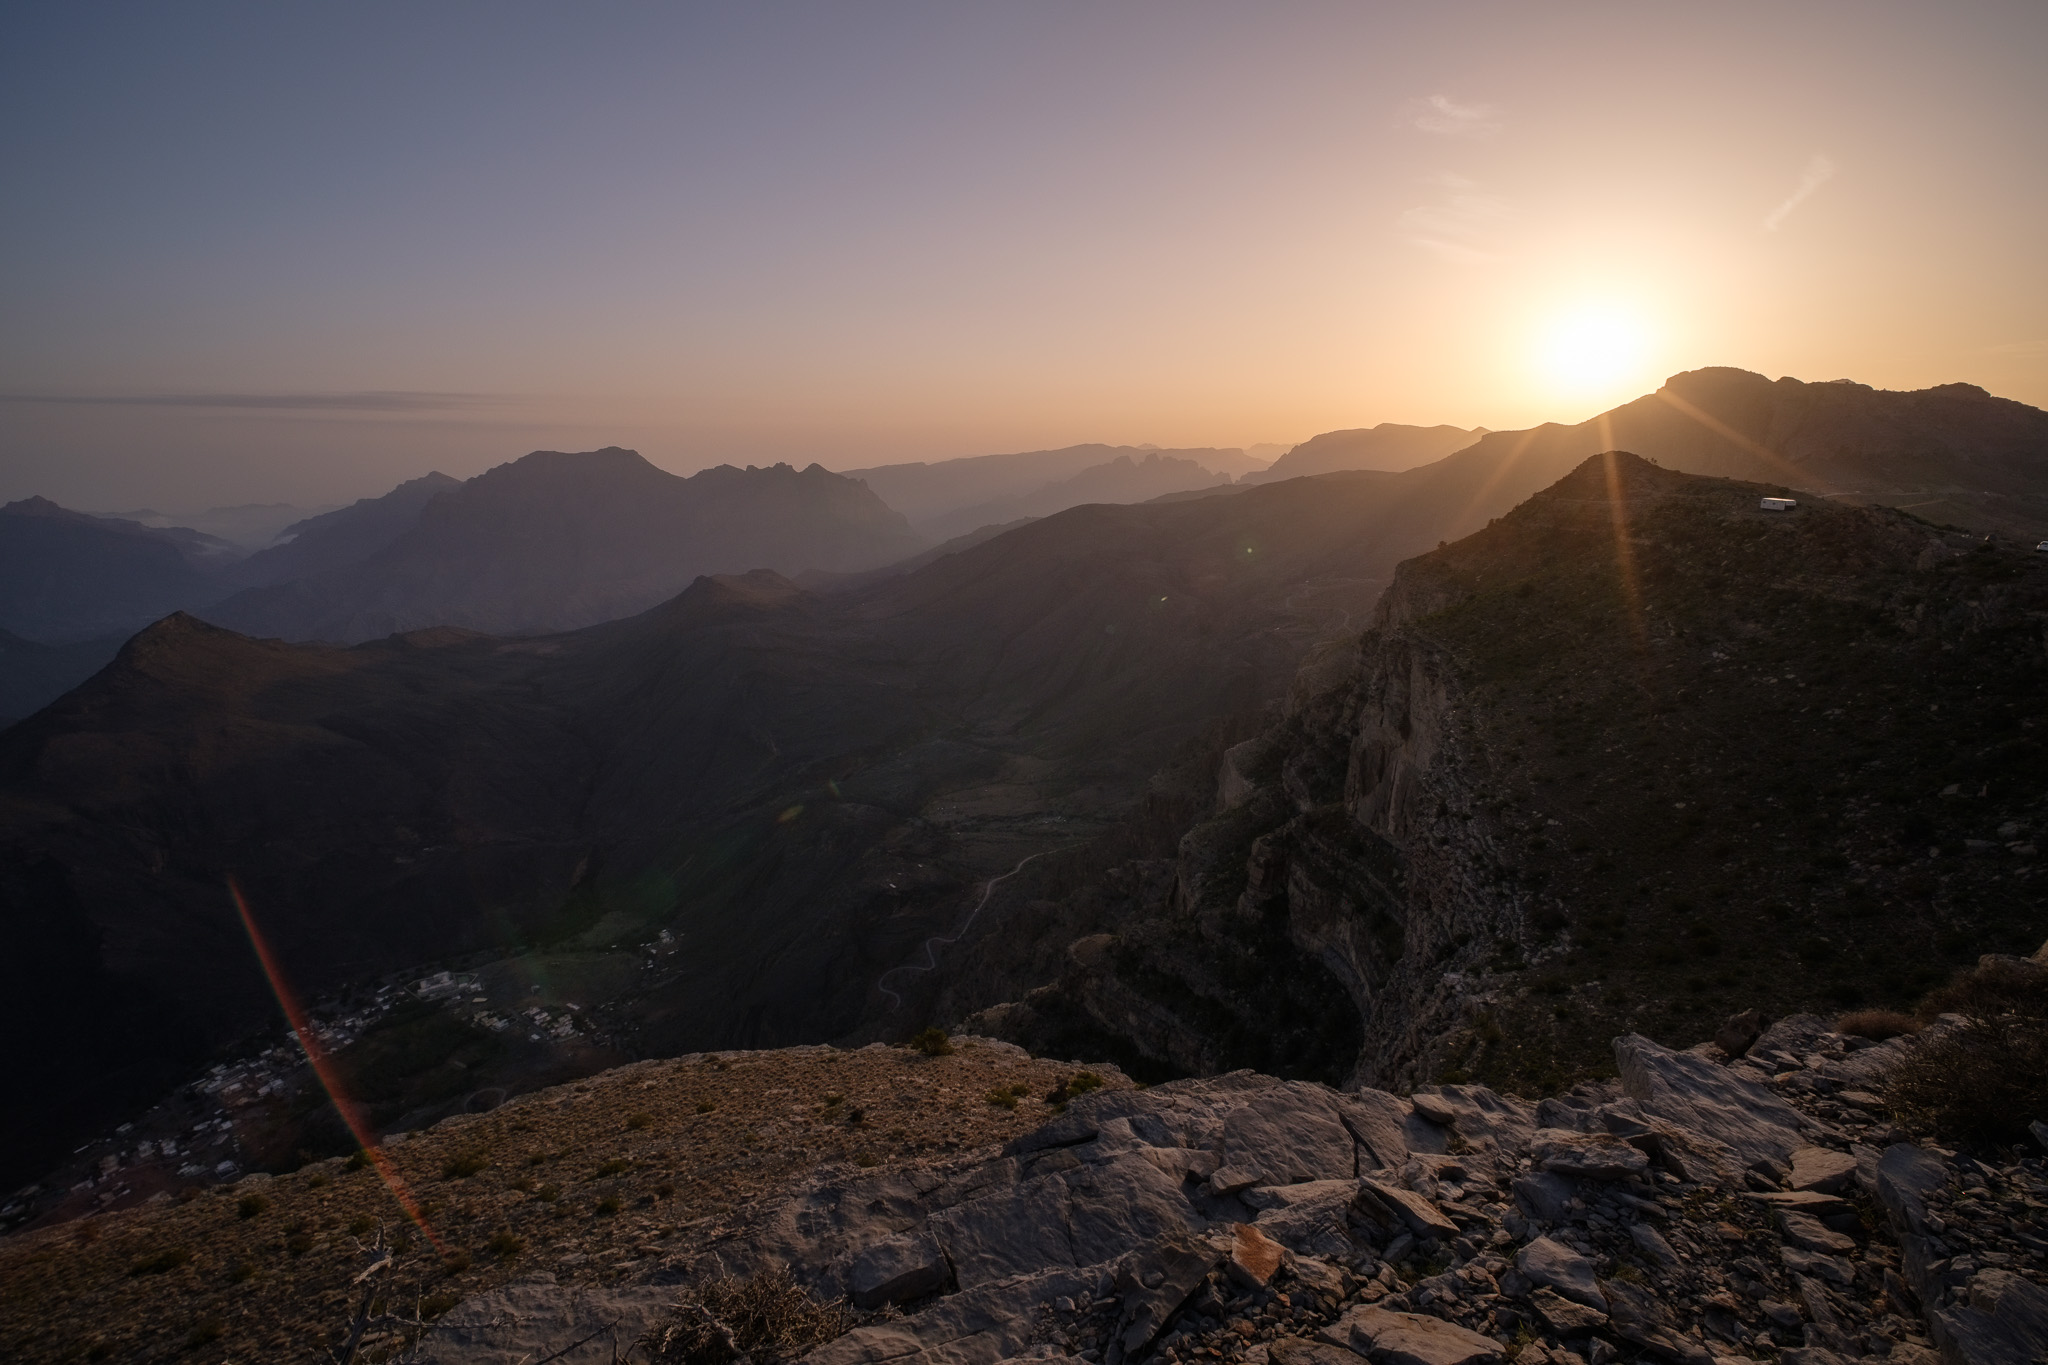
Happy with the results, I went back to sleep for a while, knowing that sunrise was only 3 or 4 hours away. Not sleeping much is a compromise of night sky photography, but it is worth it. Besides getting images of star trails or the Milky Way, it is fascinating to observe deep sky objects like globular clusters or galaxies through the telescopes.