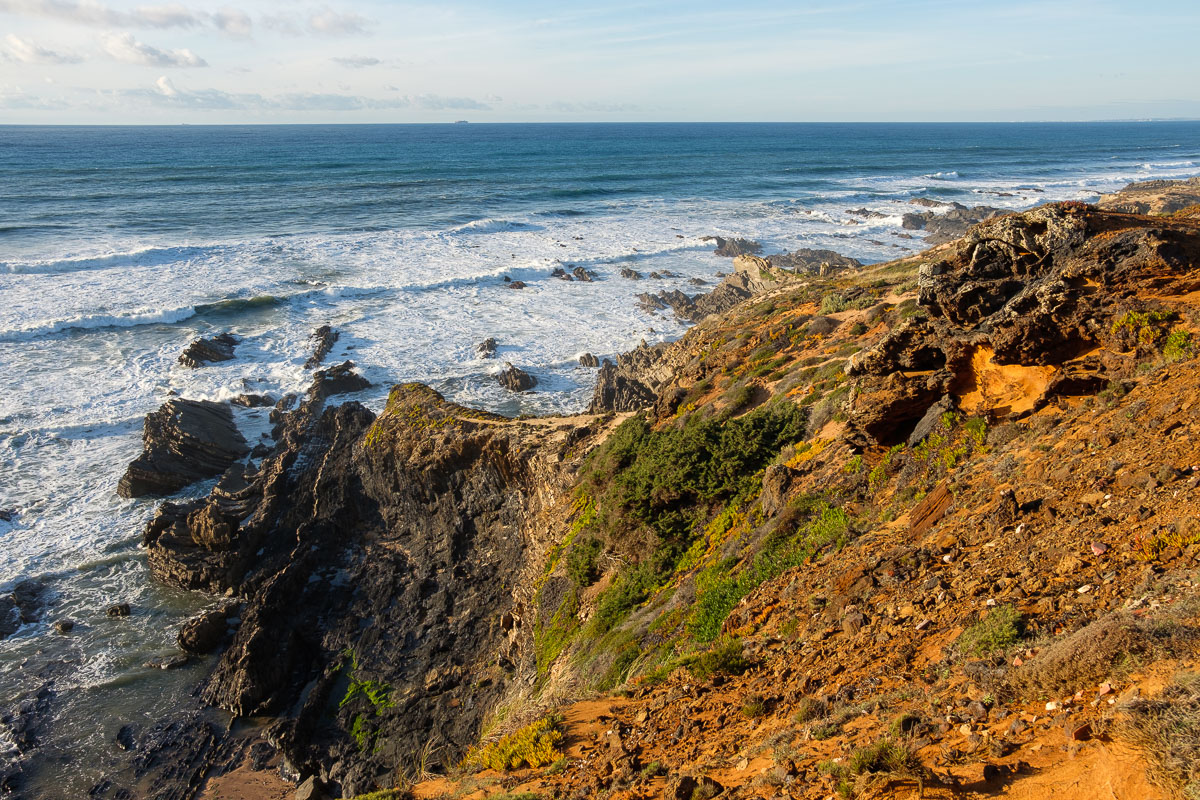
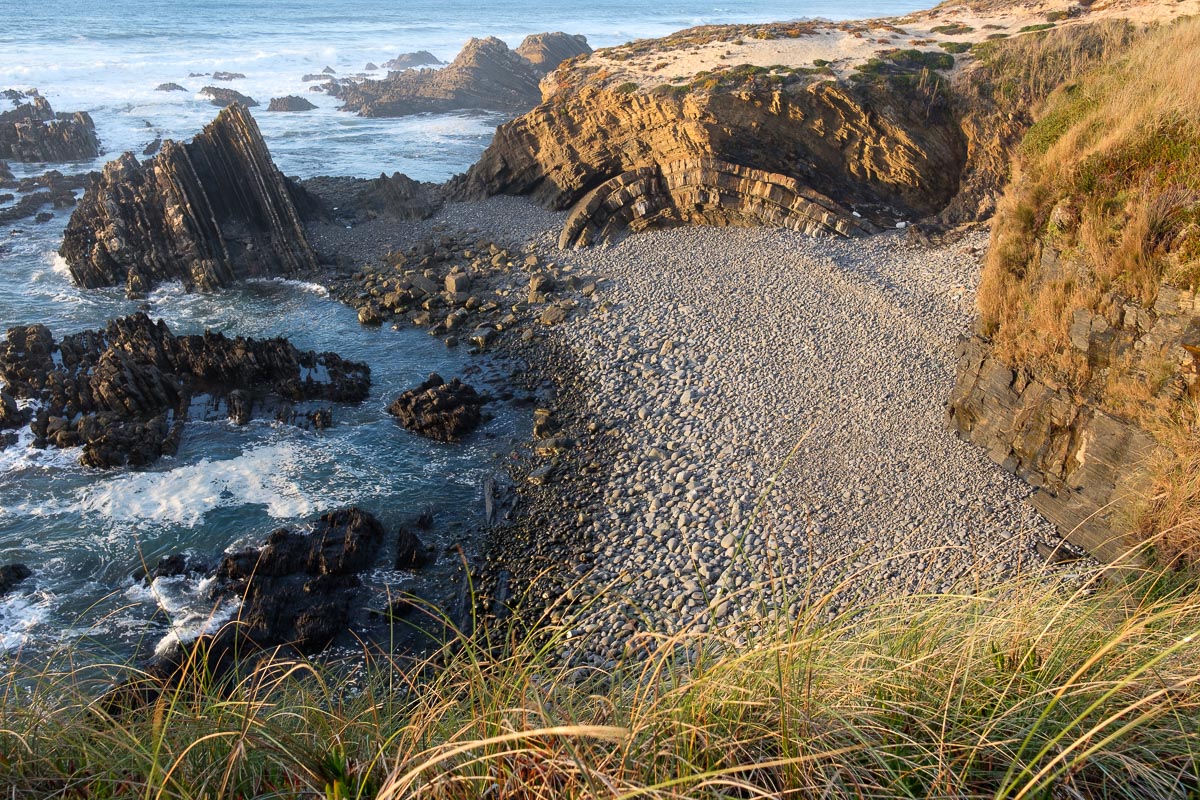
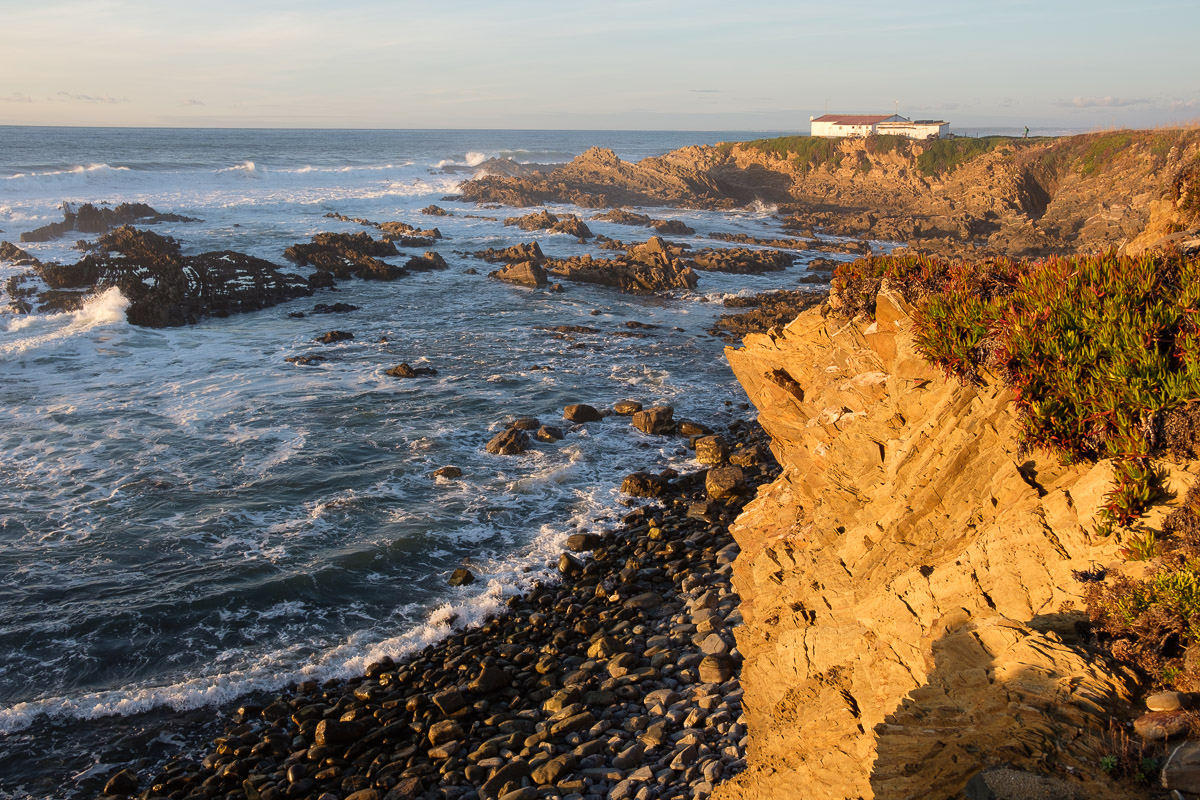
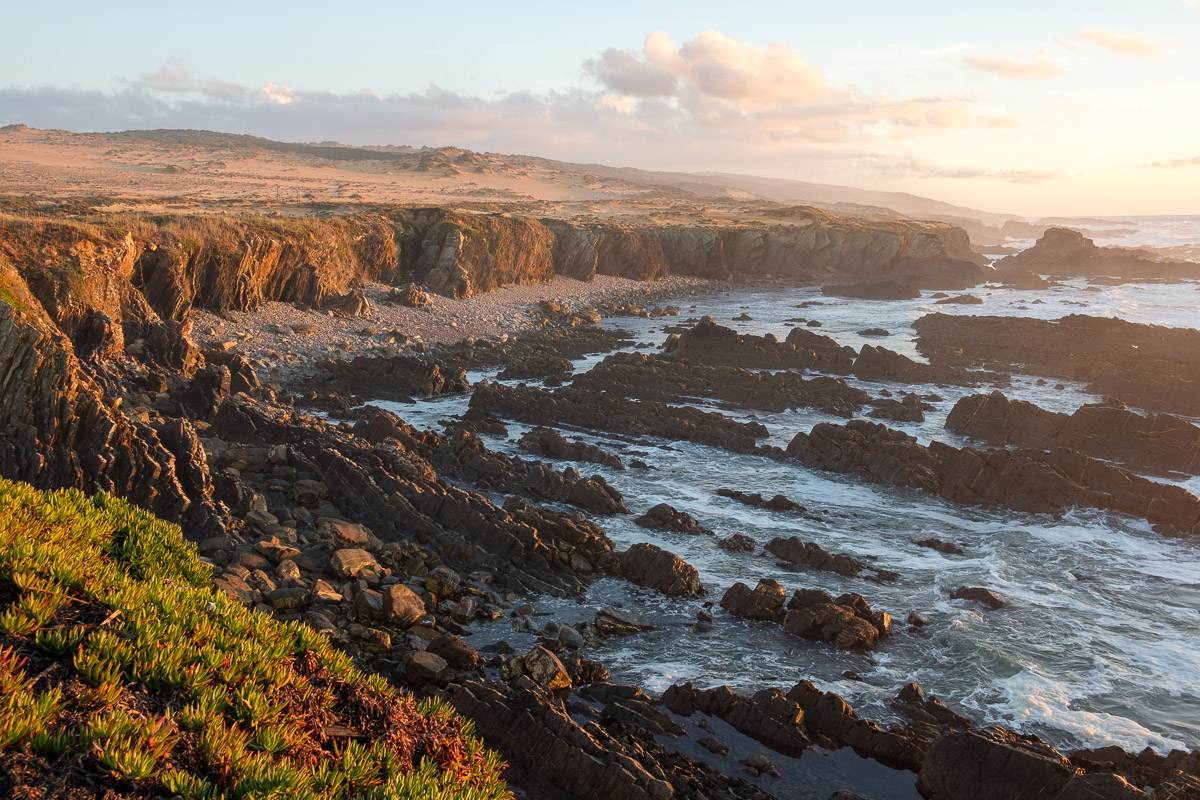
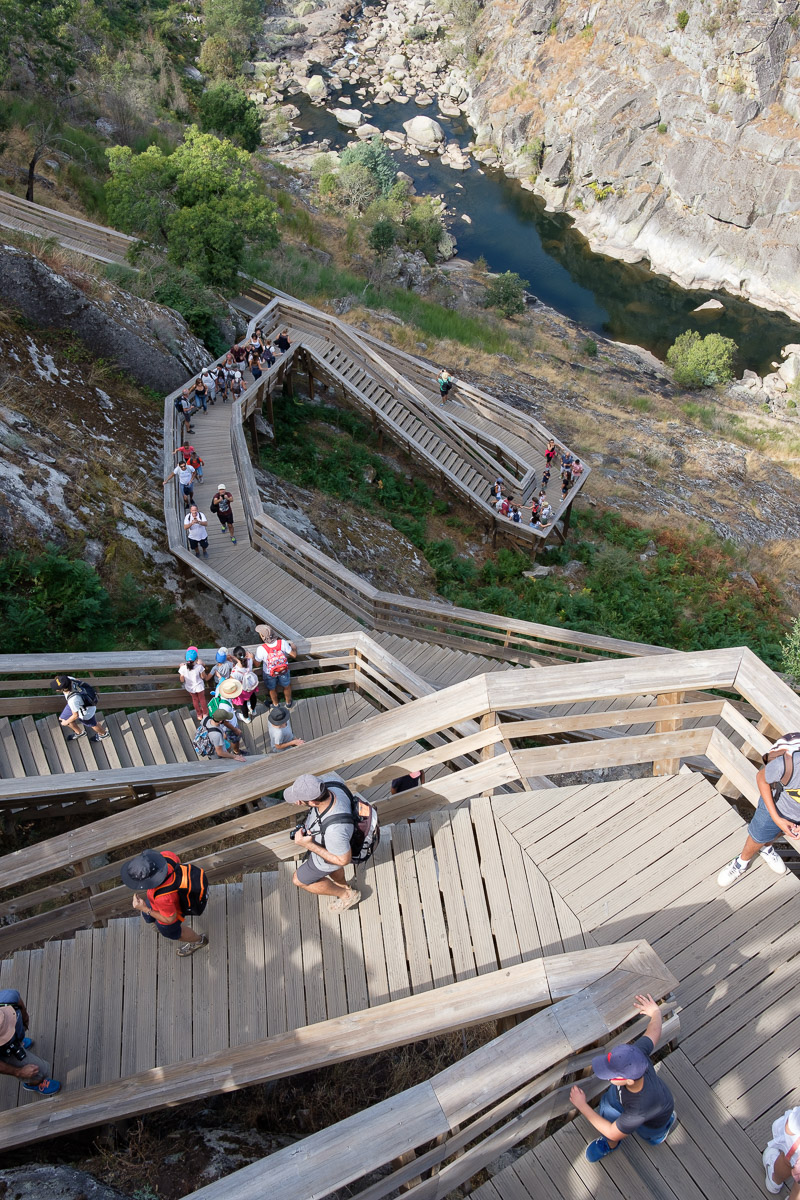
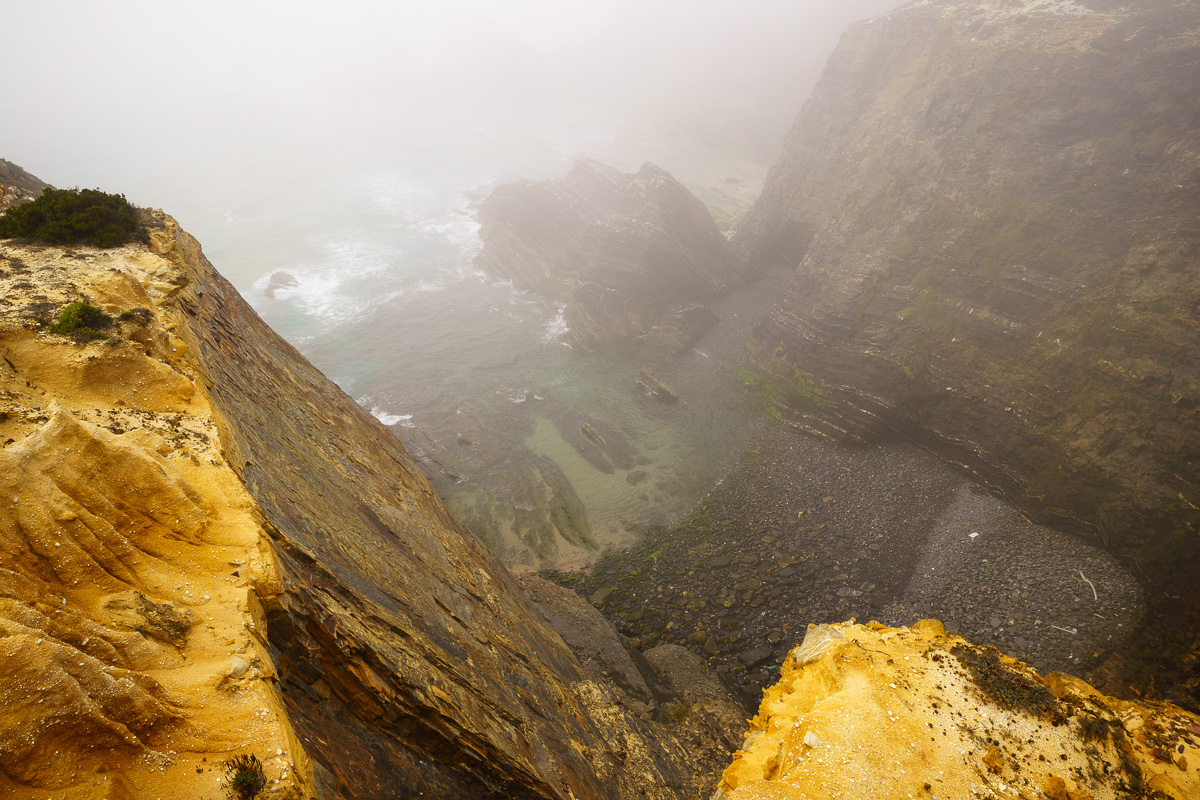
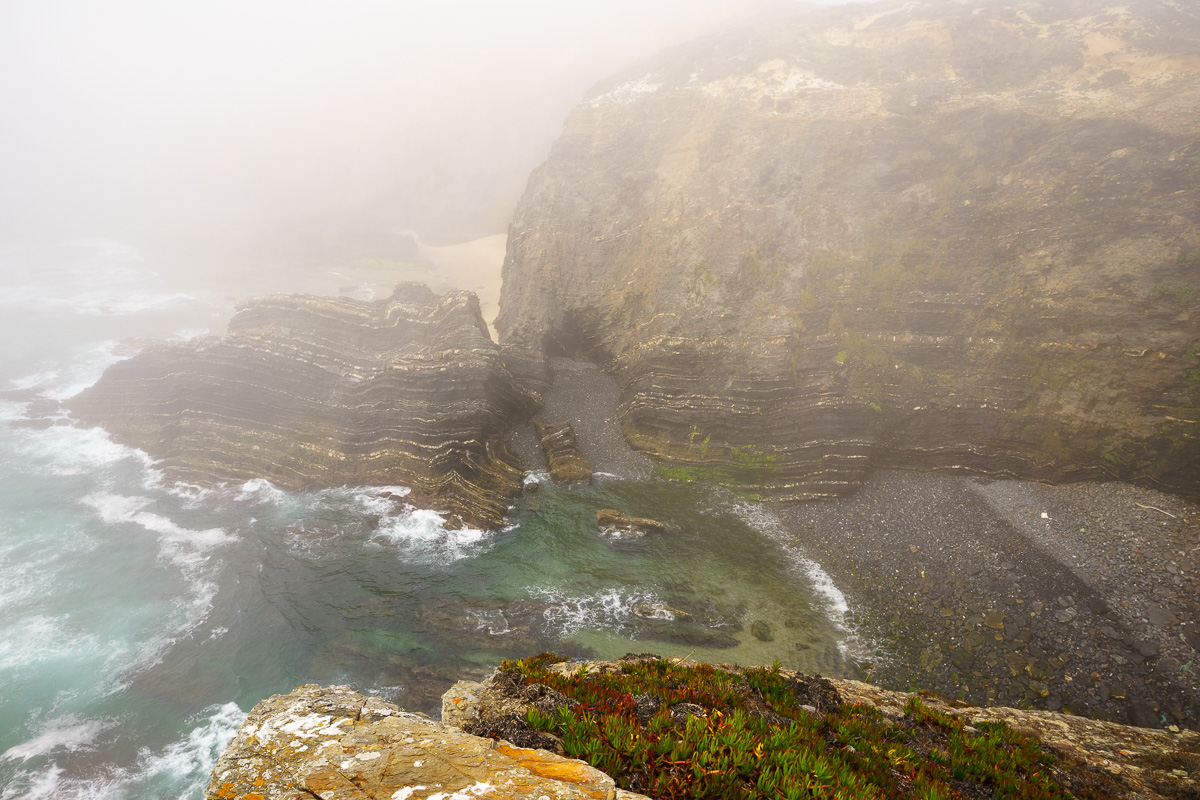
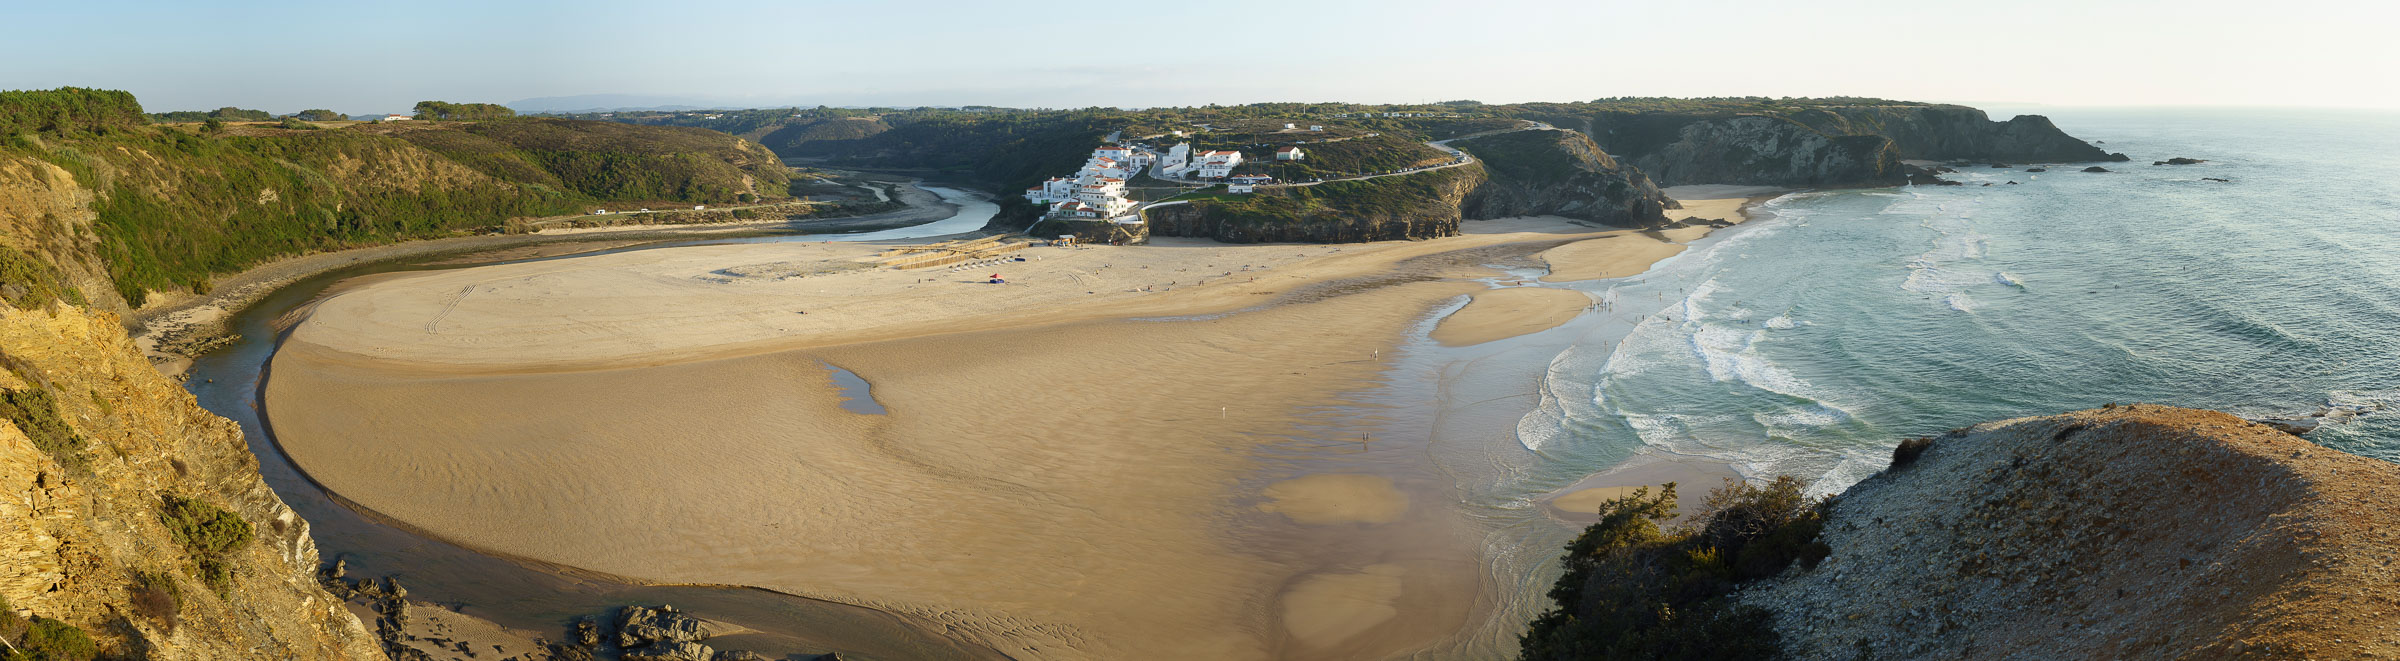
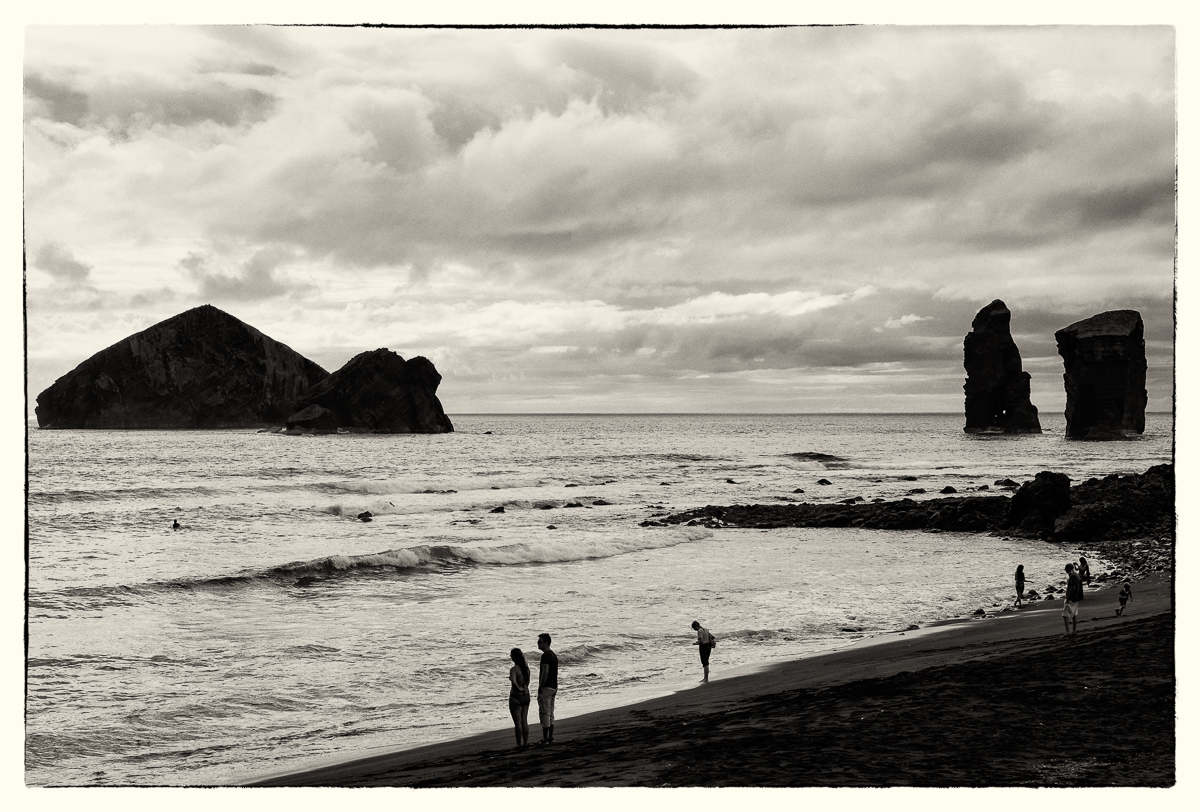
The distance between Almograve and Lapa de Pombas is not big, at 2 km. There is even a dirt road along the coast connecting the beach with the small fishing inlet. It makes for a perfect lazy afternoon walk, admiring the beautiful coastline, where the cliffs are constantly being carved by the action of the sea and the wind.
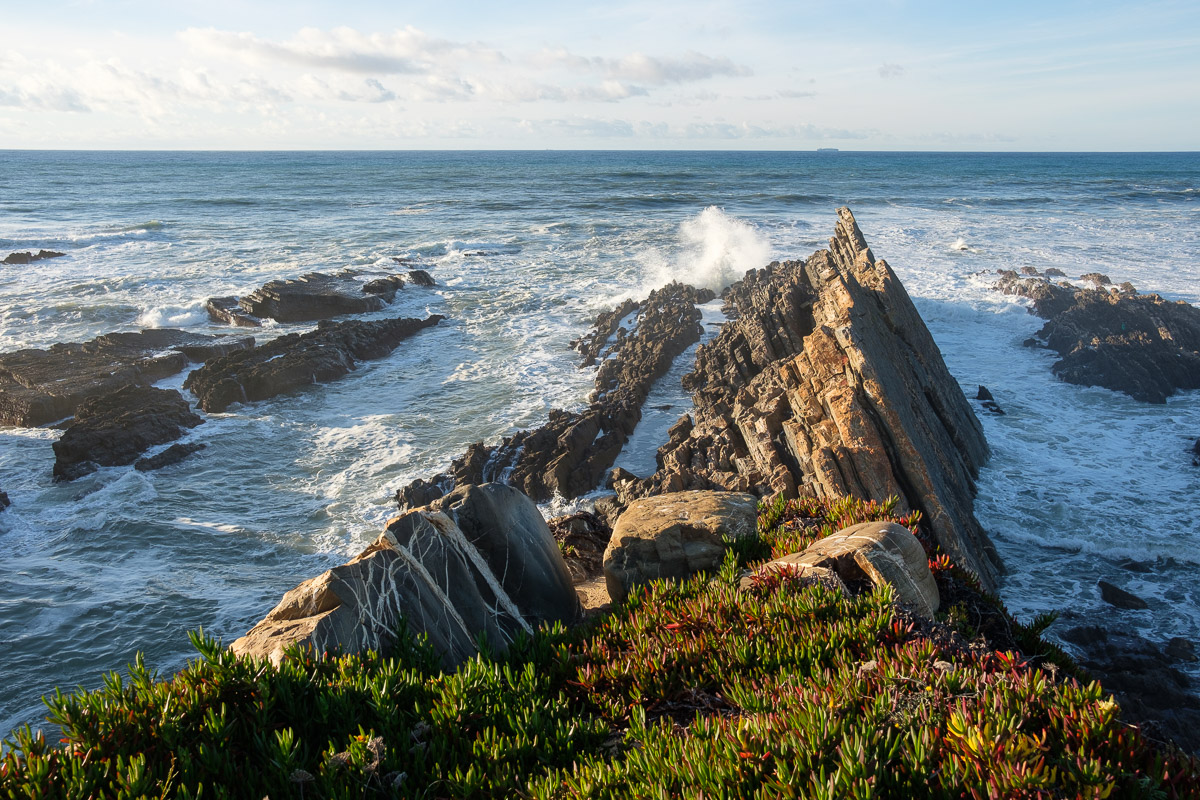
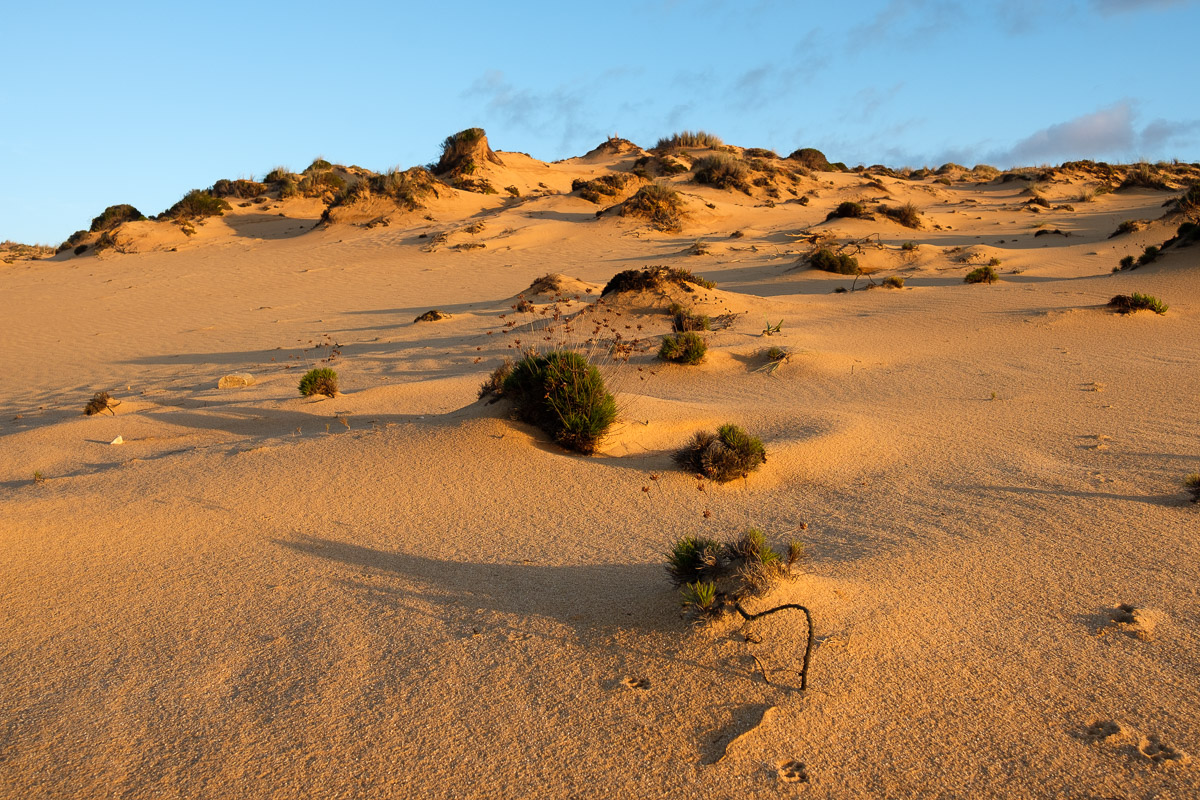
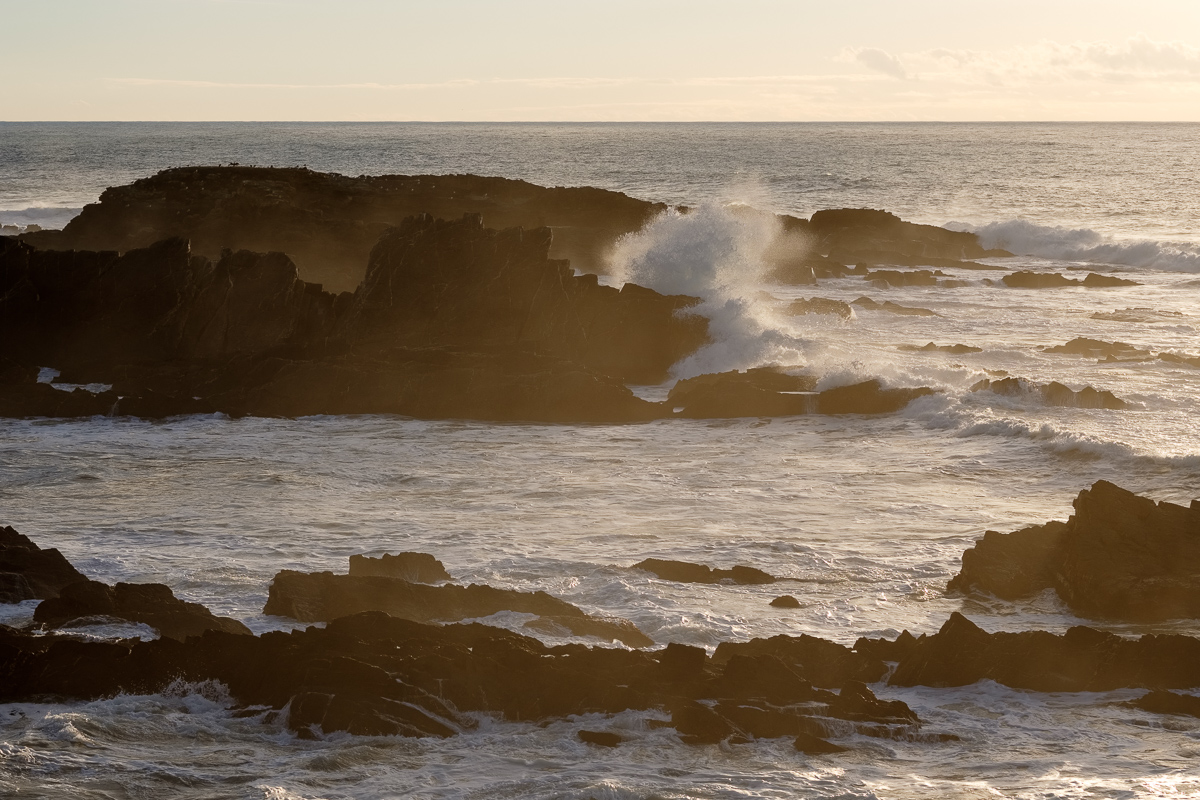
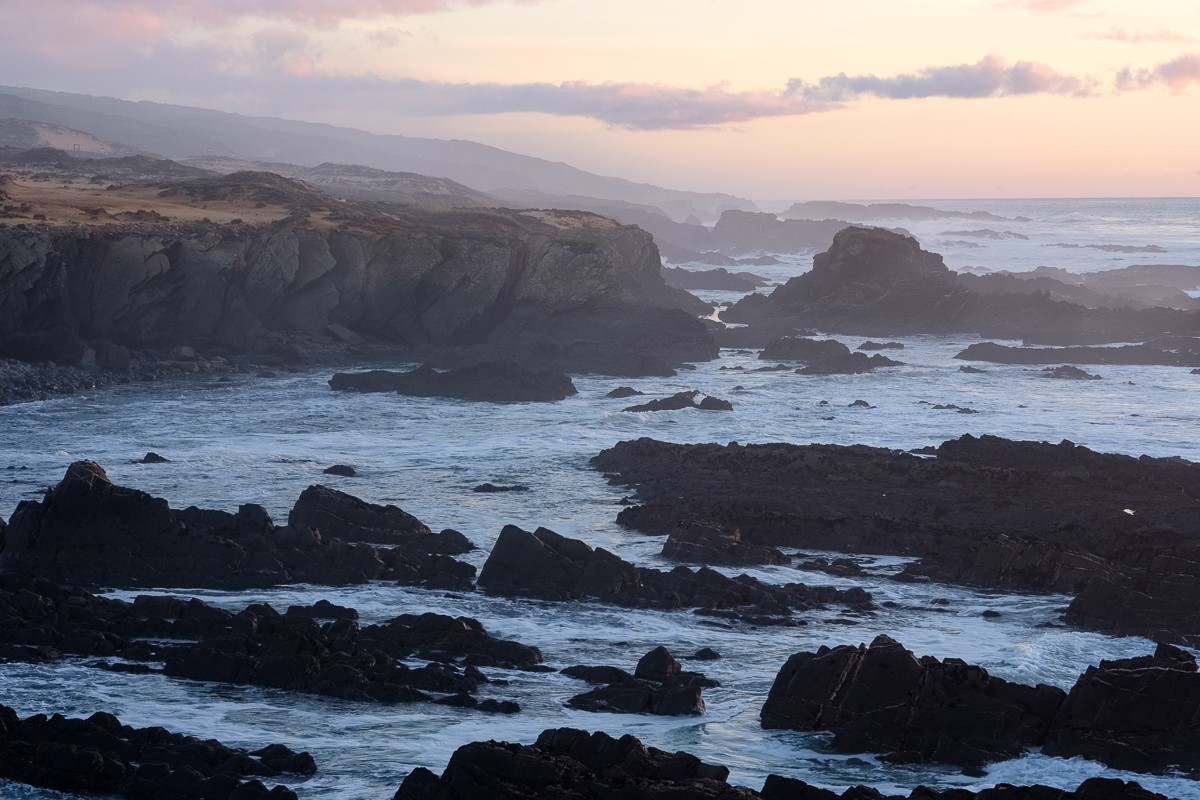
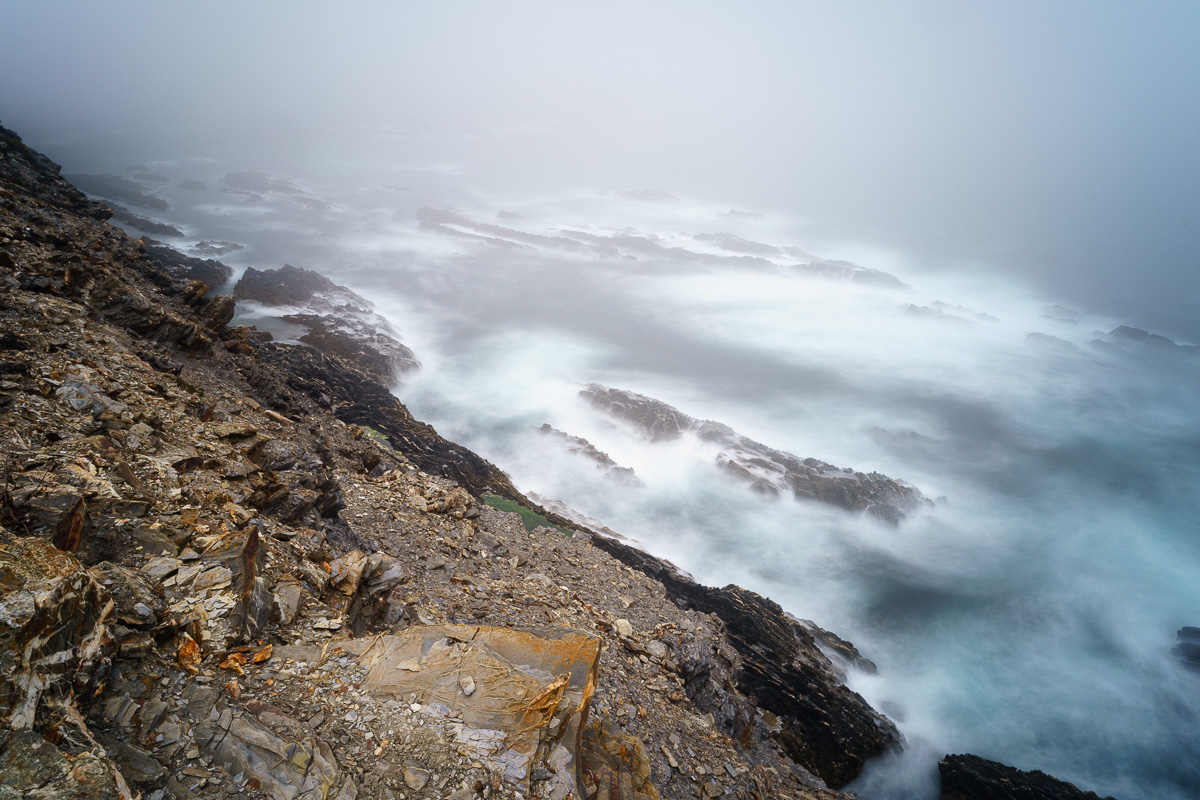
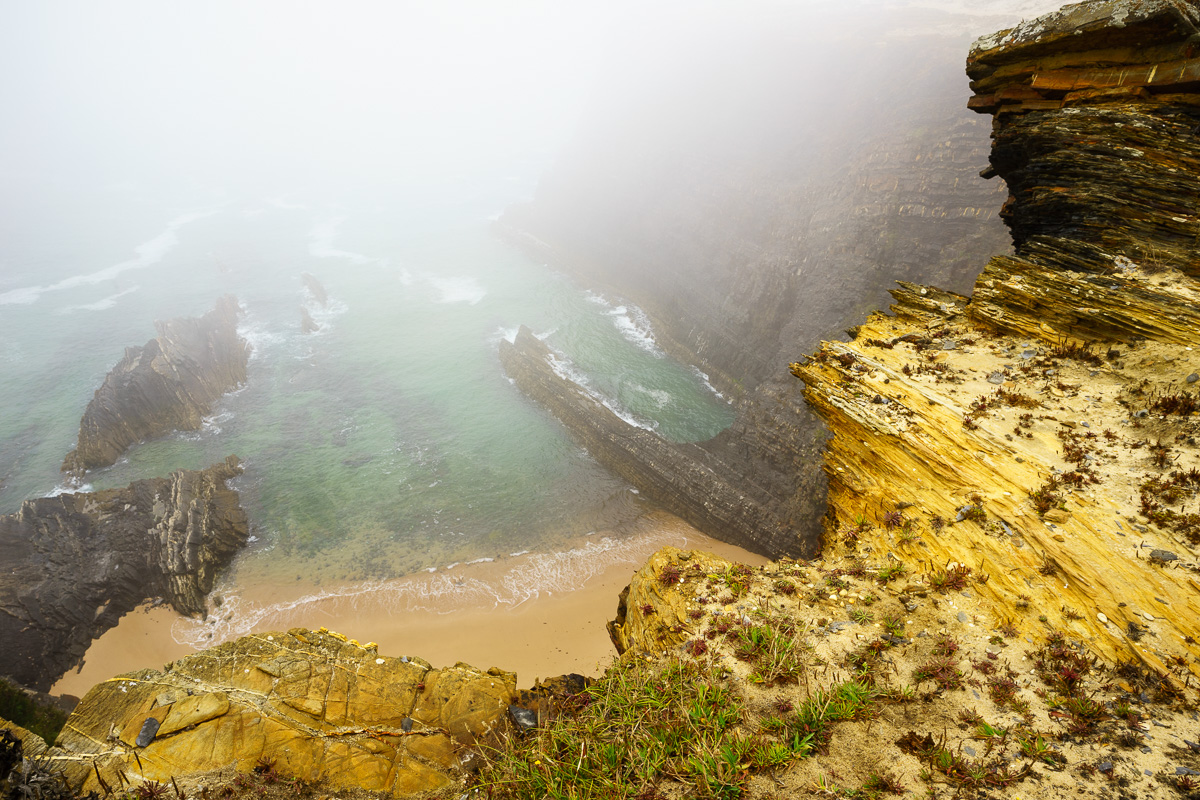
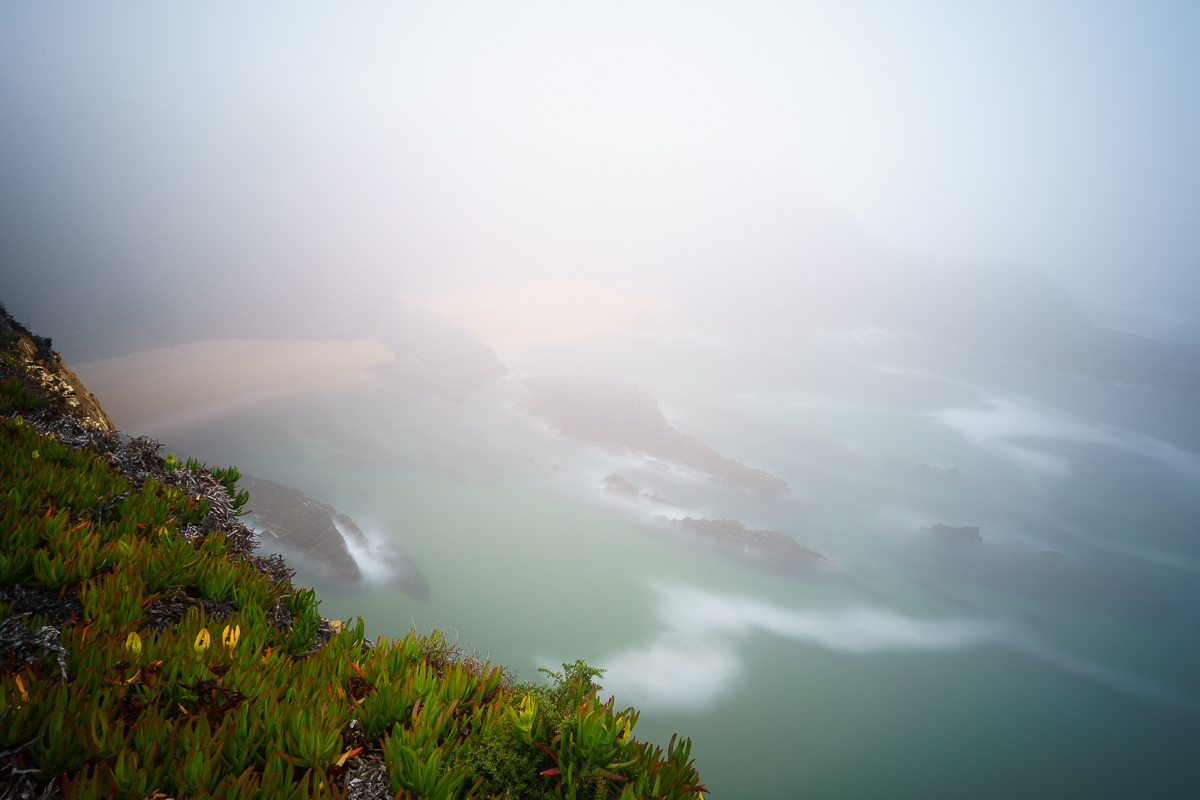
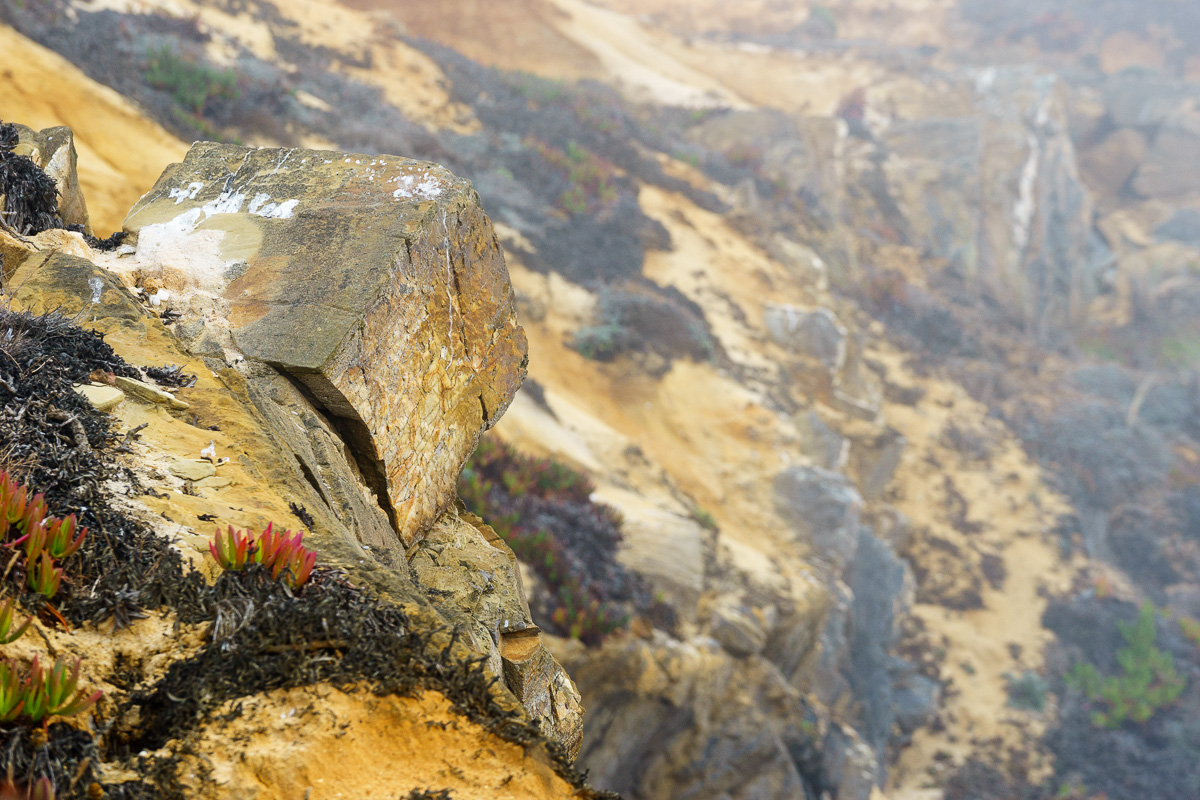
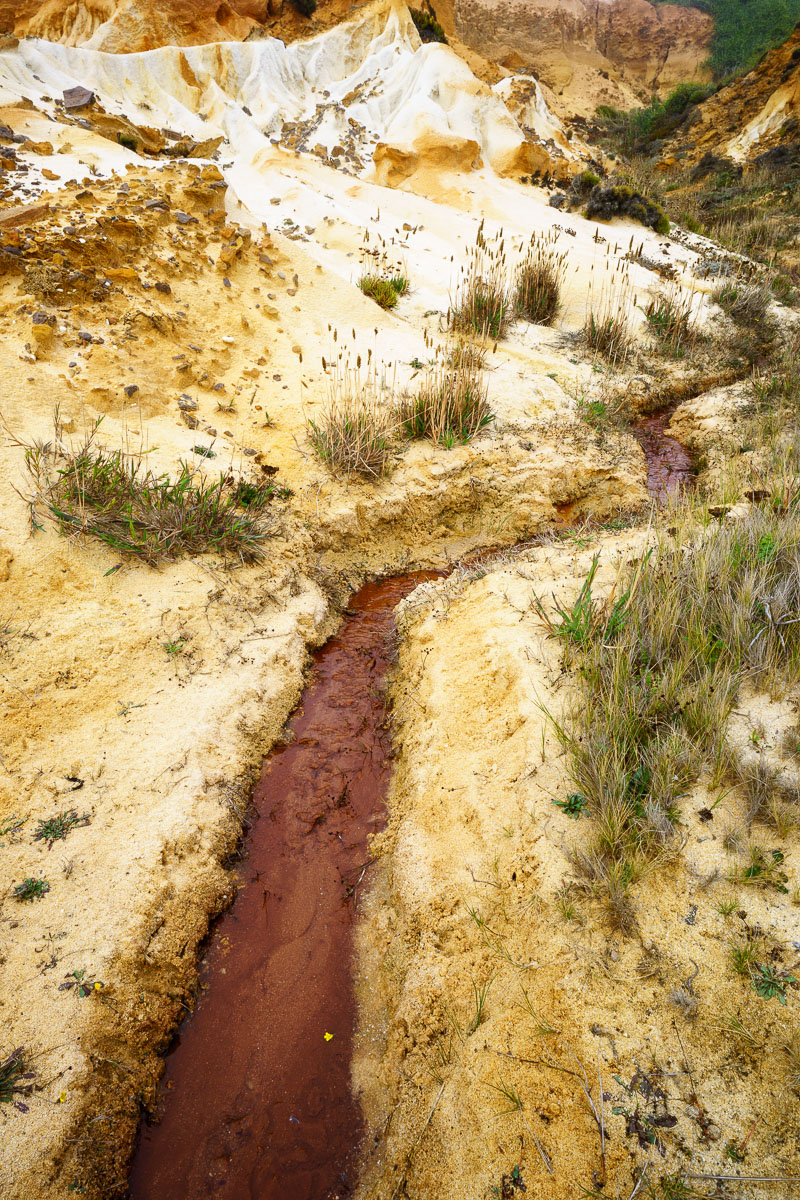
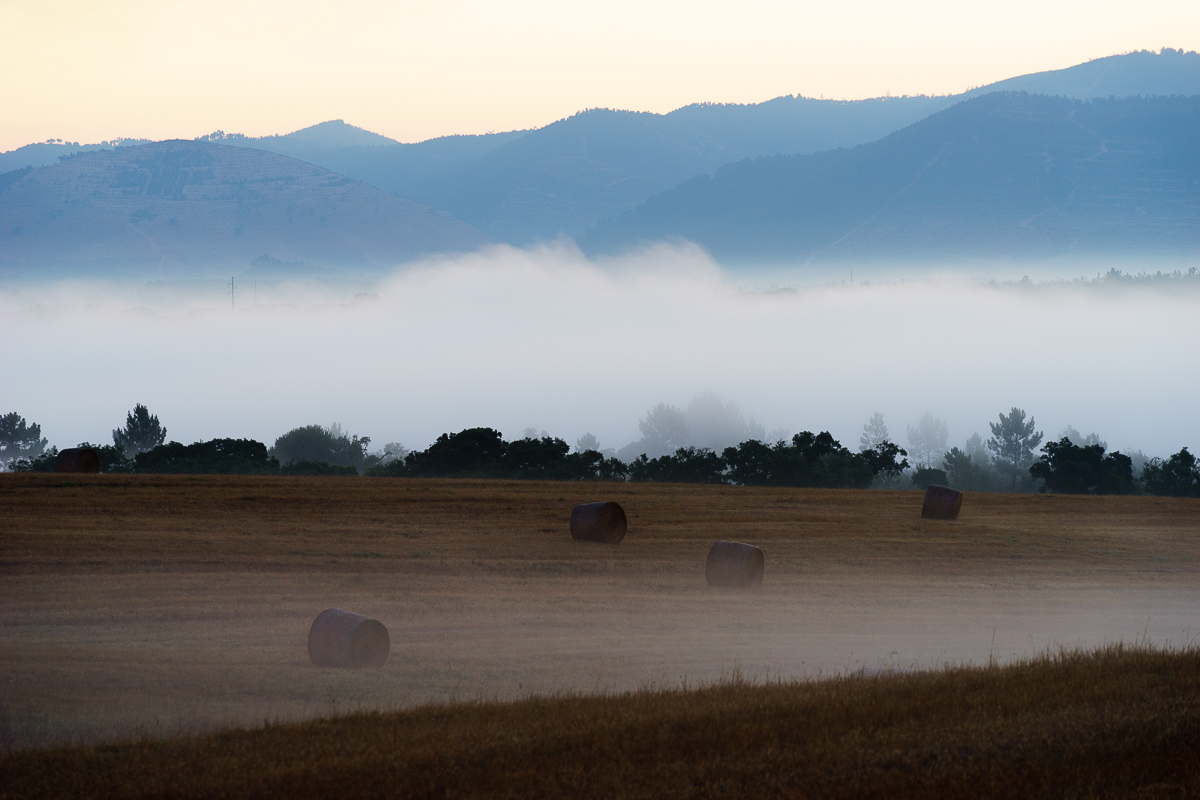
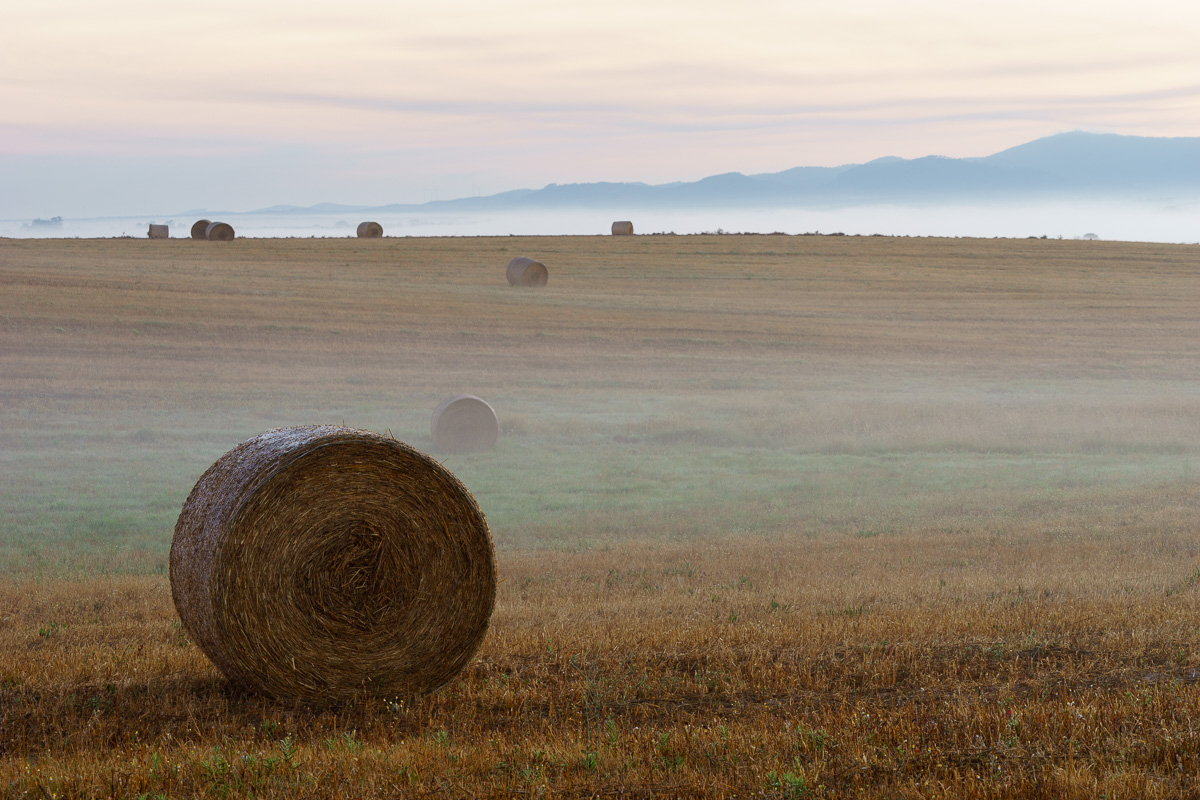
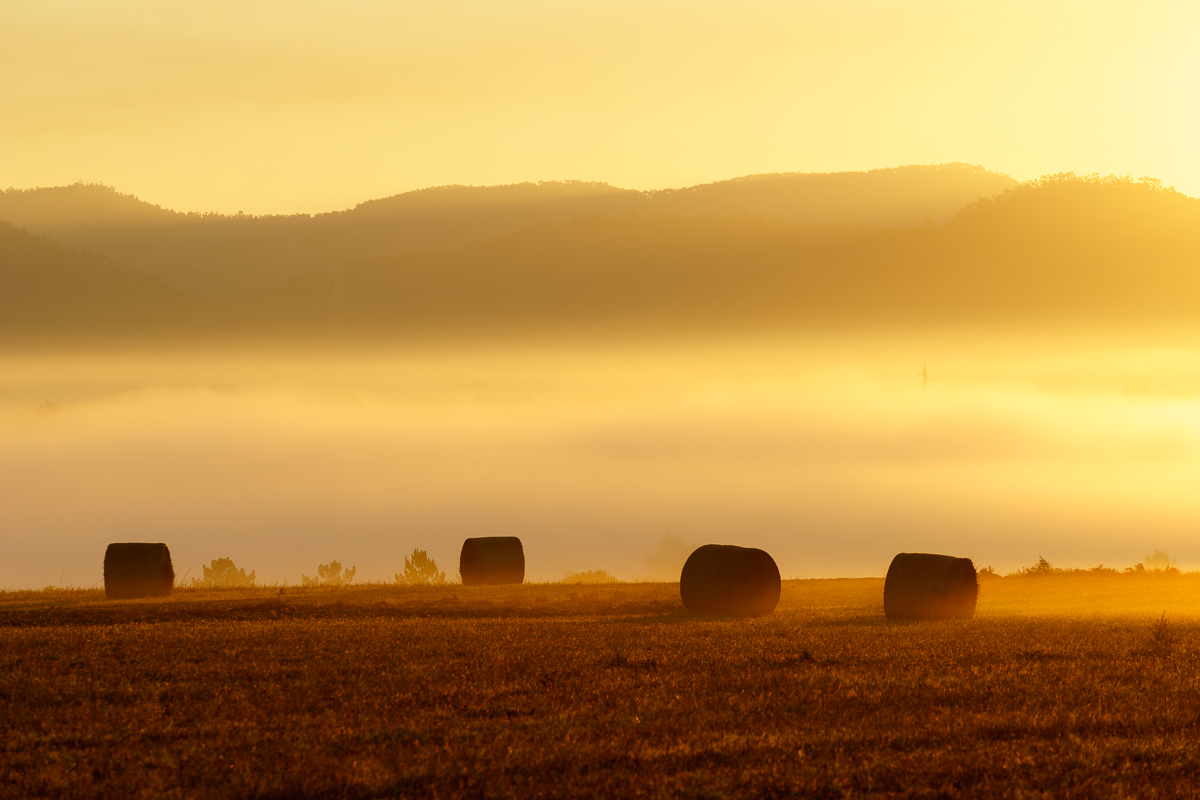
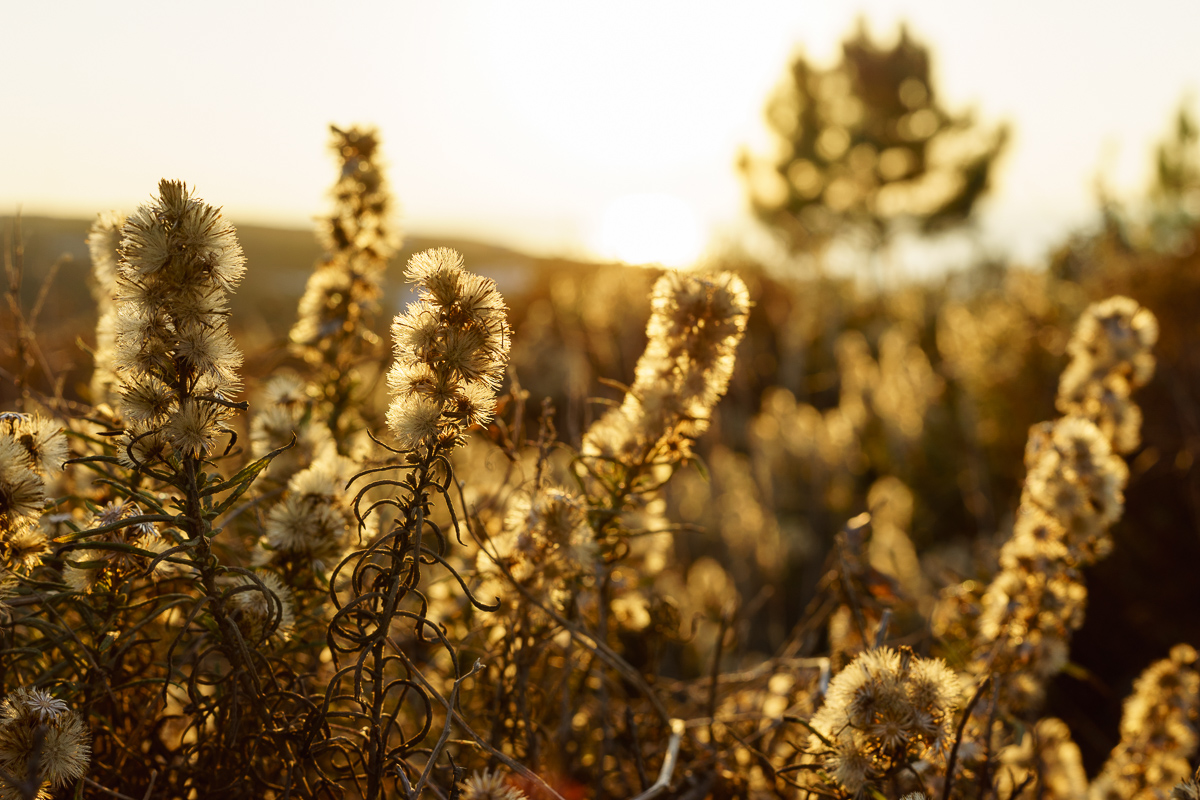
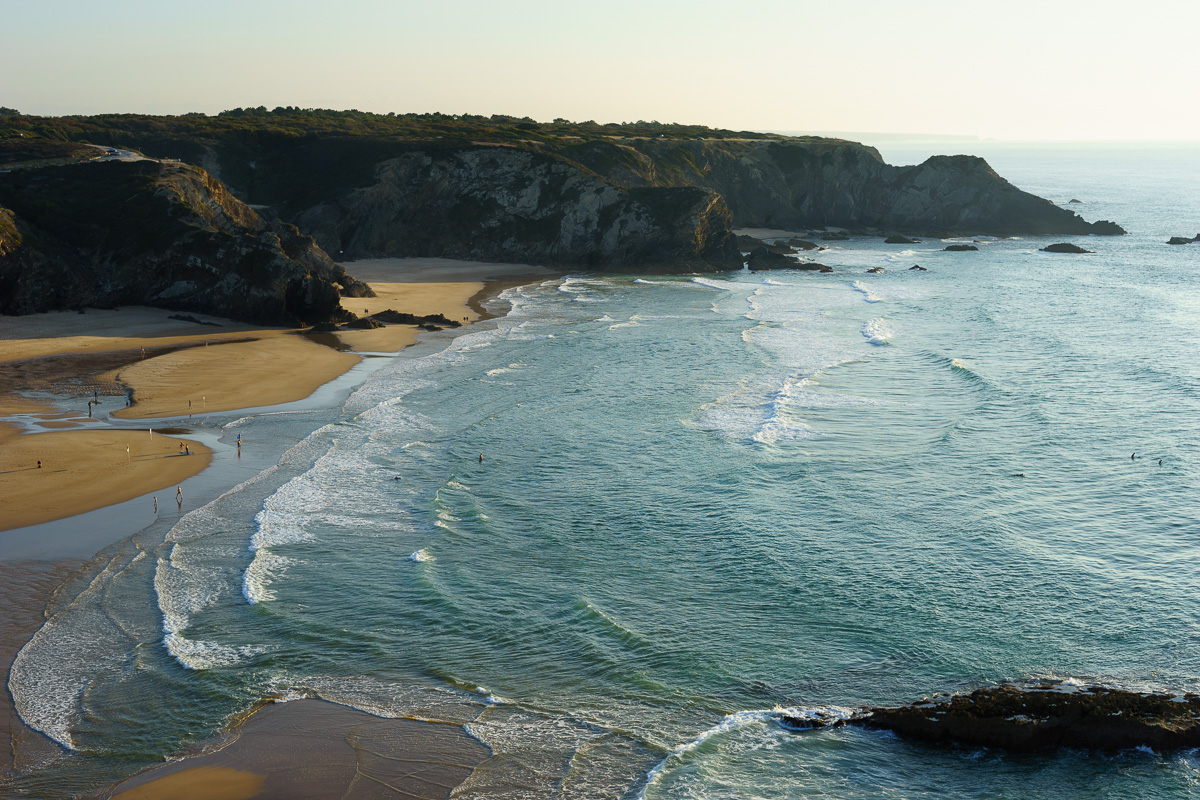
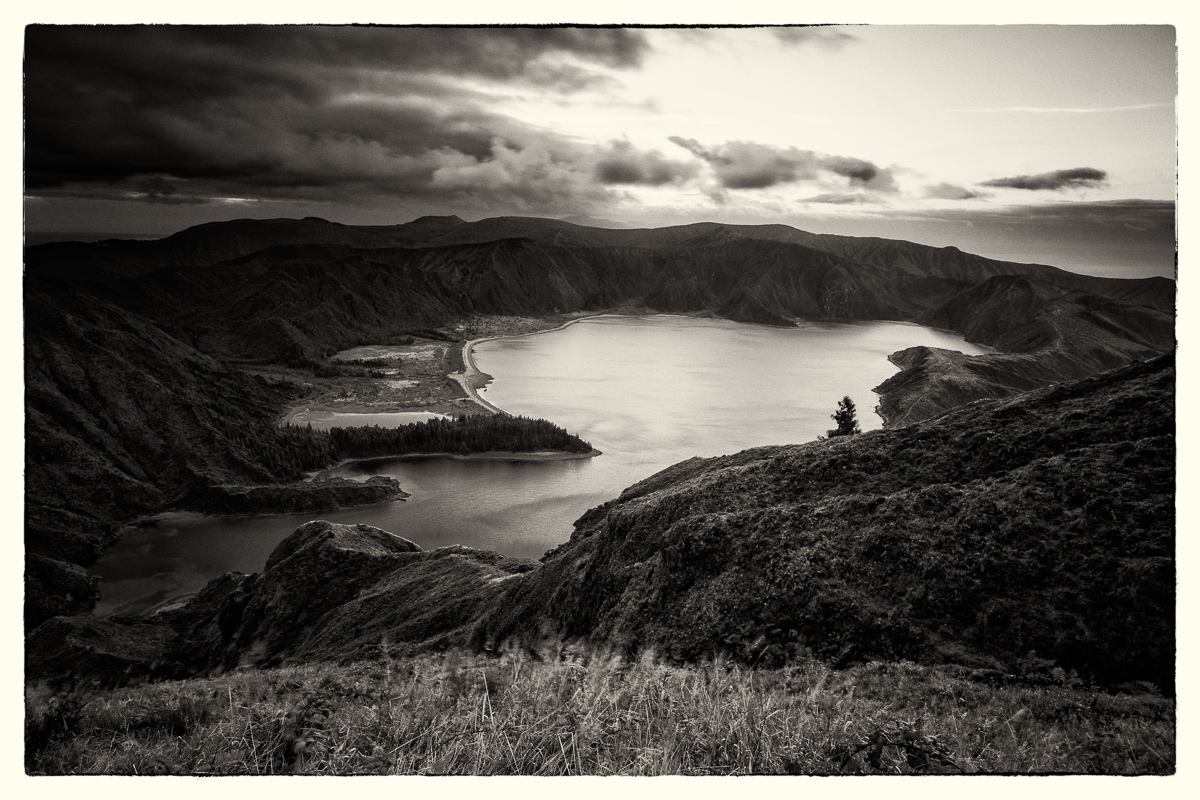
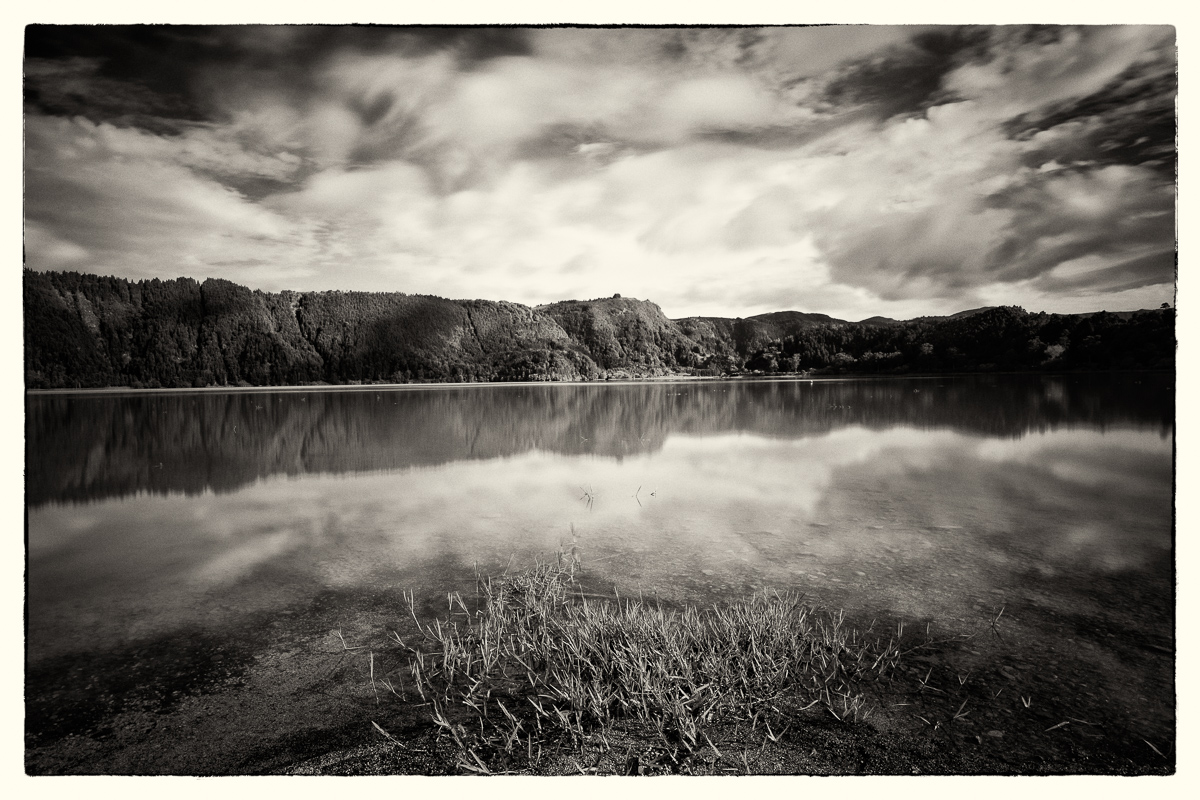
The light during Autumn is always special, and after some recent rains, the colours of the sand dunes, rocks, and cliffs had seemingly taken a new life. Deep blue skies with some clouds and haziness also created some interesting light against the mist coming from the waves.
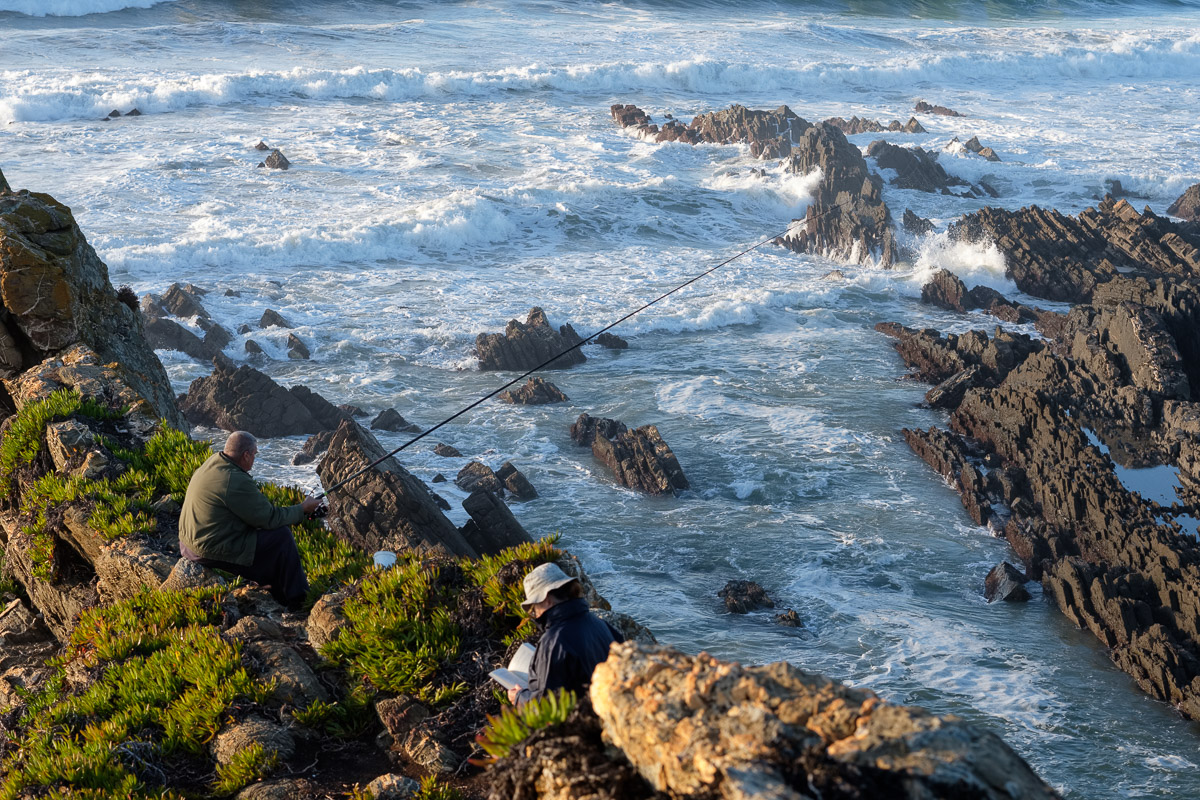
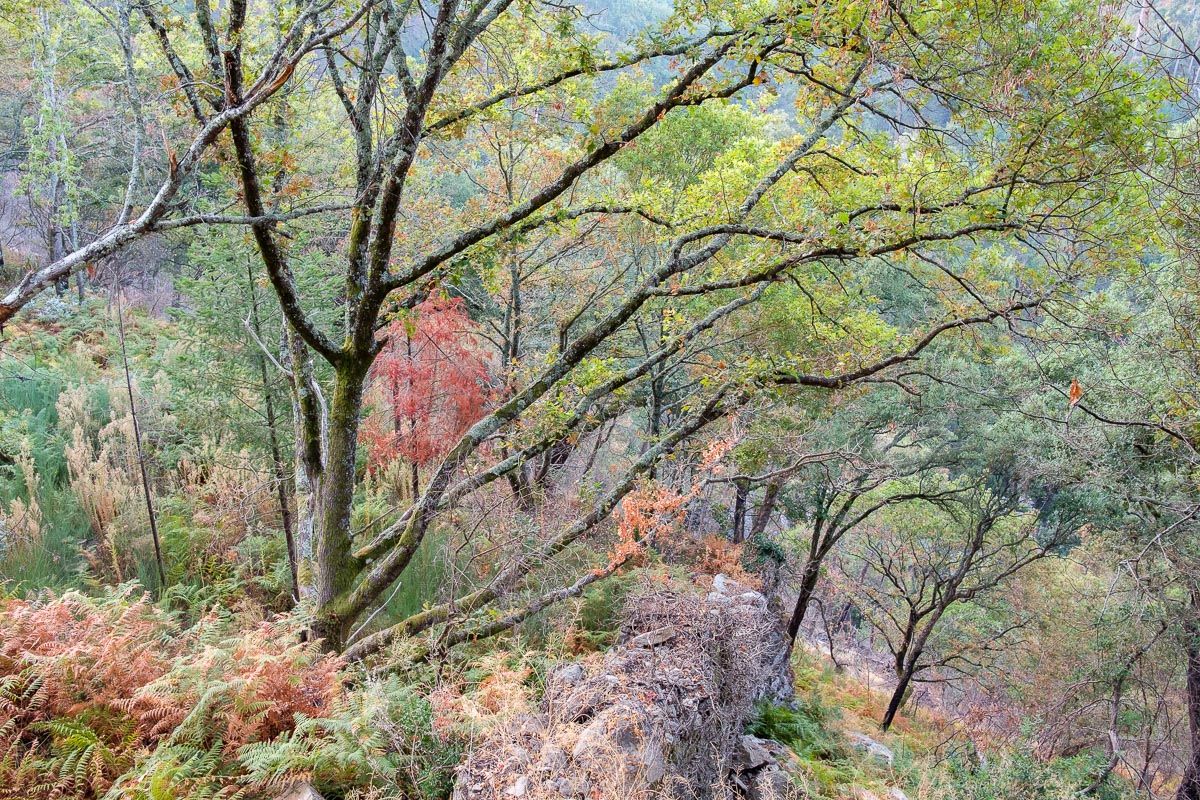
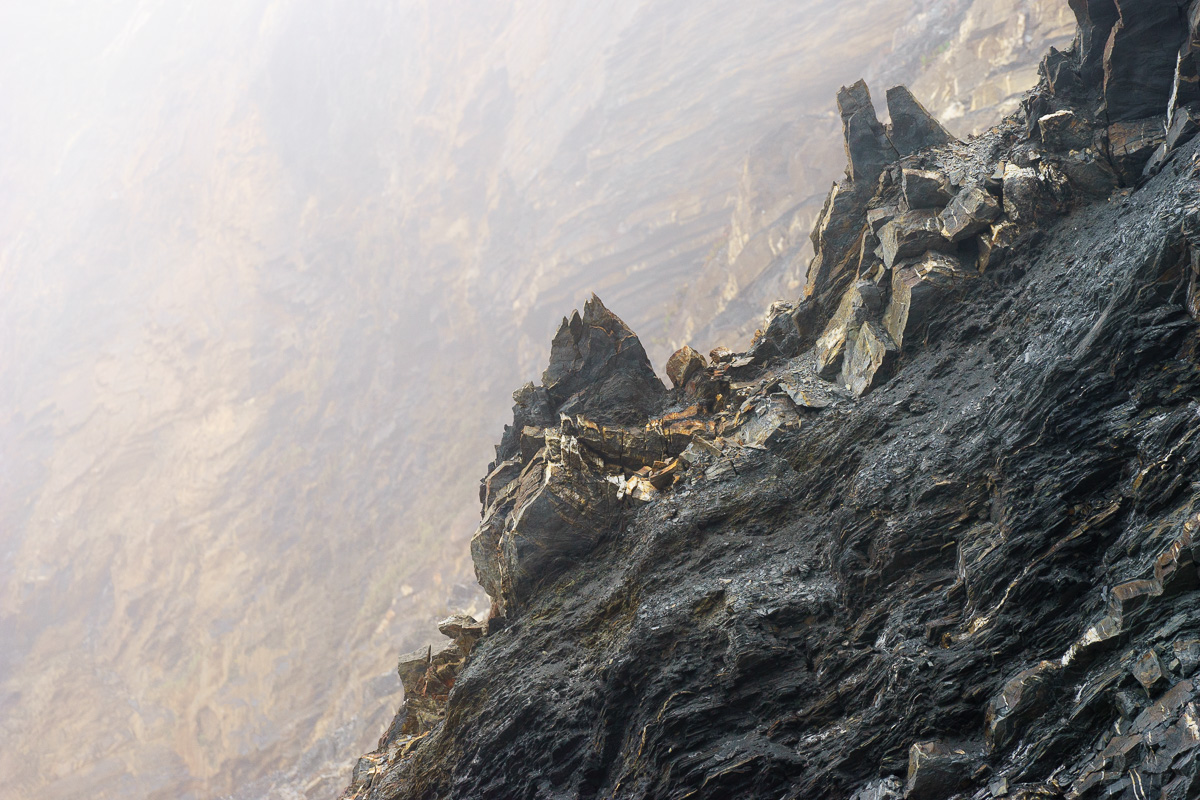
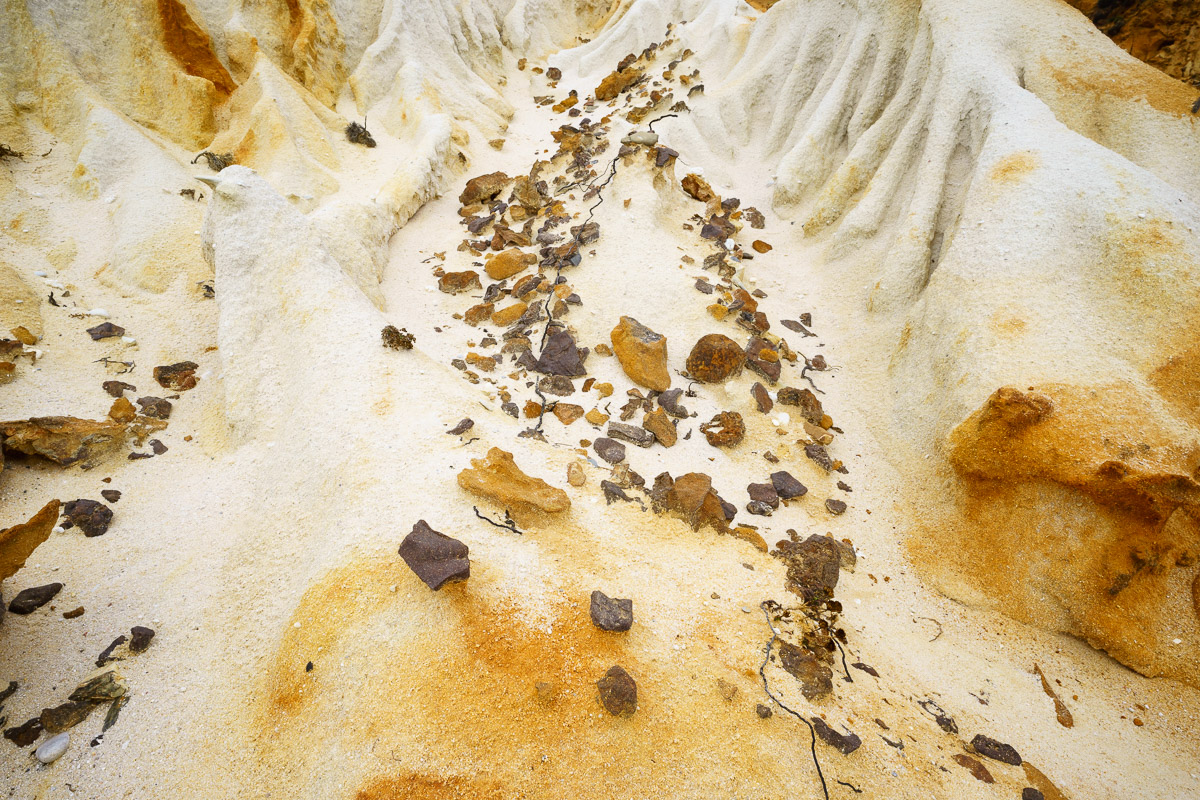
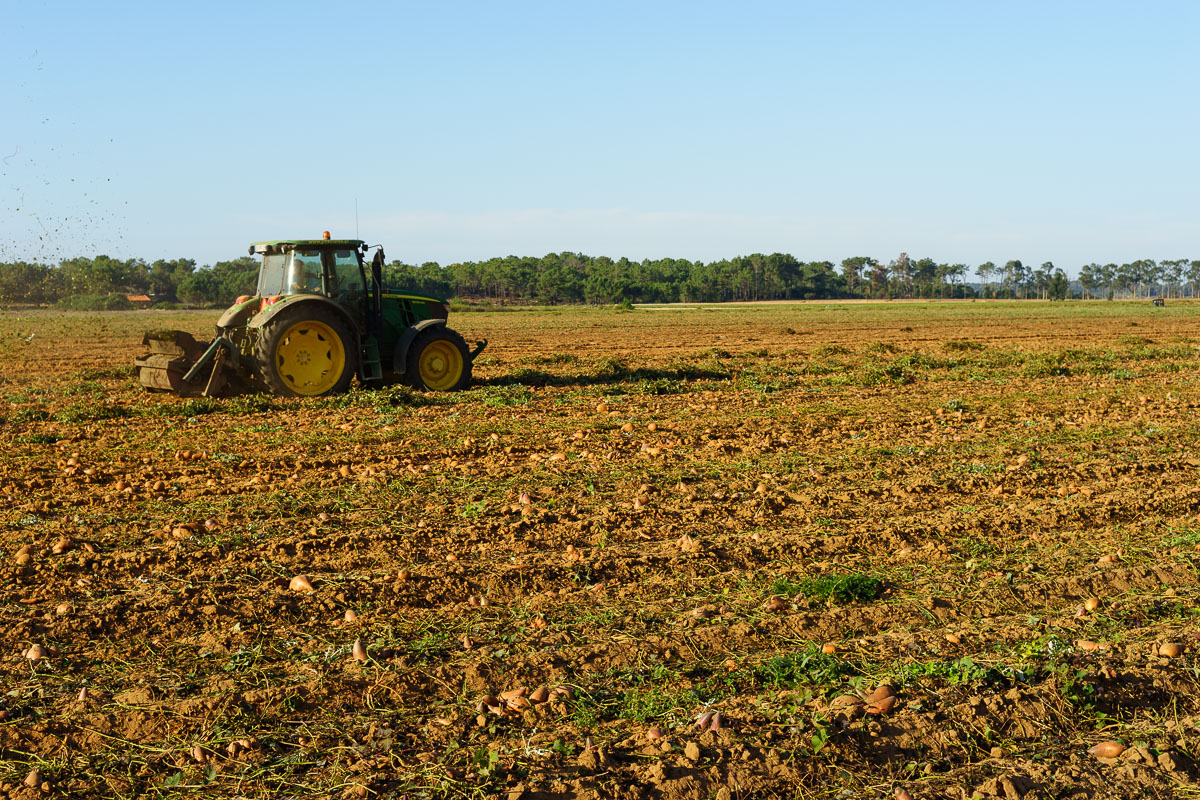
Gone are the summer crowds, so it is possible to enjoy the quietness of the place. There are the occasional fellow strollers, or fishermen trying their luck on the cliffs. This stretch of coastline holds many small coves, where often the geology controls the topography with abundant folding of the Palaeozoic rocks. As time passes by, erosion simply carves the rock and reveals the inner structure of the landscape in numerous folded strata. These make for very interesting shapes and textures, which are enhanced by the sidelight illumination.
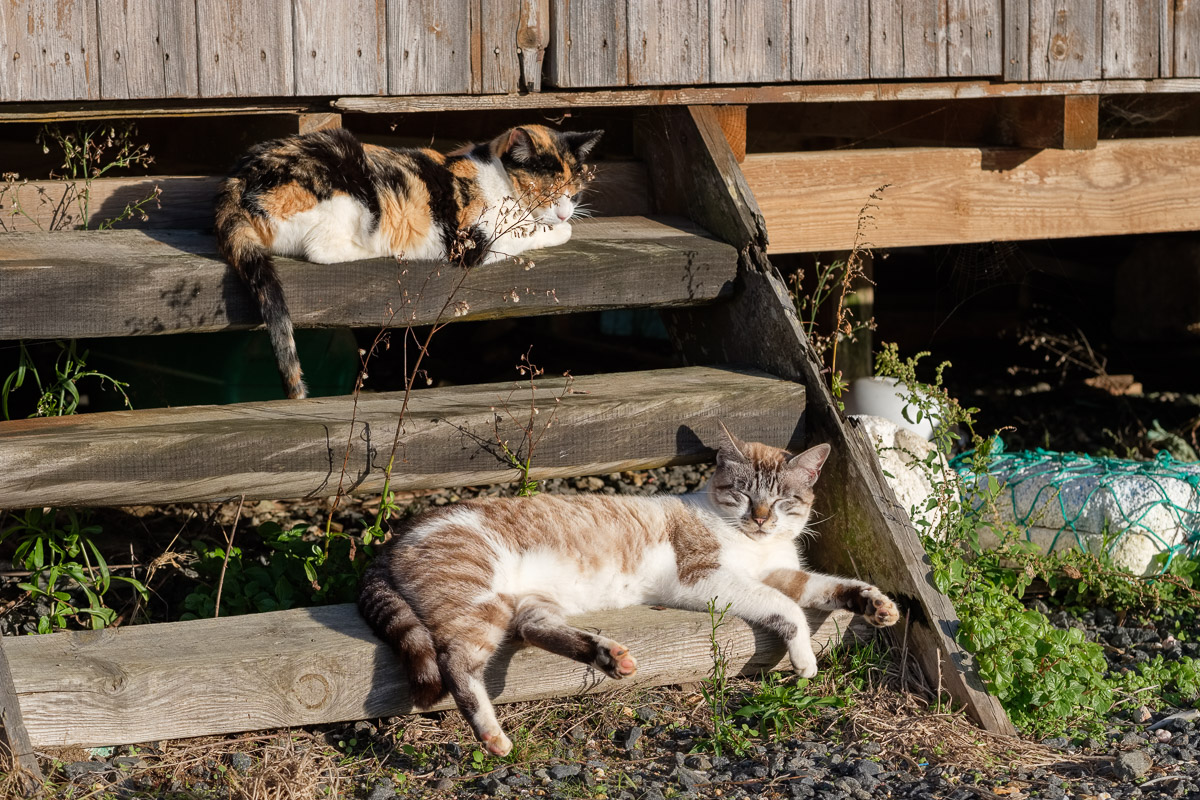
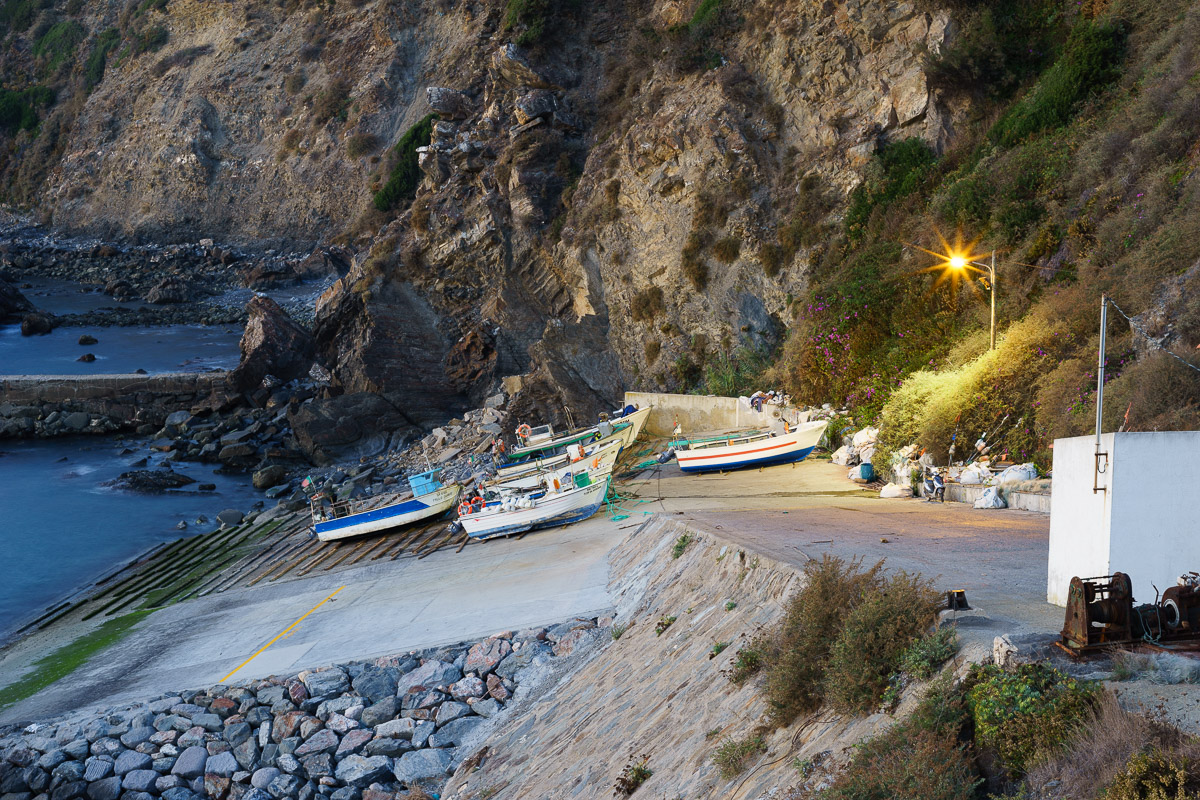
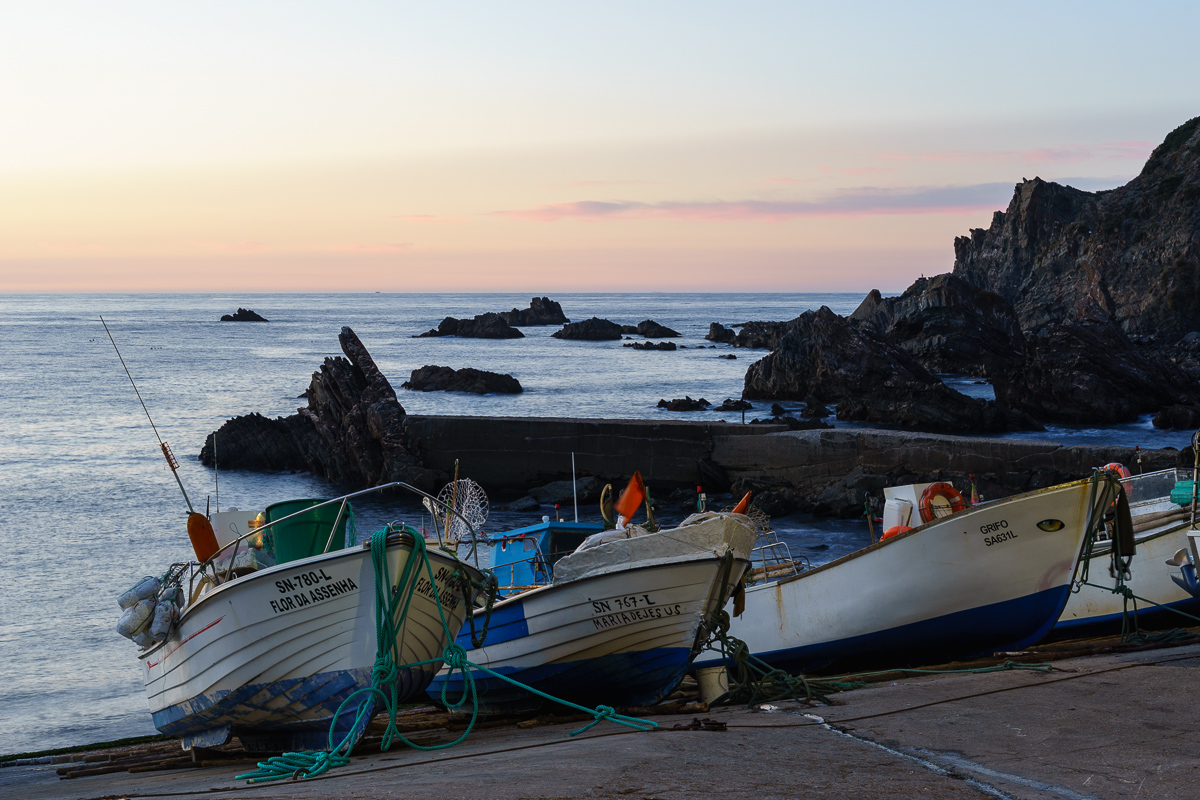
Lapa de Pombas is a very simple and small fishing harbour, that holds maybe a couple of boats and some wood huts. The place was eerily quiet, with a spring nearby providing fresh water, plus some cats lazing in the steps and enjoying the warm sunshine. The aroma of the peppermint is pervasive – it is used in a local fish soup, adding a special taste.
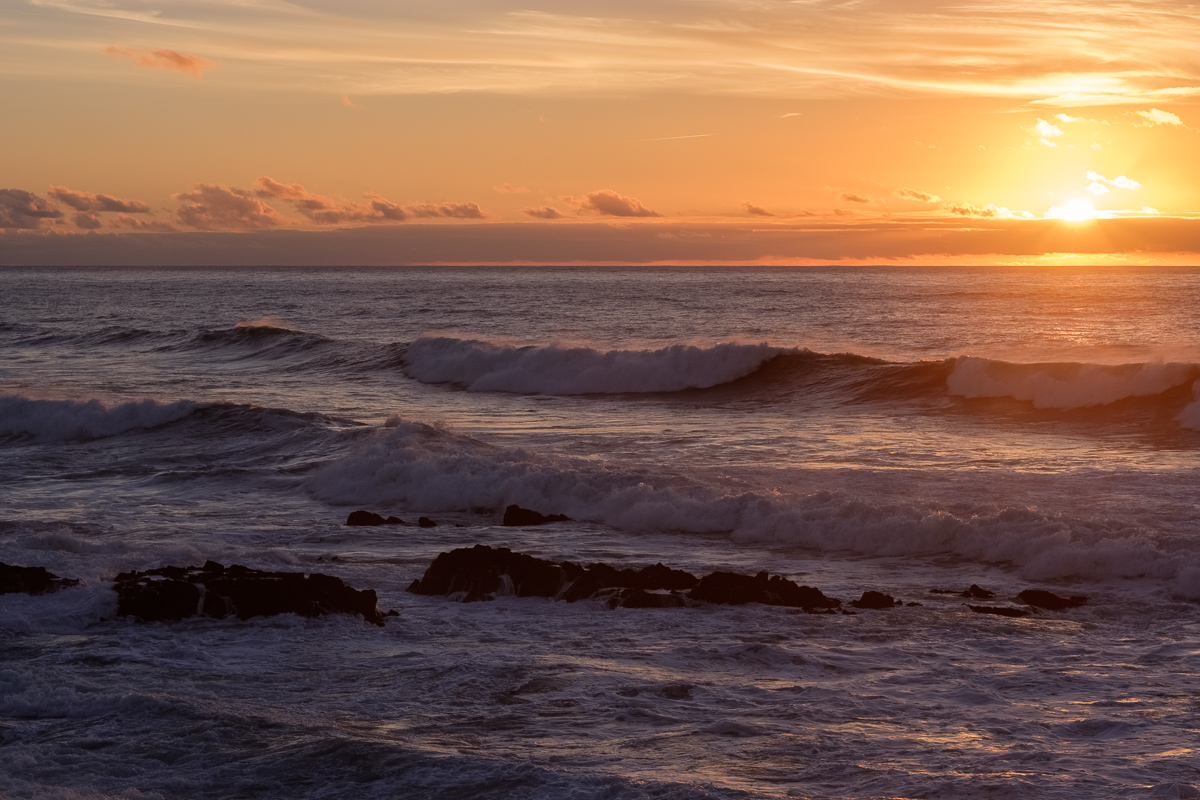
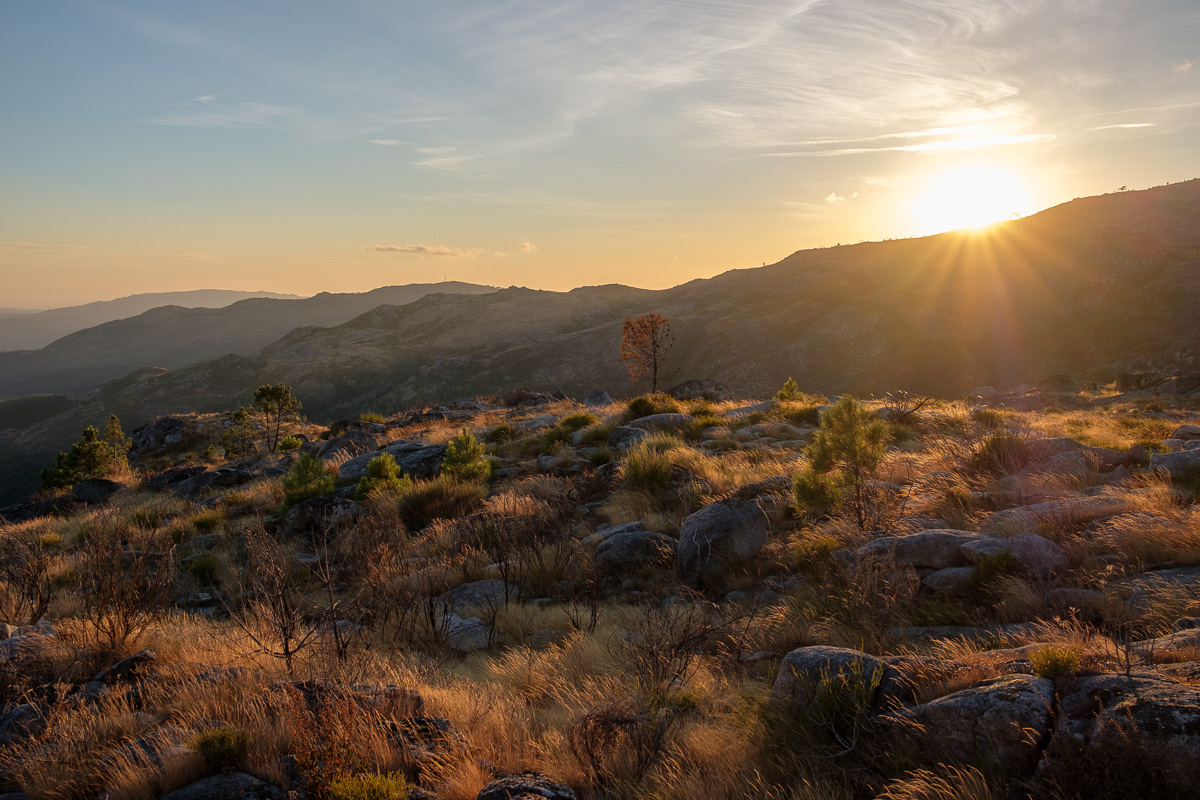
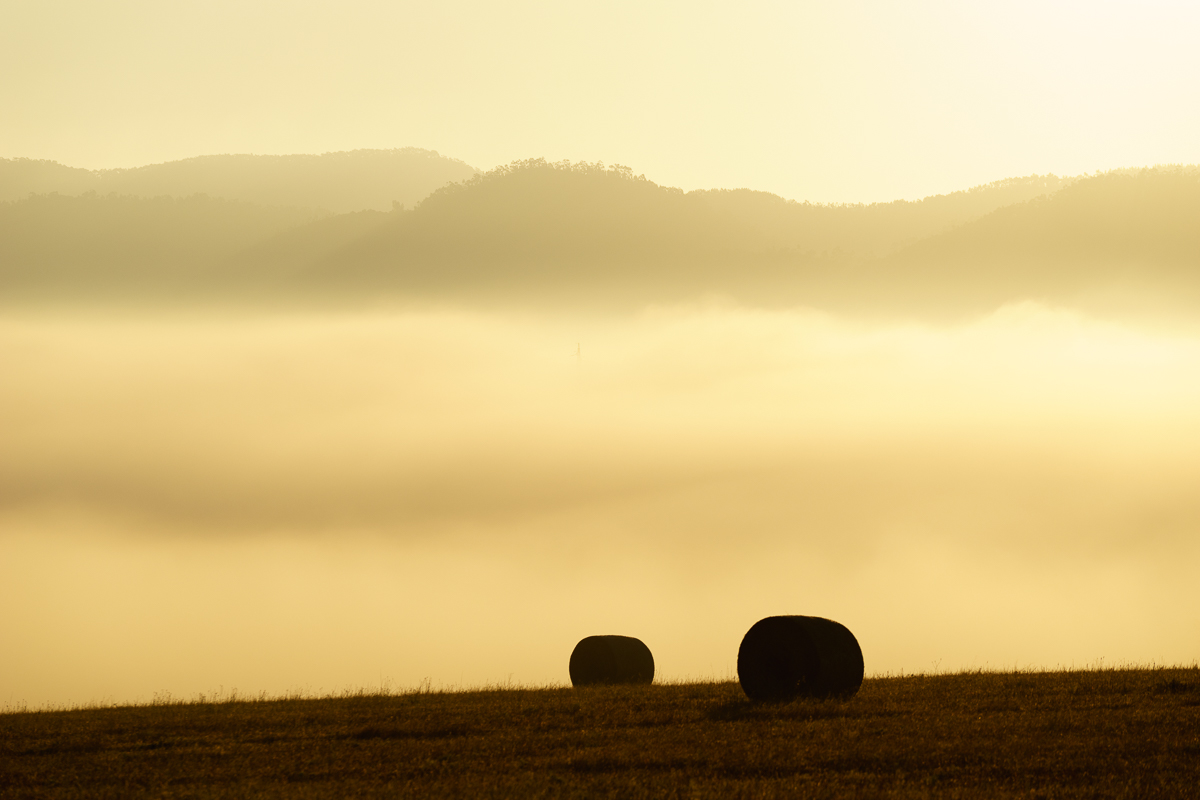
Even though I know this part of the coast like the palm of my hand, every time I visit, it always provides something new. Otherwise, simply enjoying the peacefulness and beauty of the place is more than enough to recharge our batteries and lift our spirits. Is there a better way to finish the day other than admiring the setting sun while seating on the cliff, perhaps with a drink?