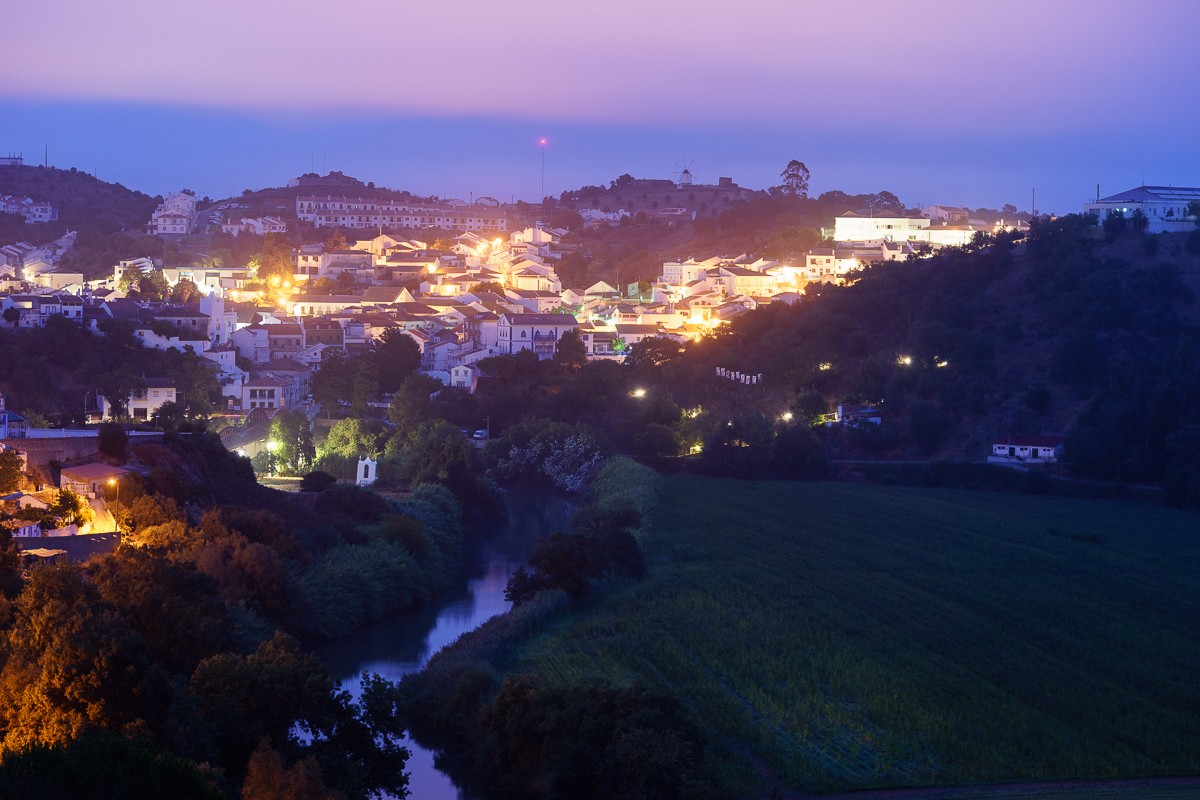
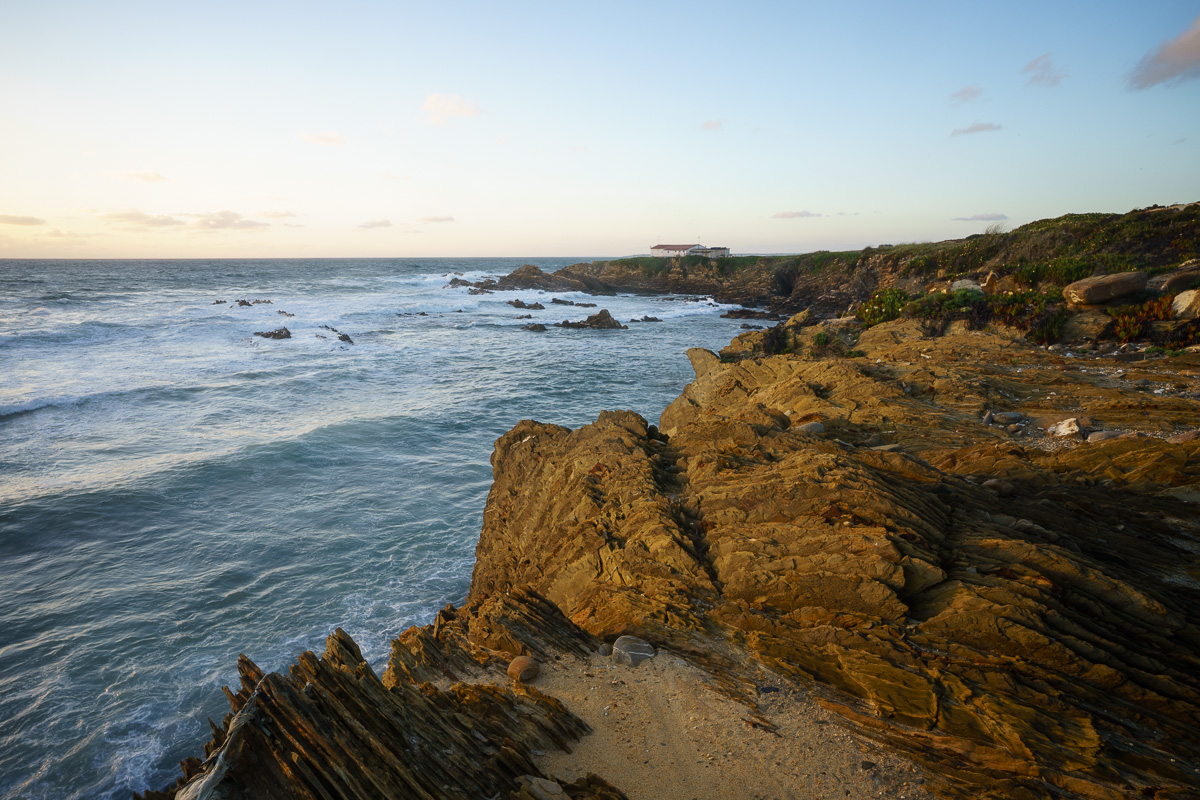
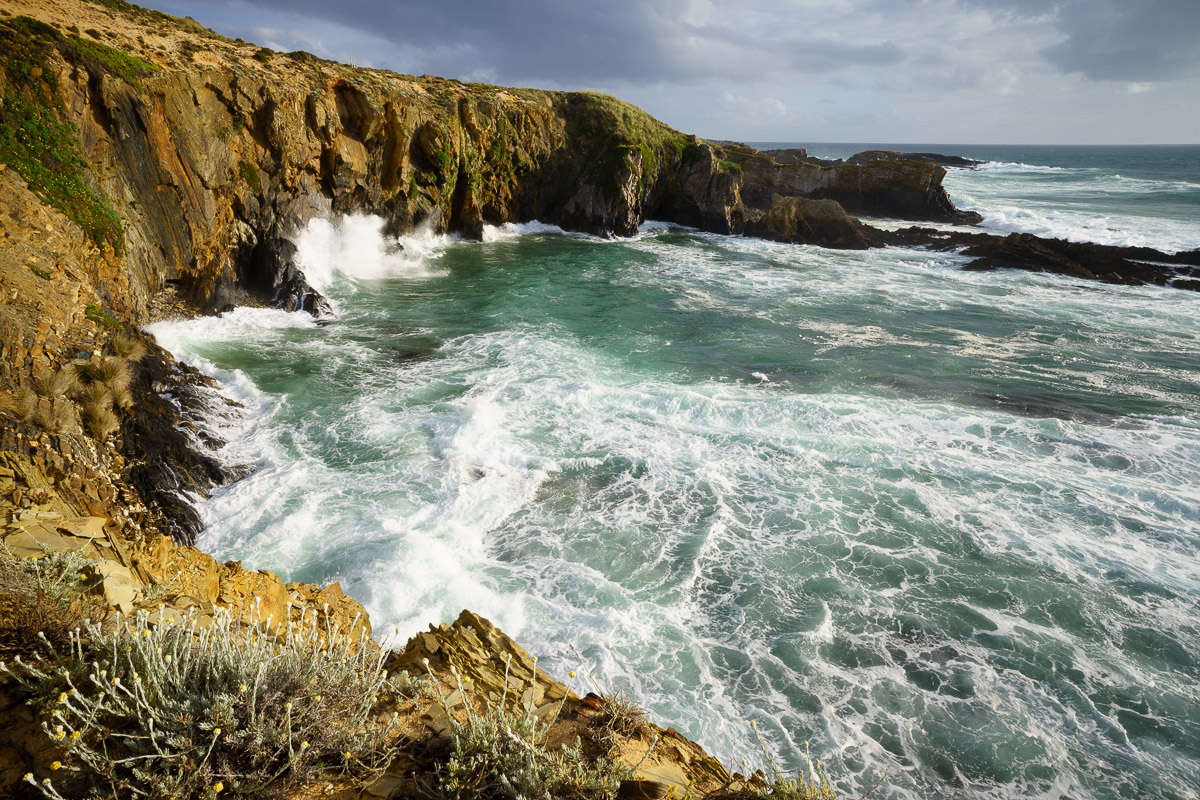
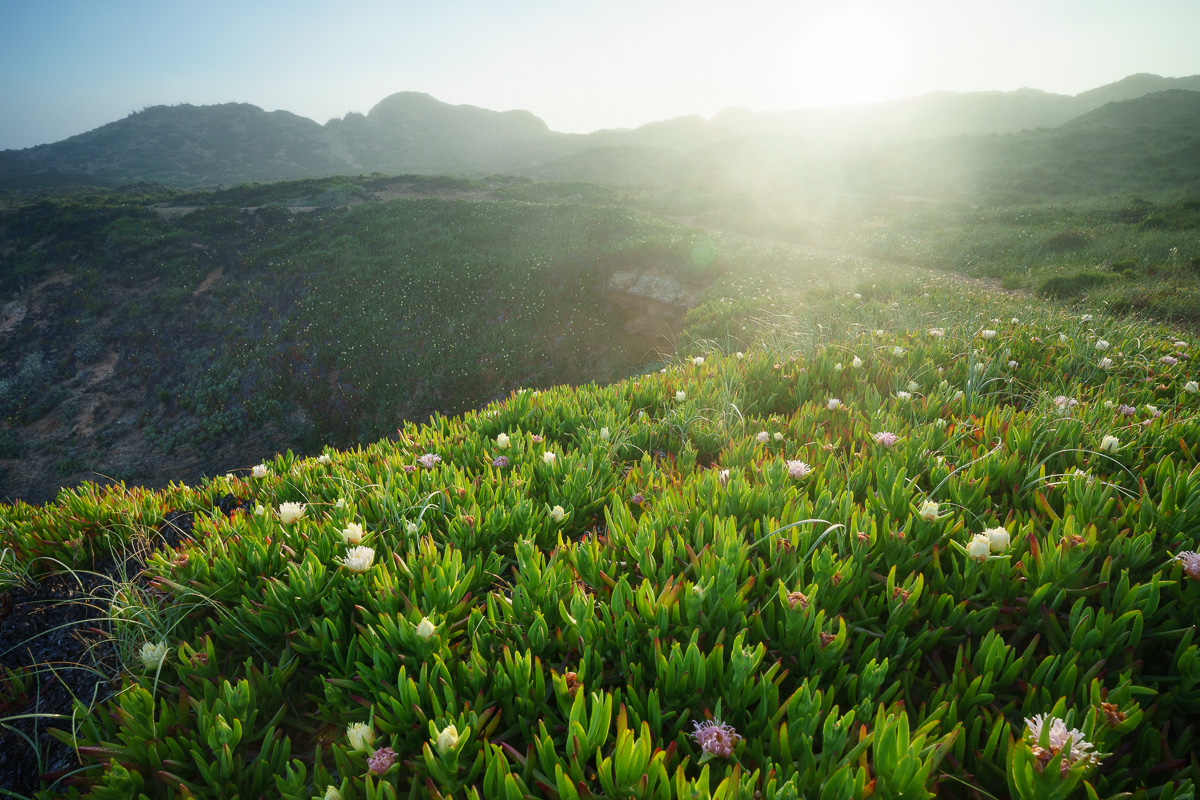
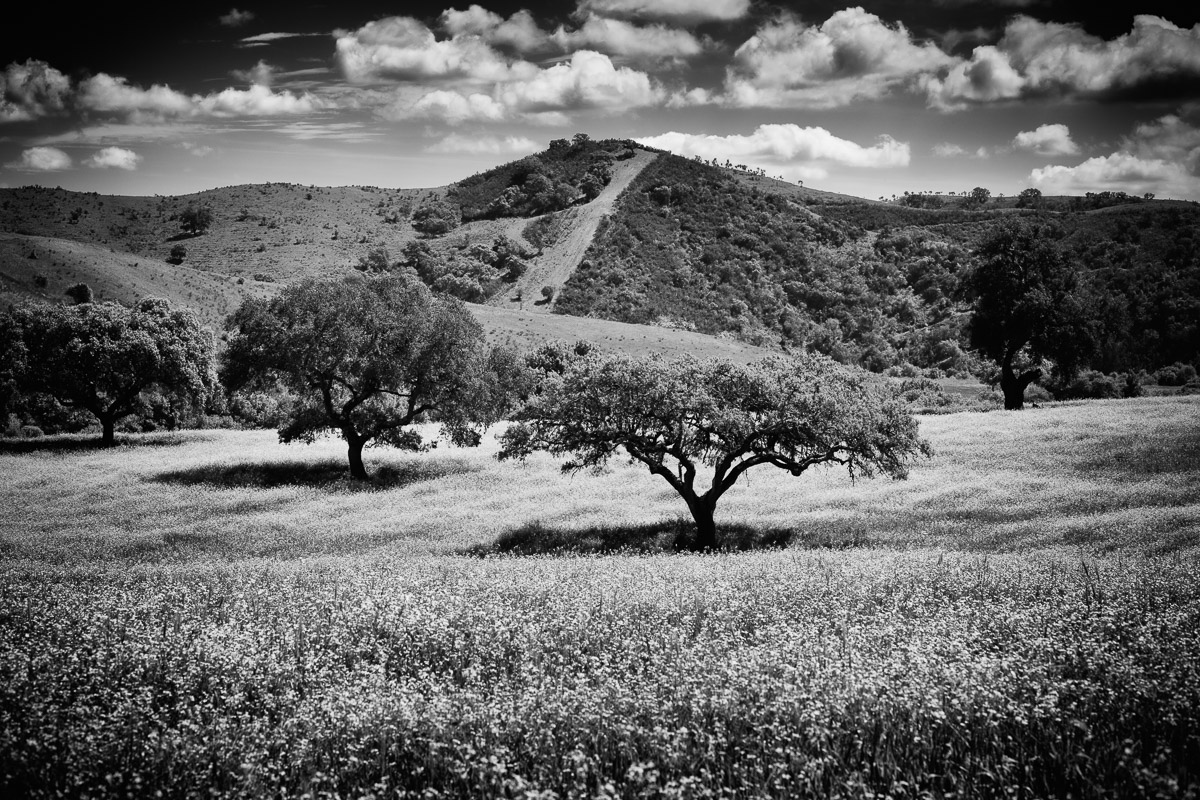
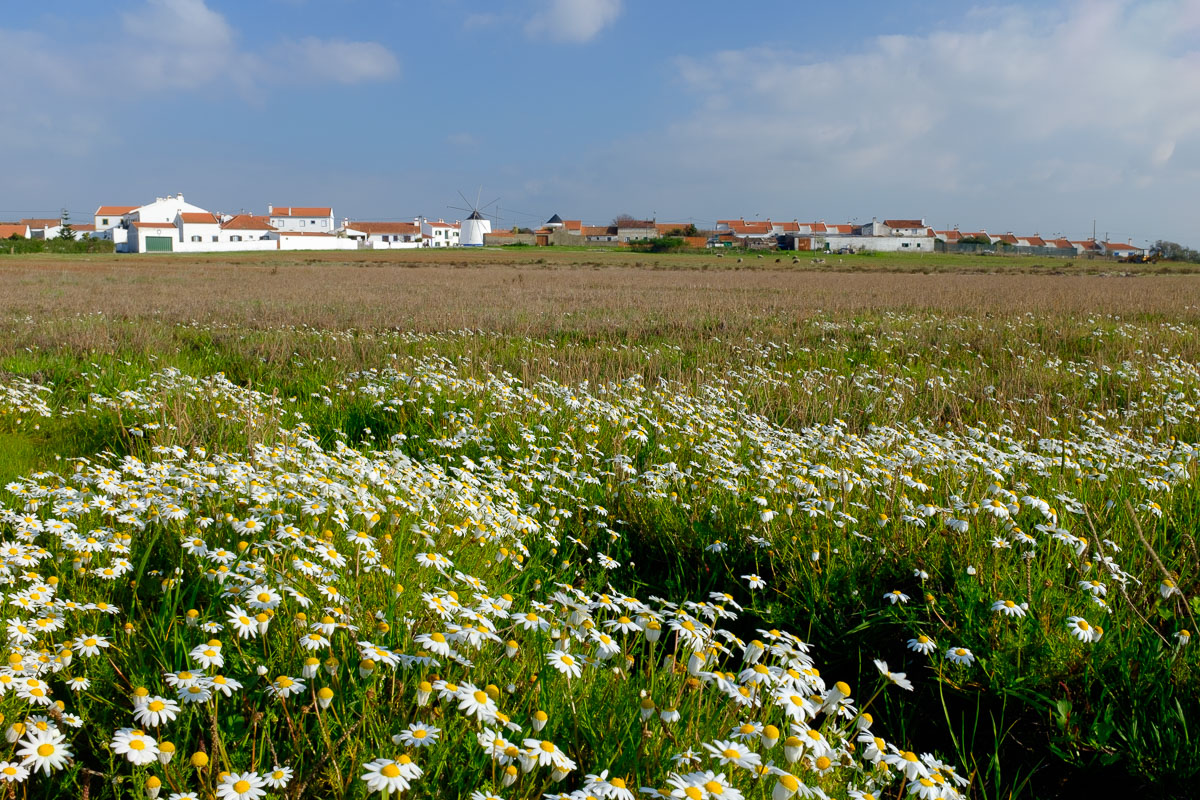
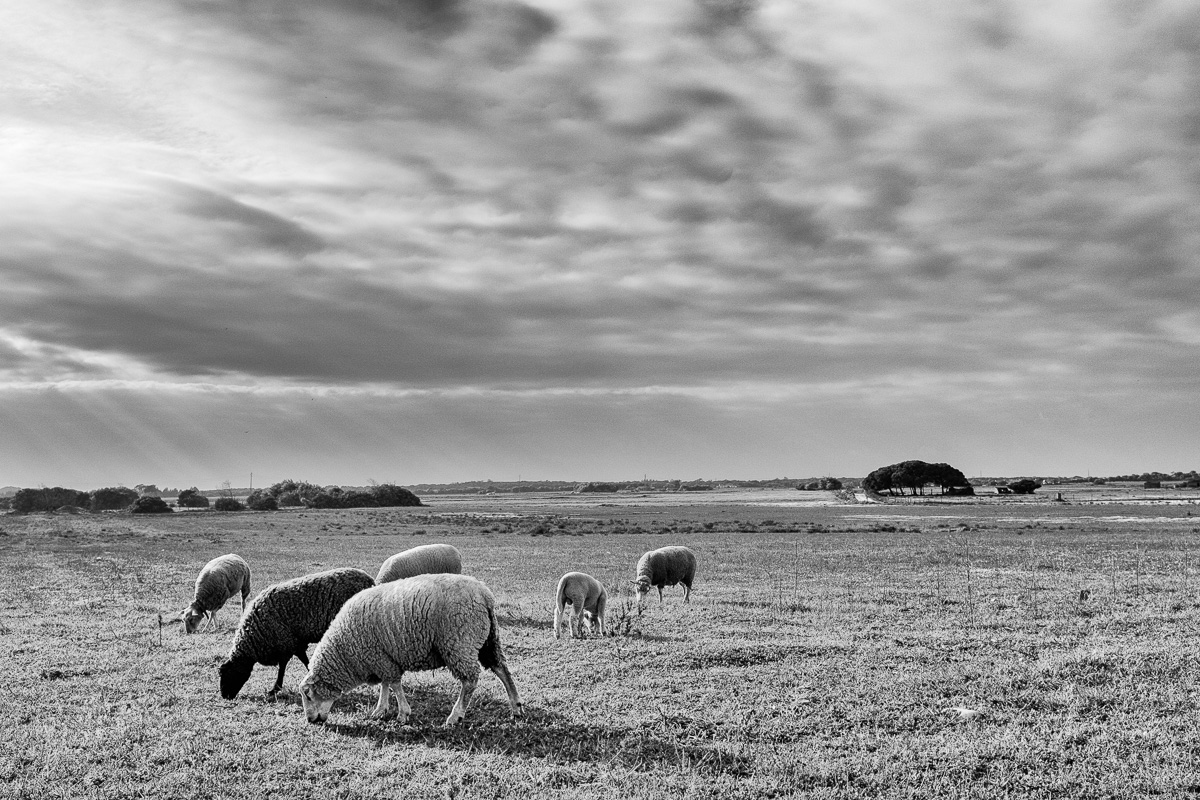
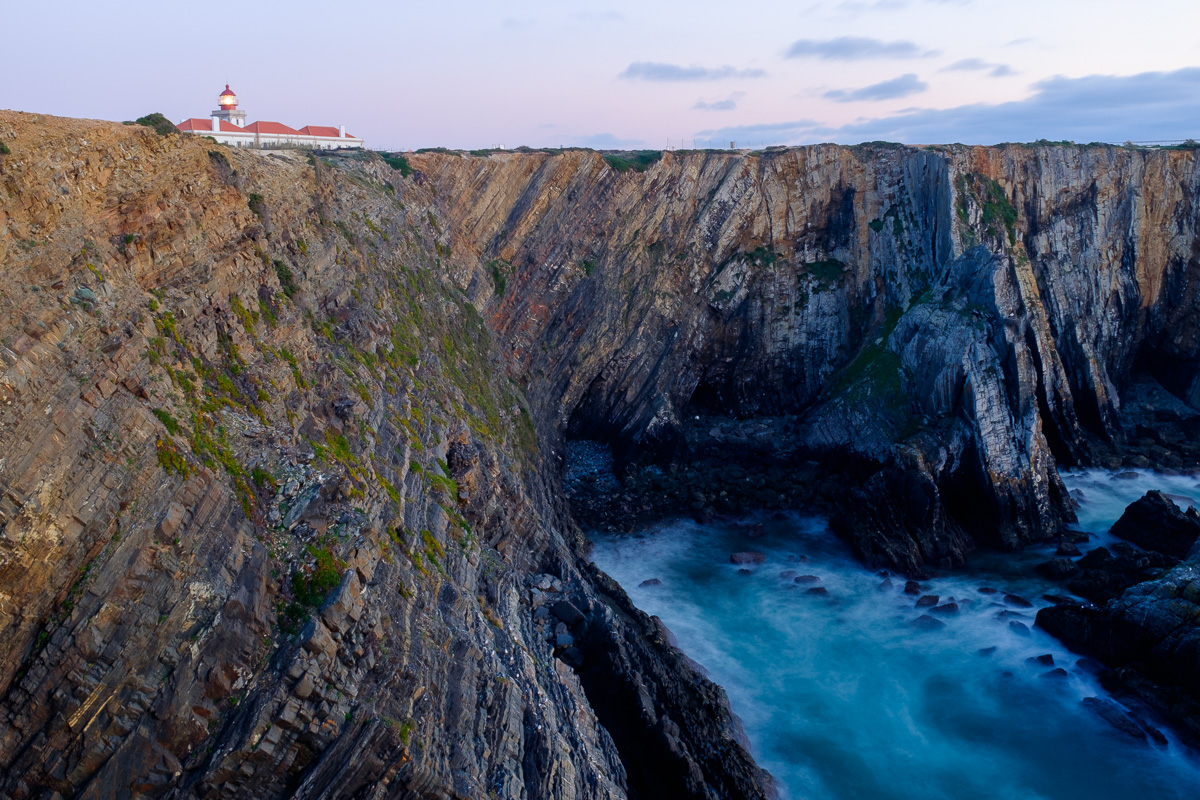
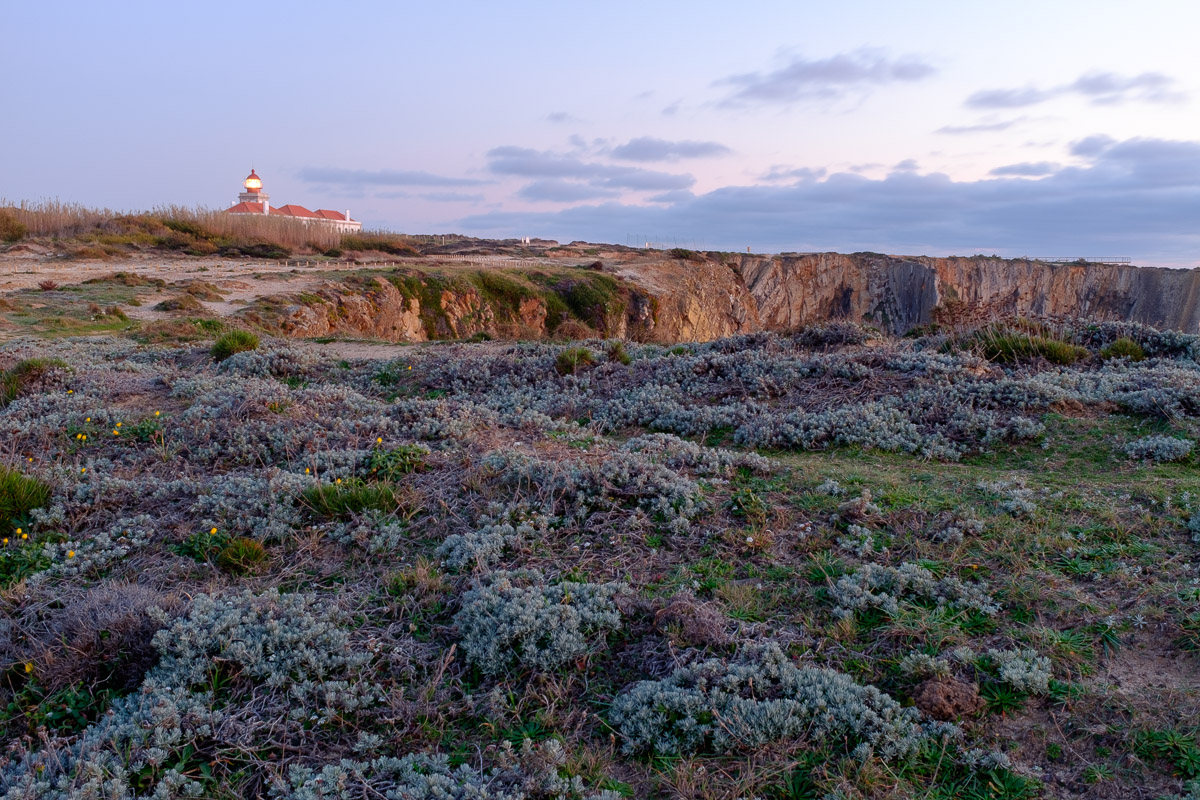
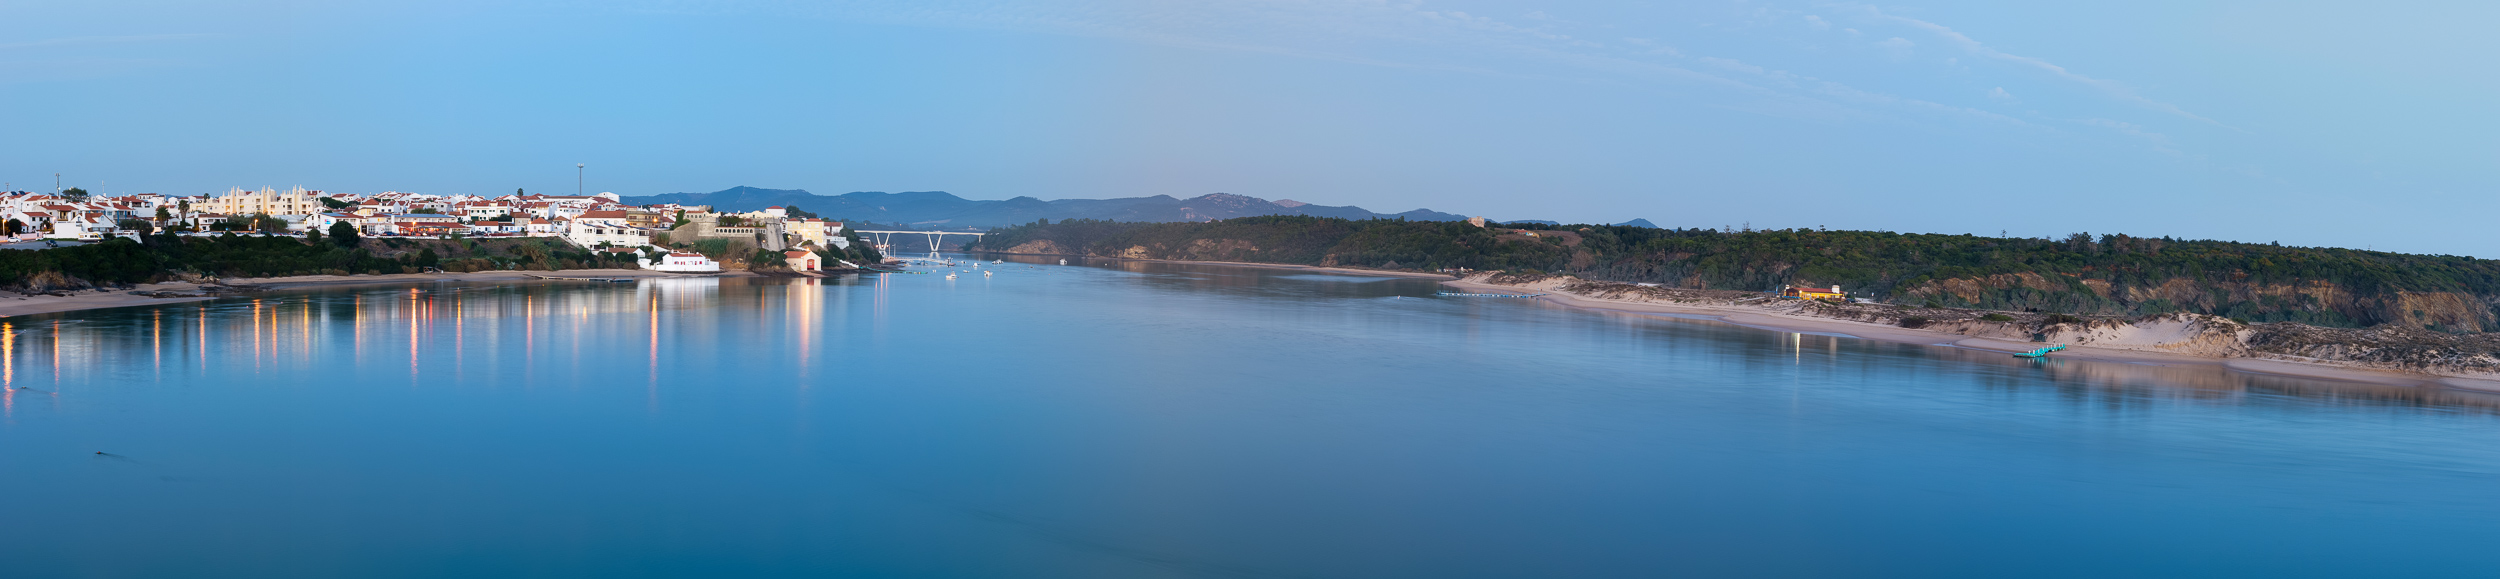
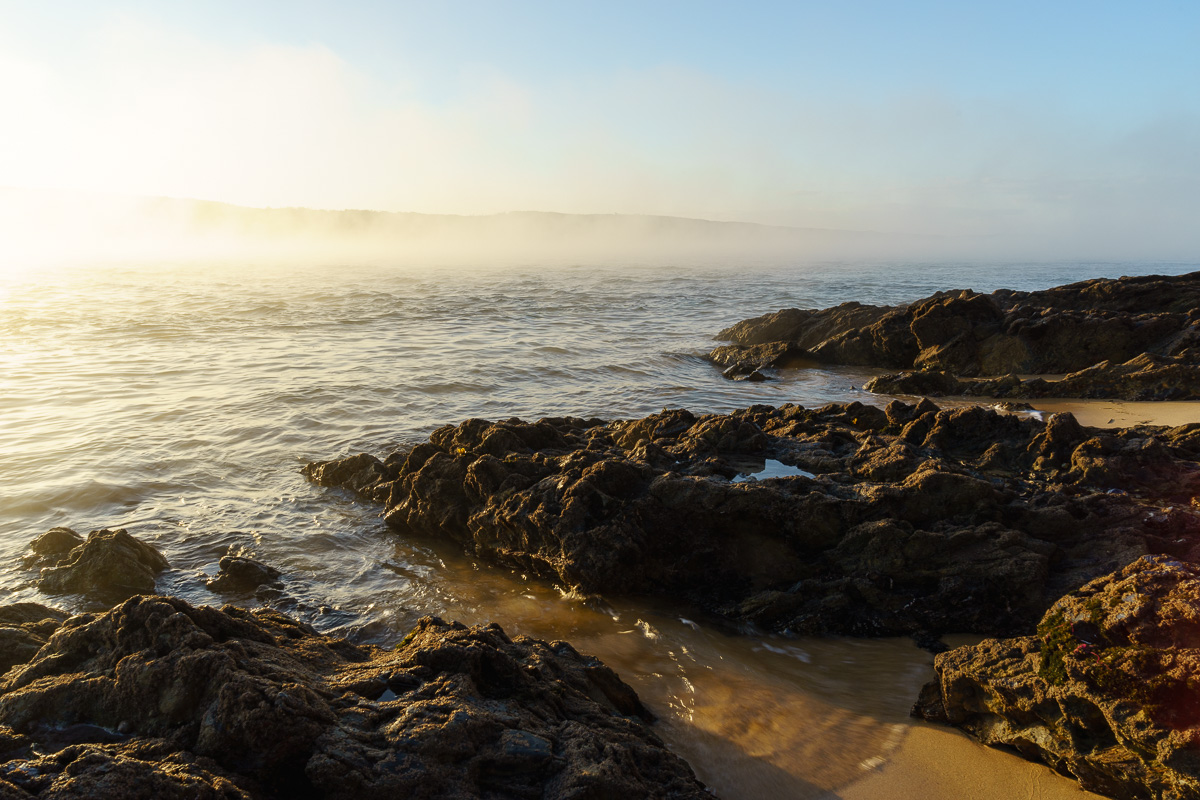
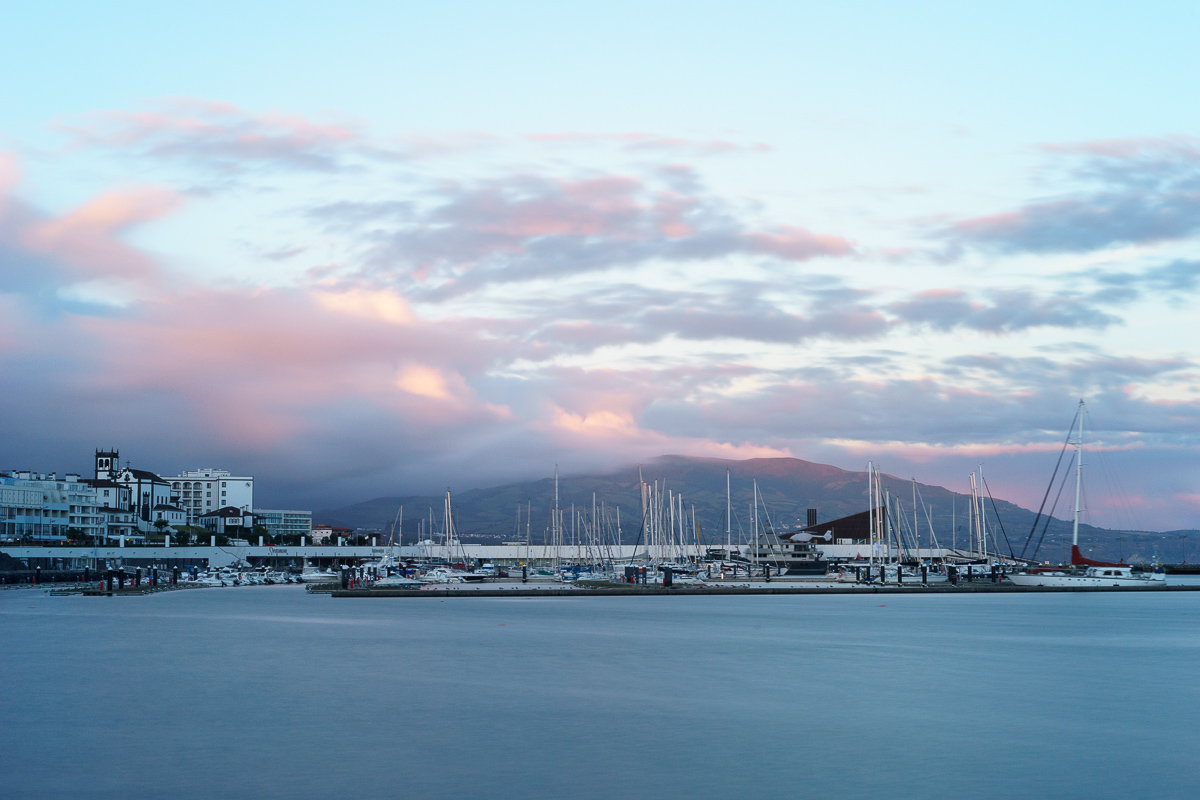
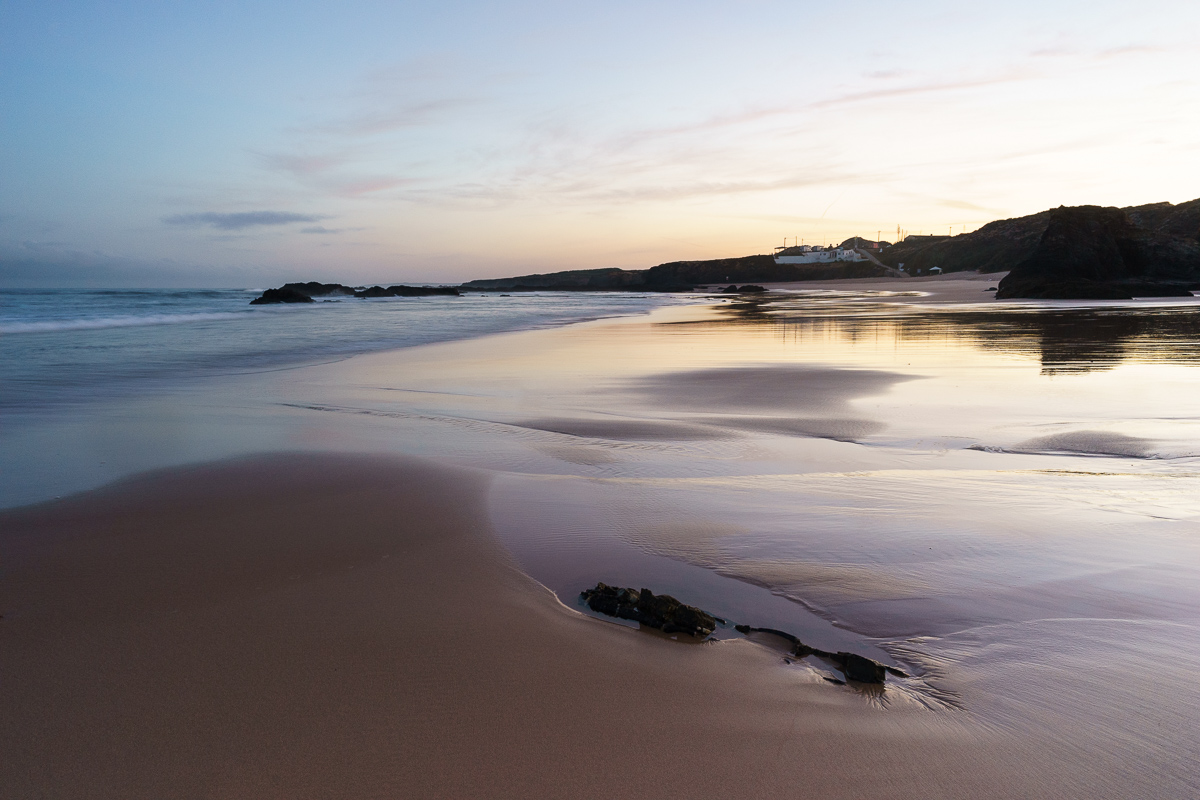
The Sony FE 90mm f2.8 Macro G OSS lens (to give it its full name) was introduced in early 2015, as the first dedicated macro lens in the system. Besides the obvious macro application (the lens can do 1:1 magnification), a short telephoto lens also works nicely for landscapes and portraits. Because I often shoot macro and close-up, I was of course very interested in this lens. I recently had the opportunity to use it for a couple of days in the town of Odemira, in southwest Portugal.
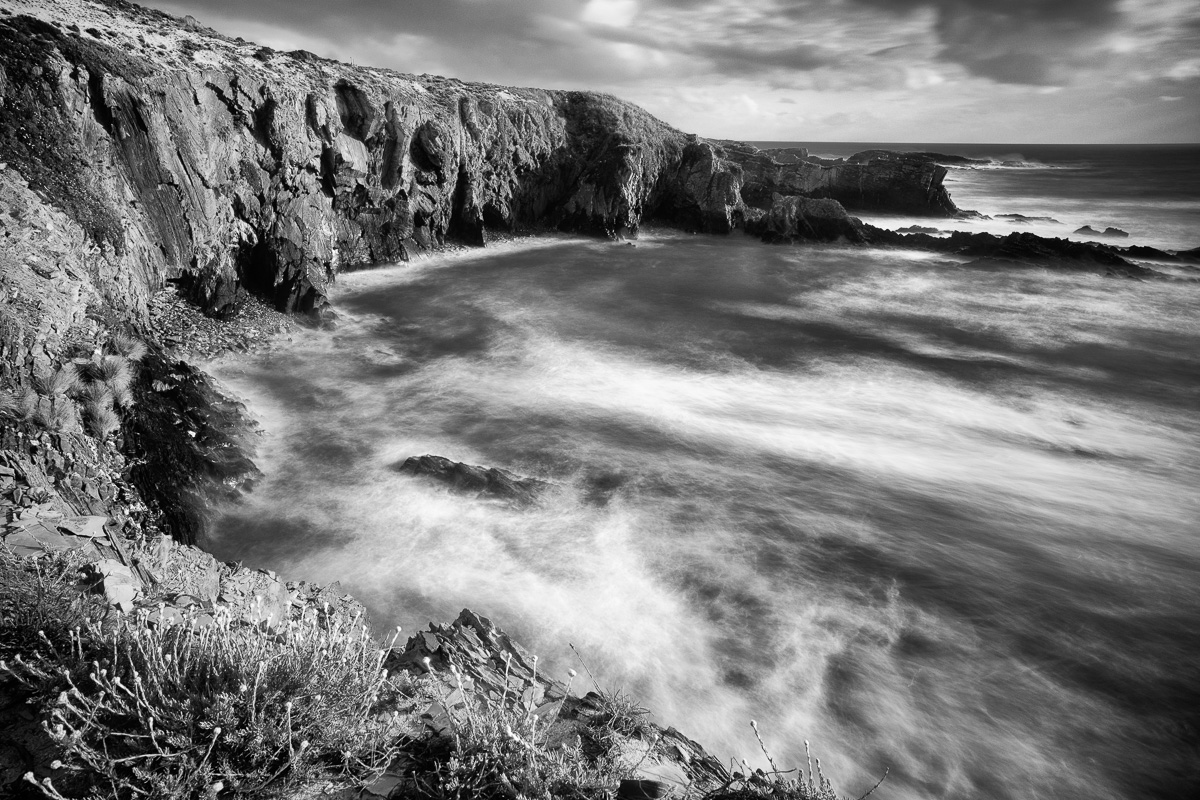
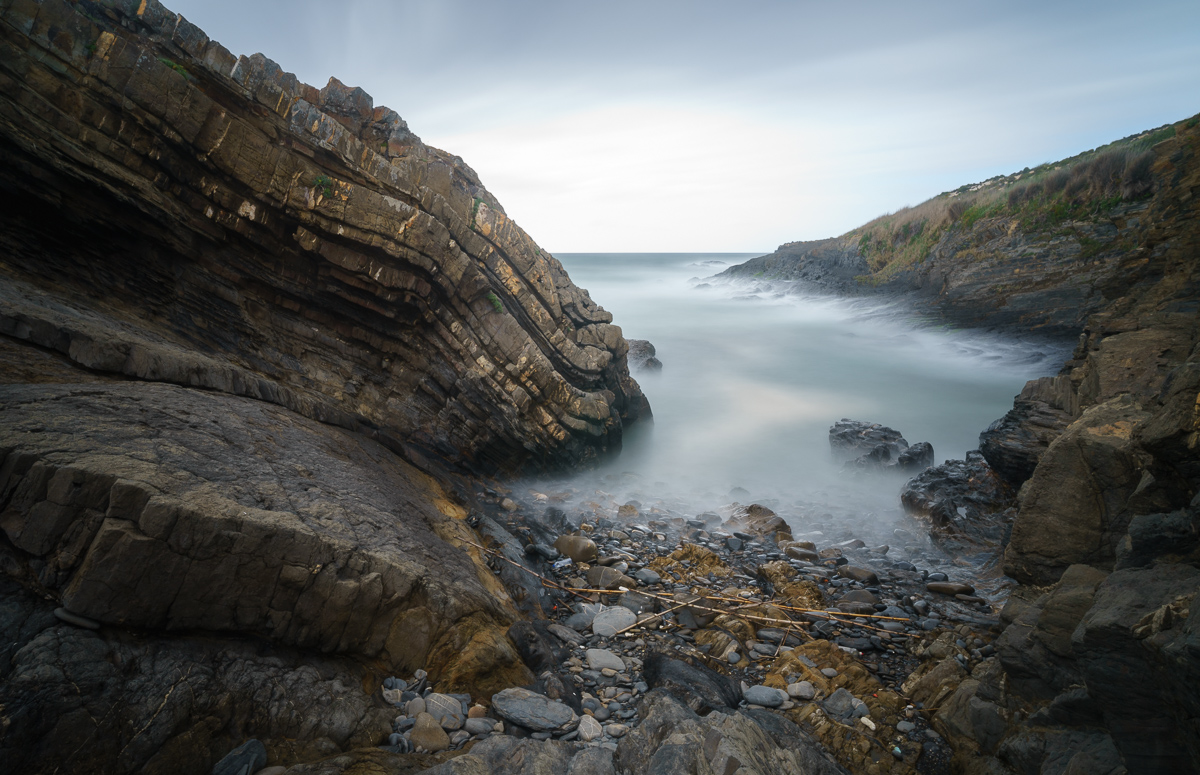
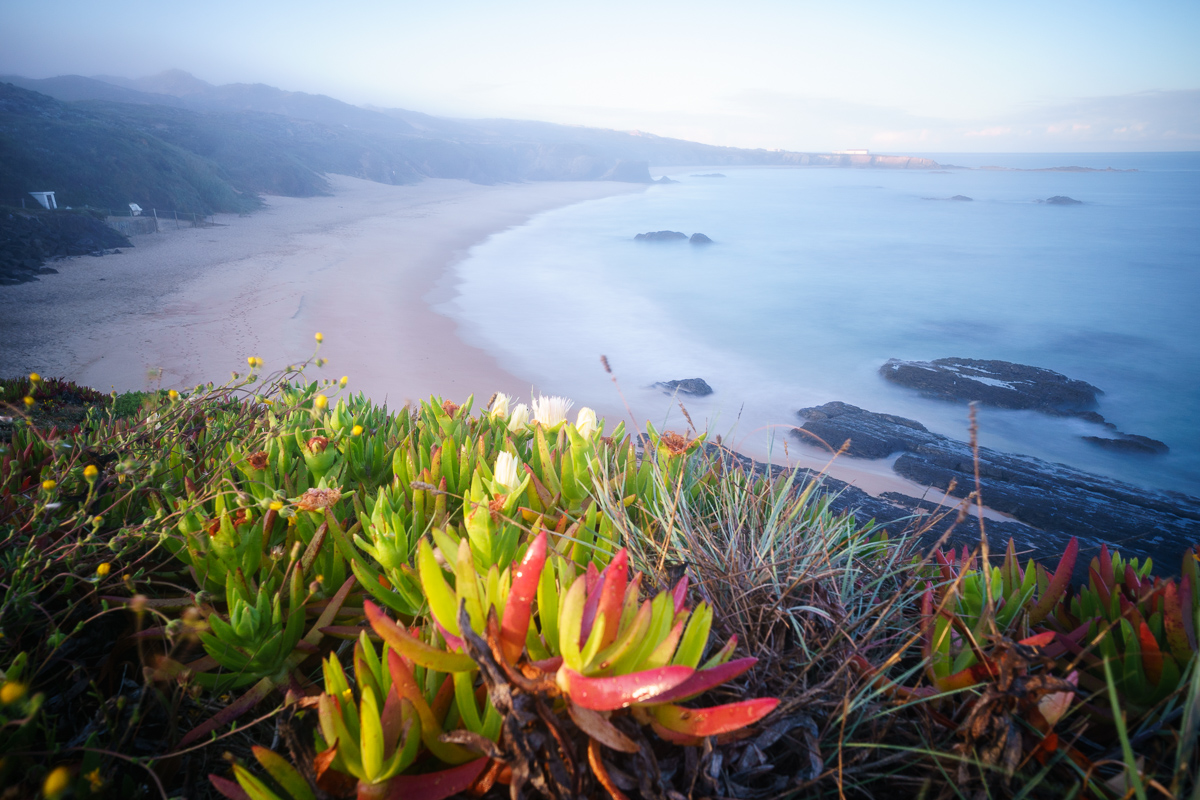
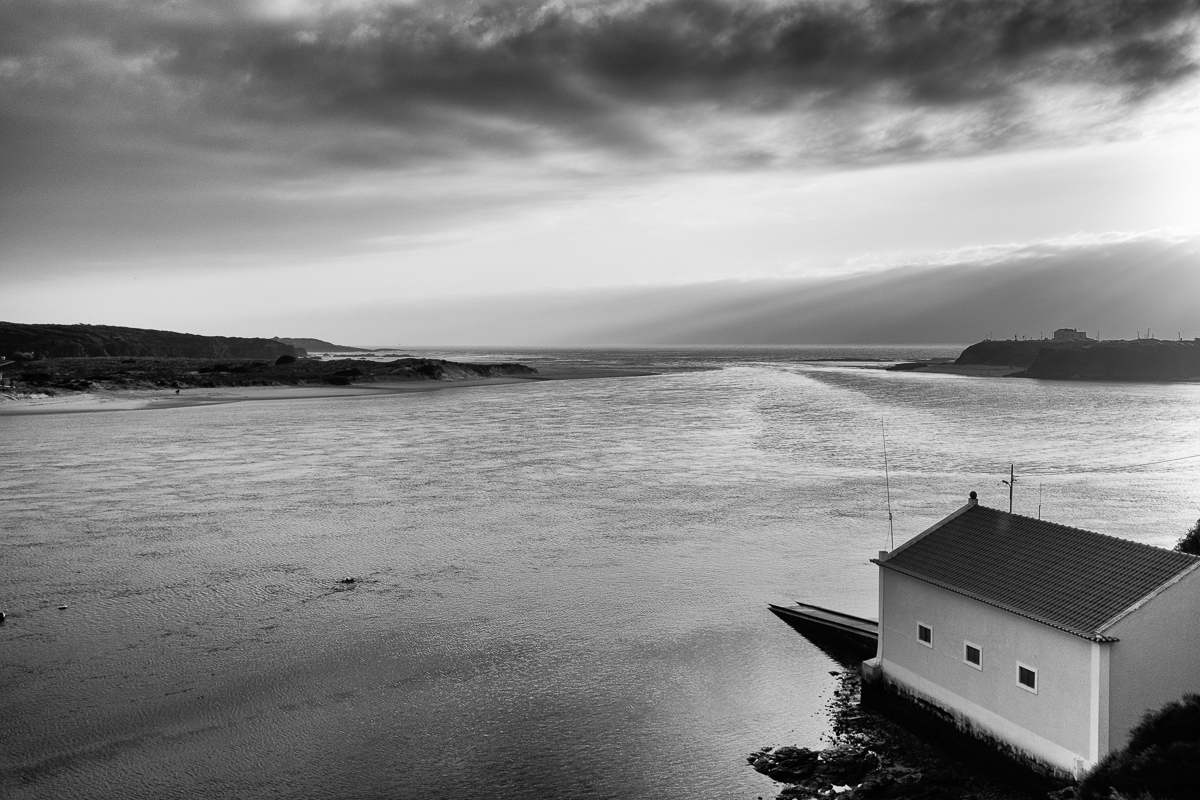
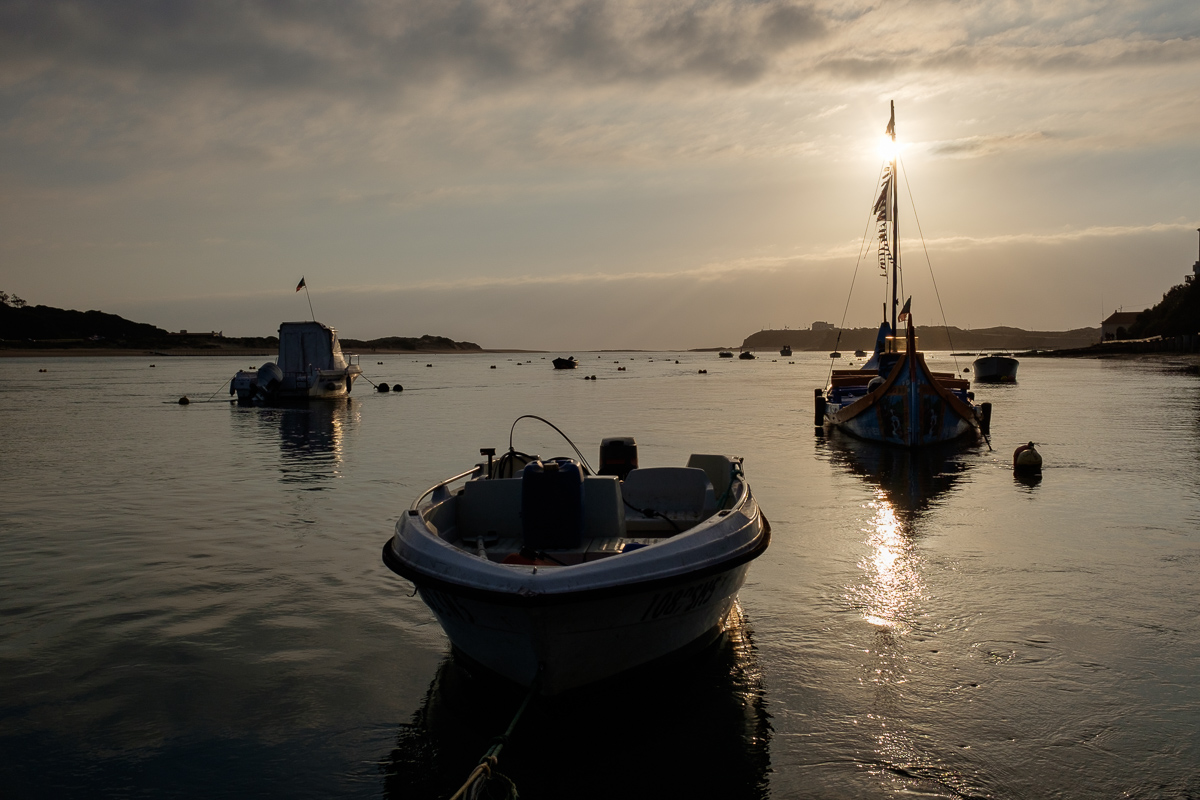
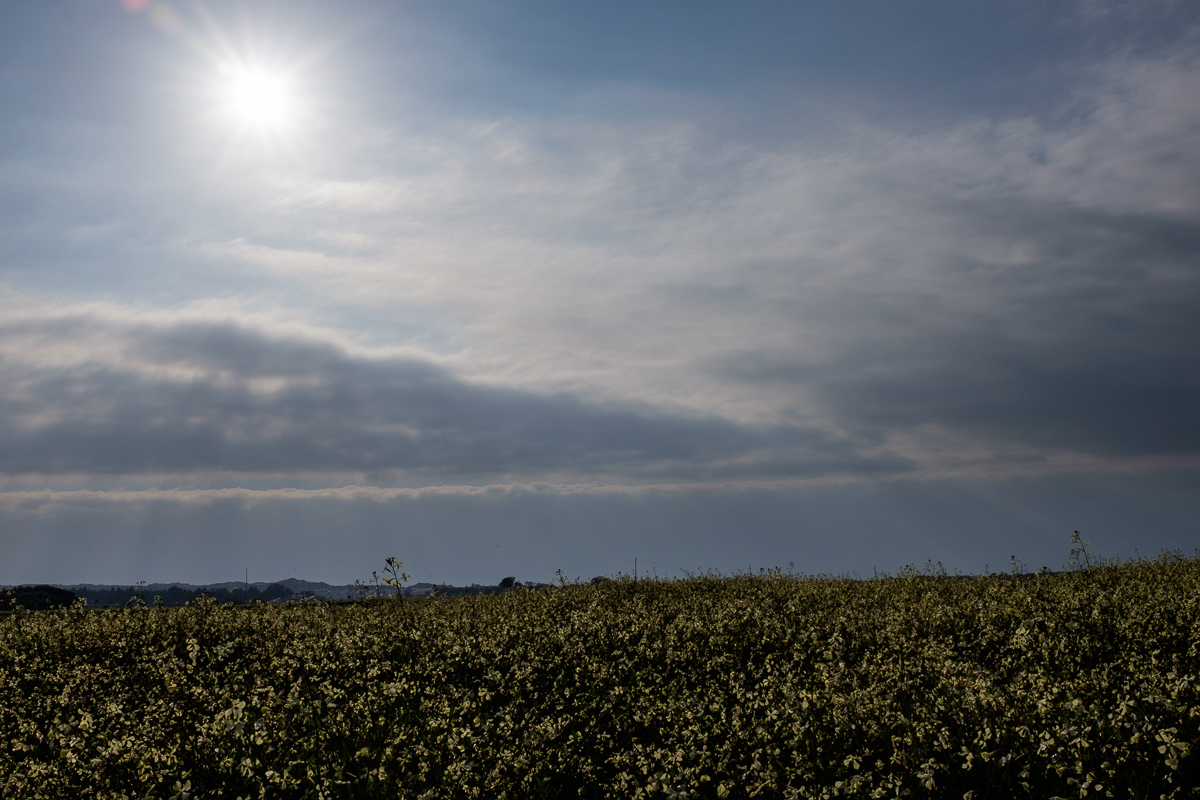
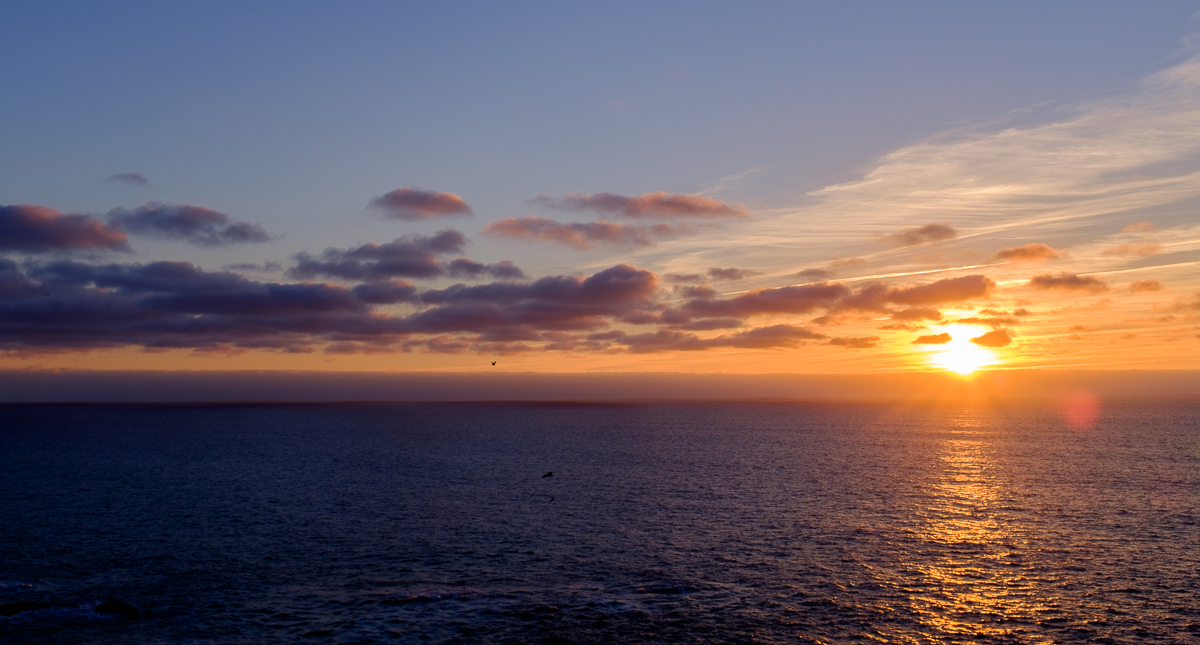
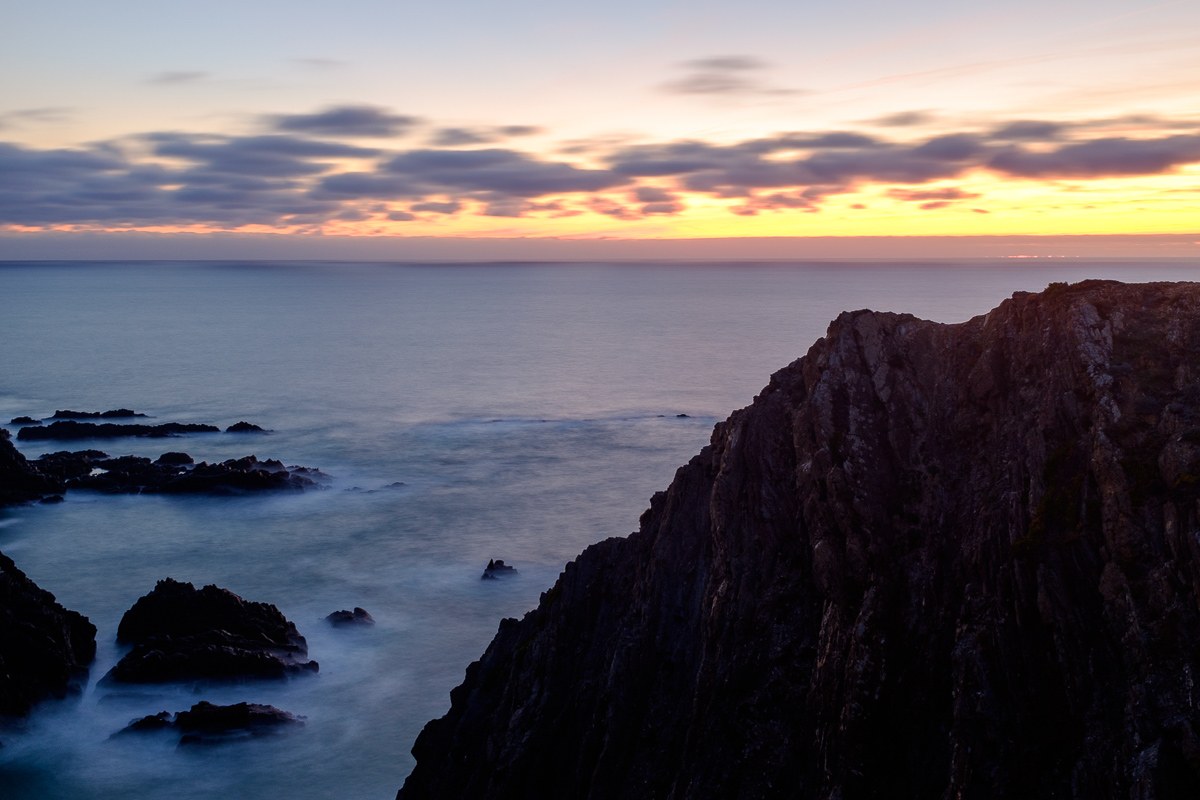
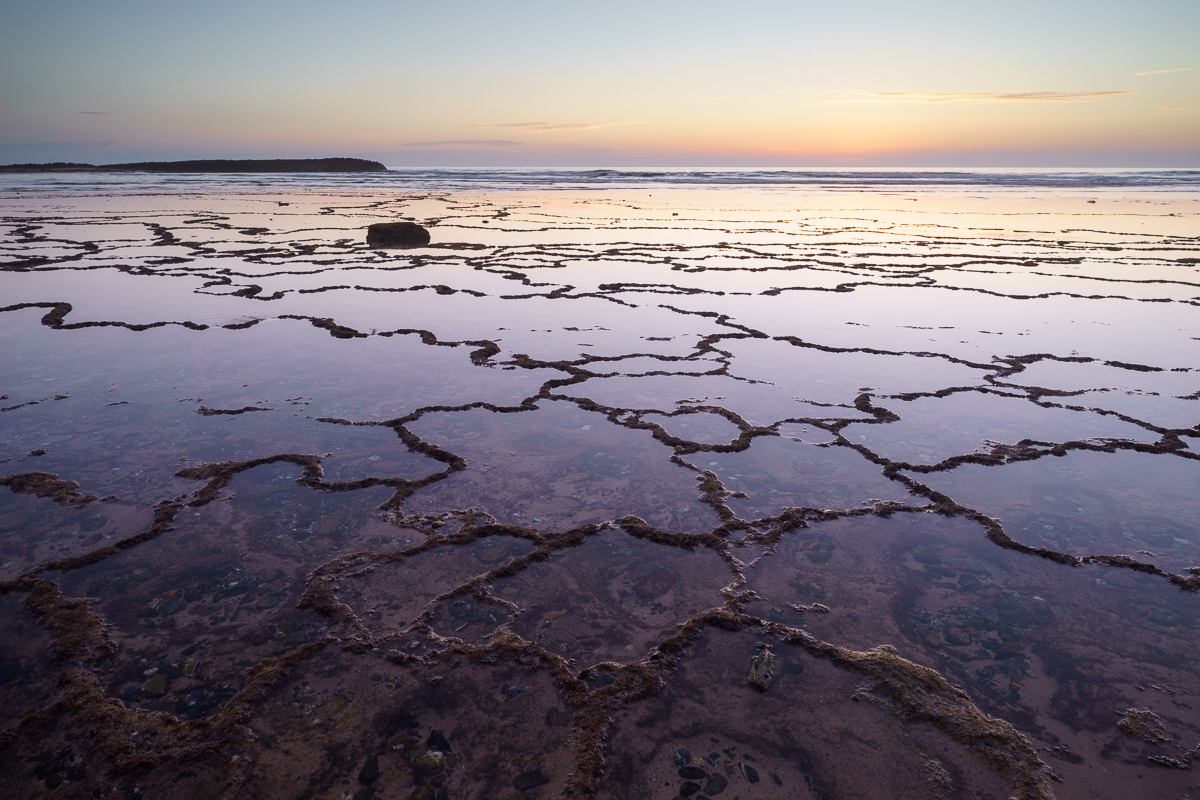
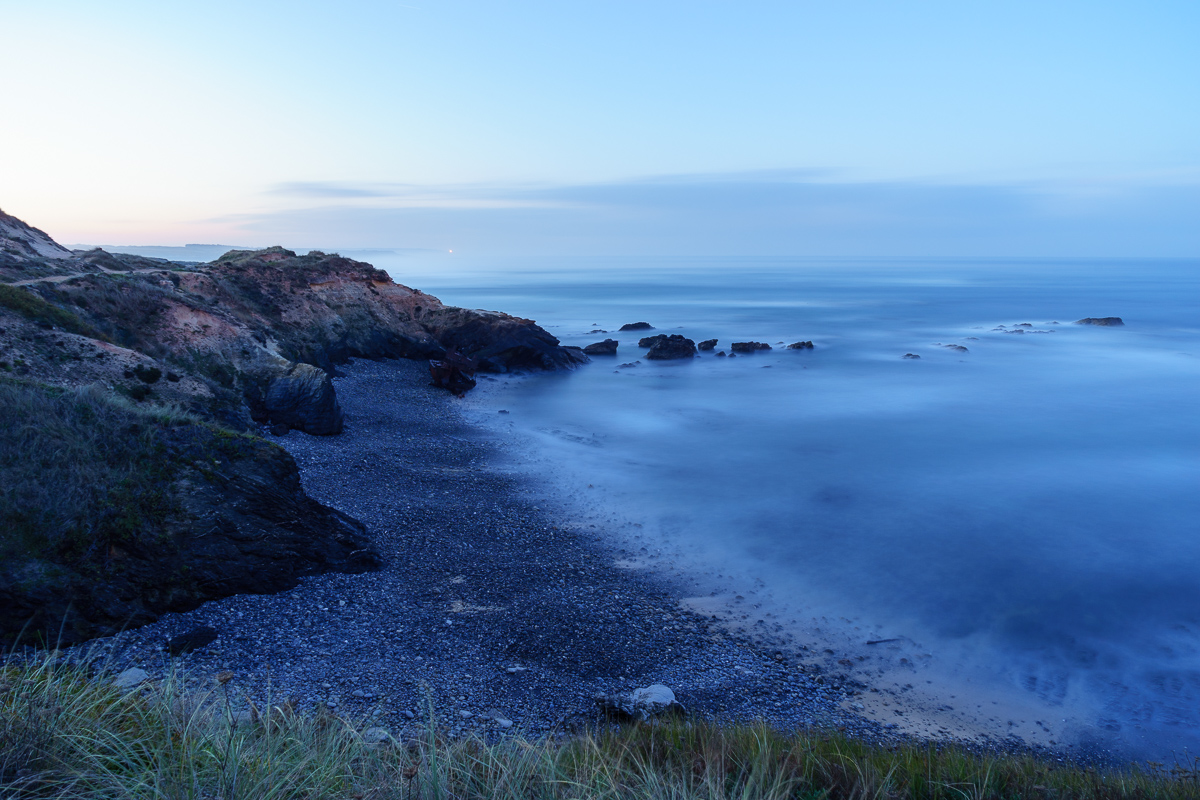
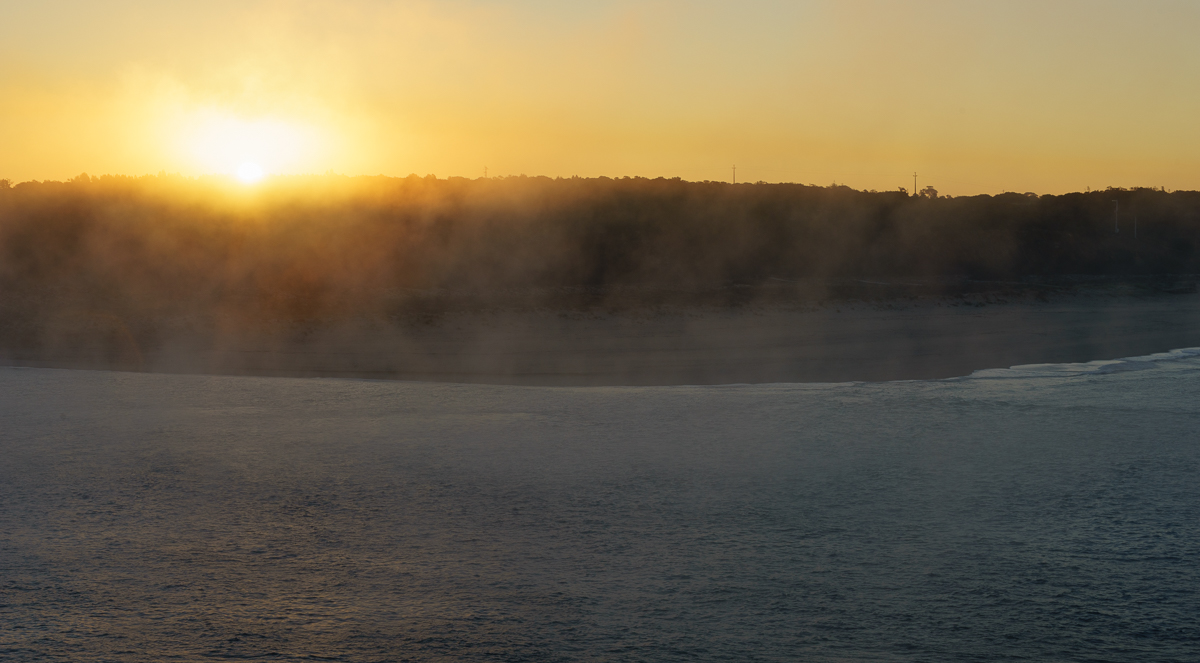
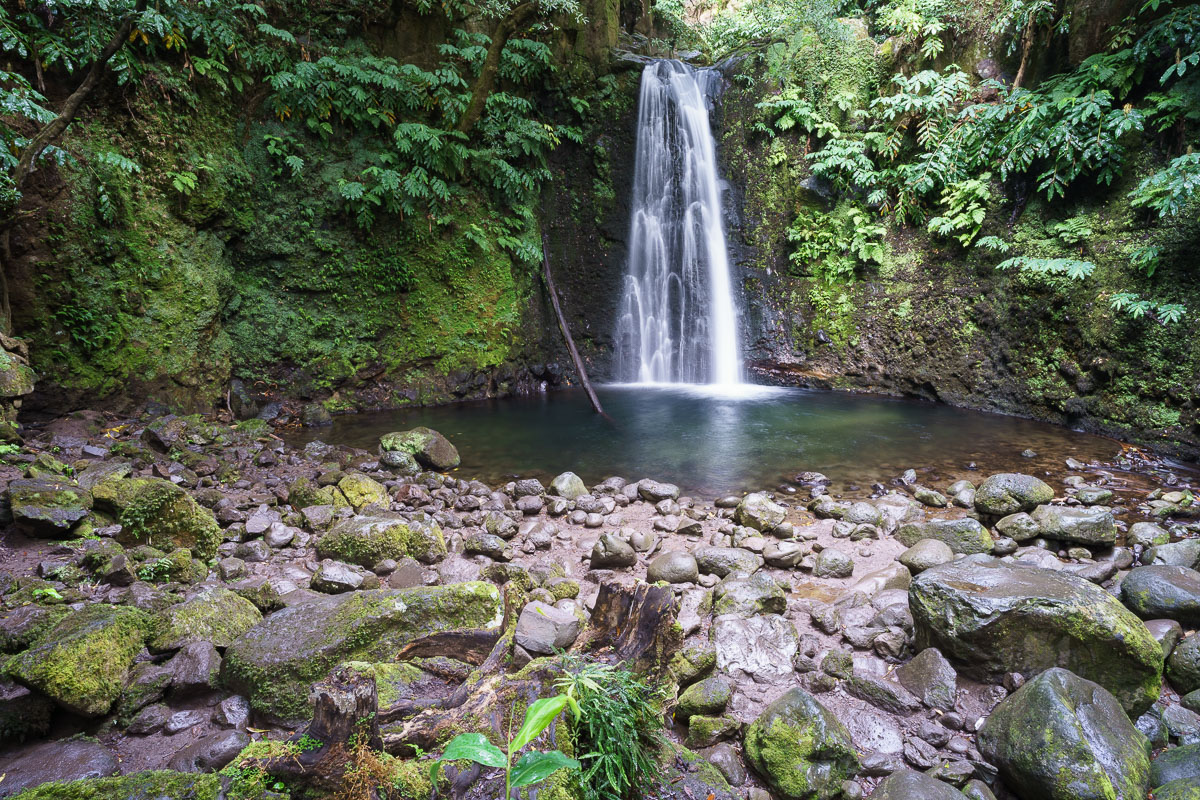
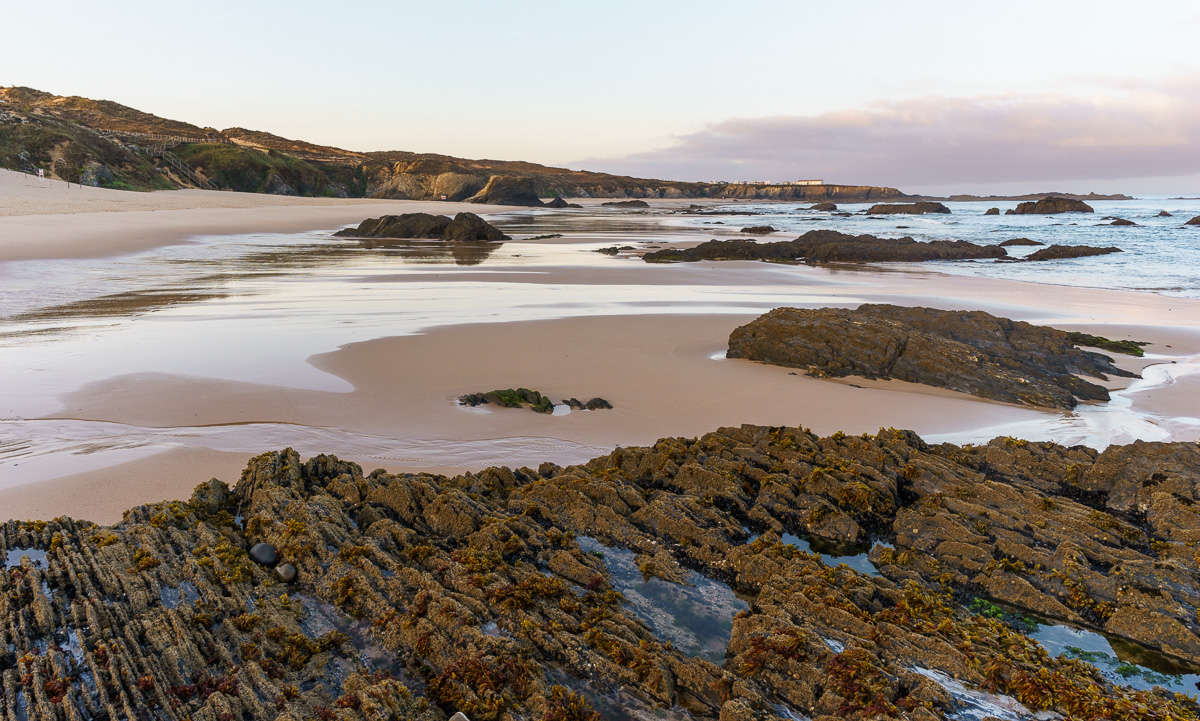
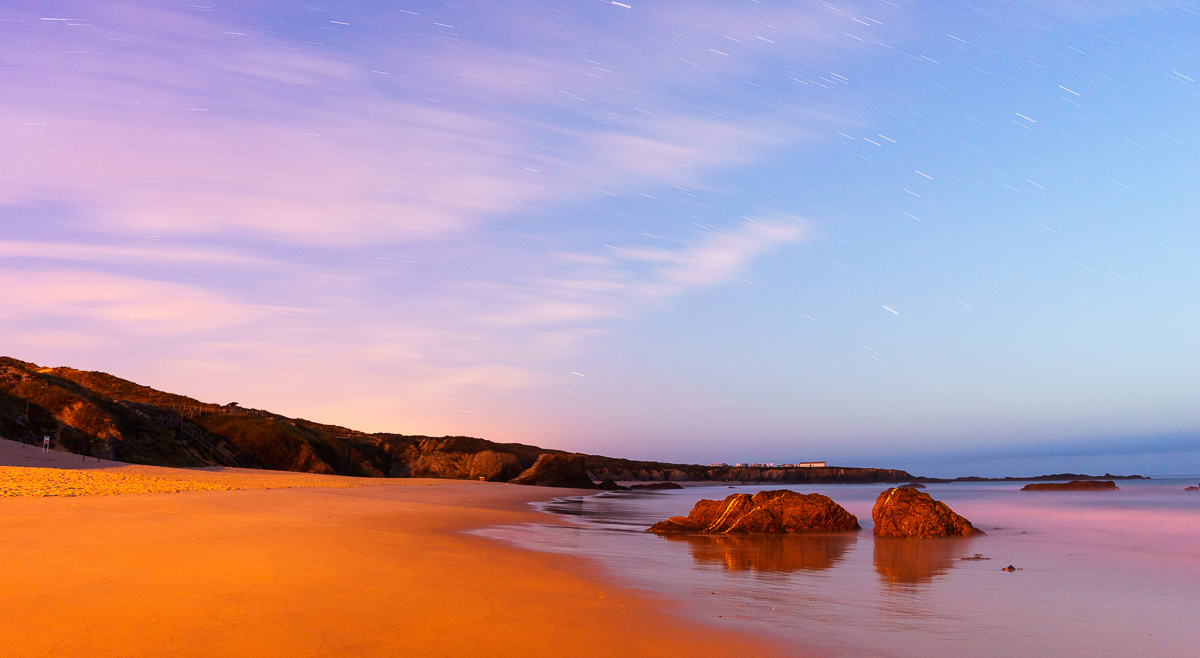
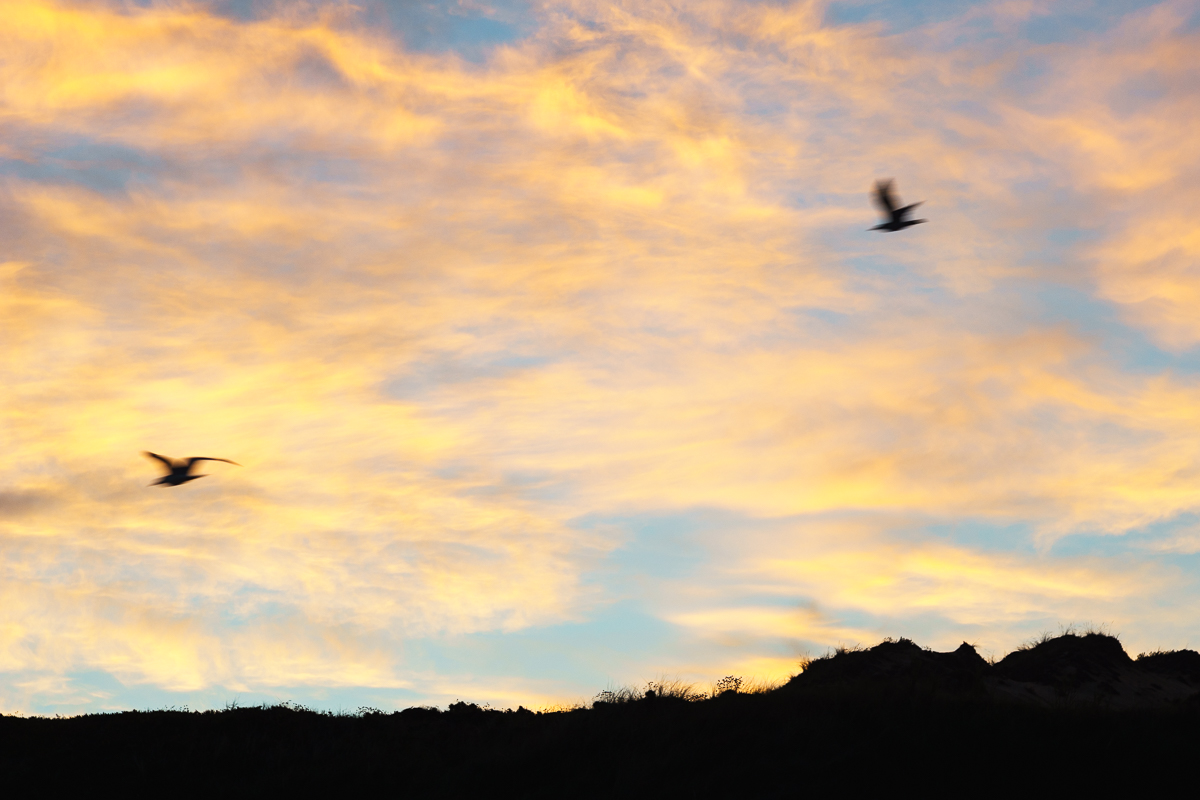
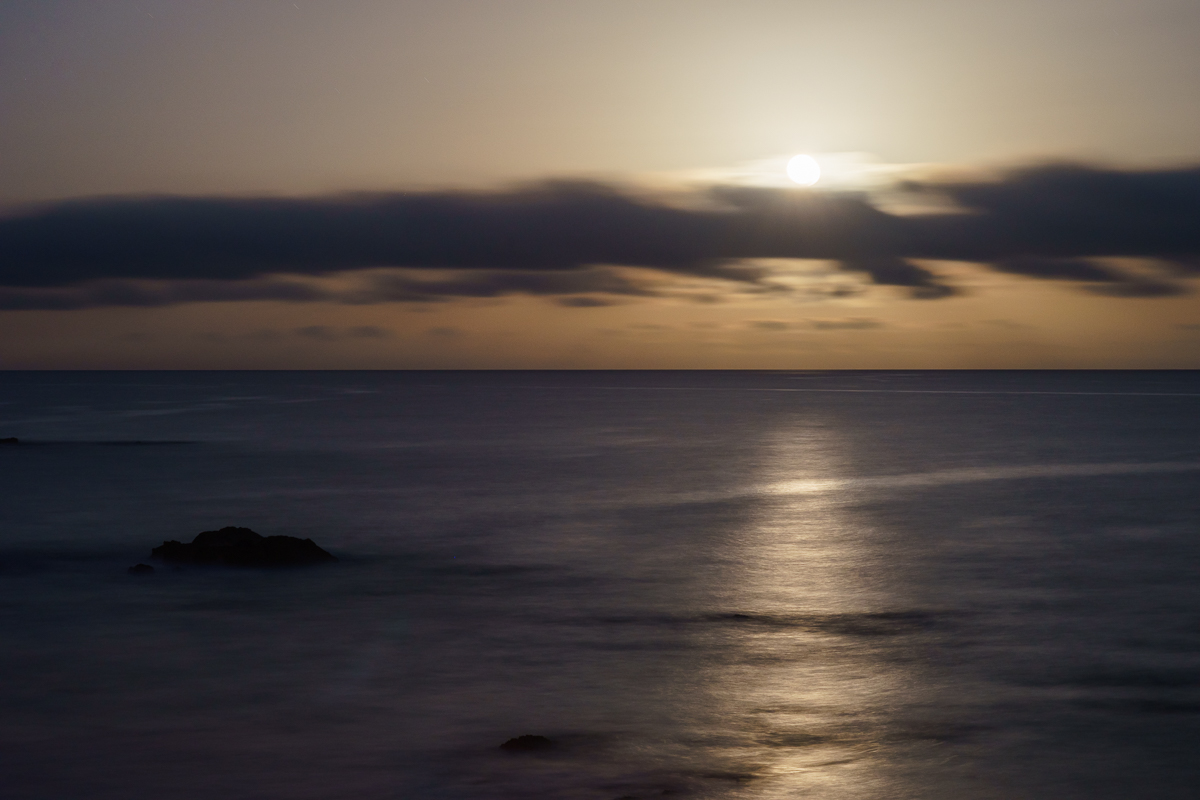
I used the lens on my Sony A7II, and I felt that the balance was good when handholding. The lens is not small, but it is not heavy either, even though it feels robust. Operating the lens is straightforward, which is nice when working in the field. Most of the shots were tripod-based, because I was shooting before and around sunrise; with the required stopping down to get acceptable depth-of-field, I quickly ended with exposures close to 1 second.
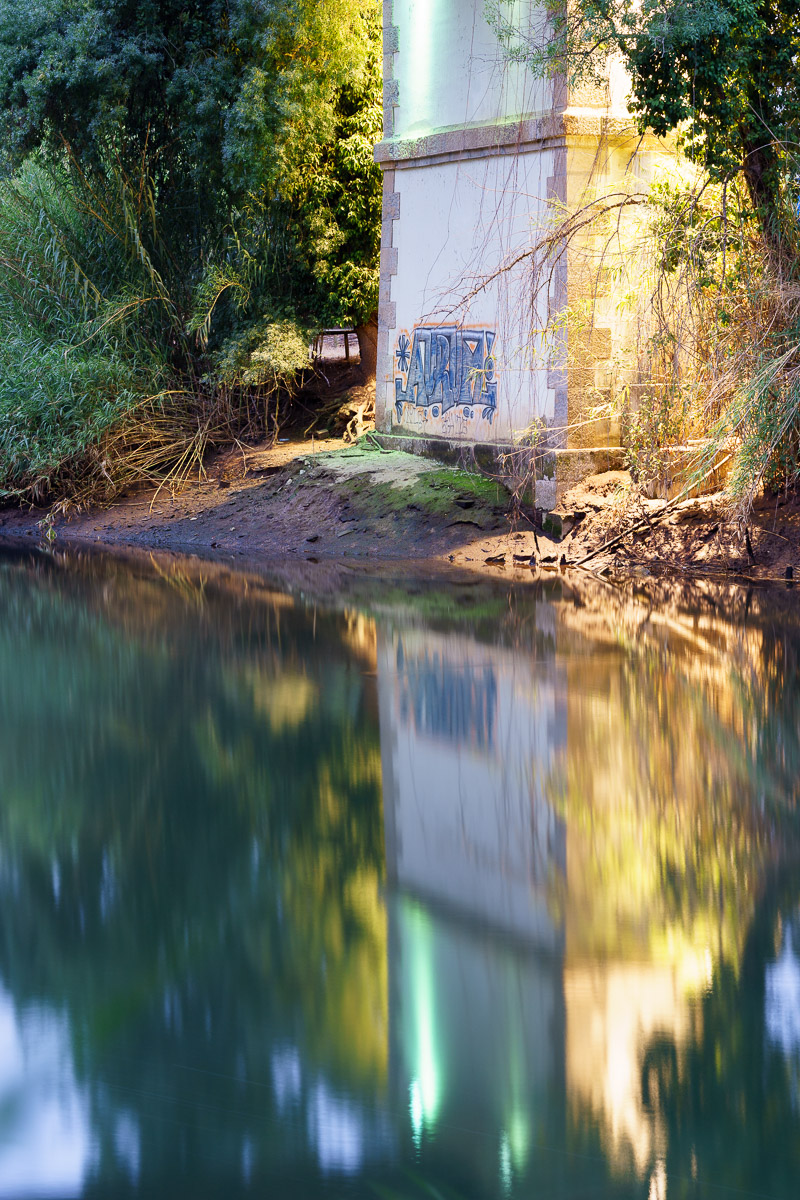
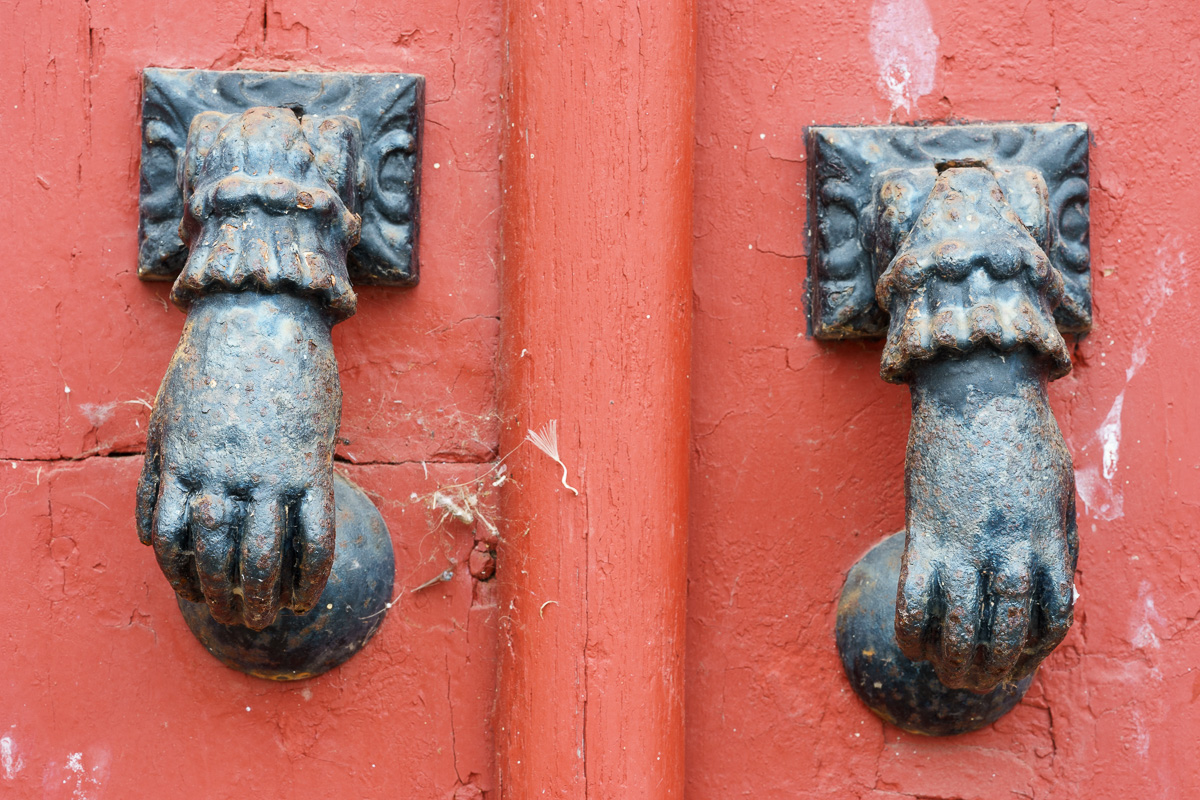
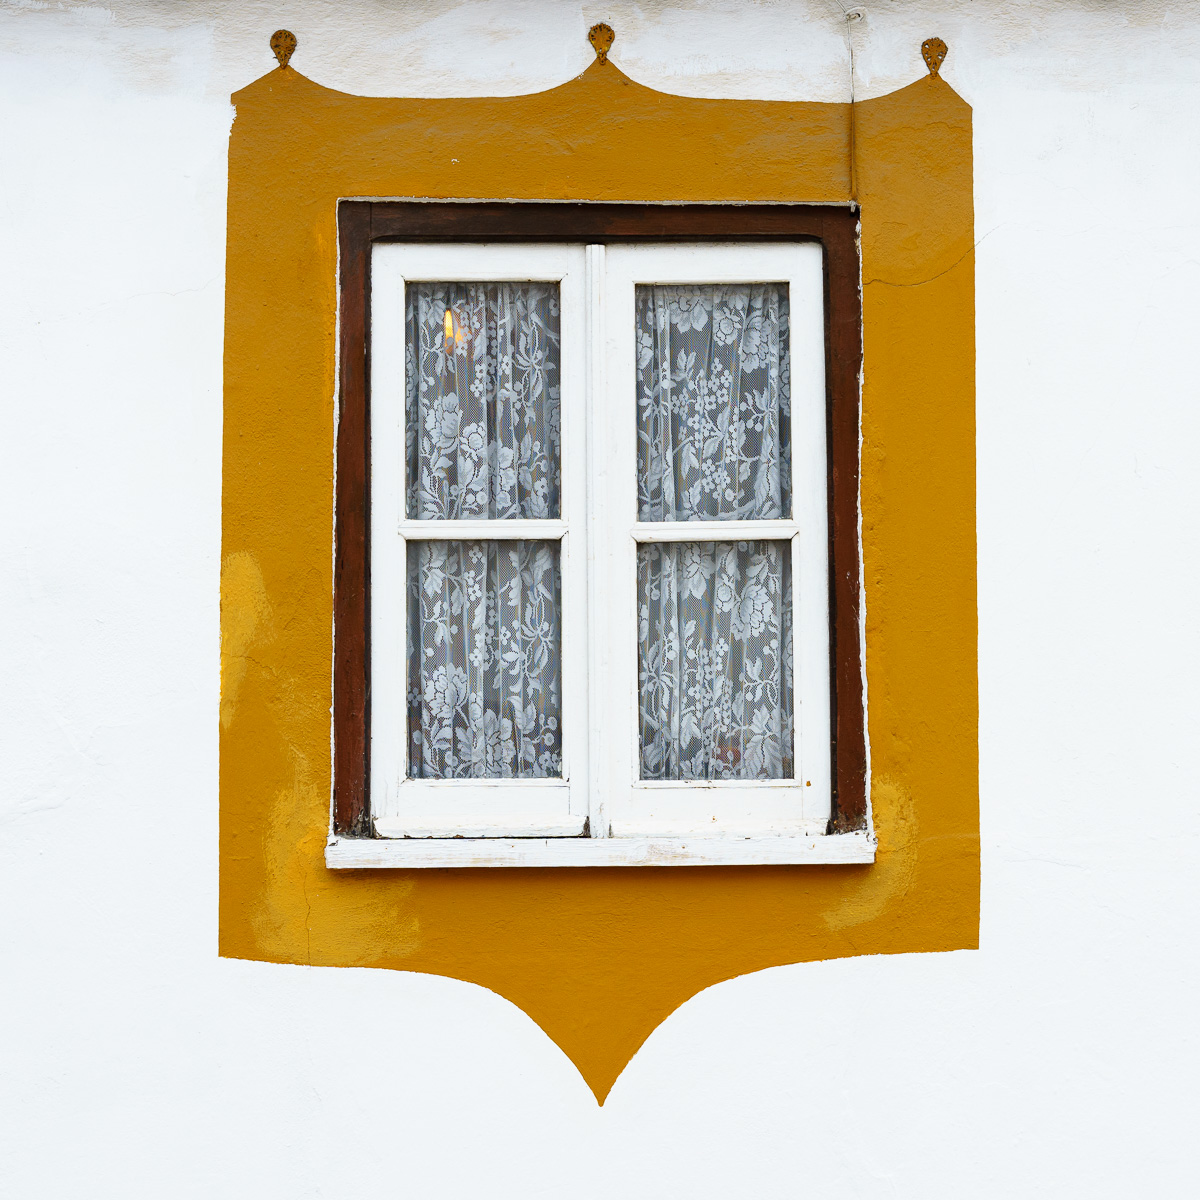
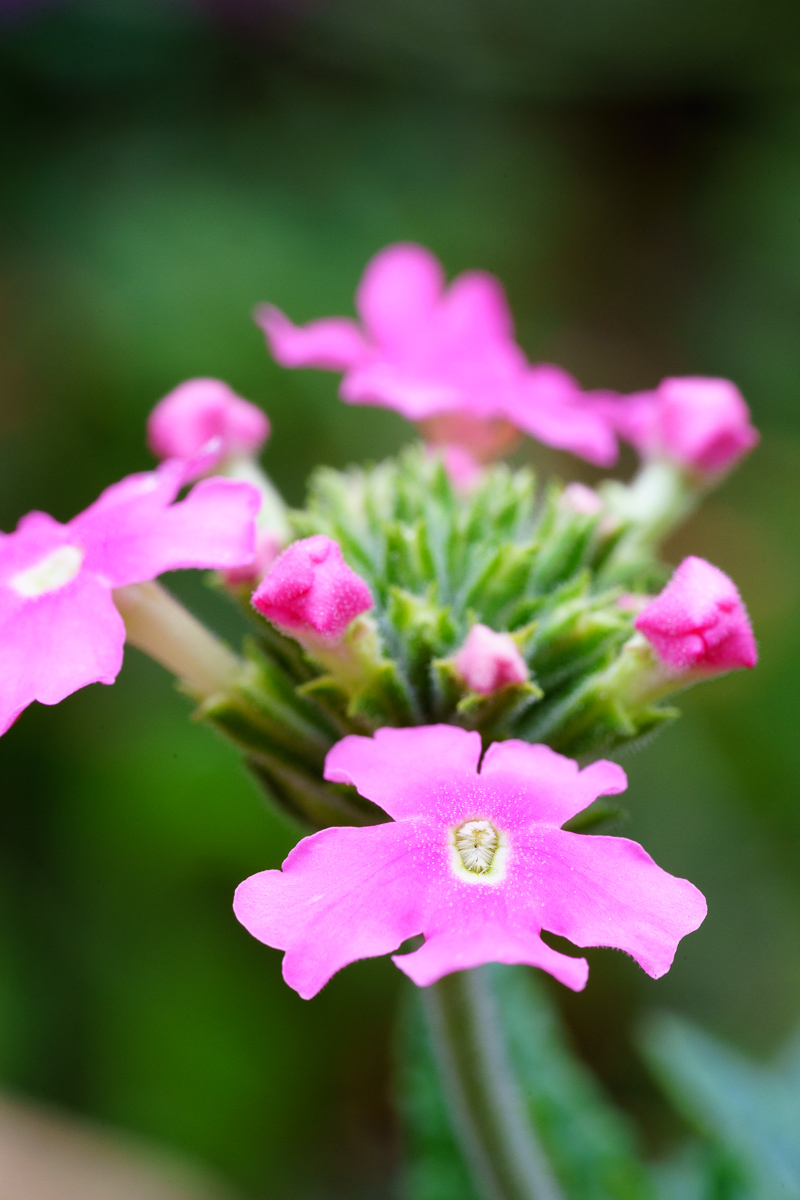
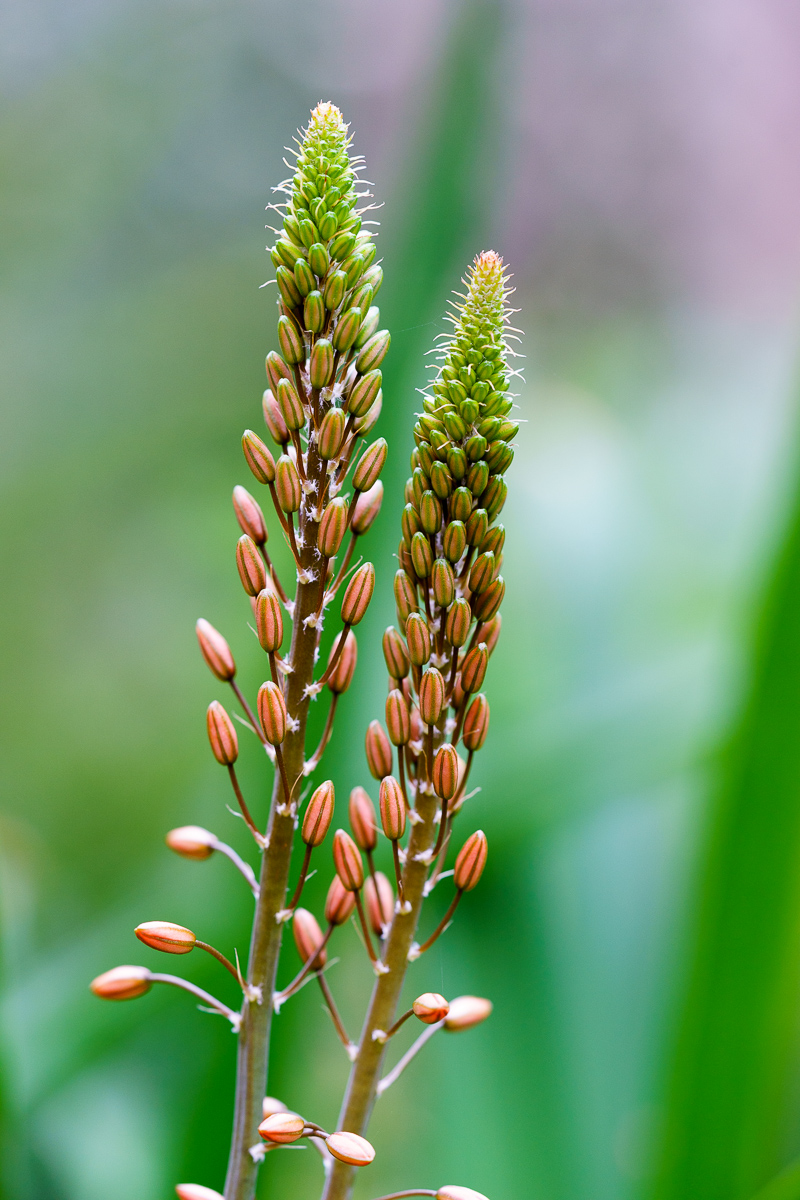
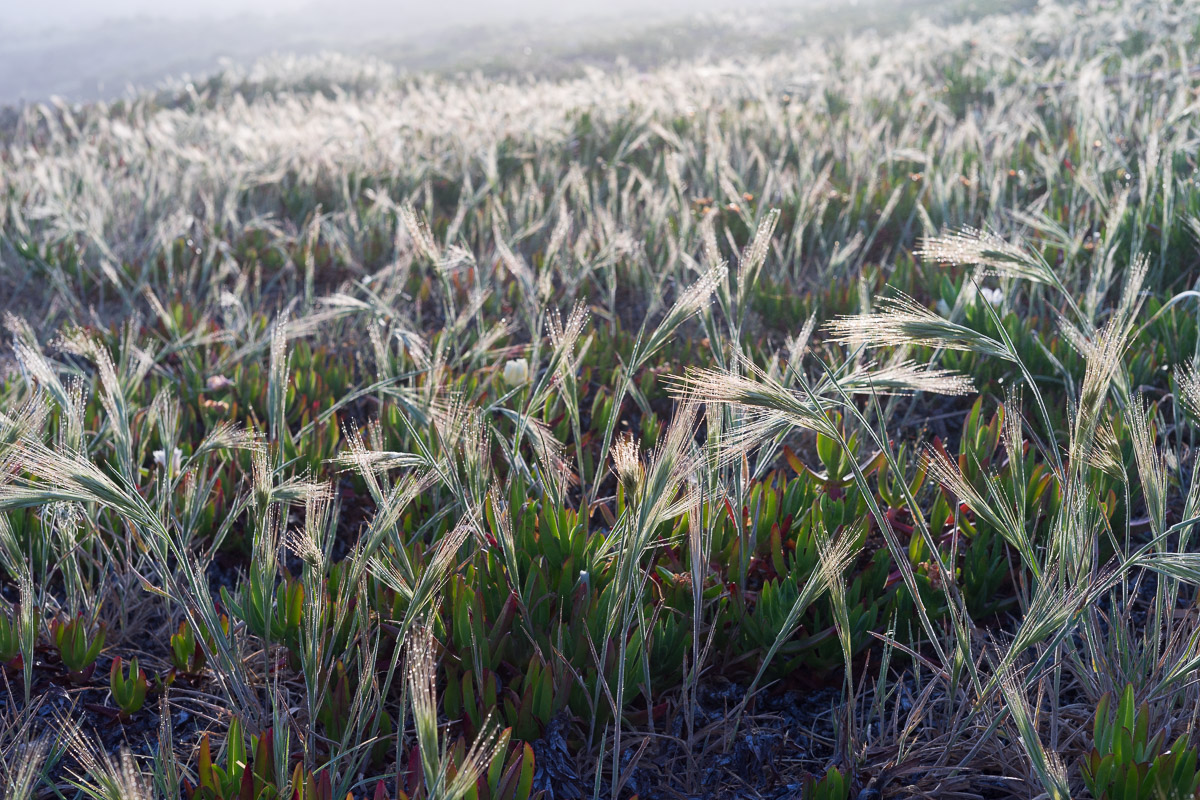
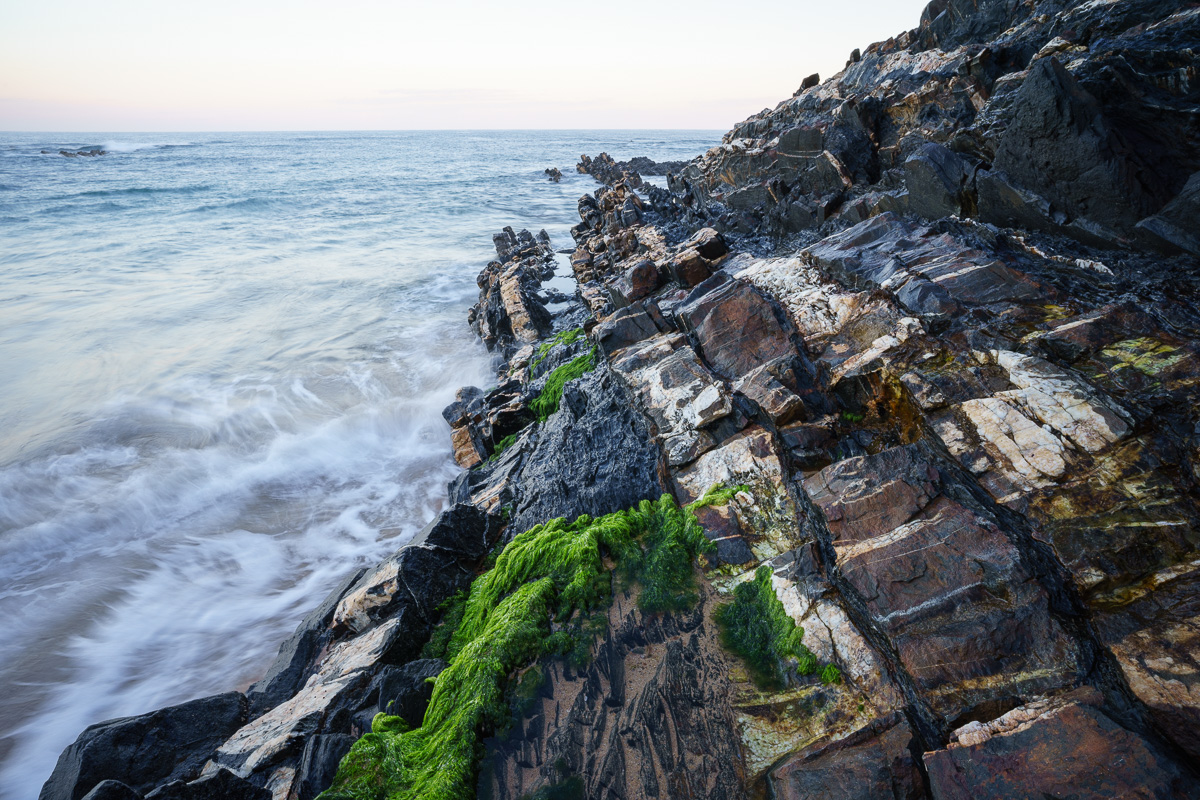
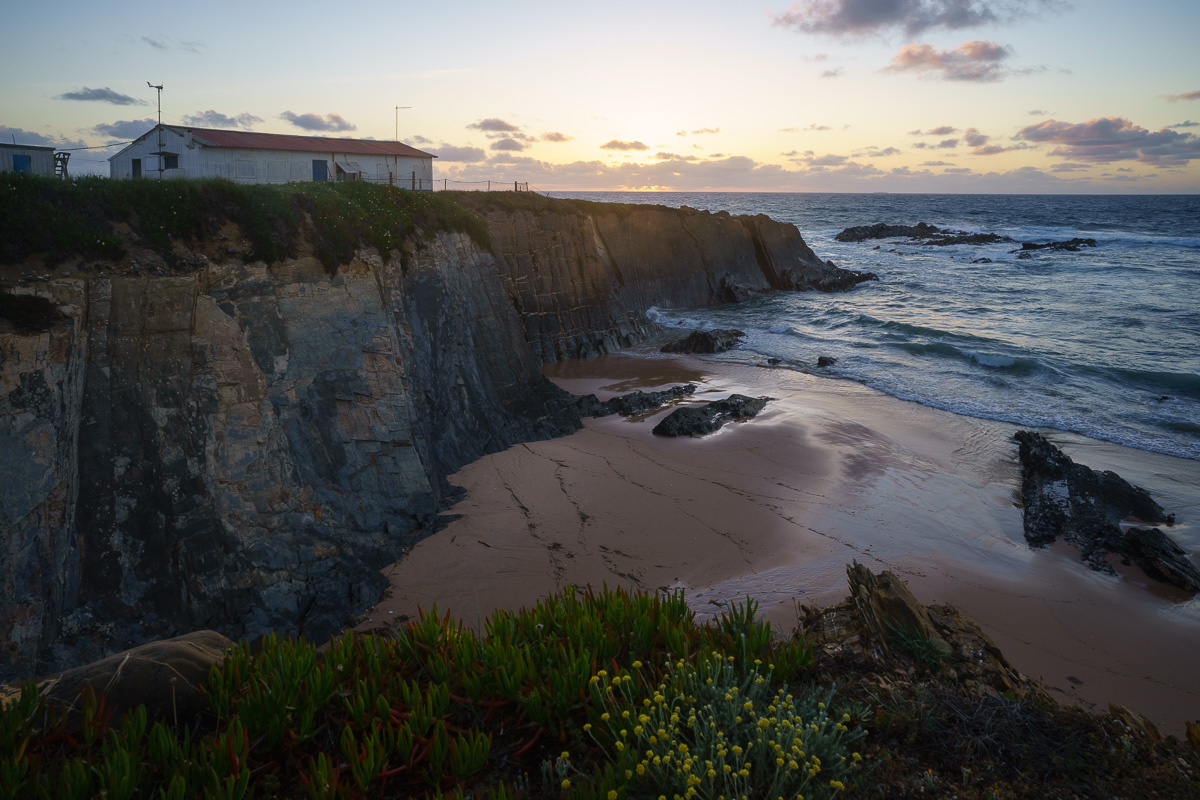
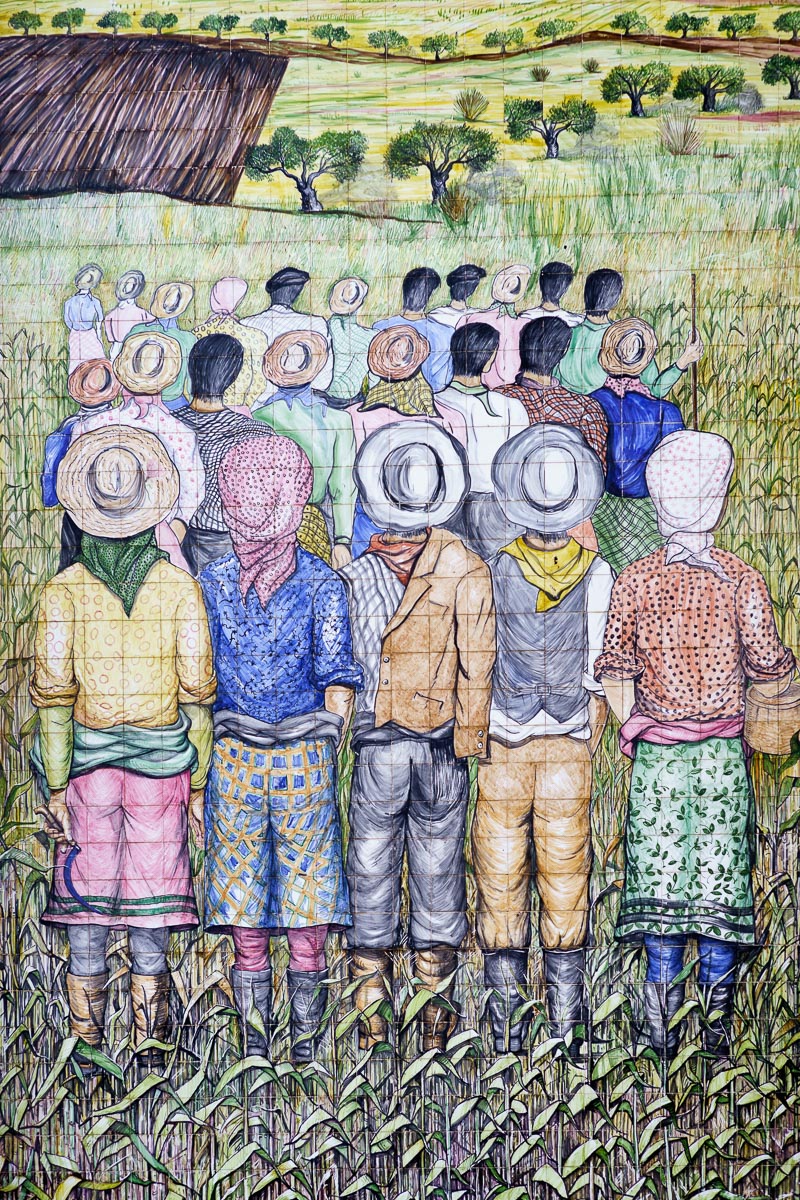
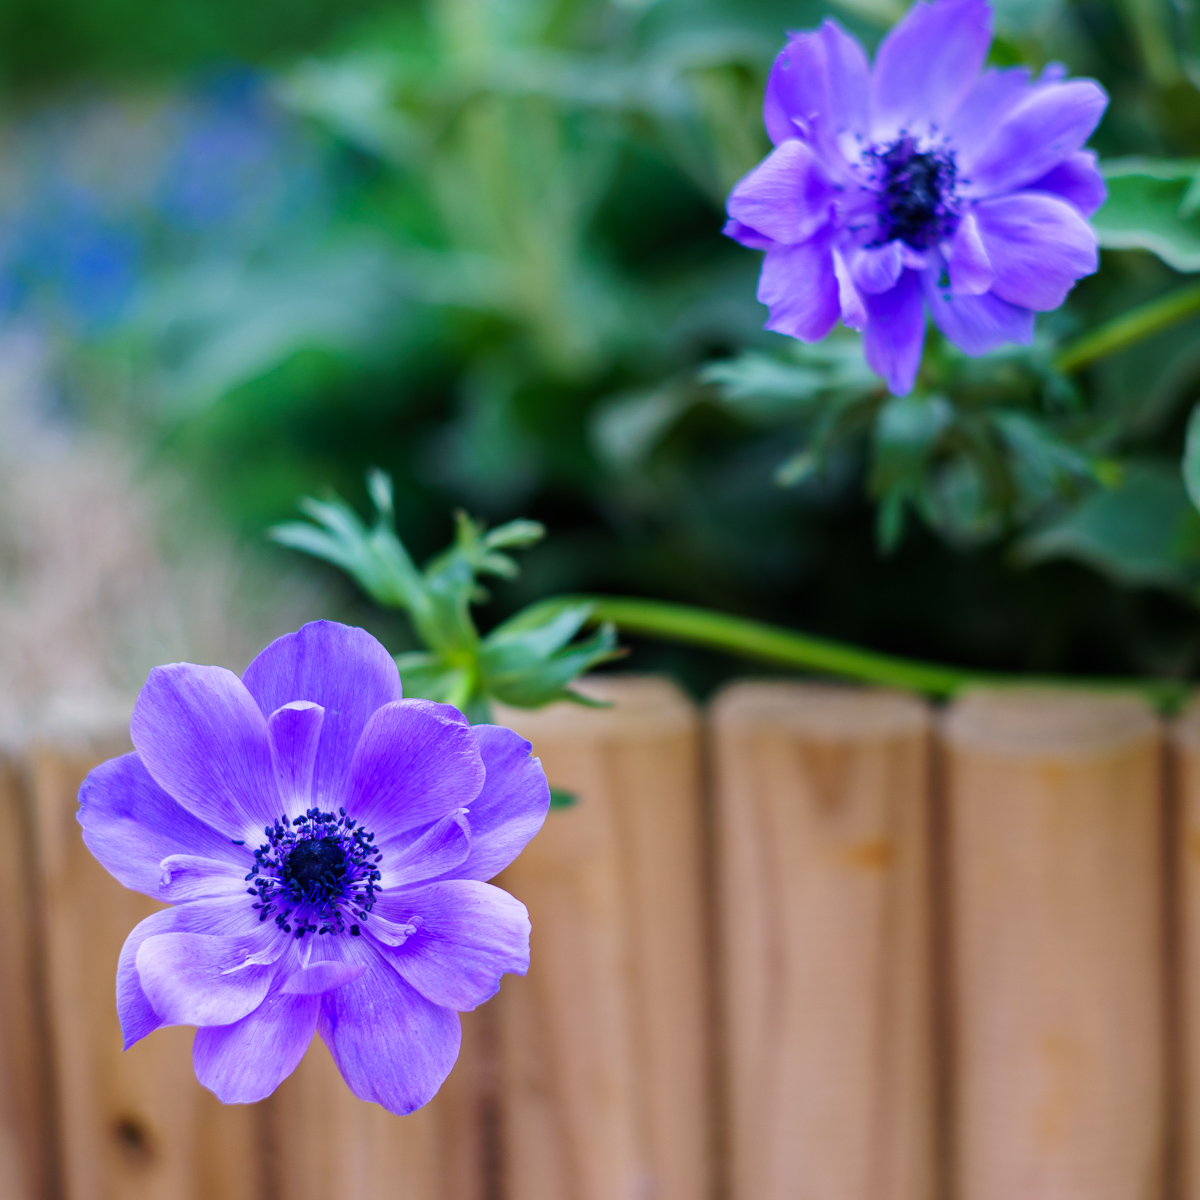
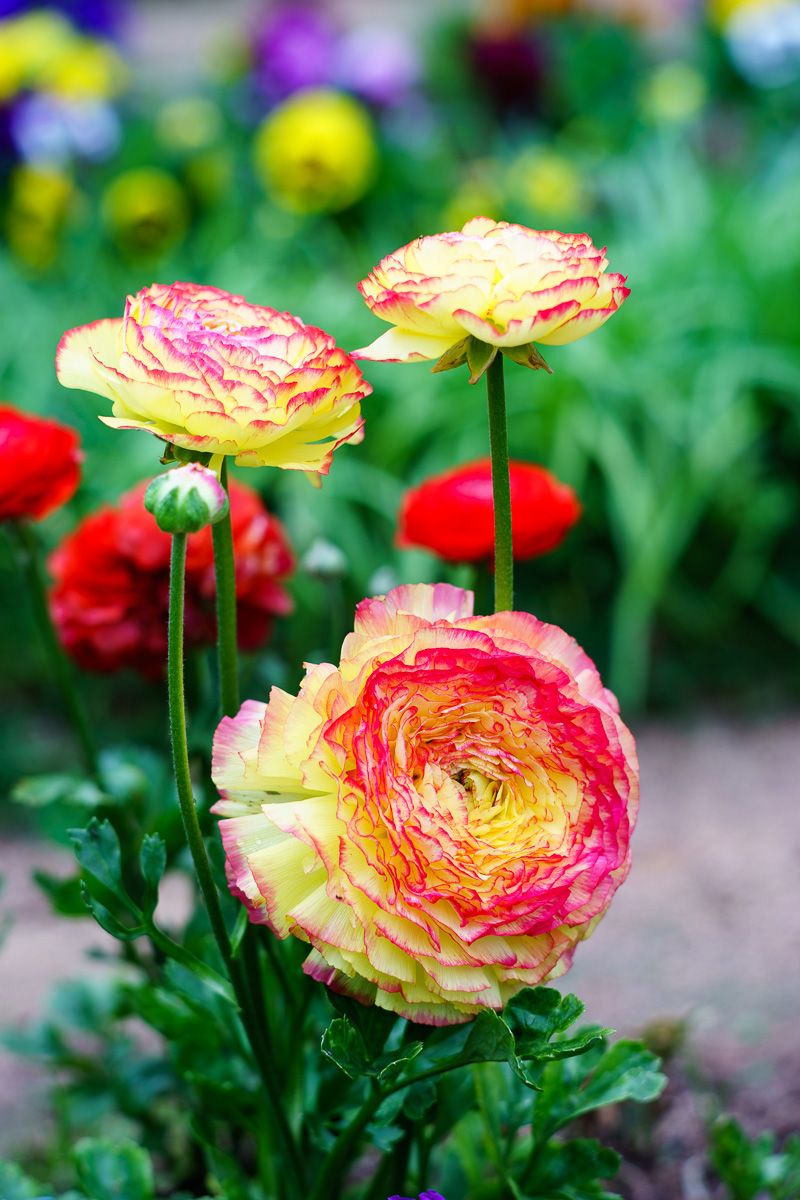
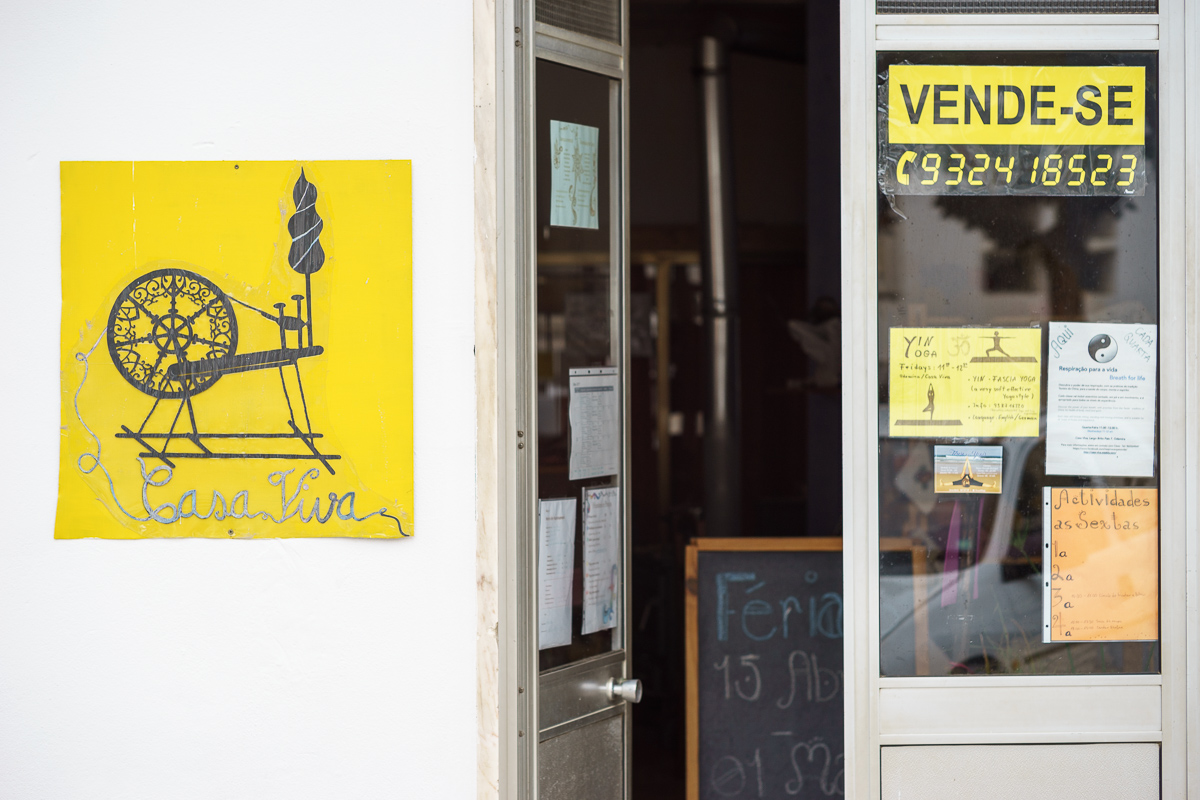
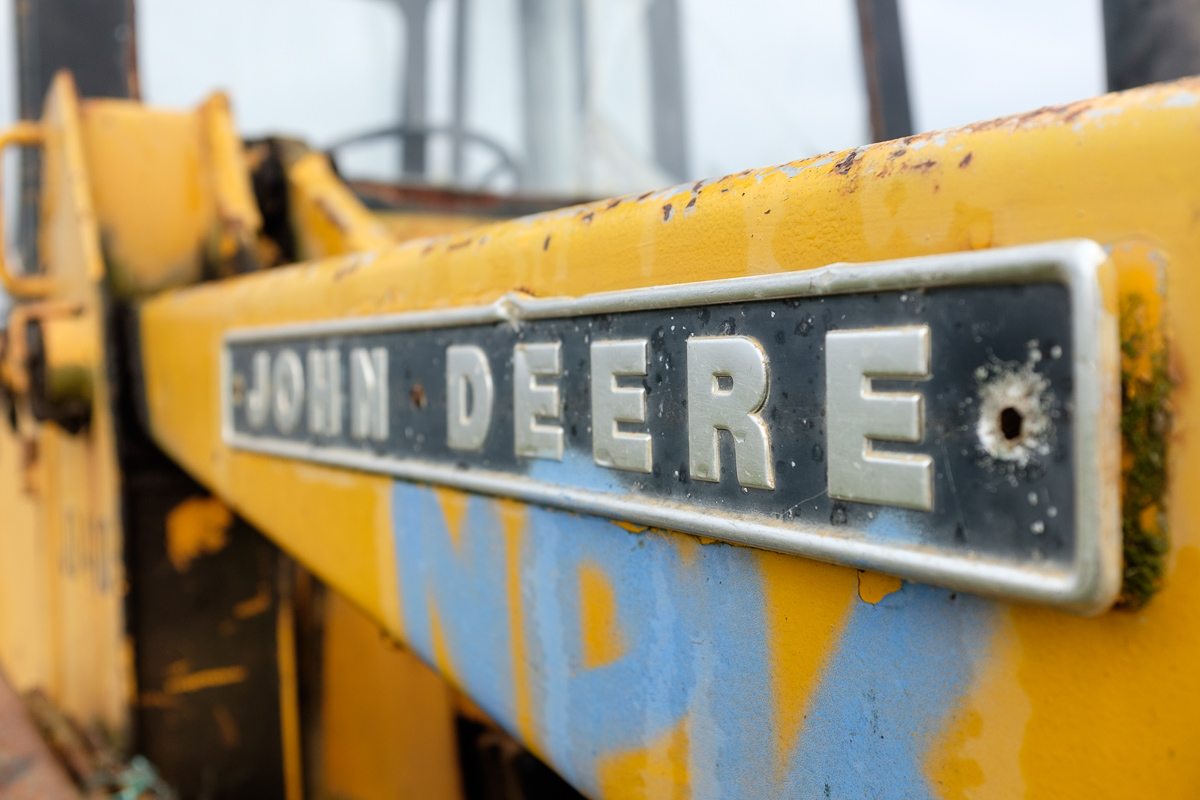
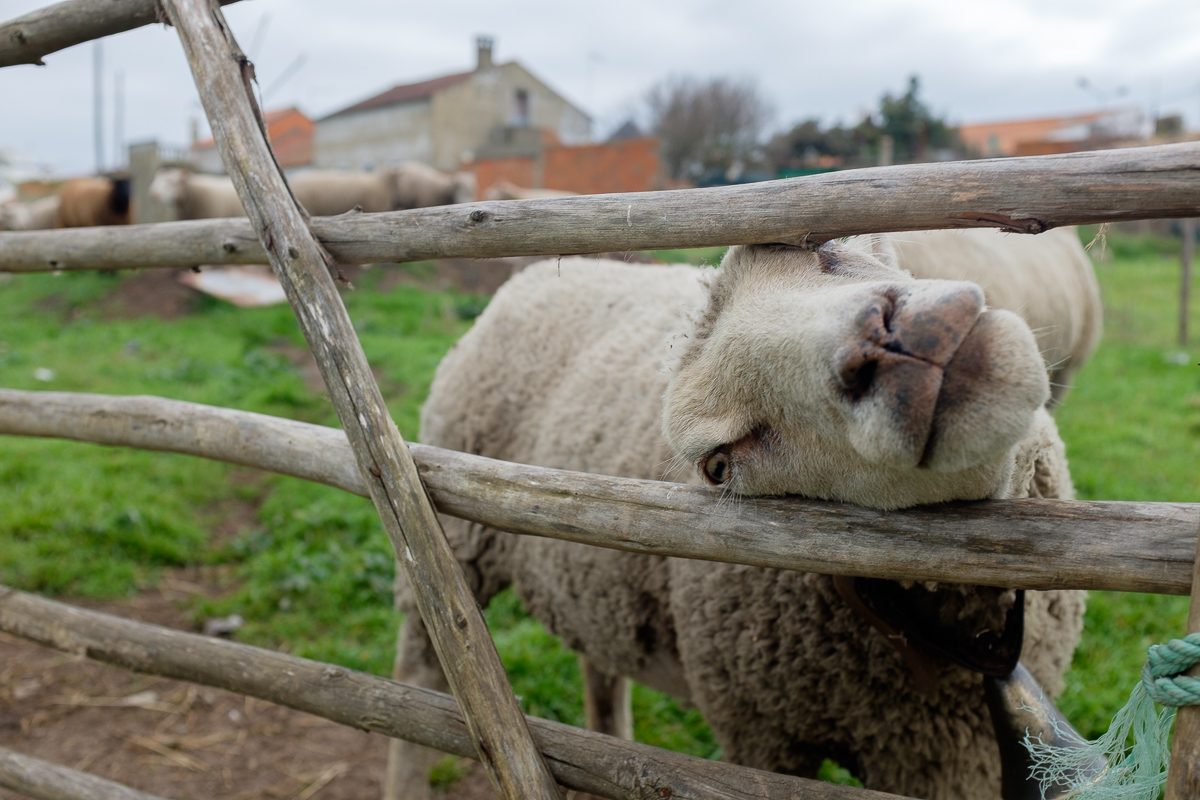
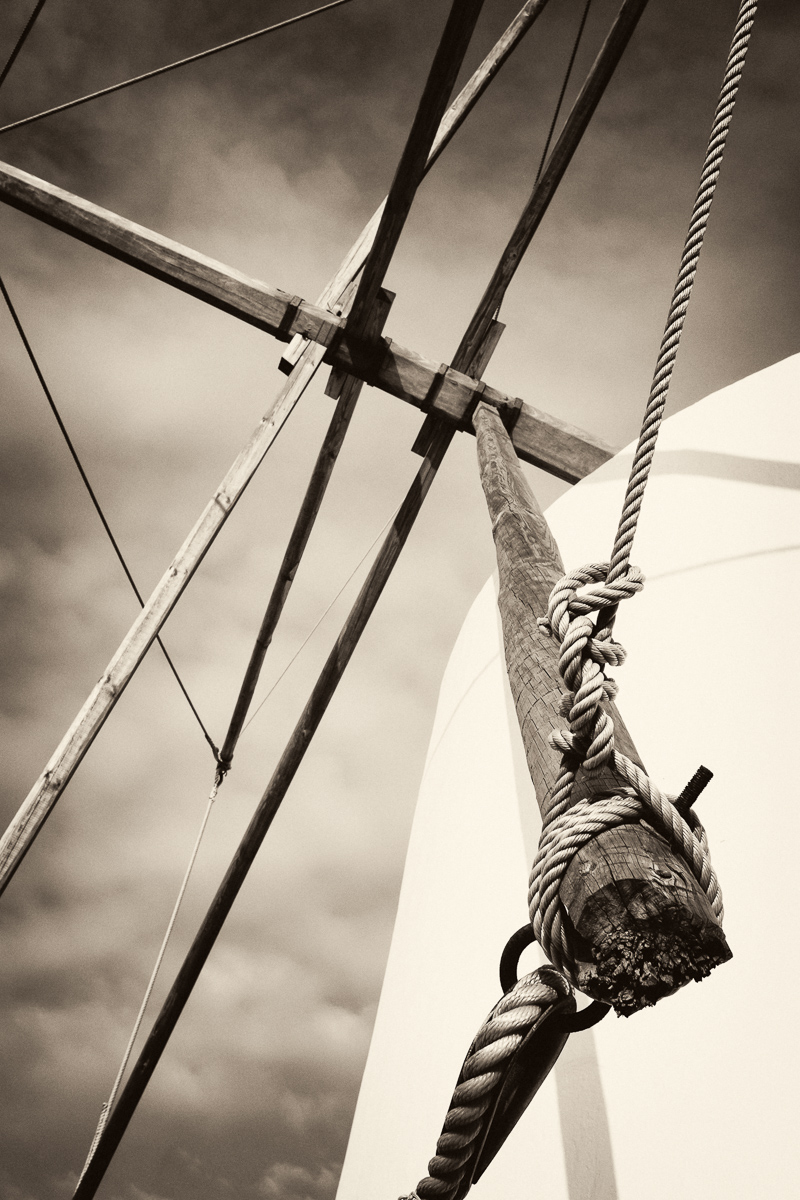
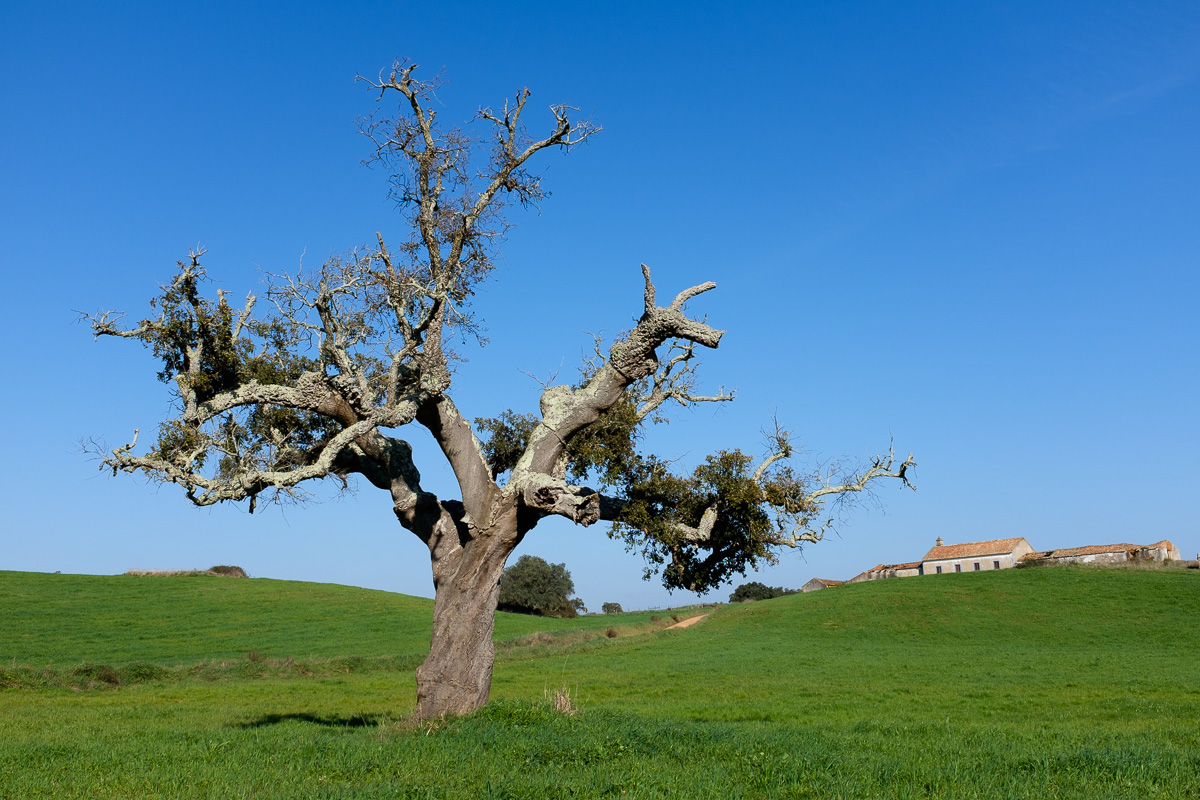
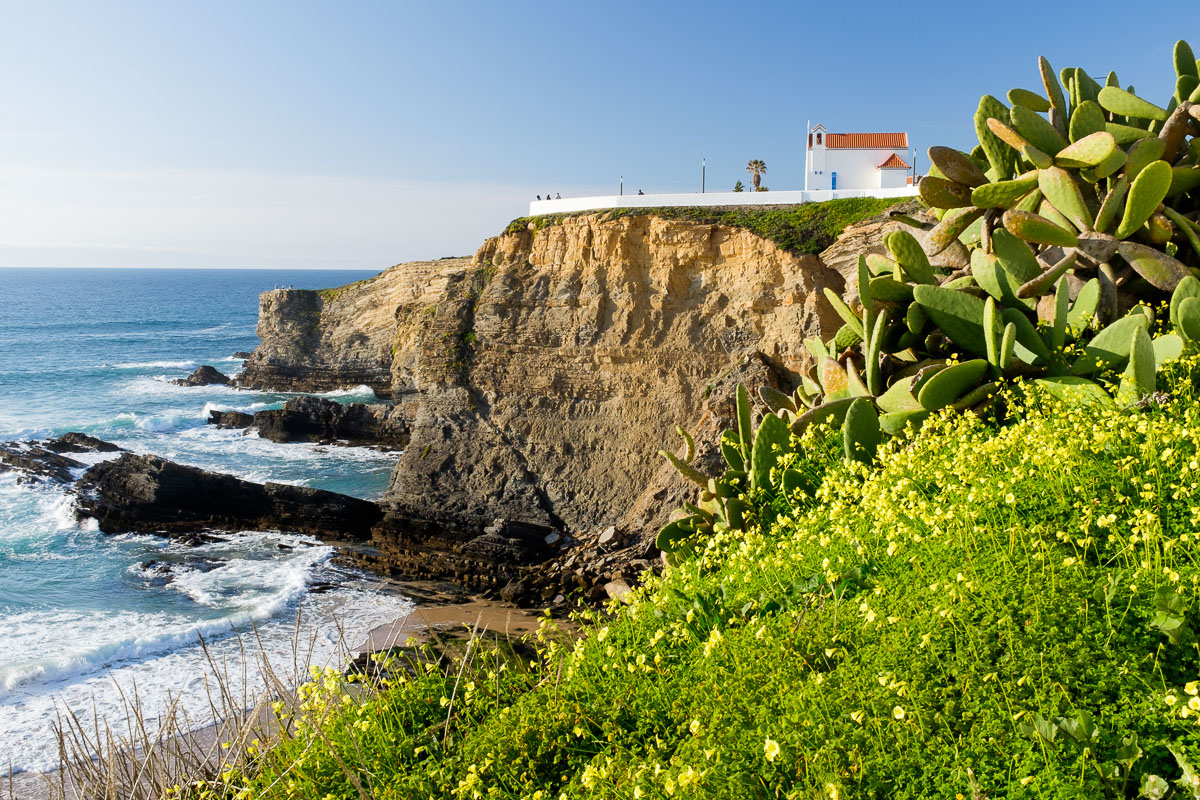
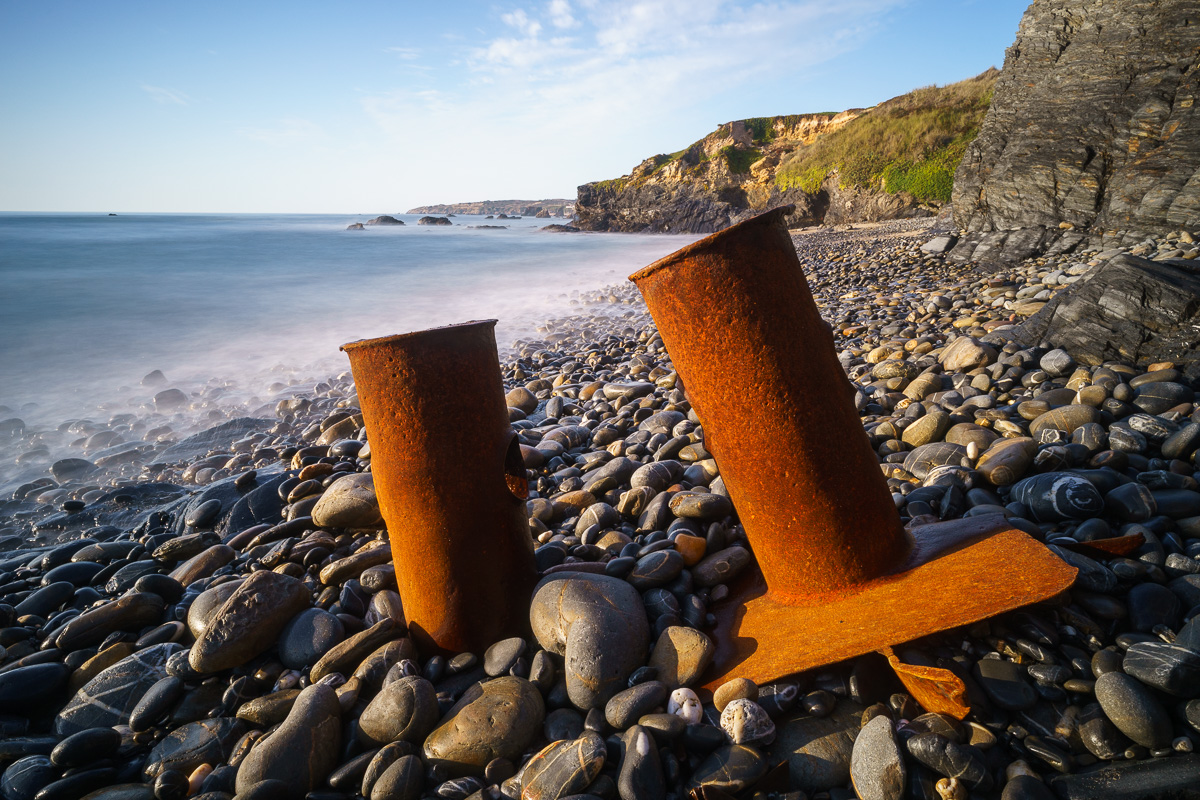
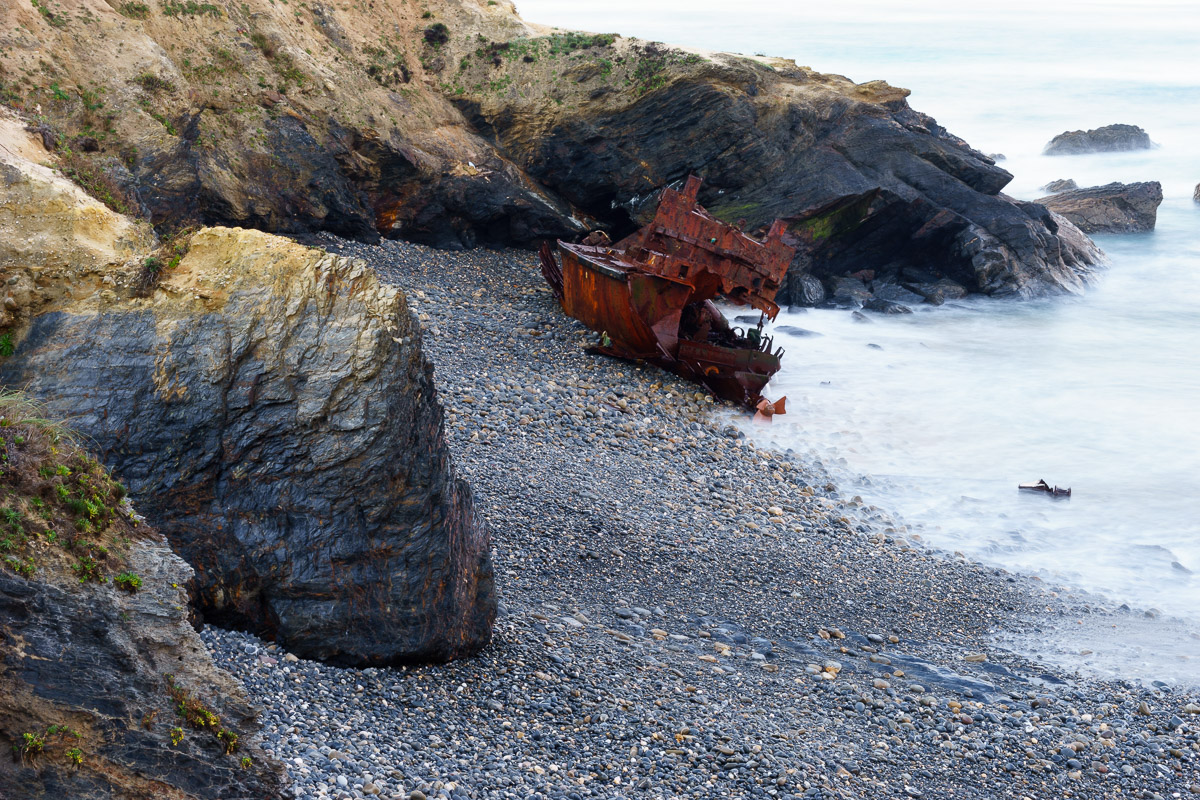
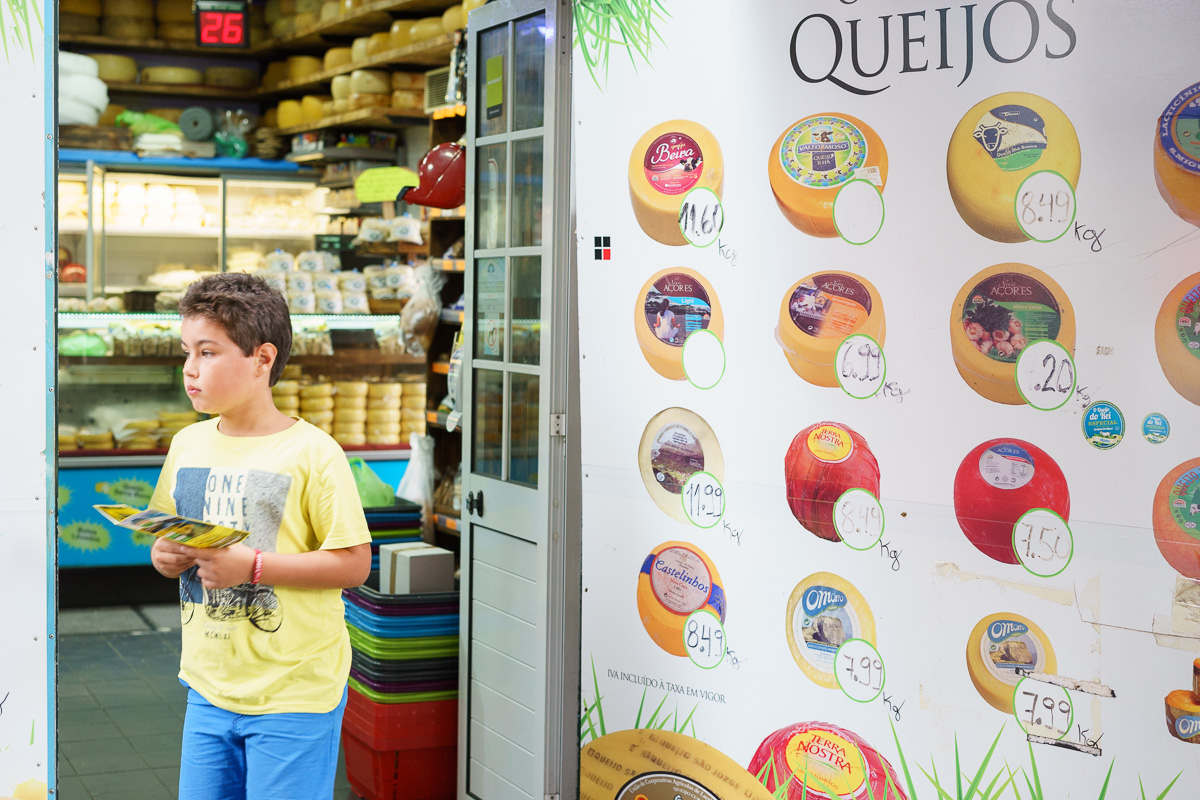
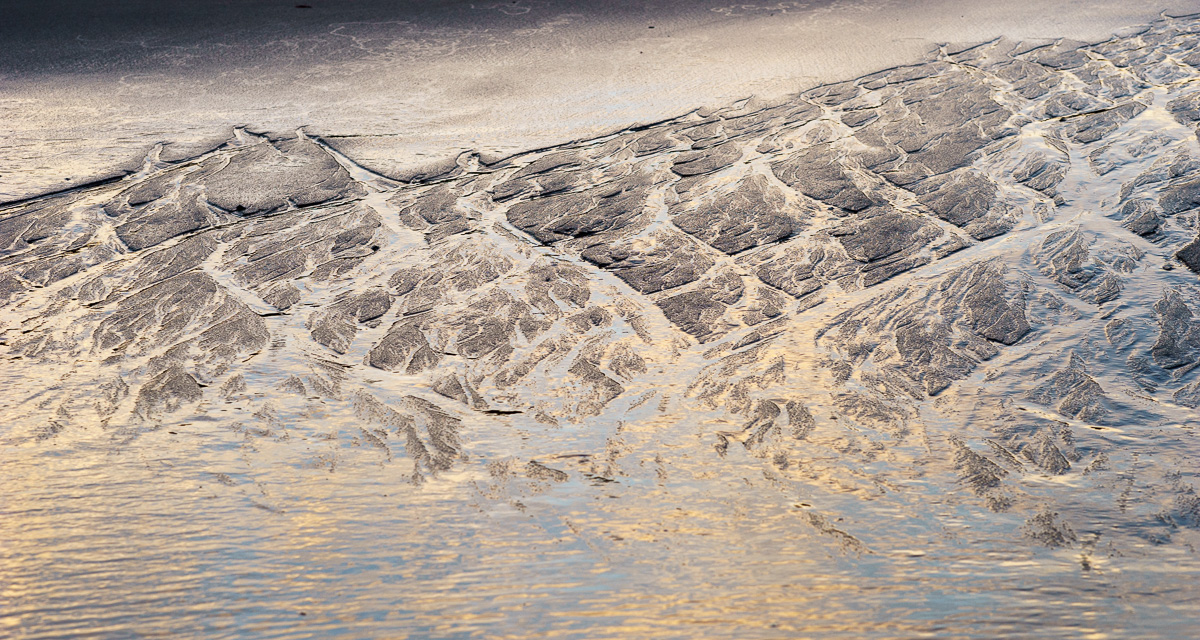
People interested in the lens know by now that this is a high-quality lens, and the images it produces are clean, crisp, and colourful. In the macro range, the backgrounds are rendered smoothly. I strolled through the streets of Odemira looking for potential subjects, including landscapes, details of the houses, and flowers in the local garden. I have tried auto focus and manual focus in the macro range, and both worked fine; make sure you use the focus limiter switch on the lens. The optical stabilization in the lens works very well for hand held shots, when required.
After two years in the market, there are no surprises coming from this lens; this is a highly recommend lens for those that like to shoot macro, landscapes, and portraits. To me, the focal length is preferable compared to other shorter (50mm) macro lenses, because it provides more working distance between the camera and the subjects.