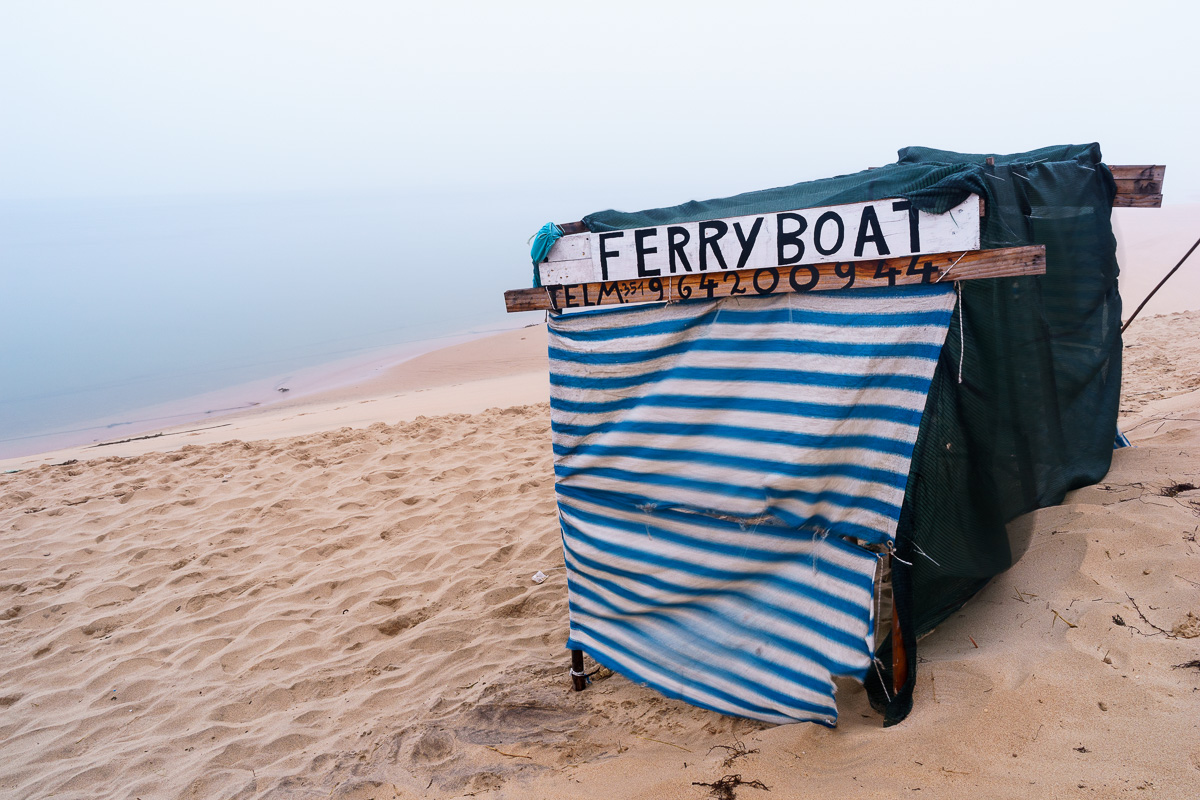
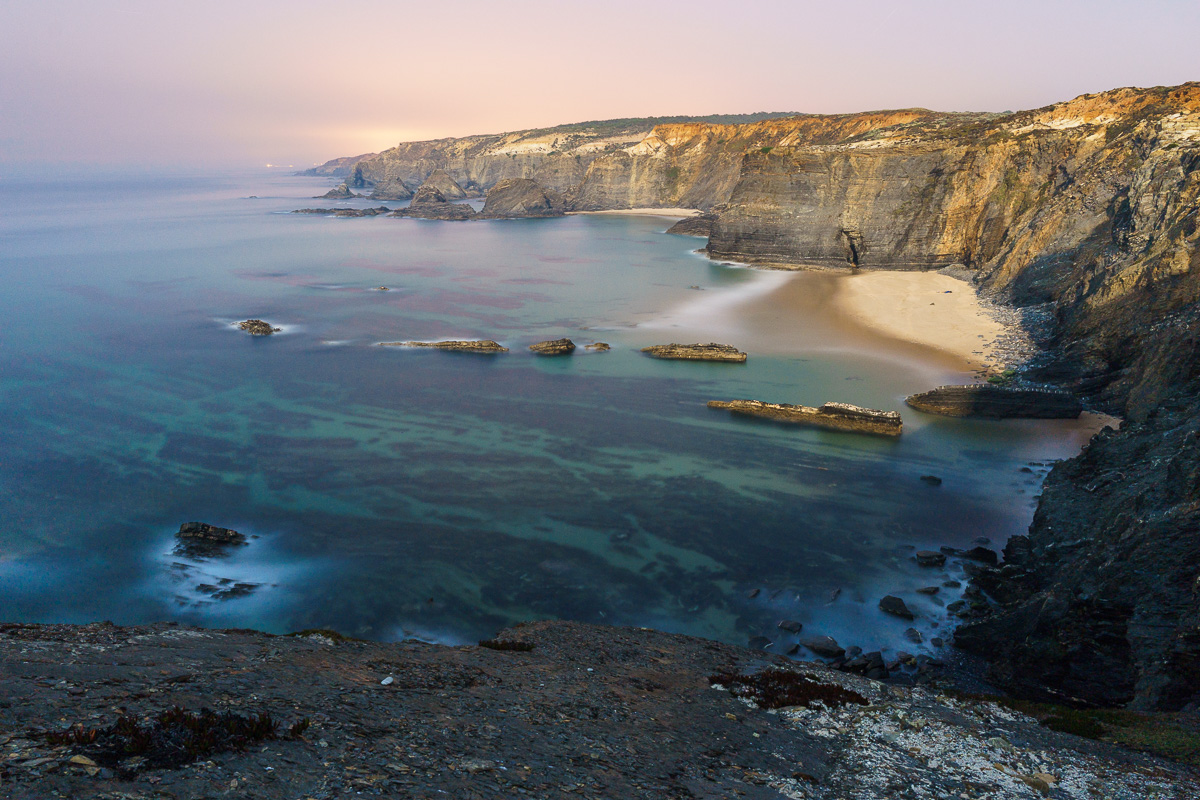
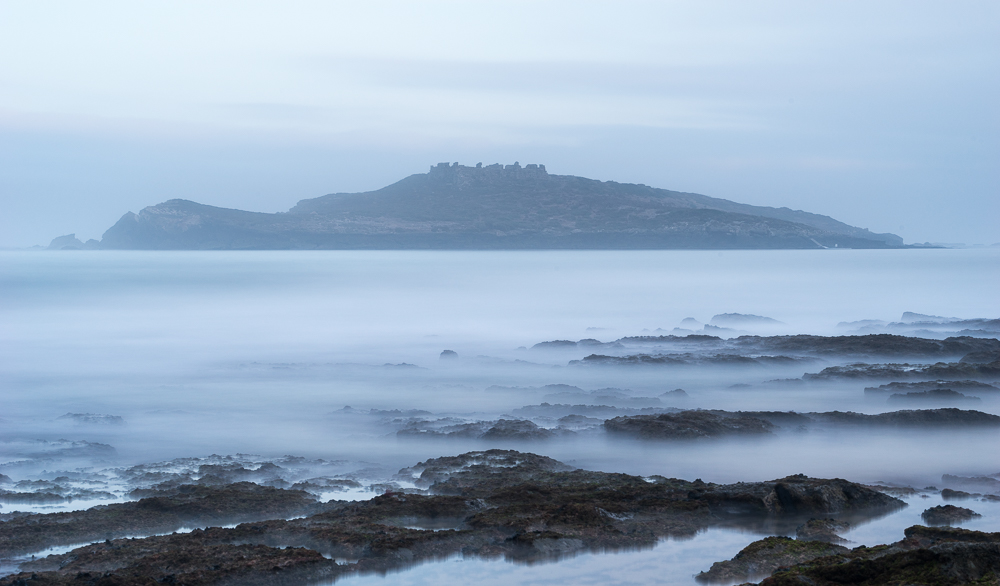
What do you do if you wake up at 5 am one August morning, with the plan to go out and do some pre-sunrise photography in a nice place, but then everything is covered in thick fog? This happened to me recently, when I wanted to go to the picturesque small village of Milfontes, in the Mira river estuary (Alentejo coast in Portugal), in order to try and get some good landscape photos. Early in the morning is always mandatory for some good and interesting light, and the summer one more reason to go out this early: avoid the summer crowds on this popular beach destination…
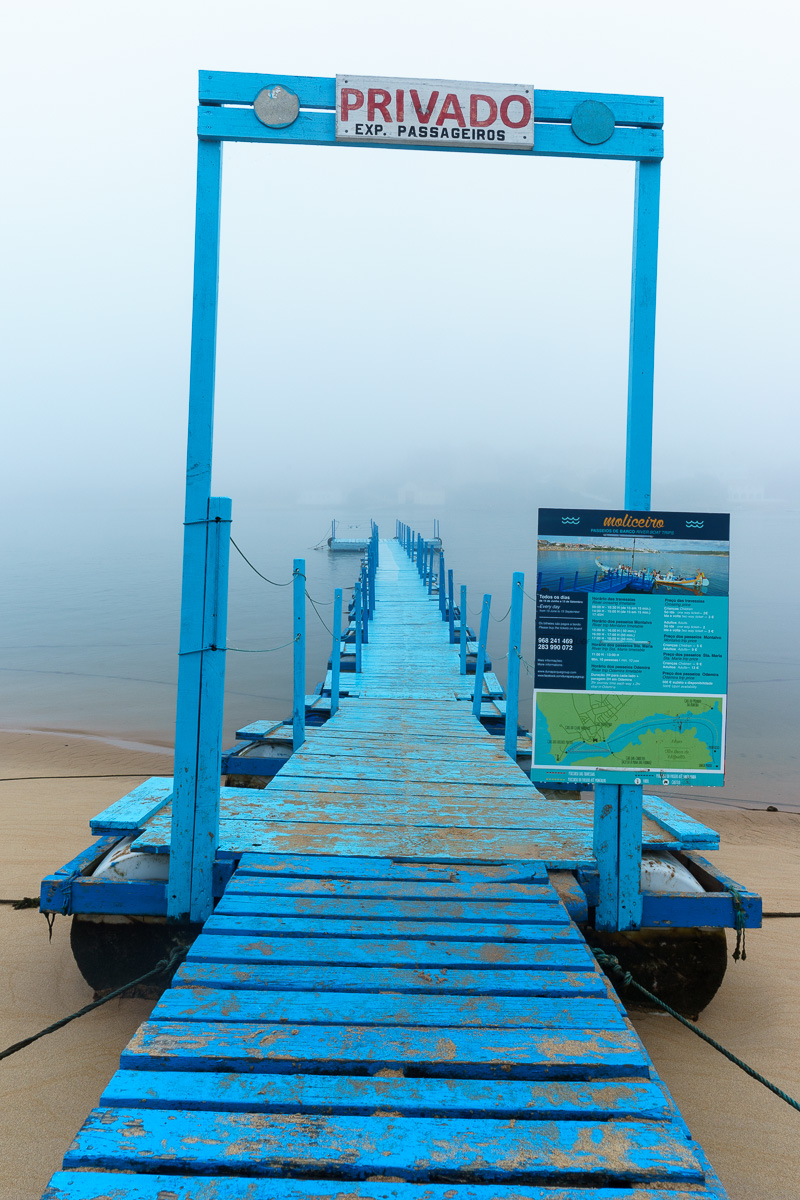
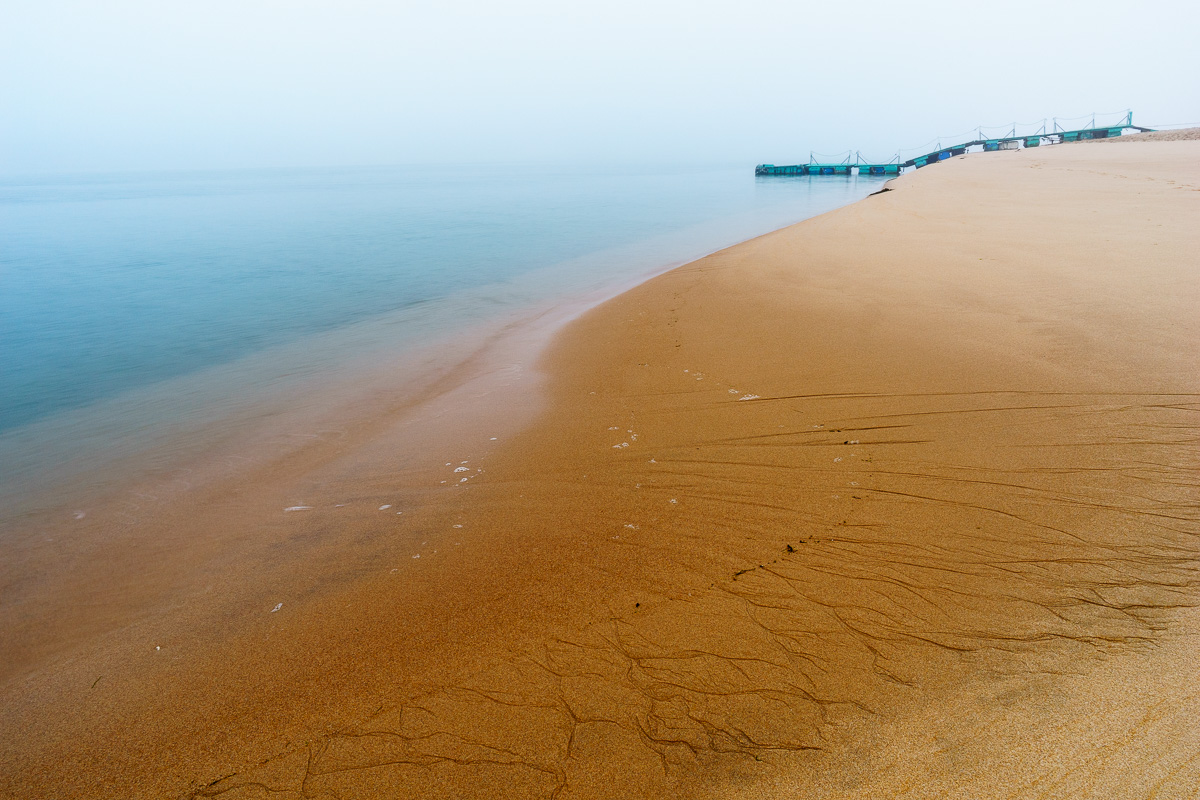
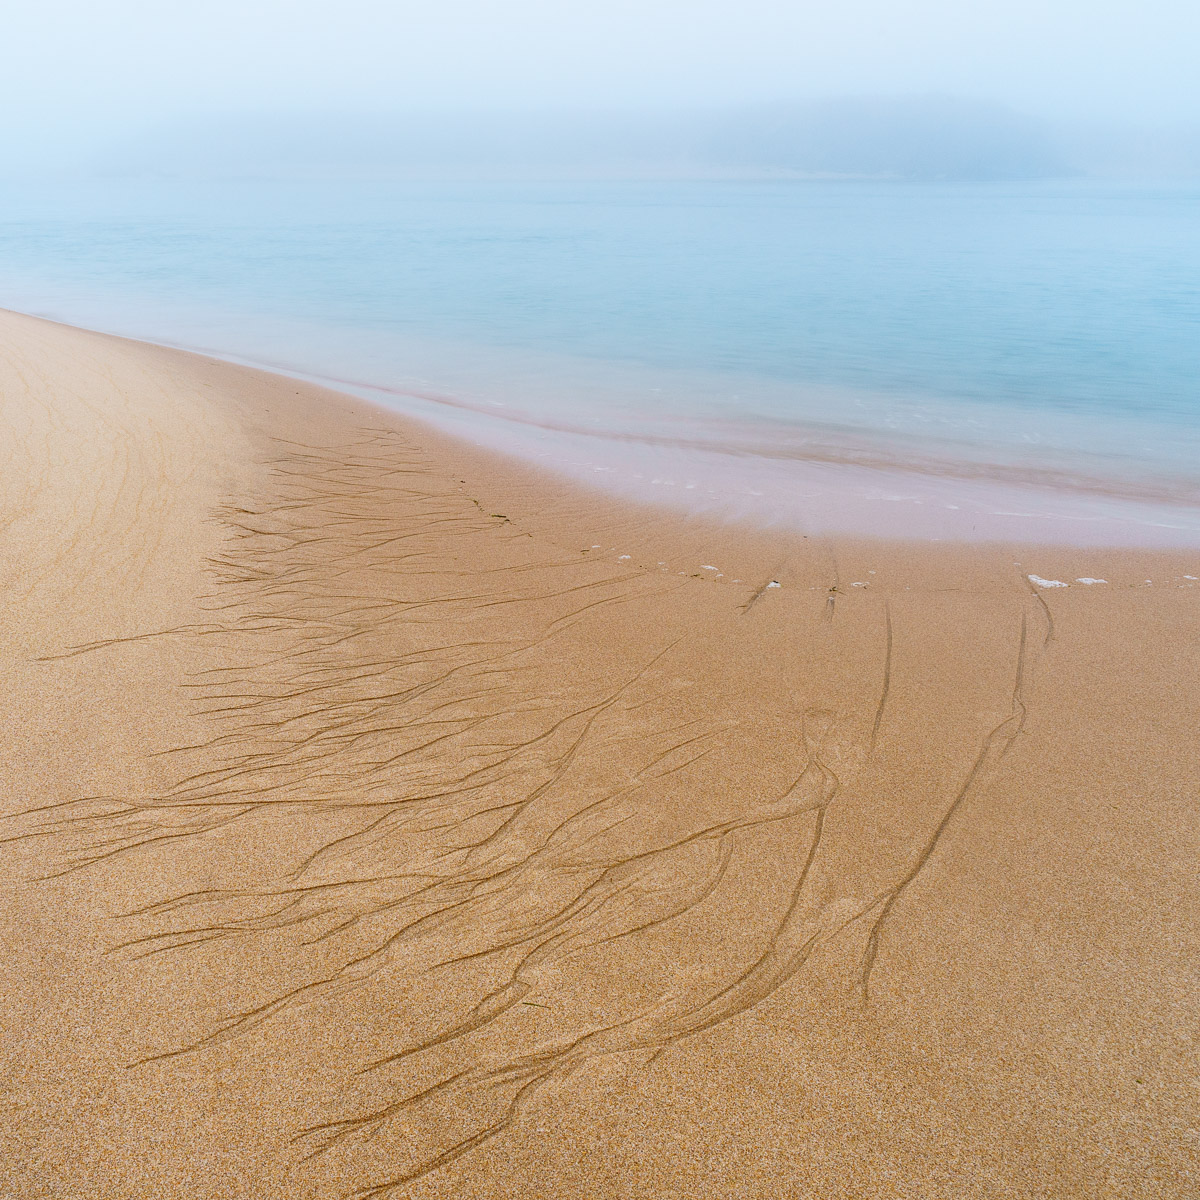
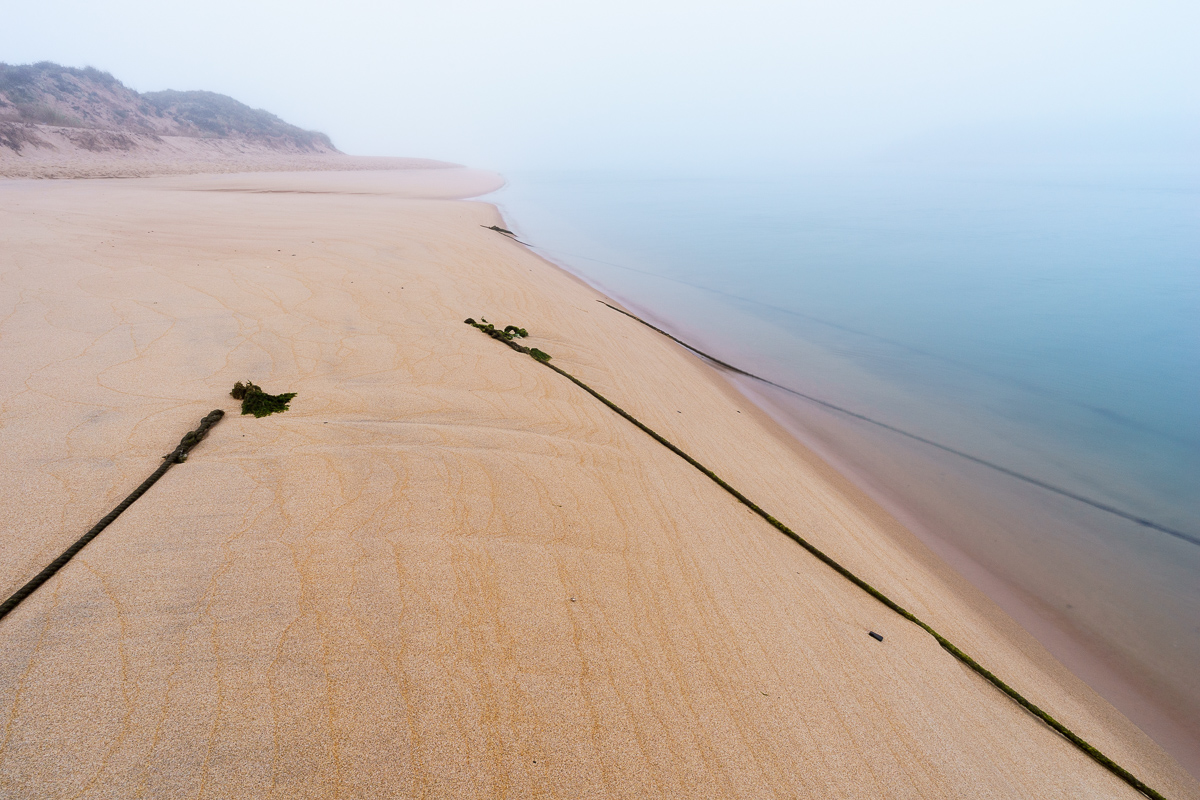
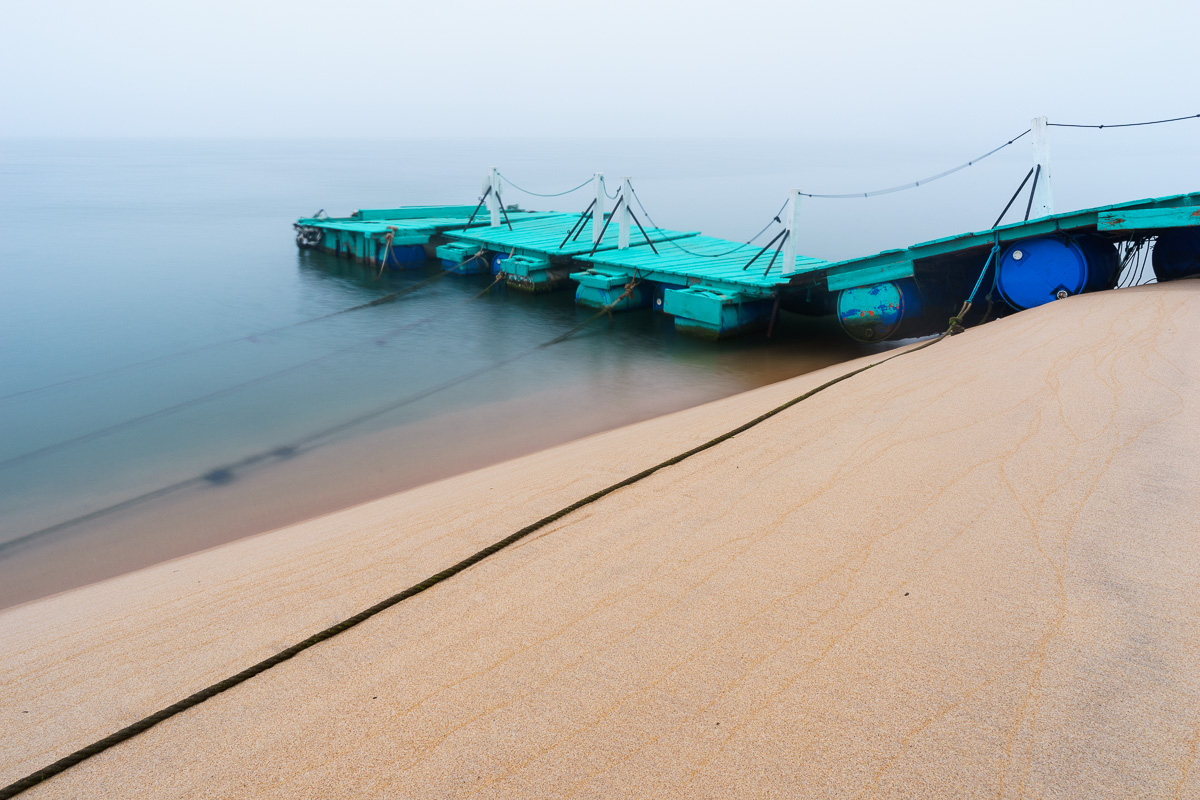
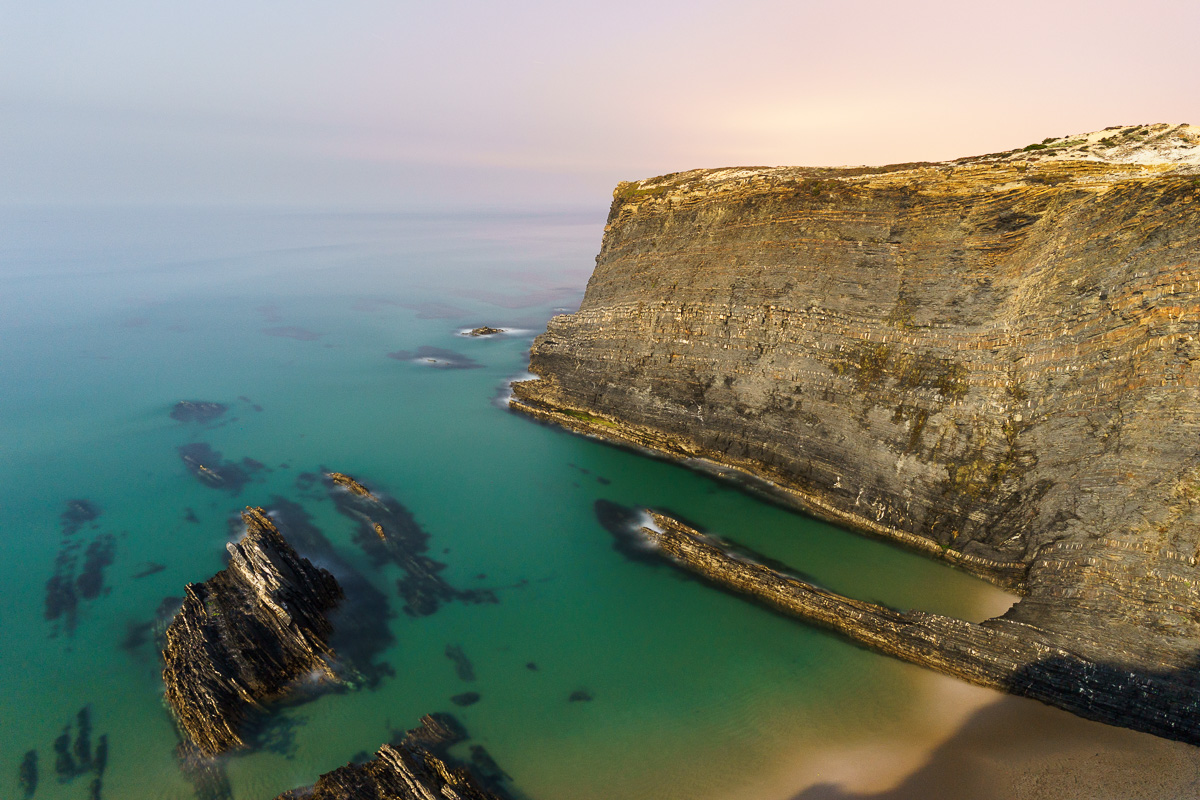
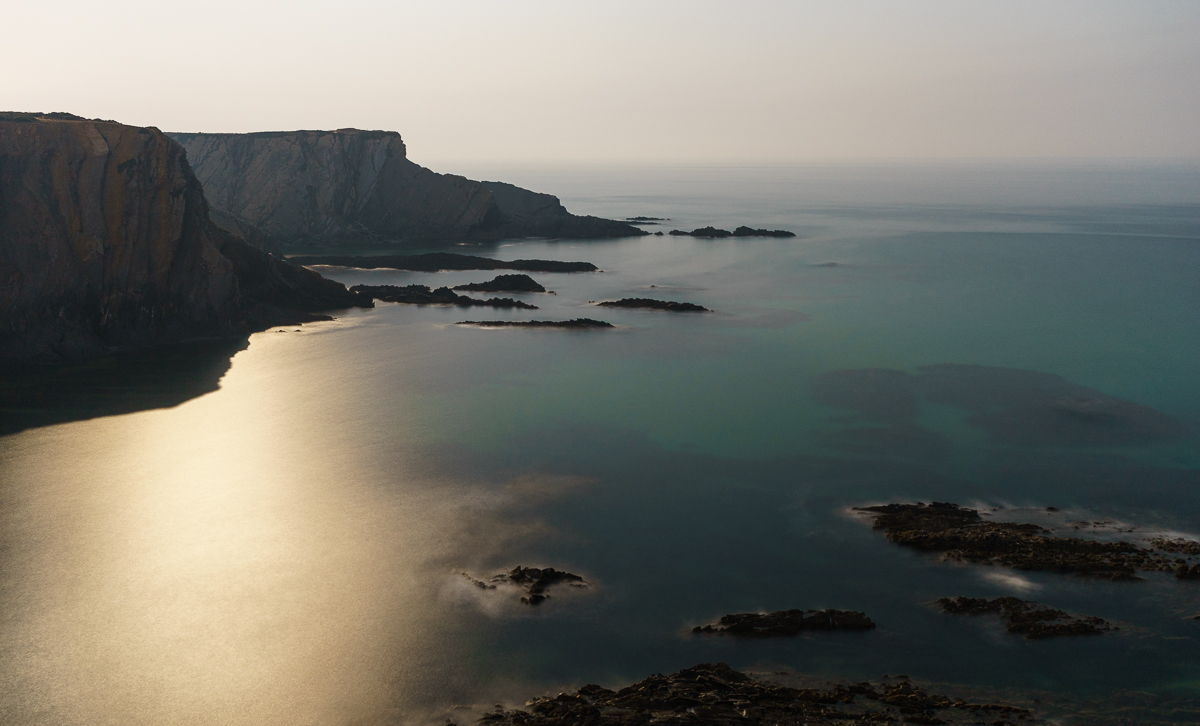
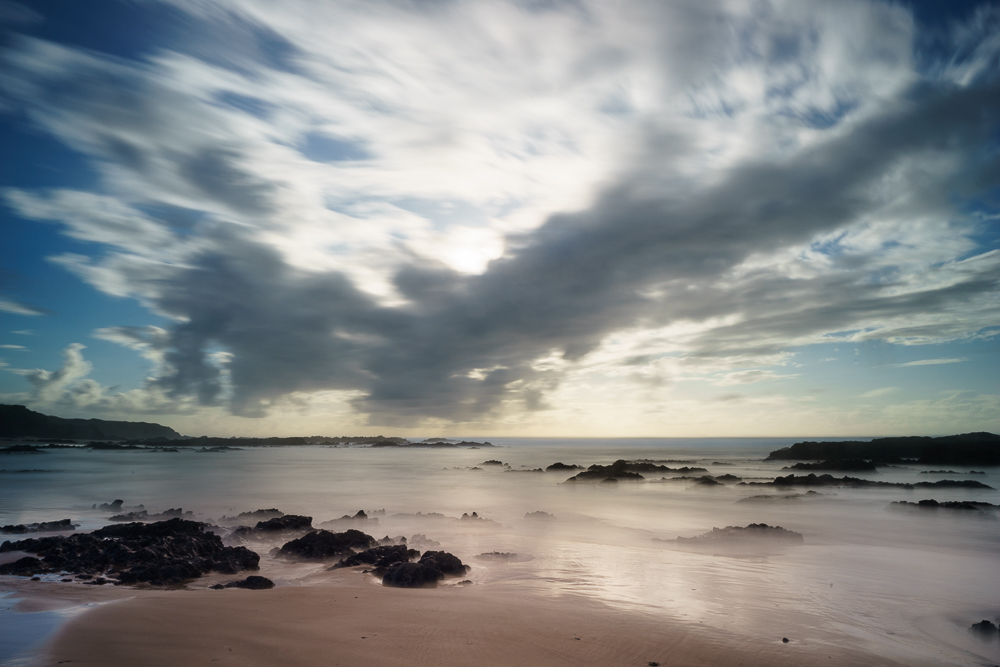
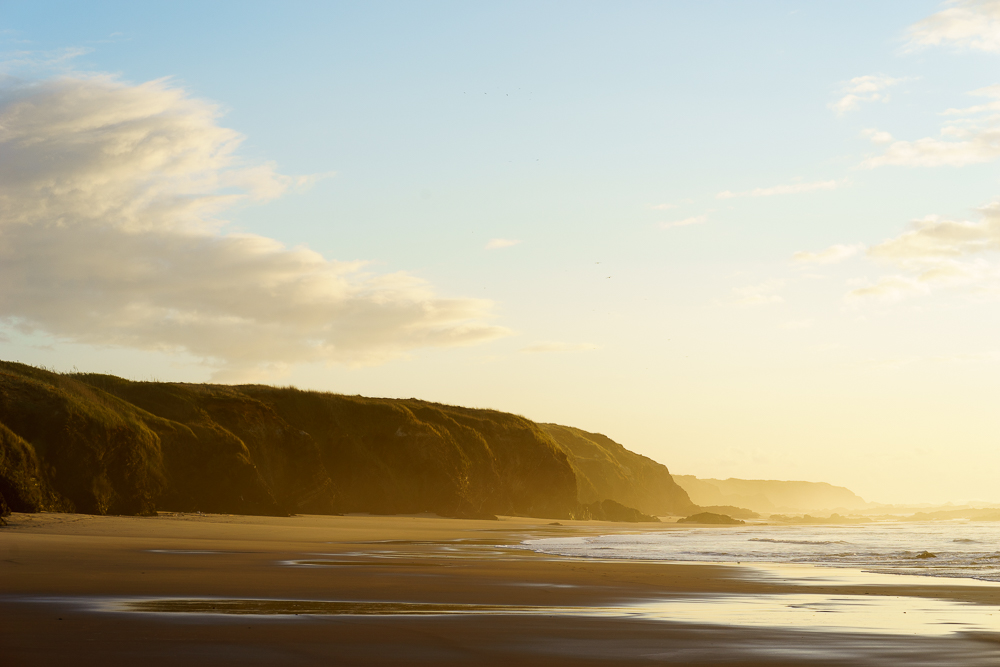
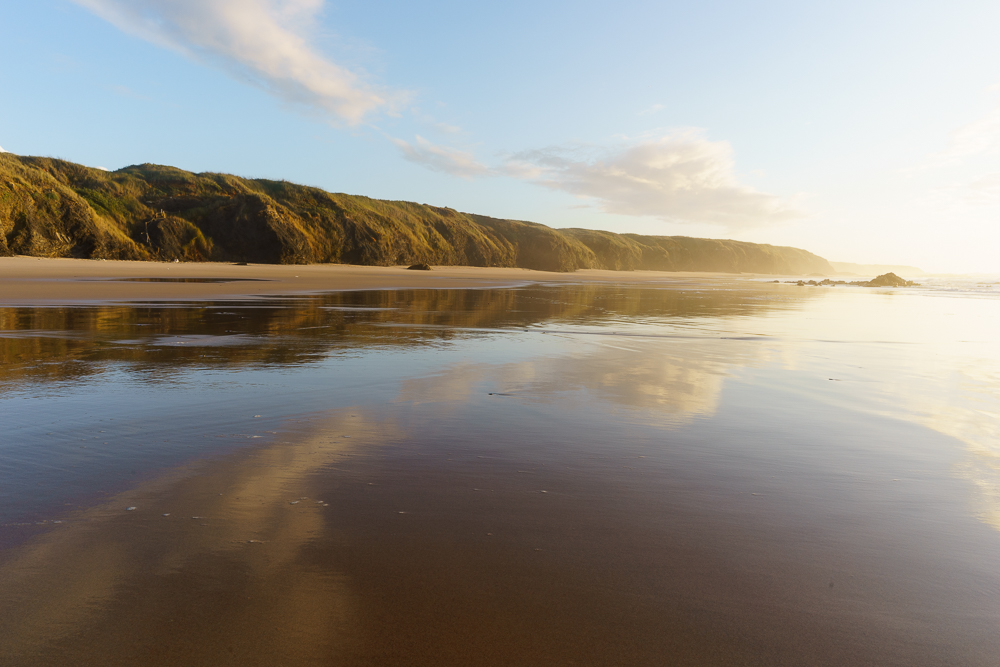
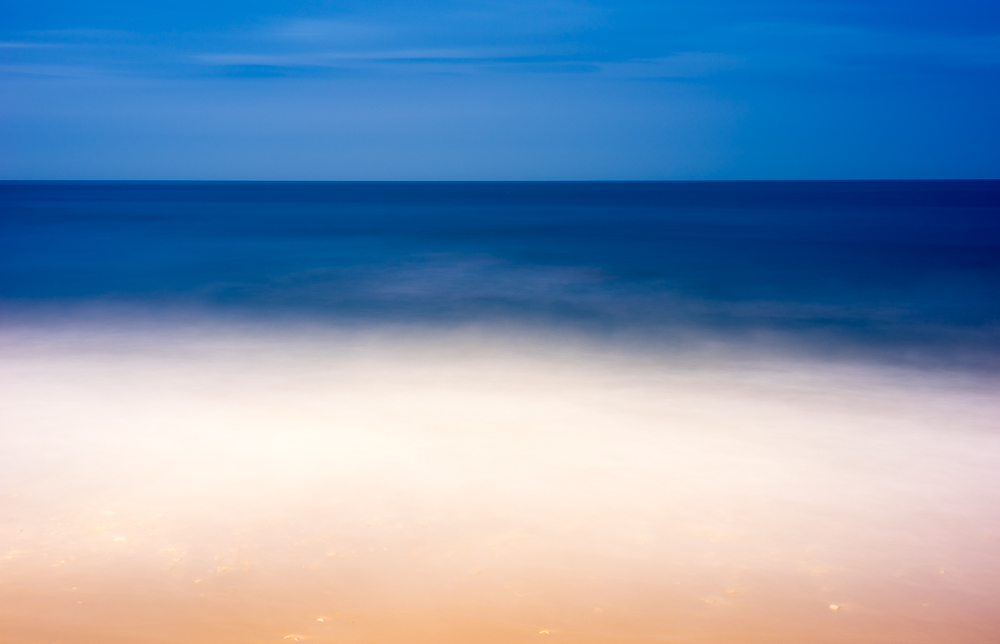
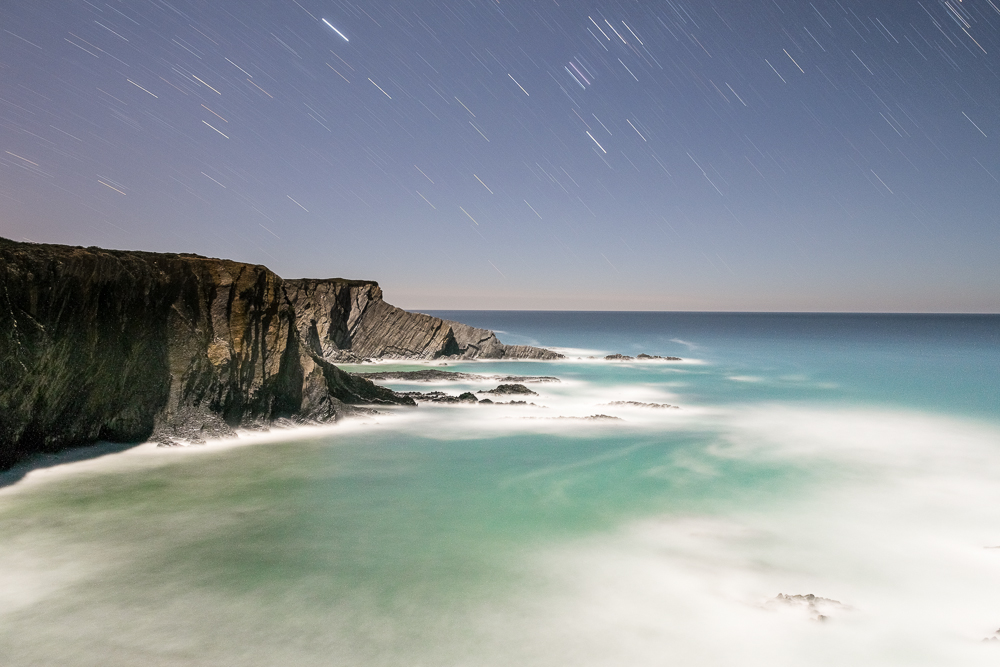
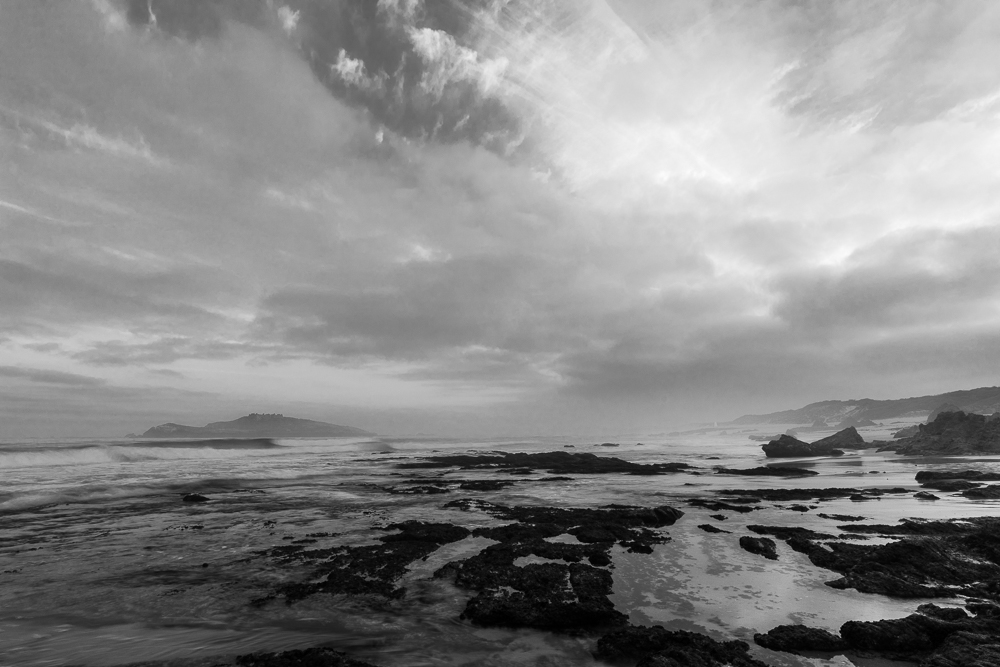
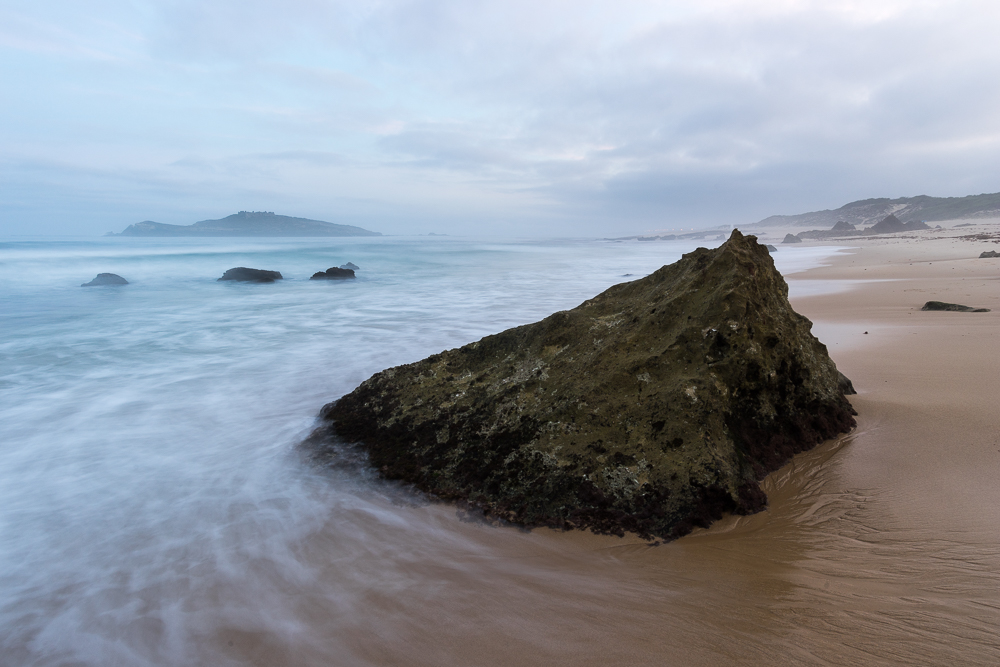
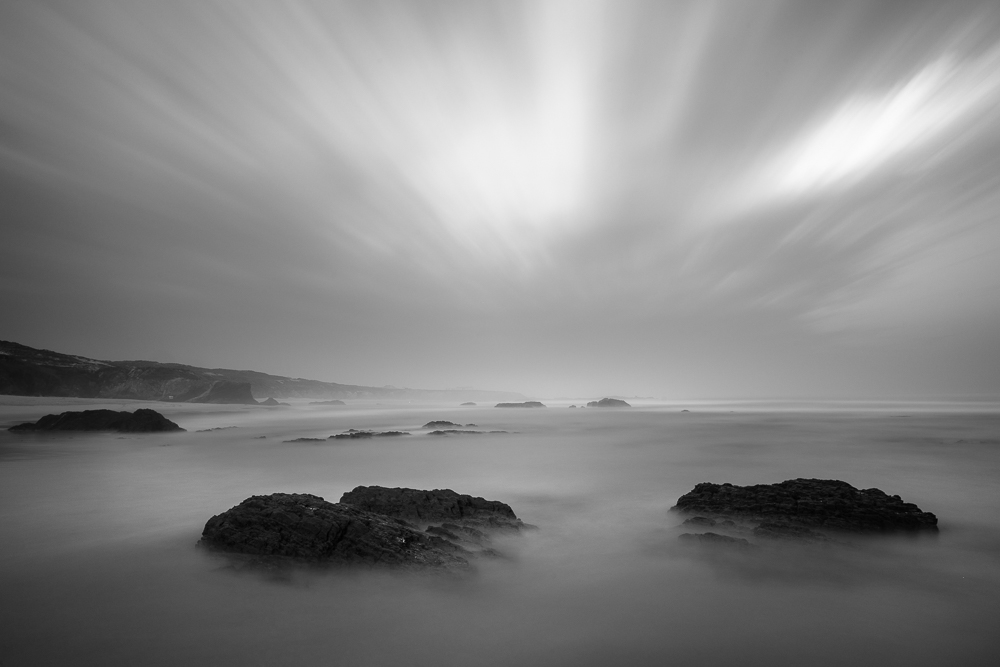
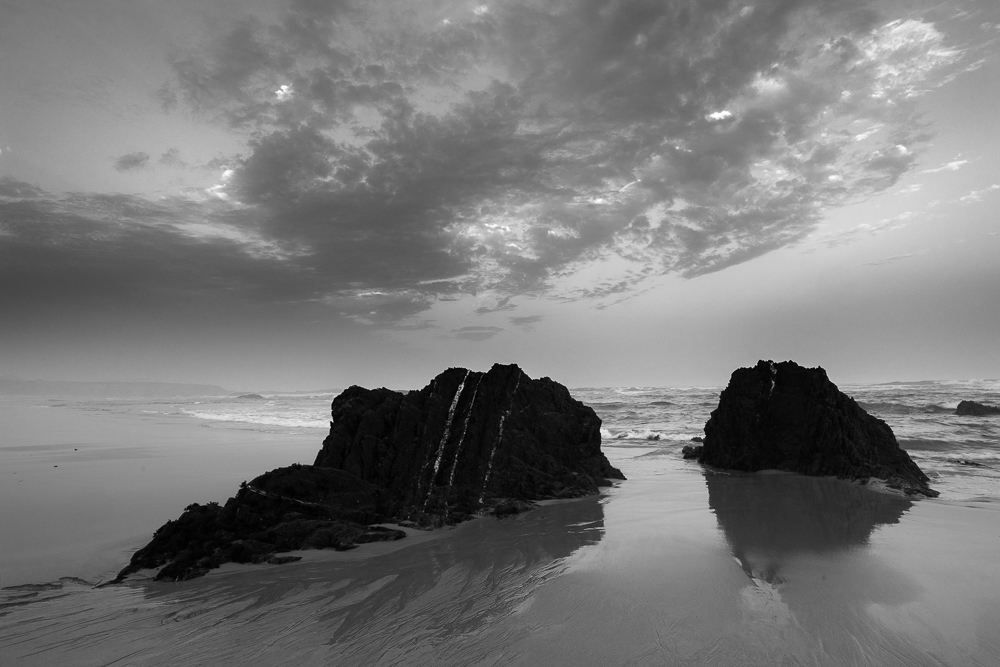
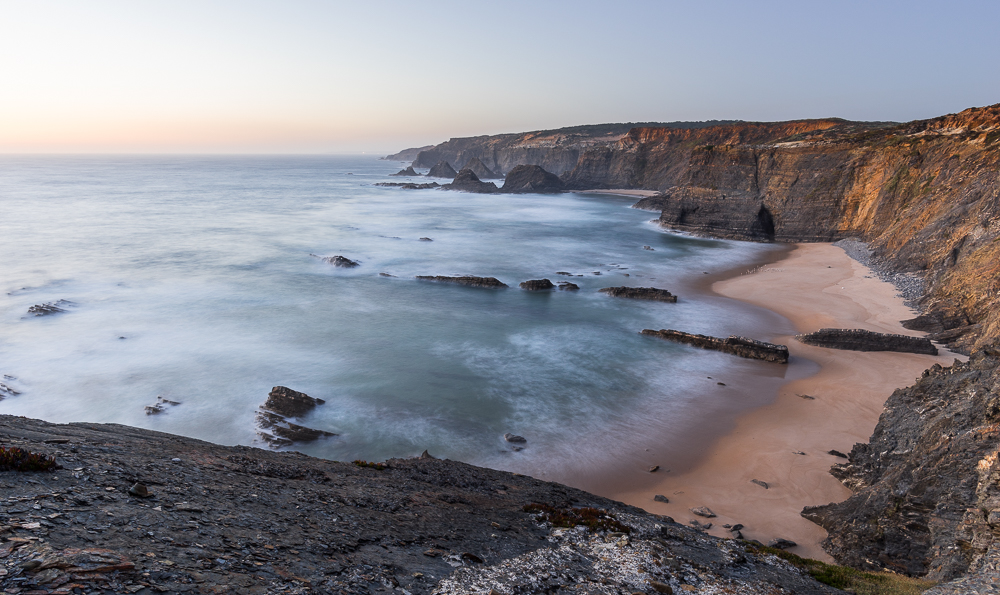
I bit the bullet and went out anyway, despite the fog. My plans of framing the village, bridge and houses, against the rising sun, with the beach as a backdrop, was gone. So I quickly came up with plan B, which was to focus more on some studies featuring the sand patterns, the calm water, and a couple of small piers. The difference between the hustle and bustle of the beach during the day, and the calm that was now everywhere, was really big. All I could hear in the near darkness was the slow flow of the water lapping against the margin, and a few seagulls that were probably waking up.
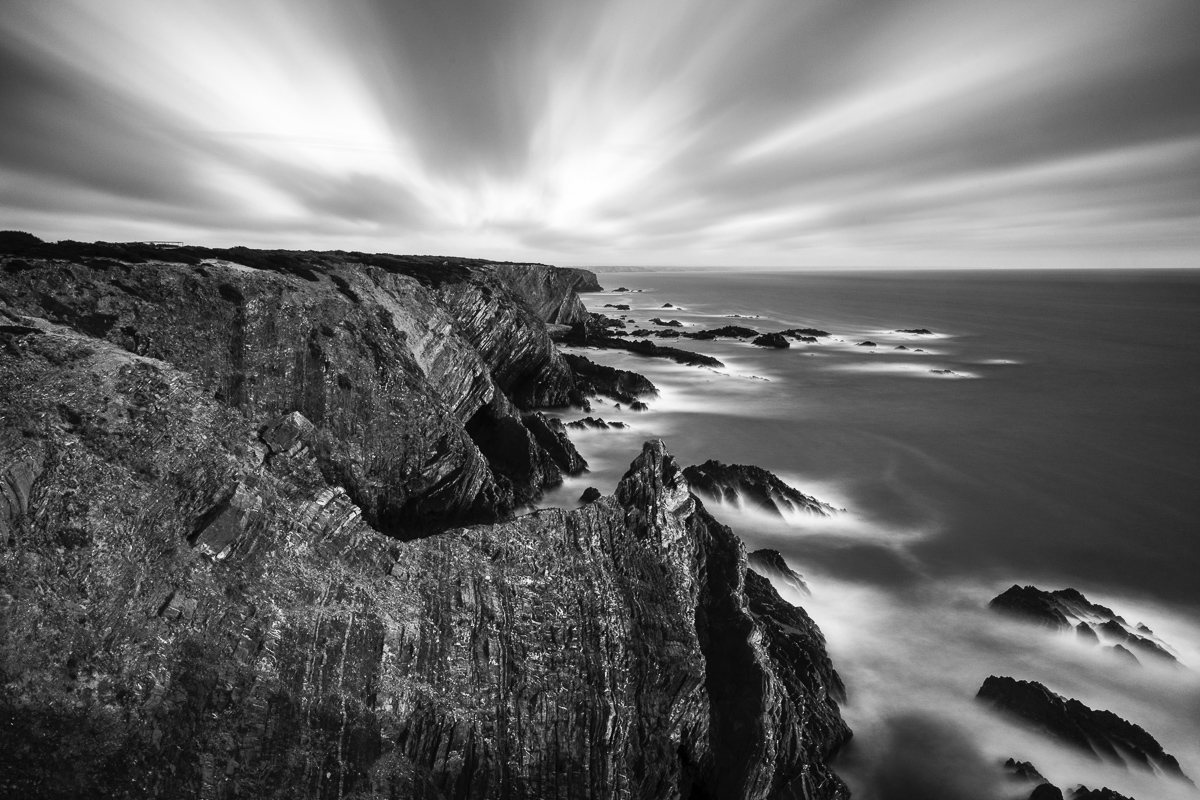
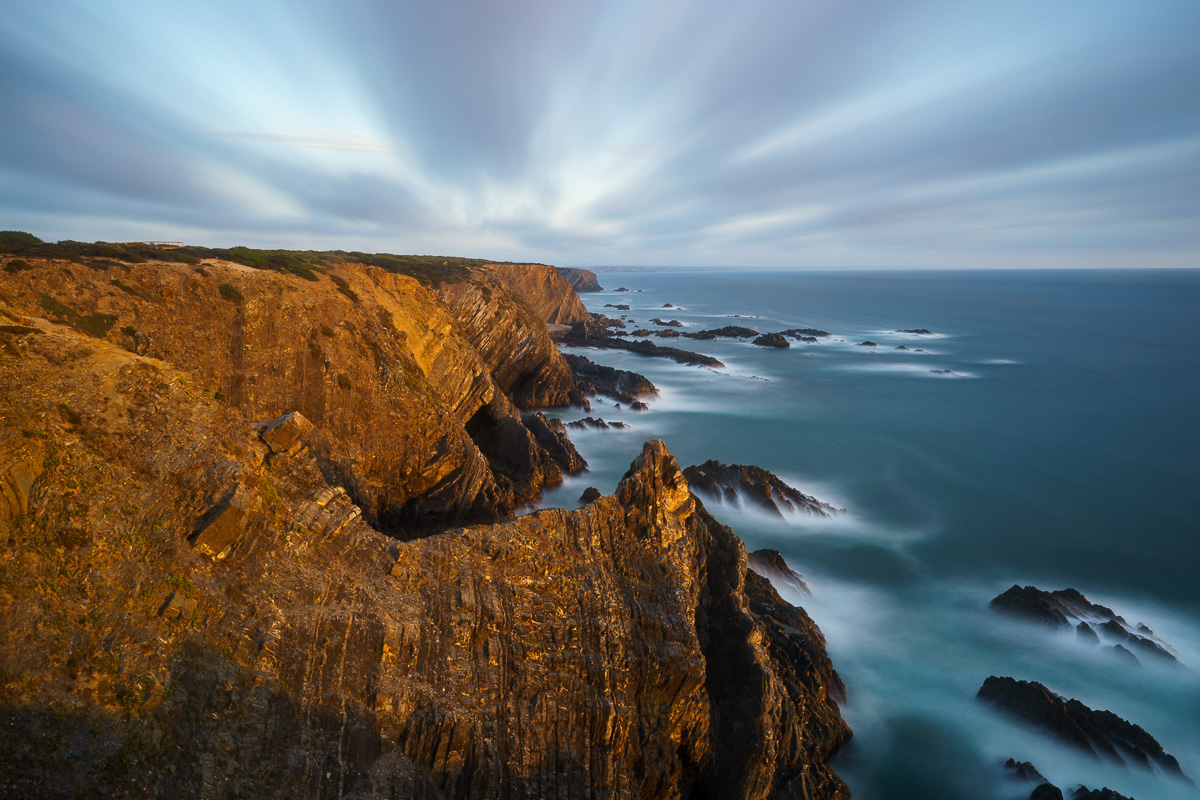
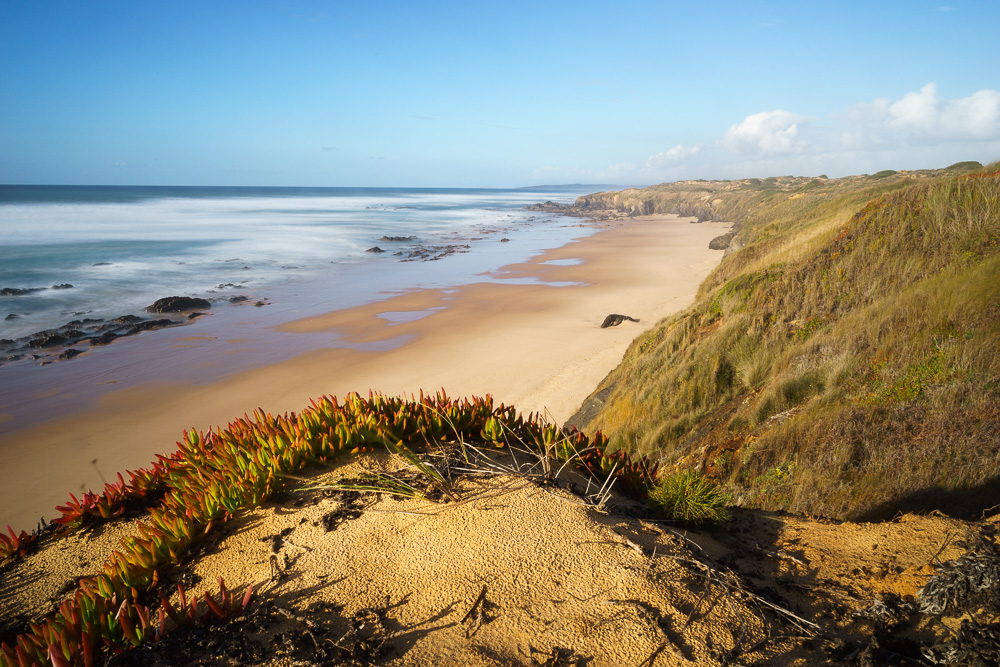
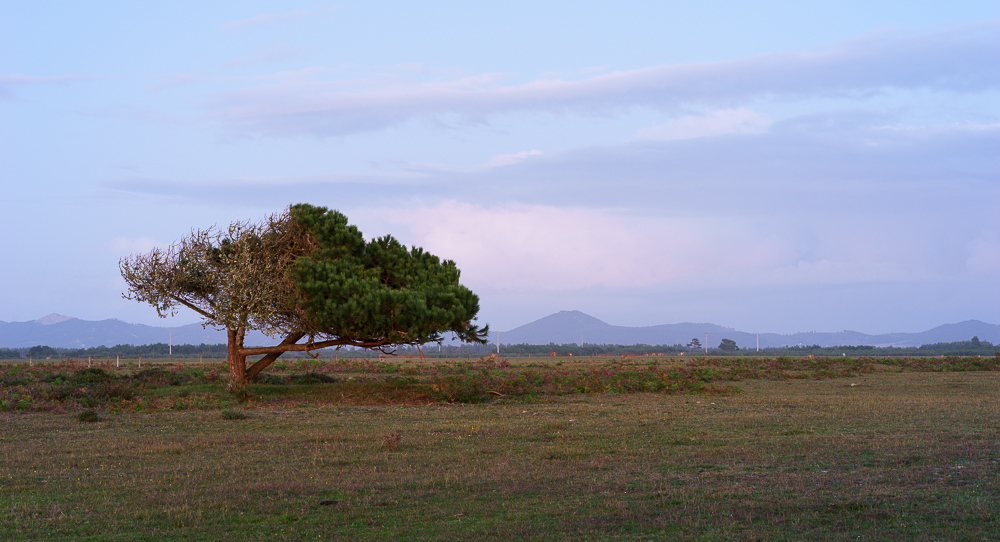
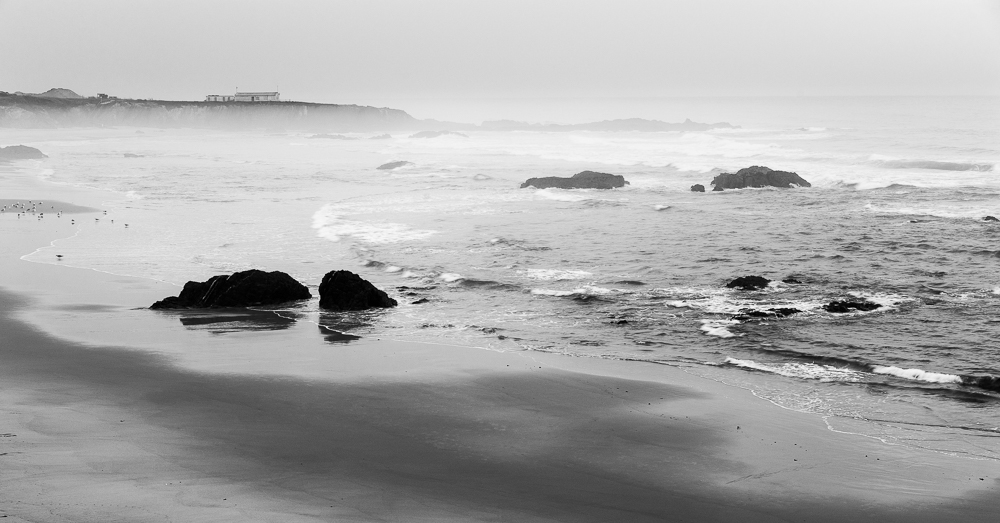
In the end, I was happy with the results I got, and above all, happy with the experience of tranquillity that I had, with a long stretch of nature just for myself. As I was packing up to go leave the place, I met two other early birds, a couple that were starting they daily trek towards another beach. This is what I like about this region: even in the middle of a busy summer season, it is possible to experience the place fully.
Technically, the photos were taken on the Sony ILCE-7 and the Zeiss Batis 25 f/2 lens, all on a tripod. With the low light levels, I was of course using a tripod and Bulb mode with a remote release.